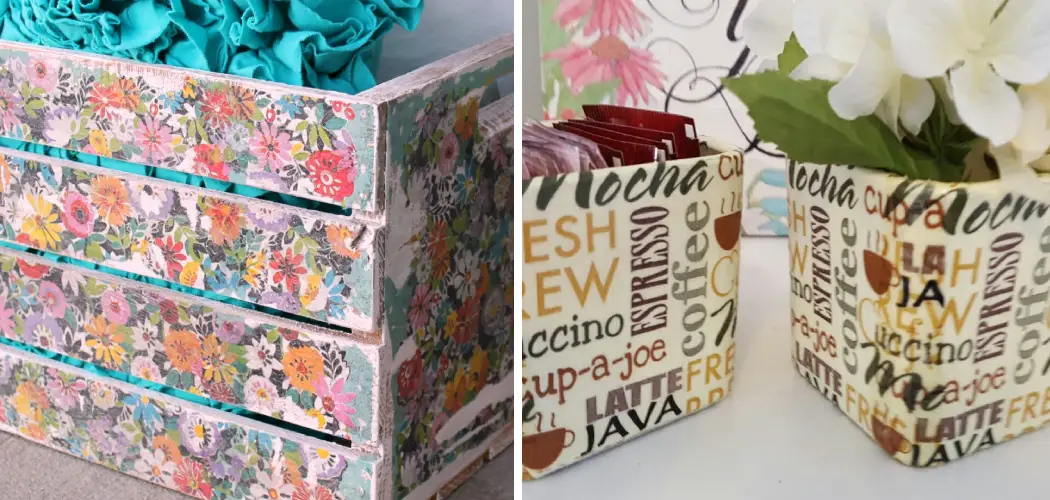
Have you ever wanted to create stunning, unique art pieces for your home? You may want to spruce up a piece of dull furniture with something special. Either way, mod podging napkins onto wood can be just what you need! Mod Podge is an excellent medium for crafting that offers many possibilities to make creative items.
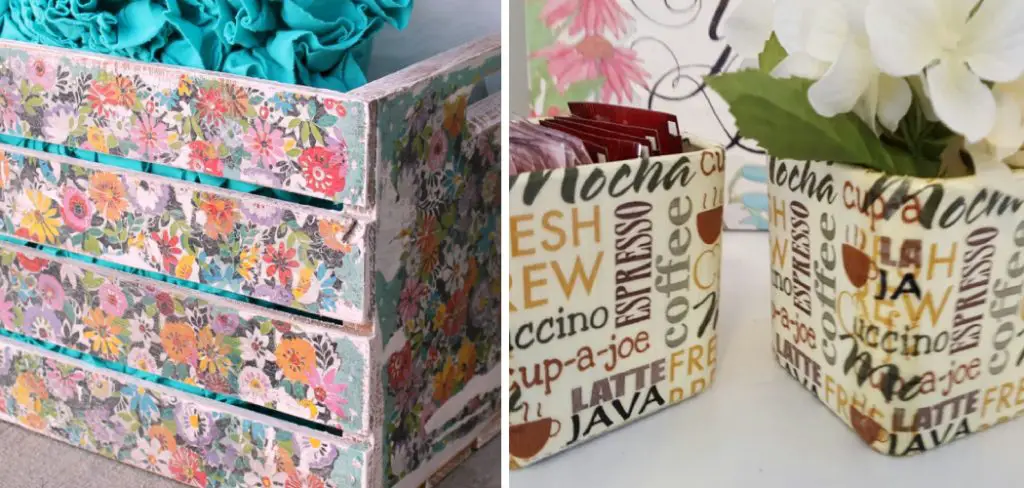
Whether a beginner or an experienced crafter, learning mod podge napkins on wood is easy and achievable with the right supplies, always start by gathering your supplies.
We’ll show you step-by-step how to use it with napkins and wood surfaces so that you can finish your project quickly and have beautiful results in no time! So, read on to learn more about how to mod podge napkins on wood.
Preparing Your Supplies and Surface
Before you start, ensure that you have all of your supplies ready and that the surface you are working on is clean and dry. You will need:
- Mod Podge
- A foam brush
- Napkins in the pattern or design of your choice
- Wood surface
- An Exacto knife or scissors (if you need to cut the napkins)
Once your supplies are ready, ensure the wood surface is clean and dry. You don’t want any dust or dirt to interfere with your project!
10 Easy Steps on How to Mod Podge Napkins on Wood
Step 1. Applying Mod Podge
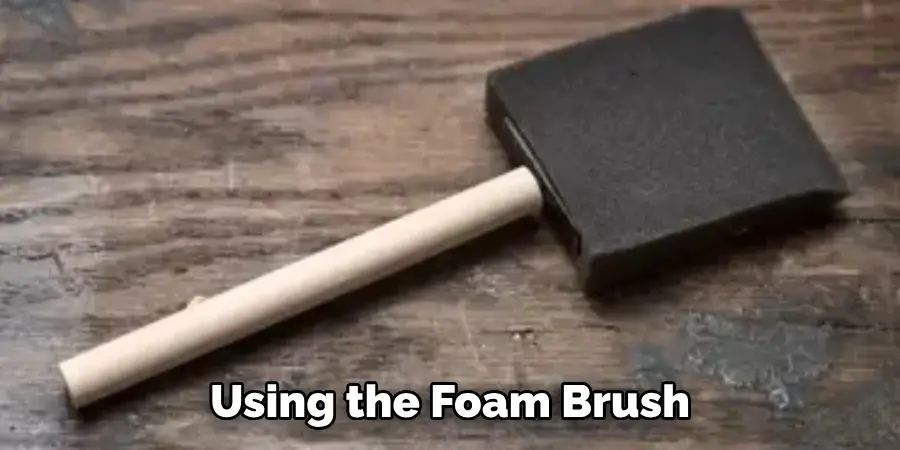
The first step in mod podging napkins to wood is applying Mod Podge. Using the foam brush, apply a thin layer of Mod Podge onto your wood surface. Make sure that you cover the entire area evenly with the glue.
Step 2. Placing Napkins on Wood
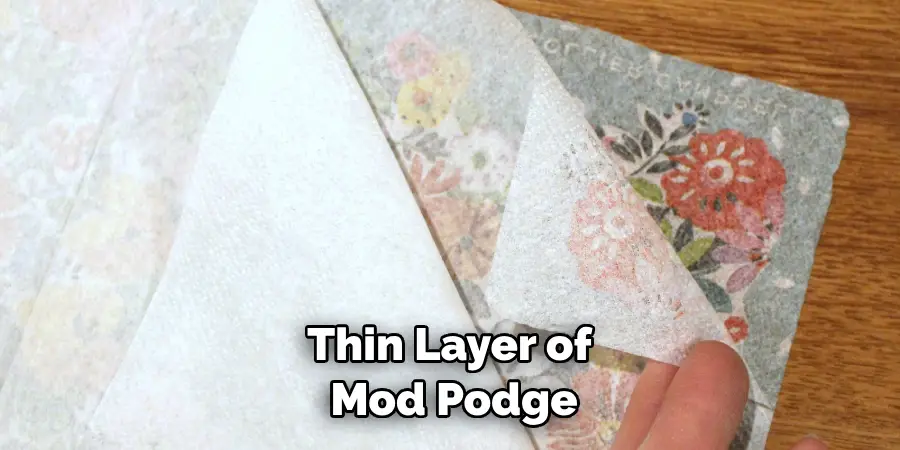
Now it’s time to place your napkin on the Mod Podge. Place it onto the surface and ensure it is straight and centered. If you need to cut your napkin, use an Exacto knife or scissors before placing it on the wood.
Step 3. Securing Napkins with Mod Podge
Once the napkin is in place, take your foam brush and apply another thin layer of Mod Podge over the napkin. Use gentle strokes to ensure all corners and edges are secure and covered with glue.
Step 4. Letting it Dry
Allow your project to dry for 15-20 minutes before proceeding with the next step. You can also let it dry overnight or use a hairdryer to speed up the process. Be careful not to blow away your napkin!
Step 5. Applying a Second Layer of Mod Podge
Once your first layer is dry, it’s time to apply a second layer of Mod Podge over the napkin. This will help seal the napkin in place and ensure that it lasts for years. Again, make sure to cover all edges and corners with the glue.
Step 6. Letting it Dry Again
Allow your project to dry for 15-20 minutes before proceeding to the next step. You can use a hairdryer if desired, but be careful not to blow away your napkin! If you’re in a hurry, you can also use an accelerator spray to speed up the drying process.
Step 7. Applying a Third Layer of Mod Podge
After your second layer dries completely, apply one more thin layer of Mod Podge over the napkin and wood surface. This third layer will provide extra protection and shine for your finished project. Remember to cover all edges and corners!
Step 8. Letting it Dry a Final Time
Allow your project to dry for 15-20 minutes or overnight before proceeding with the next step. If you’re in a hurry, you can also use an accelerator spray to speed up the drying process. If desired, you can also use a hair dryer, but be careful not to blow away your napkin!
Step 9. Applying a Final Layer of Mod Podge
Once your third layer is dry, it’s time to apply one final layer of Mod Podge over the napkin and wood surface. This fourth layer will provide an extra layer of protection as well as shine for your finished project. Cover all edges and corners with the glue. This step is optional, but it will help ensure that your project lasts for years.
Step 10. Enjoy your work!
Once the fourth layer is dry, you’re done! Your project should be shiny and beautiful. Now all that’s left to do is enjoy your work of art and show it off to friends and family. Congratulations on learning mod podge napkins on wood!
And that’s it – you now know how to mod Podge napkins on wood! As you can see, this craft is a great way to spruce up any furniture or wall art piece. All it takes is some Mod Podge and creativity! With patience and practice, you can make beautiful art pieces with napkins and wood.
5 Additional Tips and Tricks
- Always use a foam brush when applying Mod Podge to the wood surface. Foam brushes are easy to control and help you avoid getting bubbles in your project.
- Be sure to use a thin layer of Mod Podge when applying it, as too much can cause bubbling or other issues in your project.
- You can mix different colors and patterns of napkins to create a unique design.
- Always start in the center and work your way out when applying the Mod Podge. This will help ensure that all edges and corners are securely glued down.
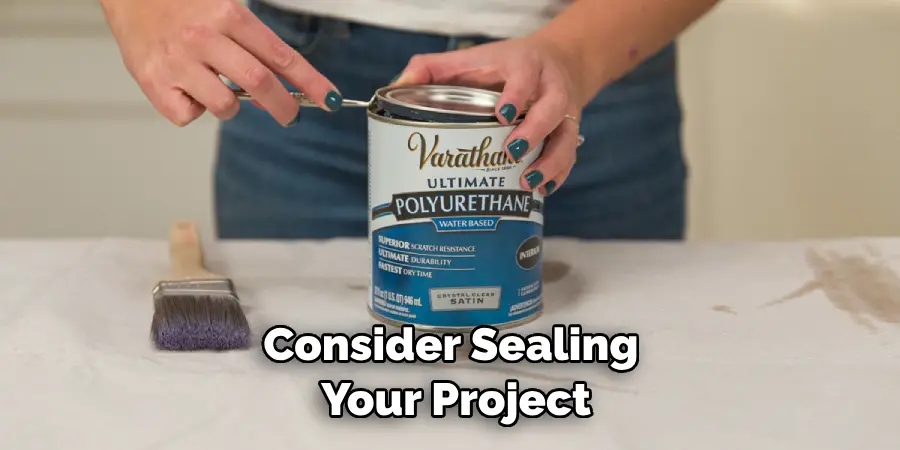
- When you’re done, consider sealing your project with a topcoat sealer for extra protection and shine.
With these ten easy steps and additional tips, you’ll be a master at mod podging napkins on wood in no time! Have fun crafting, and don’t forget to share your beautiful creations with us!
5 Things You Should Avoid
- Avoid using too much Mod Podge or applying it too thickly.
- Don’t use a paintbrush to apply the glue, as this can cause bubbling in your project.
- Avoid overlapping napkins when applying them, which can lead to an undesired look.
- Don’t blow on your project with a hairdryer or fan, as this can blow away the napkins.
- Don’t forget to let each layer dry completely before applying the next one!
Now that you know mod podge napkins on wood, it’s time to get started on your project!
5 Tips for Choosing the Right Napkin Pattern
When choosing a pattern or design for your project, it is important to consider the overall look you are aiming for. Here are some tips to help you select the perfect napkin pattern:
- Consider the size of the wood surface you’re working with – smaller surfaces don’t need large patterns or designs, and larger surfaces can handle more detailed prints.
- Consider the color palette of your room or space – choose a pattern that will fit the overall aesthetic.
- Think about the texture of the napkin – some materials are more delicate than others and can easily tear if not handled carefully.
- Opt for a pattern or design that will stand out from the rest of your decor – you want it to be eye-catching!
- Search online for inspiration – there are plenty of great ideas and tutorials that you can find on the web.
With these tips in mind, you’ll be able to find the perfect napkin pattern for your project! Have fun mod podging, and don’t forget to share your finished creations with us! Happy crafting!
What Kind of Paper Do You Use to Mod Podge on Wood?
The type of paper used for mod podge on wood depends on the project and the desired look. If you want to achieve a glossy finish, you can use regular copy paper or card stock. However, if you want a unique texture or design, you can opt for napkins, fabric scraps, tissue paper, decoupage paper, etc. These materials will provide an interesting pattern and texture to your project.
No matter what type of paper you use cut it into small pieces that can easily fit onto the wood surface. Also, make sure to carefully seal all edges and corners with Mod Podge in order for the paper to stay in place. With some creativity and practice, you can create beautiful pieces of art using mod podge and paper!
What Happens if You Add Water to Mod Podge?
If you add water to Mod Podge, it will become more liquid and easier to spread. However, be sure to add only a little water, as this can dilute the glue and weaken its adhesive strength. You should also remember that adding water will take longer for the drying process.
It’s best to use a small amount of water or an accelerator spray to speed up the drying process. When using Mod Podge, it’s important to make sure that your project is completely dry before you proceed with the next step in order to achieve the best results.
Additionally, it is important to note that water and Mod Podge should never be mixed together in a container. This can cause the glue to become lumpy and unusable. Applying any water directly onto your project with a brush or spray bottle is best.
With these tips in mind, you now have all the knowledge you need to use Mod Podge like a pro! Have fun crafting, and don’t forget to share your beautiful creations with us!
What is the Best Way to Protect Your Finished Project?
The best way to protect your finished project is by sealing it with a topcoat sealer. A sealer will provide an extra layer of protection to your project and will help keep it looking great for years to come. Additionally, a sealer will give your project a nice sheen and make it look even more beautiful.
When applying the sealer, use light, even brush strokes and avoid going over one area too often. Also, wait for each layer of the sealer to dry completely before applying the next one. Once you’re done, your project should be good to go!
Following these steps will help ensure that your mod podge project will look amazing and last for years. Happy crafting!
Conclusion
Mod Podge napkins on the wood are a great way to give your wooden craft projects a unique finish that is not attainable with other woodworking techniques. No matter what type of project you are working on, whether furniture, wall art, or small decor items, the possibilities are endless when you start mod podge-ing your napkins!
With little time and effort, you can easily create stunning designs with eye catching color palettes. Best of all, it’s a low cost activity that anyone can do! Bring out your inner artist and have fun with your pieces – let your creativity soar, and don’t be afraid to explore different perspectives.
Hopefully, the article on how to mod podge napkins on wood gave you some insight on where to start. Gather your materials, choose your patterns, and get crafty!

