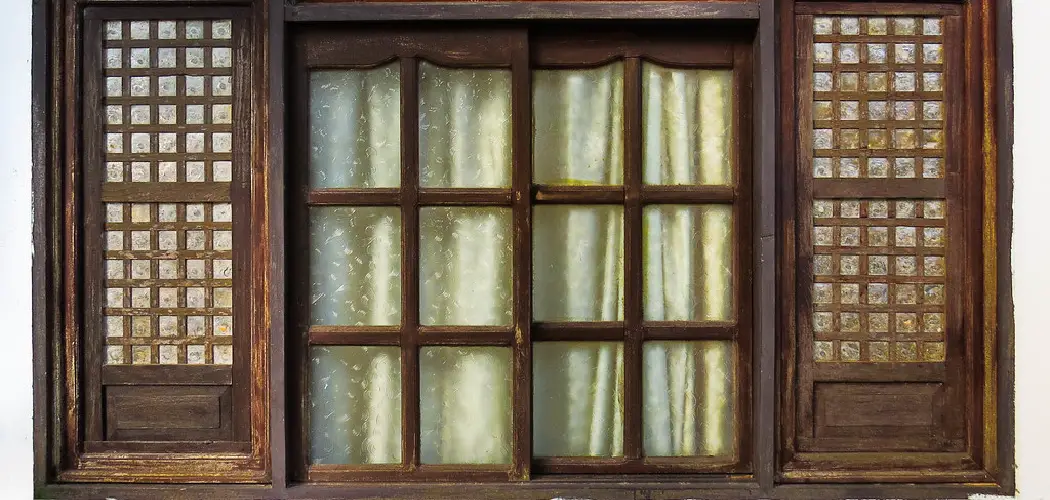
Replacing old, drafty wood windows with new ones can be a daunting task. Not only is it important to get the size right to make sure your new windows fit in your space, but measuring correctly will ensure a long-lasting window installation and prevent costly mistakes. If you’re looking for an easy way to measure your existing wooden windows before purchasing replacements, this guide provides helpful tips on how to do so!
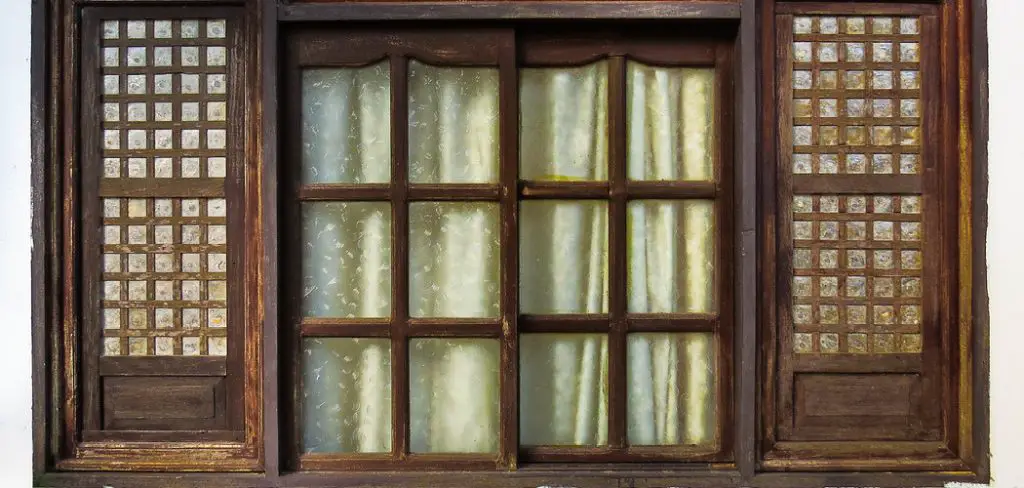
From understanding measurements of window frame widths and heights, adjusting for standard allowances like locks or handles that protrude from the sides, and even double-checking specific jamb depths – we have everything you need to know about precisely measuring old wooden windows and getting them replaced with ease. Read on for all the details of how to measure old wood windows for replacement.
Why the Right Measurement is the Key?
1. To Avoid Mistake
When it comes to replacing windows, getting the right measurements is essential for ensuring a successful installation. Incorrectly measured windows can not only be difficult to install and result in costly mistakes but also create gaps or small spaces that may allow air leakage or even water damage.
To ensure the correct window size is ordered for replacement, measuring accurately becomes especially important.
2. To Ensure a Seamless Look During Installation
Faulty measurements can also result in window frames that either stand out or are too flush with the existing wall space, which can create an unsightly look during installation. Therefore it is important to properly measure your old windows so your new ones will fit seamlessly into the existing space without any gaps.
Required Items for Measuring
Before you get started, you will need the following items to measure your old wood windows:
- Tape measure
- Pen or pencil
- Notepad/paper
- Leveler (optional)
- Calculator (optional)
How to Measure Old Wood Windows for Replacement in 10 Ways
Now that you know why it’s important to get the right measurements, let’s go over how to properly measure your old wooden windows so you can order the correct size replacements.
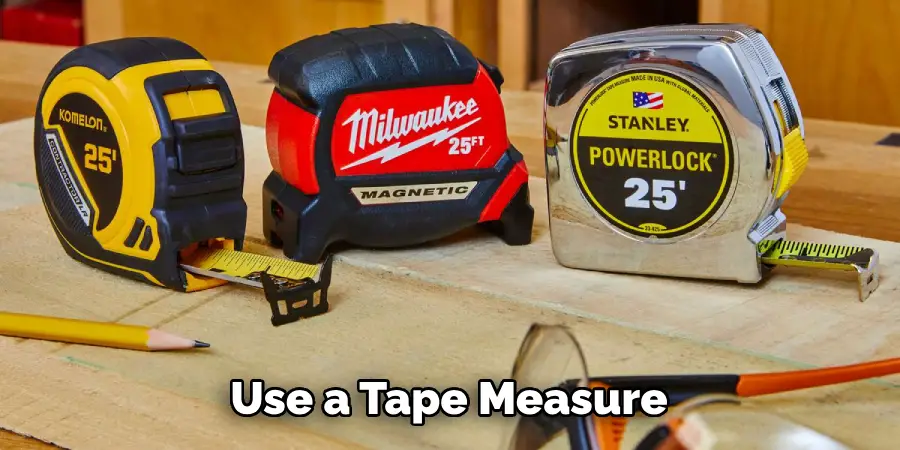
1. Determine the Width of the Window Frame
The first step is to measure the width of your existing window frame. Before measuring, make sure that all inner and outer shutters are closed and opened completely so you can get accurate measurements. Then use a tape measure or ruler and run it along the top inside edge of the window’s frame from one side to another. Make sure not to press down too hard against the wood, as this can result in inaccurate measurements.
2. Determine the Height of the Window Frame
To determine the height of the window frame, measure from the top inside edge to the bottom inside edge and record your findings. Just like with width, make sure not to press down too hard against the wood while measuring, as this can give you false readings.
3. Measure Window Frame Depth
Once you have the width and height of your window frame, it’s time to measure the depth. To do this, place the end of your tape measure or ruler against one side wall of the window frame and then extend it until it reaches the opposite wall. Record that number as well.
4. Adjust for Locks or Handles
If your window has locks or handles that protrude from the sides, you will need to adjust the width of your measurements accordingly. Simply deduct 1/8” (3.175mm) for each side per lock and handle respectively. This should be taken into account when you’re ordering new replacements.
5. Measure Window Sill Depth
The next step is to measure the depth of your window sill. To do this, place your tape measure or ruler against the front edge of the window sill and then extend it until it hits the back edge. Record that number as well.
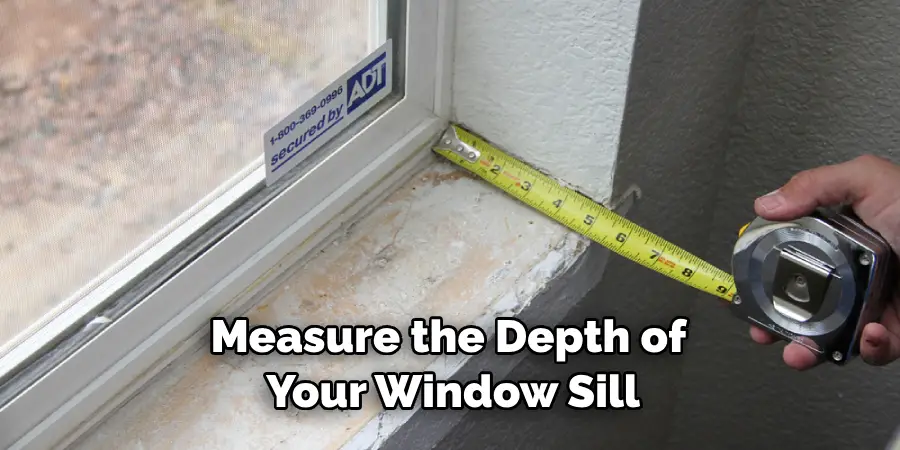
6. Double-Check Jamb Depths
Now that you have the width, height, and depth of your window frame as well as the depth of your window sill, it’s time to double-check the jamb depths. To do this, measure from the front edge of the window frame down to the top edge of your window sill. This number should equal what you previously measured for the depth of your windowsill.
7. Check for Height Variance
Another important step when measuring old wooden windows is to check for height variance, especially if your window has multiple panes of glass or if it’s arched. To do this, measure from the top inside edge of the frame to the bottom inside edge at each corner of the window and make sure each number is consistent.
8. Record Measurements
Once you’ve completed measuring your old wooden windows, take a moment to record all of your measurements on paper or in an electronic notepad. This will ensure that you have everything written down correctly and make it easy to order the correct size window replacements when the time comes.
9. Measure Twice for Accuracy
It’s also important to measure twice for accuracy. This means taking your measurements again after your initial set of measurements just to make sure everything is correct and consistent. Taking the time to double-check your numbers can save you a lot of time and money in the long run.
10. Choose the Right Replacement
Finally, make sure to choose the right replacement window styles for your home. Whether it’s double hung or casement windows, there are plenty of options available that can match your existing look while providing added energy efficiency and other benefits.
With these tips in mind, you should now have all the information you need on how to measure old wood windows for replacement. Remember to take your time, double-check your measurements, and choose the right window style for your home. With a bit of patience and attention to detail, you can rest assured that your new wooden windows will fit perfectly and look great in no time.
5 Installation Tips
Once you have the measurements of your old wood windows, it’s time to begin shopping for replacements. Here are a few helpful tips that will make the installation process easier:

- Consider different window styles. Make sure that you are choosing windows that fit the style and architecture of your home. It is an essential part of the installation process.
- Make sure that you measure your windows properly to ensure an accurate fit when installing replacement windows. Measure at least twice and double-check your measurements before ordering new windows.
- Choose energy-efficient replacement windows for better insulation and increased savings on energy bills in the long run.
- Consider the surrounding frames and trim when installing replacement windows. You may need to make additional adjustments to ensure a proper fit.
- Have a professional installer assist you with the installation of your new windows for optimal results. A professional can provide helpful advice and ensure that your windows are installed correctly.
When it comes time to replace old wood windows, the right measurements are essential. Taking precise measurements as well as considering your window style and trim are all important steps in ensuring that you get the perfect fit when it’s time to install your new windows. With these installation tips, you can make sure that the job is done correctly and efficiently!
6 Safety Measures to Take
Safety should always be your number one concern when replacing old wood windows. While the process may seem fairly straightforward, it is important to take extra precautions when handling glass panes and heavy frames. Here are six safety measures that you should take:
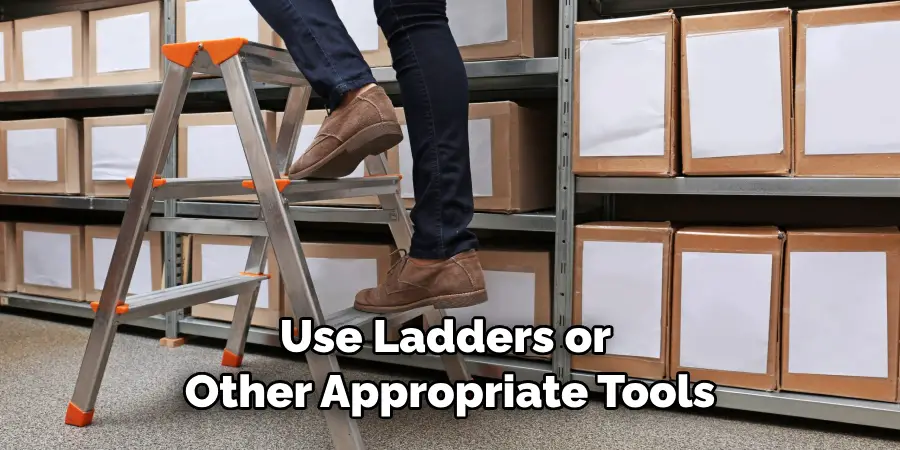
- Make sure that you use ladders or other appropriate tools for reaching high windows. Don’t rely on makeshift solutions such as chairs or stools.
- Wear protective gloves and eyewear when handling the window frames and glass panes. It will minimize your risk of cuts and scratches.
- Use caution when removing old windows to avoid any sharp or jagged edges that could cause injury.
- Be mindful of the tools you use for installation, such as hammers and screwdrivers. Keep them in good condition, and don’t try to force them if they are not fitting properly.
- Avoid doing the job alone. Ask a family member or friend to help you with the installation process, and make sure that you both use proper safety gear.
- Follow the manufacturer’s instructions for installation closely and make sure that you understand them before beginning the job.
By taking these safety measures into consideration, you can ensure that your job is completed safely and efficiently.
Replacing old wood windows is an involved task that requires attention to detail and care. Taking the right safety measures can go a long way in preventing accidents and ensuring that your new windows are installed properly!
Conclusion
Measuring old wood windows for replacement is a task that can appear intimidating, but it is simpler than most people think. Whether for economic value or the manmade beauty of wood windows, many people are choosing to replace them instead of buying new ones. We’ve outlined some important tips before getting started–measuring accurately, having the right tools available, and preparing ahead of time.
All these steps on how to measure old wood windows for replacement will minimize any errors during the process and ensure you have stress-free ordering.
With proper preparation and measuring techniques, you will be one step closer to having beautiful, functional wood windows in your home, replacing those worn frames. Don’t forget to consult a professional if you have any further inquiries before or during the installation process!

