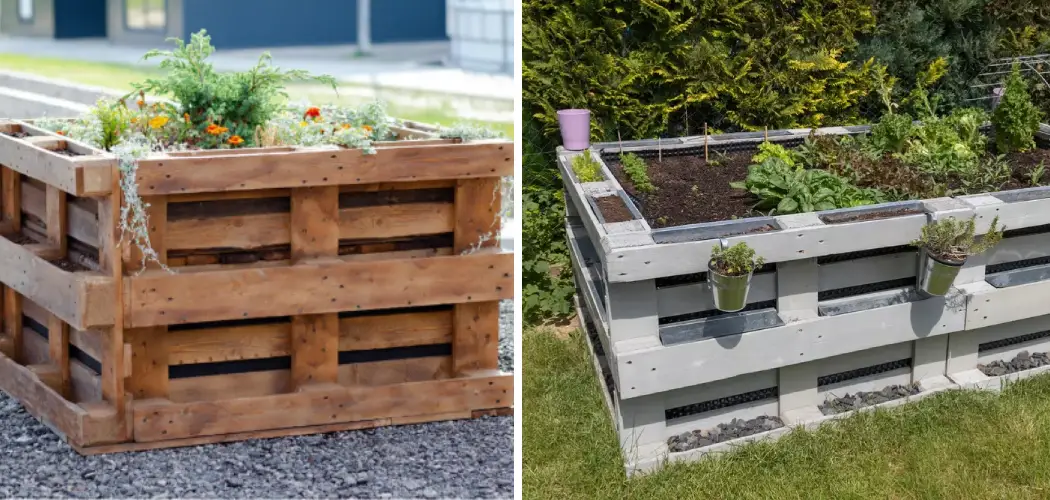
Are you looking to add some plant life to your outdoor space? Raised garden beds are a great way to bring vibrancy and character to any yard. And the best part is you don’t need much money or special tools: with just a few leftover pallets and some simple gardening materials, you can create gorgeous raised gardens in no time!
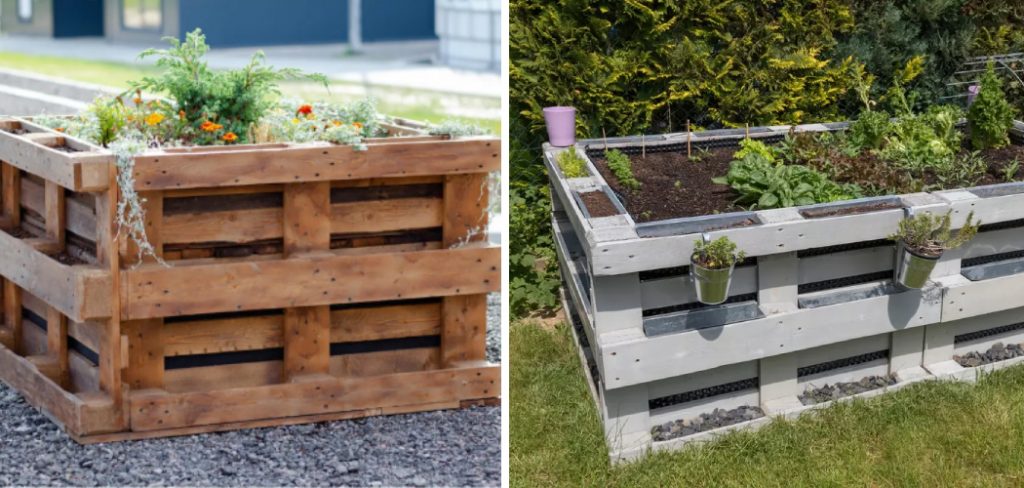
Whether you’re a novice gardener or an experienced horticulturist, this guide will cover all the basics of how to make raised garden beds out of pallets.
In this blog post, we’ll walk you through the steps needed for building your raised garden bed from scratch using reclaimed pallets – giving your outdoor area an inviting and natural atmosphere that will invite birds and other wildlife into its heart. So join us today as we learn how transform used-up wood into ambitious planters!
What are the Uses of Pallets?
As a cheap, versatile building material, pallets are used in many creative projects – from furniture to outdoor decor. But did you know you can also use them for gardening?
Building raised garden beds out of reclaimed wood is an affordable and eco-friendly way to add beauty and function to any yard or balcony. And since many pallets are made of durable hardwoods, they can last for many seasons.
Another great thing about pallets is that they are free at many local stores. All you have to do is ask if they have any old pallets they’d be willing to give away.
Overall, pallets are an excellent choice for making raised garden beds that will look great and last for years.
What Materials Do You Need?
To build a raised garden bed out of pallets, you’ll need the following materials:
- Pallets (2-4, depending on the size of your desired garden)
- Hammer and nails
- Drill (optional)
- Screws (optional)
- Landscape fabric
- Garden soil
- Plants or seeds
Once you have all the necessary materials, it’s time to start building!
10 Easy Steps on How to Make Raised Garden Beds Out of Pallets
Step 1. Choose the Right Pallets:
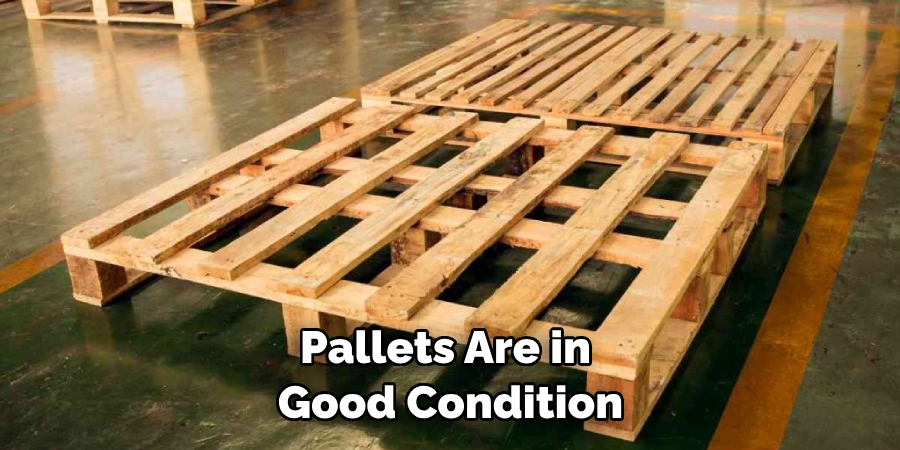
Before you start building, ensure your pallets are in good condition and free of dirt or debris. Avoid using chemically treated wood, as it can be dangerous to plants. Ask the store if you’re unsure of what type of wood your pallets are made from.
Step 2. Assemble Your Pallets:
Lay the pallets on a flat surface and move them around until you have the desired shape and size for your raised garden bed. Then use nails or screws to attach them together. You can use a hammer to drive in nails if you don’t have a drill.
Step 3. Secure the Pallets:
To ensure your pallets are securely fastened together, insert screws every 4-6 inches into the edges of each piece of wood. This will help keep them from shifting when it comes time to add soil and plants. Remember to wear safety glasses when using a drill.
Step 4. Add Landscape Fabric:
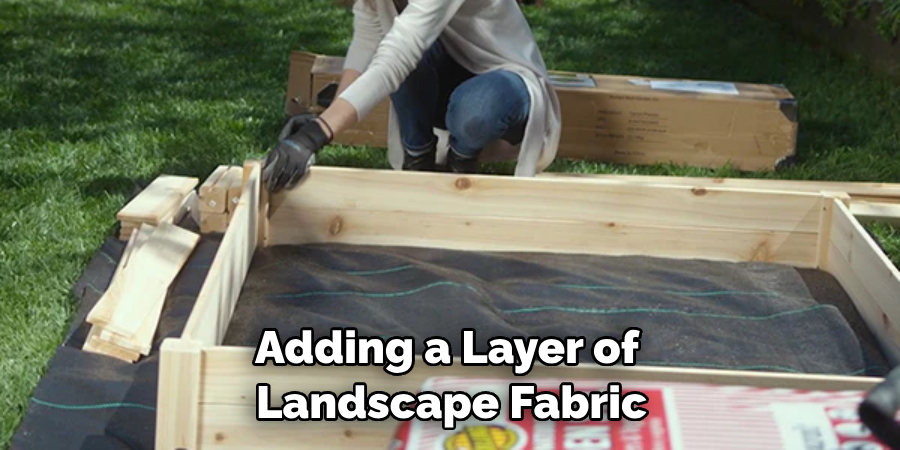
Once your pallets are assembled, you must line the bottom with landscape fabric. This will help prevent weeds from growing and keep moisture in the soil. Cut the fabric slightly larger than the garden bed, then secure it with nails or staples.
Step 5. Fill with Soil:
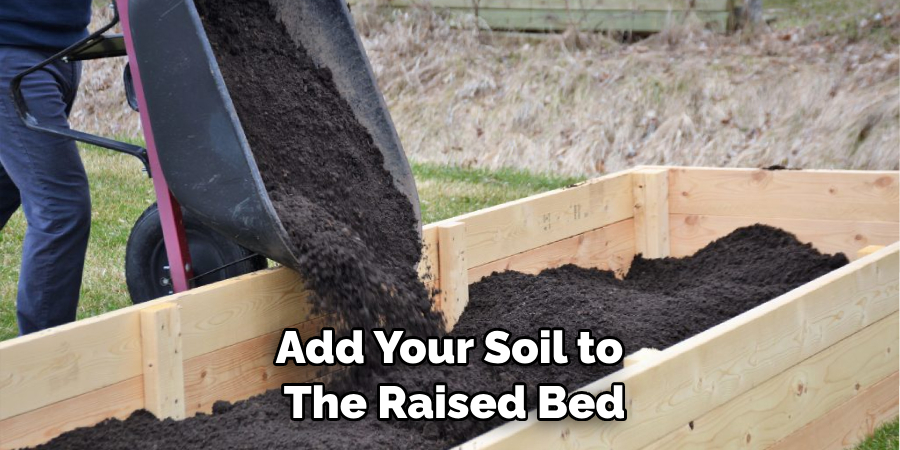
Add your soil to the raised bed and spread it out evenly. Make sure to mix in compost or fertilizer for added nutrients – this will help ensure your plants are healthy and strong! Be careful not to compact the soil too much, as this can prevent water and oxygen from reaching the roots.
Step 6. Plant Your Seeds or Plants:
Now it’s time to start planting! When adding plants to a raised bed, be sure to space them out evenly for optimal growth. If you’re using seeds, follow the package instructions for proper planting depths and spacing.
Step 7. Water Regularly:
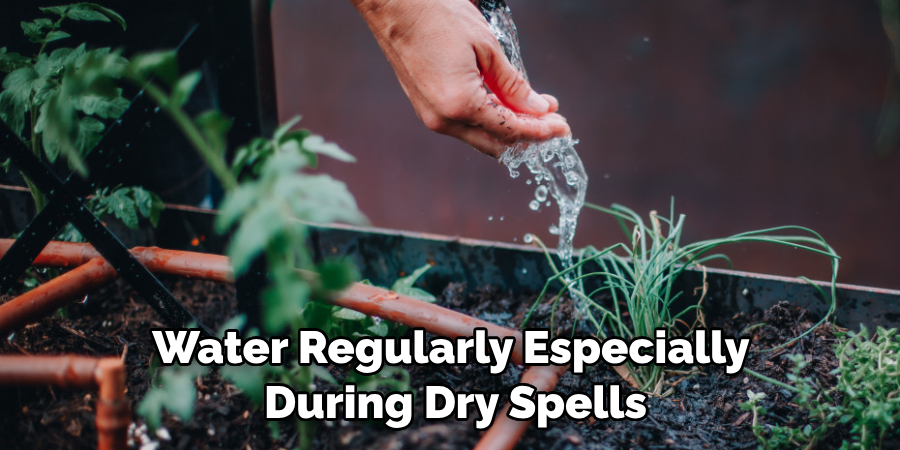
Your plants need water to thrive, so give them a regular drink – ideally in the morning before the sun is too hot. If it’s been scorched, you may need to water more often. Check the soil with your finger – if it feels dry, it’s time to water!
Step 8. Add Mulch:
Adding a layer of mulch around the plants will help keep moisture in the soil and suppress weeds. Use organic materials such as straw, bark, or wood chips for best results. Be sure to keep the mulch away from the plants’ stems, as this can cause rot.
Step 9. Prune and Trim:
Over time, your plants may need some pruning to keep them healthy and in shape. Don’t be afraid to trim away dead or dying leaves – this will help prevent the disease. You should also remove any weeds that sprout up within the bed.
Step 10. Enjoy Your Garden!
Now that your raised garden bed is all set, it’s time to sit back and admire your hard work! With some regular maintenance and watering, you can enjoy a beautiful flower or vegetable garden for years to come. Remember, gardening is a great way to make your outdoor space more inviting and can also be therapeutic and calming. So get out there and start planting!
5 Care Tips for Pallet Gardens
Pallet gardens are relatively low-maintenance, but there are still some basic care tips you should follow to ensure your plants stay healthy:
- Make sure to add a layer of landscape fabric and mulch before adding soil; this will help keep weeds at bay.
- Water regularly, especially during dry spells.
- Prune and trim away any dead or dying leaves or stems.
- Feed the soil with compost or fertilizer once every few months to nourish your plants.
- Monitor the soil’s pH levels and add sulfur or lime to adjust if needed.
By following these simple care tips, you can keep your pallet garden looking its best all season long!
5 Things You Should Avoid
- Don’t use chemically treated wood, as this can be dangerous to plants.
- Avoid compacting the soil, as this will prevent water and oxygen from reaching the roots.
- Don’t add too much mulch around the plants – keep it away from their stems to avoid rot.
- Never leave your pallet garden in direct sunlight all day – some plants may not be able to tolerate the heat.
- Avoid planting too close together, as this will prevent air circulation and cause problems with disease.
These tips are key to ensuring your pallet garden stays healthy and beautiful for years to come!
Some Frequently Asked Questions
1. Is Pallet Wood Waterproof?
Pallet wood is not waterproof, so it’s important to take steps to protect your garden bed from moisture. Adding a layer of landscape fabric and mulch will help keep the soil moist, but you may also want to seal the wood with a waterproof sealant or paint for added protection. Doing this will ensure that your raised bed stays strong and lasts many years. For best results, re-apply the sealant every year or two.
Additionally, make sure to choose a pallet with a flat top, as this will help keep water from gathering on the surface. Pallets with slats or gaps can allow water to seep in and cause damage to the wood over time. With some simple waterproofing measures, you can enjoy your raised garden bed for years to come!
2. What Are the Disadvantages of Wood Pallets?
While wood pallets are a great option for many DIY projects, they come with disadvantages. Some pallets may contain toxic chemicals or be made of treated wood, so you should always check the source before using them.
Additionally, depending on the type of wood used in construction and how long it has been exposed to the elements, some pallets may need to be stronger or more durable to hold soil and plants.
Finally, wood pallet gardens can be prone to weeds if not properly lined with landscape fabric. Small weed seeds can sprout up in the garden bed if the fabric slips or is not laid down correctly. Be sure to check for any gaps between the pallets and fill them with soil to prevent weeds from growing.
By considering these potential drawbacks, you can easily make a sturdy and attractive raised garden bed out of wood pallets!
3. Why Do Pallets Turn Black?
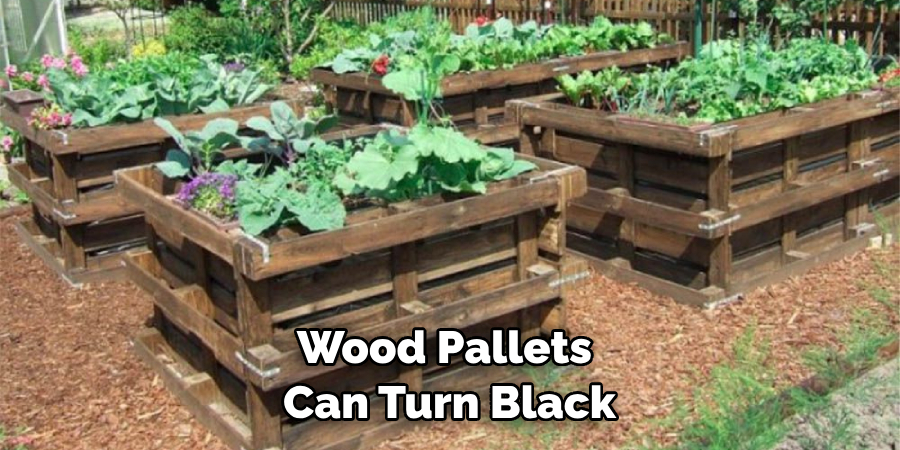
Wood pallets can turn black if exposed to moisture for an extended period. The wood fibers swell and absorb moisture, causing them to darken. To prevent this from happening, make sure to seal your pallet garden bed with a waterproof sealant or paint.
Doing this will help keep moisture out and keep your raised bed looking great for years. Additionally, if you live in an area that experiences heavy rain or snowfall, consider adding a drainage system to your garden bed to help keep water away from the wood.
Another thing to keep in mind is that pallets can also turn black if exposed to certain chemicals or insecticides. If you’re using treated wood, line it with landscape fabric and mulch before adding soil. This will help prevent harmful substances from leeching into the soil and harming your plants.
By taking these basic precautions and regularly sealing the wood, you can enjoy all the benefits of a pallet garden without worrying about it turning black!
4. Are Plastic Pallets Stronger Than Wood?
In general, plastic pallets tend to be stronger and more durable than wood ones. This is because they are made from high-quality materials engineered for long-term use. Plastic pallets are also resistant to weathering, corrosion, and most chemicals, which makes them ideal for outdoor applications such as raised garden beds.
However, one potential drawback to plastic pallets is that they are more expensive than wooden ones. Additionally, since plastic pallets are made from non-renewable resources, some people may prefer the natural look of wood for their garden bed and opt for a more sustainable option.
Ultimately, choosing wood or plastic pallets for your raised garden bed is up to you! Both materials offer unique benefits, so be sure to weigh the pros and cons before making your decision. With careful planning and maintenance, either option can provide an attractive and functional garden bed that will last for years.
By now, you should understand how to make raised garden beds out of pallets. Whether you choose wood or plastic pallets, following the tips outlined above can help ensure your garden bed looks its best and lasts for many years!
5. Are Wooden Pallets a Fire Hazard?
Wooden pallets are not generally considered a fire hazard, but taking proper safety precautions is important. For example, you should only use untreated wood pallets; any treated ones should be lined with landscape fabric before adding soil. Additionally, if you live in an area prone to wildfire or high winds, construct your raised bed using non-flammable materials such as metal or brick.
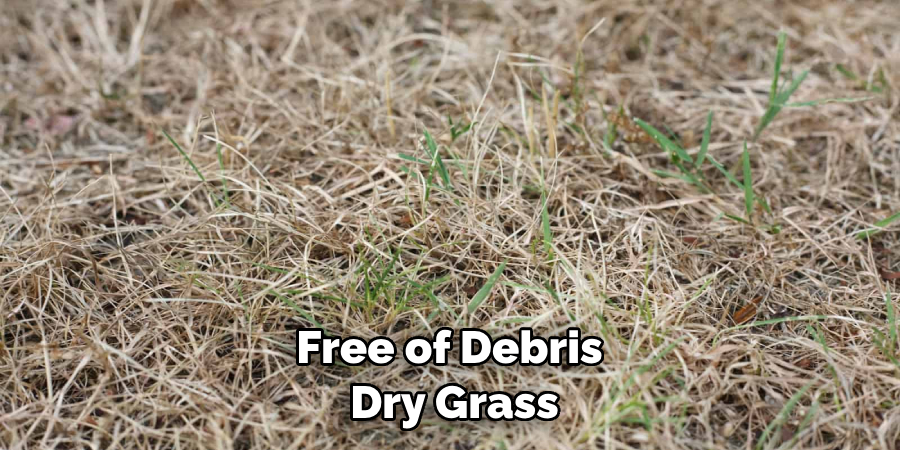
Additionally, it’s important to keep the area around your pallet garden free of debris, dry grass, and other flammable materials. In a fire, these items can easily ignite and spread flames quickly. Finally, if you have large trees near your garden bed, consider pruning them back to reduce the risk of a fire spreading from one tree to another.
By taking these safety measures, you can enjoy your pallet garden without worrying about it becoming a fire hazard!
Conclusion
Overall, how to make raised garden beds out of pallets can be a smart and cost-effective option for any aspiring gardener. Not only do recycled pallet gardens help contribute to the environment, they also are relatively easy for a beginner to start with. Plus, if you need more gardening space, adding pallets as your garden grows is possible.
Raised gardens also make it easier to get your hands on your produce; plus, plants tend to take well in the raised structure’s loose soil and plenty of sun and water.
So grab a few wooden pallets, some dirt, and maybe some all-natural soil enhancers like compost and manure; you’ll be well on your way to having an abundant raised garden bed that will not soon be forgotten. Who knows? You may inspire your friends or neighbors with your new raised garden beds made with pallets!

