Driftwood planks are a great way to add a rustic, natural look to any room. They can be used for wall cladding, flooring, and other creative purposes. Not only do they look amazing, but they are also very durable and long-lasting. Learning to make driftwood planks is a great option if you’re looking for an easy way to spruce up your interior design without breaking the bank.
The primary advantage of making driftwood planks is that they can give any room a unique, rustic look. These pieces may be used as a feature wall, to create an accent piece, or simply to fill in empty spaces. Additionally, since driftwood is often free and easy to find, creating these planks is cost-effective and sustainable. In this blog post, You will learn how to make driftwood planks in detail.
Tools You Will Need
- Hammer
- Chisel
- Saw
- Sandpaper
- Clamps
- Protective eye gear
- Drill & drill bits
- Safety gloves
- Measuring tape
- Hot glue gun (optional)
Step-by-Step Processes for How to Make Driftwood Planks
Step 1: Inspect the Driftwood
Before beginning the project, carefully inspect the driftwood for any signs of damage or rot. Remove any small pieces of wood that may have detached from the larger piece, and discard them in a safe place.
Step 2: Clean the Driftwood
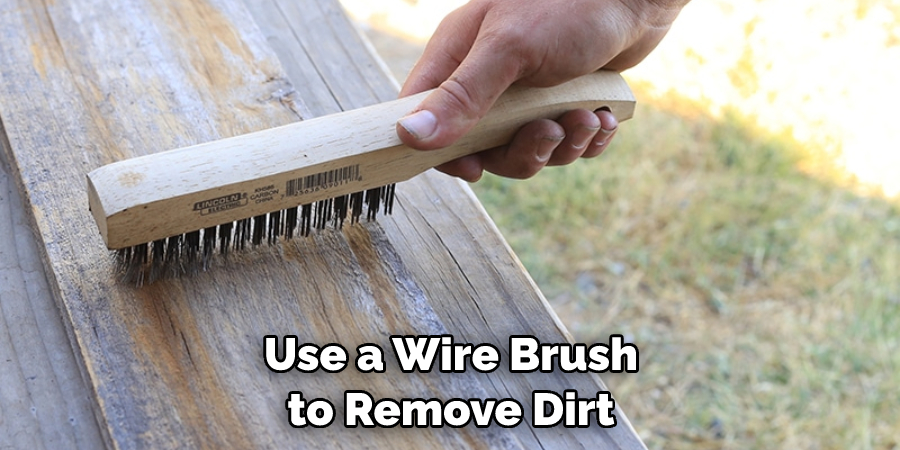
Use a wire brush to remove dirt, grime, and other debris from the surface of the driftwood. Afterward, use a wet cloth to give the wood a thorough wipe-down. Measure and mark where you want to cut your planks. Use a saw or any other cutting tool of your choice to make the cuts. Make sure that all pieces are roughly the same size and shape.
Step 3: Sand the Planks
Once all planks have been cut, use sandpaper to smooth away any rough edges or splinters from the wood. Pay special attention to corners and other points of impact where extra care should be taken to avoid creating more splinters. Apply a sealant to the plank surfaces in order to protect them from water damage and other contaminants. This will also give them a more polished look.
Step 4: Drill Holes for Attachment Points
If you plan on attaching the driftwood planks together, drill holes through both ends of each plank so that you can use screws or nails to join them together securely. Using a drill and screws, attach the planks together using the pre-drilled holes. Make sure that all pieces are securely fastened before proceeding with the next step.
Step 5: Add Any Additional Features
If desired, add additional features such as a handle, carving, or staining to the driftwood planks. This can be done with simple tools and some creativity. Once all desired features have been added, use a clear finish, such as polyurethane, to seal and protect the wood from water damage and other contaminants. Allow sufficient time for the finish to dry before using the planks.
After completing these steps, you should have a beautiful set of driftwood planks ready to be used in your next project or home decorating endeavor.
Safety Precautions for How to Make Driftwood Planks
- Since you will be working with wood, sawing, sanding, and drilling, it is important to wear protective equipment. Safety glasses protect your eyes from flying particles and tools, while gloves help you avoid splinters and blisters.
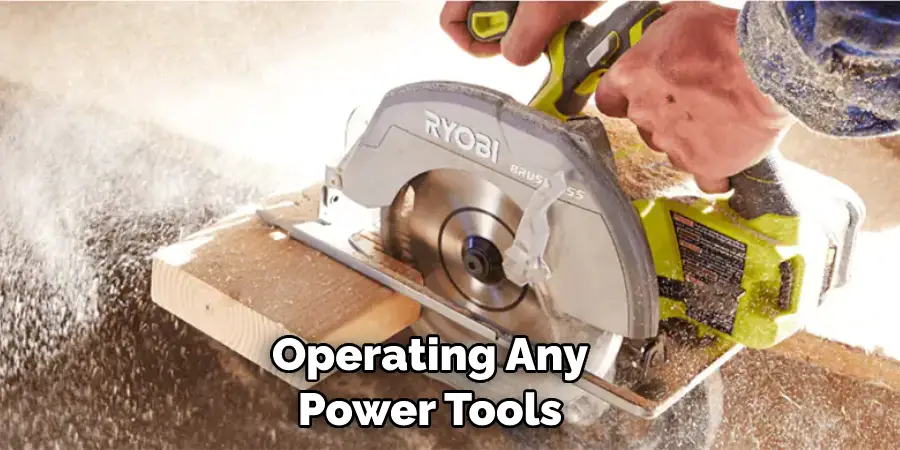
- Before operating any power tools, read the manufacturer’s instructions and warnings. Check that all guards are in place and you understand how to use the tool properly.
- When choosing your tools for making driftwood planks, ensure each one suits the task. A saw blade with too many teeth will be slow, leaving a rough finish. Conversely, too few teeth can cause over-cutting or splintering of the wood.
- To prevent fatigue and possible injuries to your muscles and joints, maintain an ergonomic work posture throughout the project. Stand with good posture, keep your shoulders back, and your body relaxed.
- Before making driftwood planks, clear the work area of any obstructions, such as other tools or debris. This will ensure that you have ample room to work safely and efficiently.
- To prevent injuries, never place your hands near the moving parts of any power tool. Keep them well away from the machine’s blade and other hazardous areas.
- Whenever you need to change a saw blade or make any adjustments to a power tool, be sure to disconnect it from its power source before beginning.
- Wearing loose-fitting, comfortable clothes is essential when making driftwood planks. Avoid wearing baggy or bulky garments that can get caught in power tools or become a fire hazard near open flames.
Following these safety precautions will help you make driftwood planks in a safe and efficient manner.
Are There Any Special Considerations When Cutting Curved or Angled Pieces of Driftwood?
When cutting curved or angled pieces of driftwood, using a saw with a narrow blade is important. This will make it easier to cut around tight angles and curves. Using a jigsaw when making these cuts is also advisable since they are more accurate than hand saws. A scroll saw may be the best option if the desired shape requires very intricate or precise cuts.
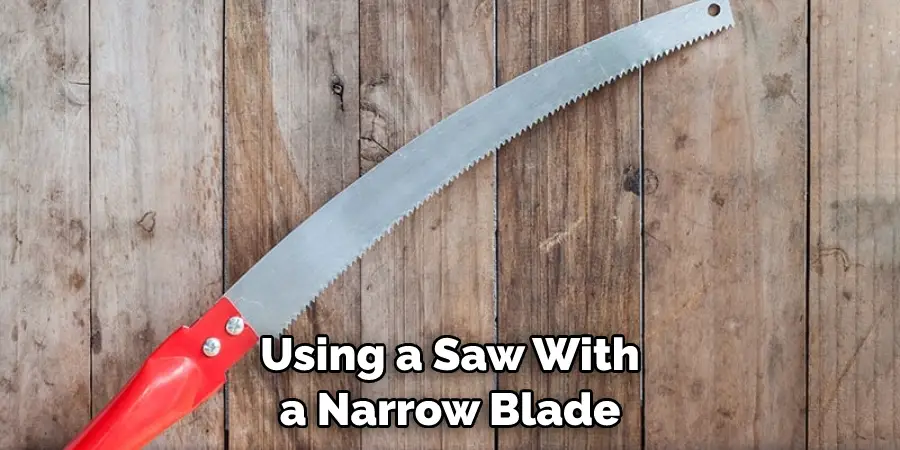
Before making cuts, it is important to ensure that the driftwood is firmly secured and won’t move while cutting. This will help to prevent any accidents or injuries. Additionally, using some sort of stabilizing aid, such as clamps, can be beneficial. It is best to make the cuts from the underside of the wood when possible to minimize any splintering. Safety should always be a top priority when cutting driftwood planks for projects. Always wear protective gear such as gloves and eye protection, and take extra care when making arched or curved pieces.
Are There Any Special Considerations When Sanding or Sealing Driftwood Planks?
When sanding driftwood planks, there are a few special considerations to keep in mind. First, using a finer grain of sandpaper when sanding driftwood is important to avoid damaging the wood fibers. You should also be mindful of the potential for splintering and chipping, as driftwood can be relatively brittle due to the effects of weather and saltwater.
When applying a sealant or varnish, choose one that is designed specifically for outdoor use. This will help protect the driftwood planks from exposure to moisture, sunlight, and other elements.
Additionally, it is important to apply several thin coats of sealer rather than one thick coat, as this will help ensure that the wood is fully protected. Finally, make sure to sand between coats of sealer for the best protection and lasting results. Following these steps when sanding and sealing your driftwood planks will help them last for years to come.
How Can You Make Sure Your Driftwood Planks Last for a Long Time?
Once you have made your driftwood planks, there are a few steps that you can take to ensure that they last for a long time and remain in good condition. To begin with, you should use a sealant on the planks. This will help protect them from water damage or other elements that could cause them to rot or become discolored over time. There are a variety of sealants available, so make sure to choose one that is specifically designed for use on wood.

You should also avoid using harsh chemicals or cleaners on the driftwood planks as this could cause them to become damaged. Instead, wipe them down regularly with a mild soap and water solution. In addition, you should keep the driftwood planks out of direct sunlight as much as possible. This will help to prevent them from becoming dry or cracked over time. You should also make sure that they are stored in a cool and dry place to avoid any moisture damage.
Are There Any Special Techniques When Installing Driftwood Planks?
Yes – there are some special techniques that you should use when installing driftwood planks. First and foremost, it is important to ensure the surface you place the planks is clean and dry. Any dirt or debris can cause issues with the adhesion of the plank to its surface. After identifying a suitable location for your driftwood planks, you should use a level to make sure the surface is even before beginning installation.
Once the area has been prepped, it’s time to begin installing your driftwood planks. If you have multiple pieces of wood, be sure to stagger them so that the joints are not directly next to each other.
This will create a more natural look. Make sure to leave enough gaps between the driftwood planks so that they can expand and contract naturally. Finally, using a quality adhesive when attaching the driftwood planks is important. Depending on the type of wood you are using, you may need to consider different types of adhesives. This is especially important if you are installing driftwood planks outdoors.
How Much Will It Cost If You Hire Any Professional?
If you choose to hire a professional to help create your driftwood planks, the cost of the project will vary based on the size and complexity of your project. Generally, professionals charge by the hour or by a flat rate for larger projects. Make sure to get multiple quotes from different professionals so you can compare prices before making a decision.
Additionally, if you can source the driftwood yourself, this can help to reduce the overall cost. Depending on the type of wood and its condition, costs can range from a few dollars per plank to hundreds. Ultimately, ensuring you are getting quality workmanship and materials at a reasonable price is important.
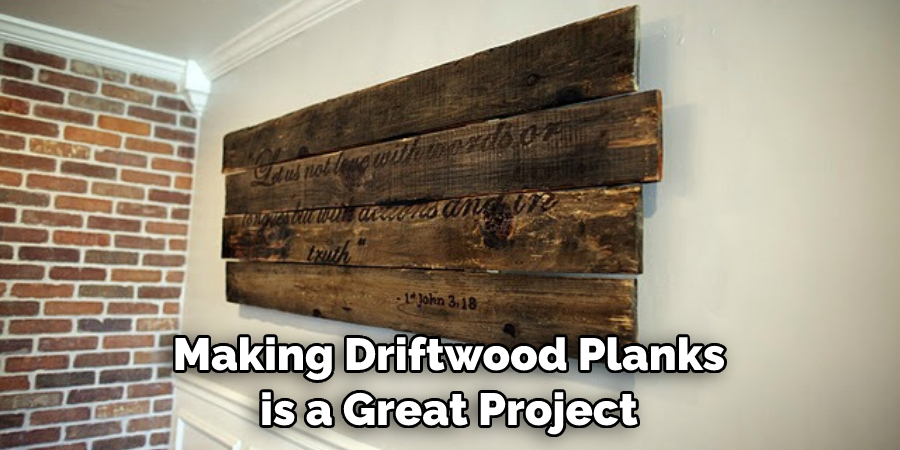
No matter which option you choose, making driftwood planks is a great project that can help bring character and warmth to any space. With a little patience and creativity, it’s possible to create unique pieces of art that will last for years. Whether you choose to do the job yourself or hire a professional, taking on this project can be a rewarding experience.
Conclusion
One of the main disadvantages of making driftwood planks is the time and effort that it takes to complete. It can take up to several days or even weeks, depending on how big the pieces are and how much work needs to be done. Additionally, some tools may be needed to shape and size the wood properly. These could include saws, sanders, drills, chisels, or other woodworking tools.
In conclusion, making driftwood planks is a great and creative way to add unique character to your home or garden. With some simple tools, acquired driftwood, and basic knowledge of carpentry, anyone can make their own customized wooden planking for a variety of outdoor applications. I hope this article has been beneficial for learning how to make driftwood planks. Make Sure the precautionary measures are followed chronologically.

