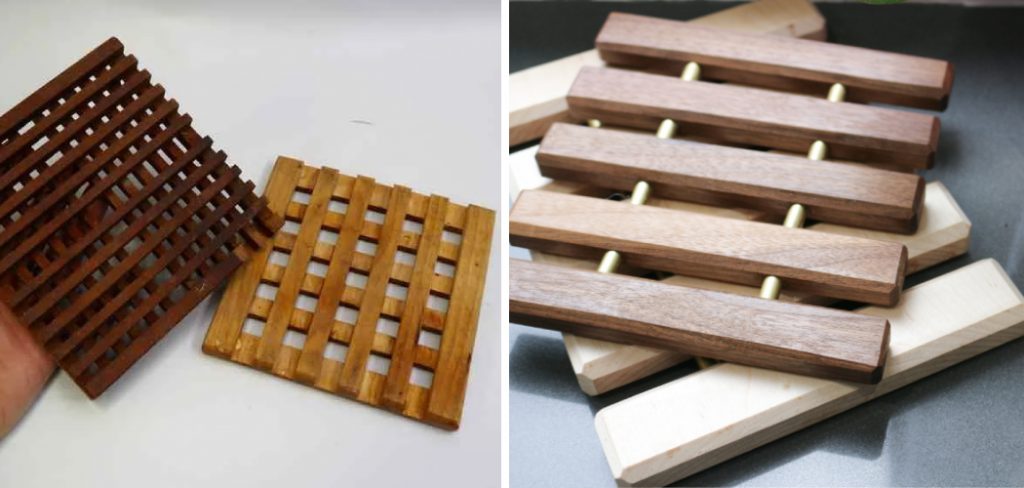
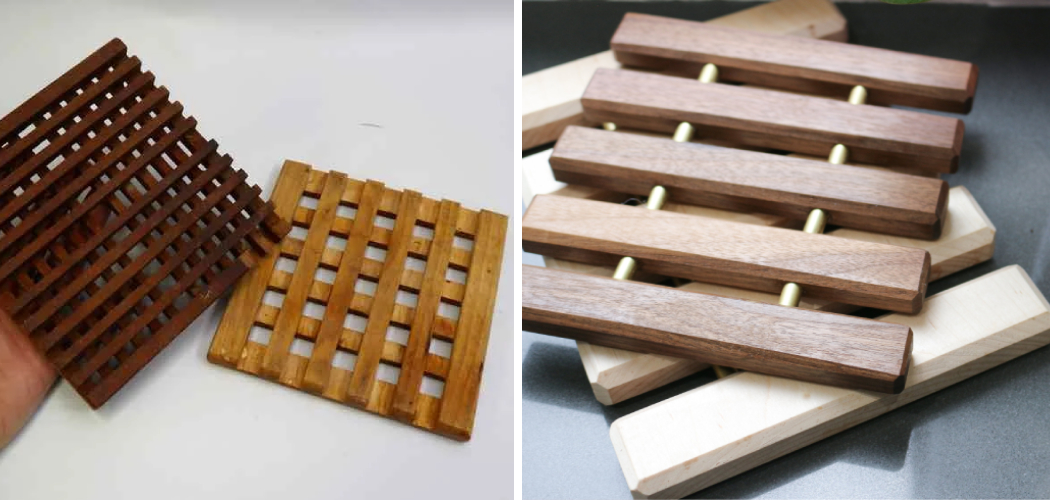
Are you looking for a way to make your own kitchen accessory? Are you wanting something stylish and effective, but don’t know where to start? Well, we have the solution for you – making a wooden trivet!

A trivet is an essential part of any kitchen space and can be used as both a decorative element while also protecting surfaces from heat. With this blog post guide, we will provide an overview of how to make a wooden trivet in no time at all.
Woodworking is one of the oldest and most rewarding crafts that you can undertake. Whether it’s making something useful or simply a work of art, seeing the end result of your labor is worth every minute invested in the project.
Crafting a wooden trivet is an excellent way to get started with woodworking as it requires minimal tools and materials but still allows for creativity along the way. With some patience and careful planning, anyone can make their own wooden trivet – read on to learn just how easy this timeless piece can be!
Why May You Want to Make a Wooden Trivet?
1. To Protect Your Kitchen Surfaces From Heat
A wooden trivet can be a great way to prevent a hot pot or plate from damaging your countertops. The wood will absorb the heat and keep it away from the surface you’re protecting. Also you have to ensure that the trivet isn’t too thin to effectively protect against the heat.
2. To Add a Rustic Look to Your Kitchen
Trivets made of wood are perfect for adding a rustic look to any kitchen. The natural wood grain can bring an element of nature into your space and provide visual interest. Plus, you can choose different types of wood to customize the look of your trivet.
3. To Create a Unique Gift for Someone Special
Making your own wooden trivet is a great way to give someone special a thoughtful and unique gift. You can personalize it with their name, initials, or favorite phrase engraved into the wood. You can also use different wood types and shapes to make each trivet unique.

4. To Show Off Your Woodworking Skills
Making your own wooden trivet is a great way to show off your woodworking skills. By customizing the shape and size of the trivet, you can create something truly unique that is sure to impress friends and family alike. Plus, with some practice, you’ll be able to make a trivet in no time!
Now that you know some of the reasons why you may want to make a wooden trivet, let’s take a look at how you can get started.
How to Make a Wooden Trivet in 6 Easy Steps
Step 1: Gather All The Tools
The very first step is to collect all of the tools you will need to make a wooden trivet. You will need a miter saw, drill, clamps, wood glue, sandpaper, and screws. So make sure you have everything before you start.
Step 2: Measure And Cut Your Wood
Next, measure and cut your wood pieces. You will need two pieces of the same size for the base and four legs that can vary in length. You can use a miter saw to make precise cuts on all five boards. Also, be sure to sand the edges and corners smooth for a better finish.
Step 3: Drill The Holes
Now you will need to drill four holes on each end of your baseboard so that the legs will fit in securely when it is time to assemble. Be sure to measure carefully so that the holes line up perfectly with the legs.
Step 4: Glue The Pieces Together
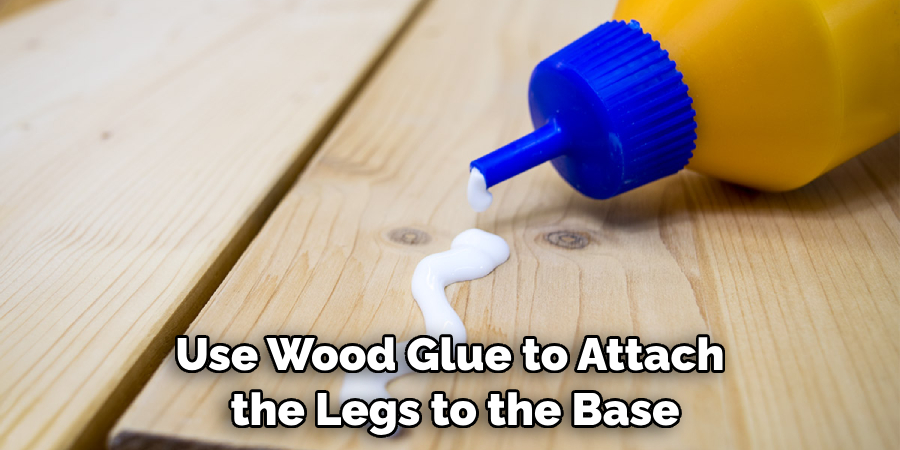
Next, use wood glue to attach the legs to the base. Make sure each piece is firmly in place and clamp it with clamps so that it can dry properly. Once the glue is dry, you can sand down any excess glue.

Step 5: Attach The Legs With Screws
Once the glue has dried completely, you can attach the legs to the base with screws. Make sure that the screws are secure and will not come loose over time.
Step 6: Sand And Finish
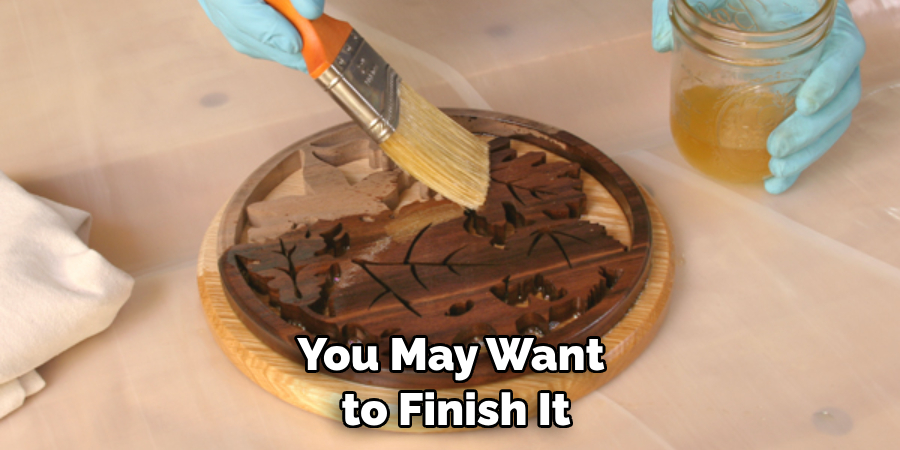
Once all of the steps have been completed, you can give your trivet a final sanding to make it smooth and even before applying a finish. You can choose from a variety of stains and finishes to make your trivet unique and attractive.
And there you have it – a beautiful, handmade wooden trivet with your own two hands! With just a few simple steps and materials, you can create a piece of decor that will last for years to come.
Some Extra Tips to Make a Wooden Trivet
1. Avoid Using Hardwoods
This is very important, as hardwoods are much harder to shape and sand. If you want to make a trivet with intricate details, then soft woods such as pine or poplar are your best bet.
2. Opt for Reclaimed Wood
When making a wooden trivet, it’s always a good idea to use reclaimed wood. Not only is this environmentally friendly, but it also means that you can customize the look of your trivet with different types of wood, such as oak or walnut.

3. Add a Clear Coat
Once the trivet is assembled and sanded, it’s important to add a clear coat to protect the wood from moisture and wear. Choose a polyurethane or varnish for best results.
4. Attach Non-Slip Pads
To ensure that your wooden trivet is as safe and secure as possible, be sure to attach non-slip pads or other materials to the bottom of it. This will help keep it in place when placed on a flat surface, preventing any slipping or sliding accidents.
With these tips in mind, making a wooden trivet is easy and fun. When done right, your homemade creation will be as stylish and durable as any store-bought one! Good luck!
Frequently Asked Questions
What Precautions Should I Take When Making a Wooden Trivet?
It is important to use caution when working with tools and materials associated with making wood projects. Wear protective eyewear, gloves, and a dust mask whenever possible. Be sure to also wear closed-toe shoes for protection from any flying debris. Also, make sure you are using well-maintained saw blades and other tools to reduce the risk of an accident.
What Kinds of Woods Are Suitable For Making a Wooden Trivet?
Wooden trivets can be made from a variety of different hardwoods, including maple, cherry, walnut, and oak. Softwood such as pine or cedar is not recommended because these materials are more prone to warping and splintering.
How Do I Finish the Wooden Trivet?
Once your trivet is assembled, you may want to finish it for added durability and attractiveness. Wood stains, sealers, varnishes, polyurethanes, or lacquers are all suitable finishes for a wooden trivet. Make sure to read any instructions on the finish product to ensure proper application. Additionally, make sure to sand the wood before applying any finish in order to achieve a smoother, more even finish.

When Is A Wooden Trivet Ready To Be Used?
A wooden trivet is generally ready to be used after it has been stained, sealed, and varnished. However, you may want to wait a few days to ensure that any finish has been given time to cure properly before placing hot items on the trivet.
Are There Any Care Instructions For a Wooden Trivet?
Caring for your wooden trivet is relatively easy; simply wipe it down with a damp cloth regularly and apply furniture oil as needed. Over time, you may need to sand the surface of the trivet in order to keep it looking its best. Additionally, make sure to store wooden items away from direct sunlight and moisture in order to preserve them for the longest possible time.
Do I Need Any Special Tools To Make A Wooden Trivet?
Making a wooden trivet requires basic woodworking tools such as a saw, drill, sander, and clamps. If you are just starting out in woodworking, a beginner-level toolset should be sufficient for making a simple trivet. Additionally, consider investing in a few specialty tools such as a jigsaw or router to make more complex designs.
What Are The Benefits Of Making A Wooden Trivet?
Making wooden trivets can be an enjoyable and rewarding experience. Working with wood can be both calming and therapeutic, while also providing a great way to express your creativity. Additionally, making your own trivet allows you to create something unique that is tailored for your specific needs and preferences.
Overall, making a wooden trivet is an excellent way to add an attractive accent to any kitchen or dining room. With the right tools and materials, you can easily create a beautiful trivet that will last for many years.
Conclusion
Congratulations on completing your wooden trivet project! Making things with wood can be extremely satisfying, and now you have a beautiful piece of decorative home ware to show off in your kitchen or dining room. Whether you plan on using it for cooked dishes, as a counter protection tool or just as an interesting conversation piece when hosting guests, it will serve you well.
Now you know how to make a wooden trivet! Of course, if you need any further advice or guidance moving forward don’t hesitate to get back in touch. Don’t forget that there are plenty of other options out there too, such as materials like bamboo or even glass. With these pointers and your craftsmanship skills, the possibilities are endless! So why not take some time out and let your creative juices flow? Who knows what amazing new discoveries you might make?

