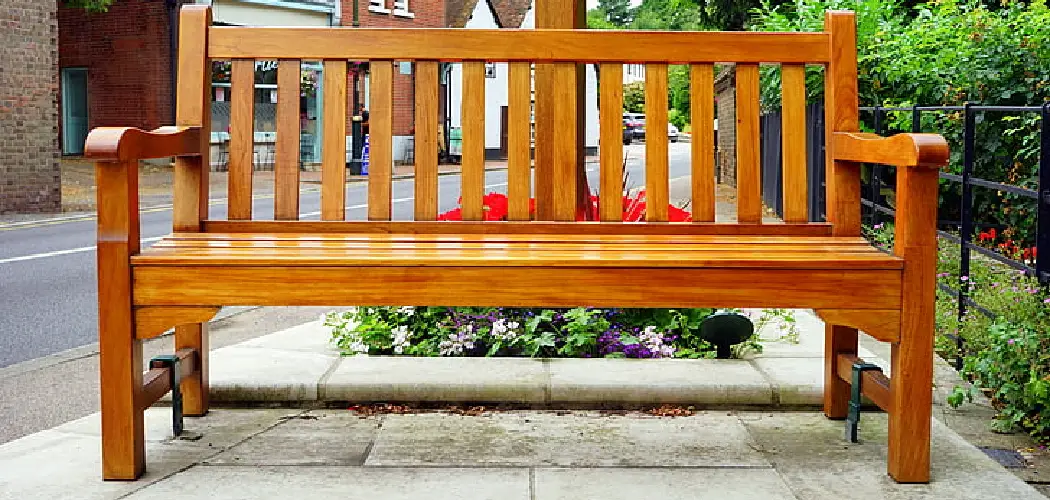
Do you love working with wood and creating your own furniture pieces? If so, then this tutorial guide is for you! In this post, we’ll take a look at how to create an attractive yet sturdy wooden bench with a back using just some basic power tools.
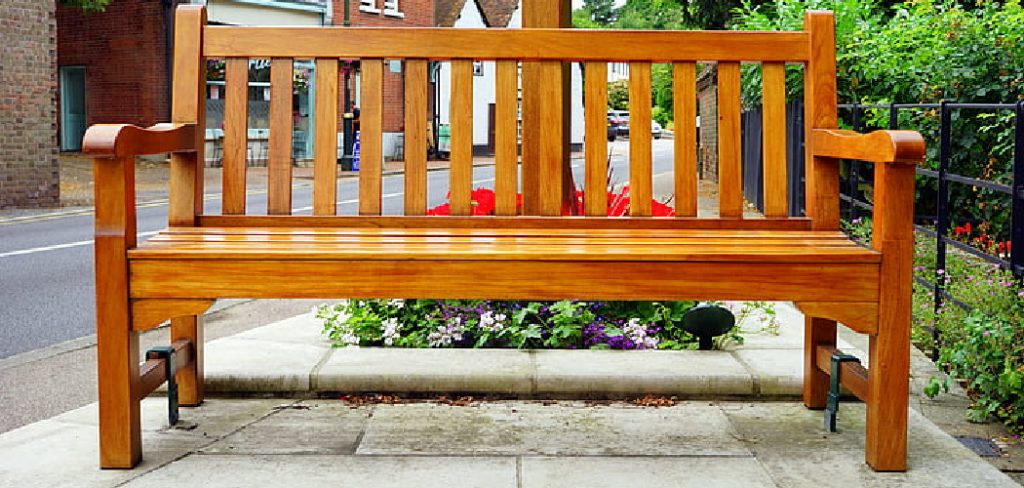
This project is suitable for all skill levels but it’s especially great for beginners as it teaches different techniques such as sanding and joining boards while also introducing concepts like designating the right type of wood appropriate materials. We can even provide advice on staining or painting your finished product.
With our step-by-step guide on how to make a wooden bench with back, building a sturdy wood bench with back will be breeze.
Covering everything from gathering materials and cutting out shapes through finishing touches, we’ll ensure that your creations stand the test of time – no more sagging benches after just one summer season. So grab those tools and let’s get started on building an amazing piece of outdoor furniture together!
Why May You Want to Make a Wooden Bench With Back?
1 . To Create a Functional Seating Area
A wooden bench with back provides additional support and comfort when seating outdoors. The back of the bench will help keep you from feeling too stiff while enjoying your outdoor space, especially if you plan to sit for a long time. Additionally, it can also add an extra element of style and sophistication to any outdoor area or decorative patio furniture set.
2 . To Enhance Your Home’s Exterior Design
A wooden bench with back can be a great way to add additional seating and style to your outdoor space without taking up too much room. In addition, the natural beauty of the wood grain and texture will help enhance the overall look of your home’s exterior design.
3 . To Create a Cozy, Inviting Environment
By adding a wooden bench with back to your outdoor area, you can create a cozy and inviting environment for any visitors or family members. It’s the perfect way to add comfort and warmth to an outdoor gathering space while still maintaining the rustic charm of wood furniture.
4 . To Create a Focal Point in Your Outdoor Space
A wooden bench with back is an eye-catching addition to any outdoor space, and it can easily serve as the focal point of your porch or patio. The natural beauty of the wood grain combined with the inviting comfort provided by the backrest will make your outdoor area look more polished and inviting.
5 . To Add Additional Seating for Guests
Having a wooden bench with back in your outdoor area is the perfect way to provide additional seating without having to buy extra chairs. This type of bench can easily accommodate up to 4 people, making it an ideal choice when entertaining guests or hosting dinner parties.
6 . To Improve Your Quality of Life Outdoors
Having a wooden bench with back in your outdoor area will help improve the quality of life for you and your family. From providing additional seating to improving the overall look of your home’s exterior, this type of furniture can be an invaluable asset when it comes to enjoying outdoor spaces.
How to Make a Wooden Bench With Back in 7 Easy Steps
Step 1: Gather All The Tools
The very first step is to make sure you have all the necessary tools for the job. Most importantly, you’ll need a saw of some kind, either a circular saw or jigsaw. Additionally, an electric drill with various bits and countersink bits will be needed. You’ll also need clamps to secure the boards together while drilling, sandpaper to smooth out any rough edges, wood glue and wood screws.
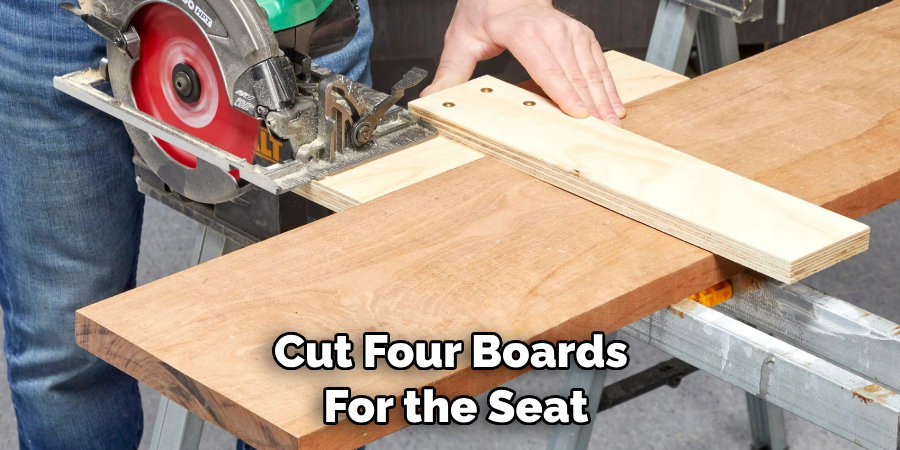
Step 2: Cut the Boards to Size
Using your saw of choice, cut four boards for the seat and four boards for the backrest of your bench. Make sure each board is cut straight and at an even length so they fit together properly later on. The two end pieces should be longer than the two inner pieces, depending on your desired measurements.
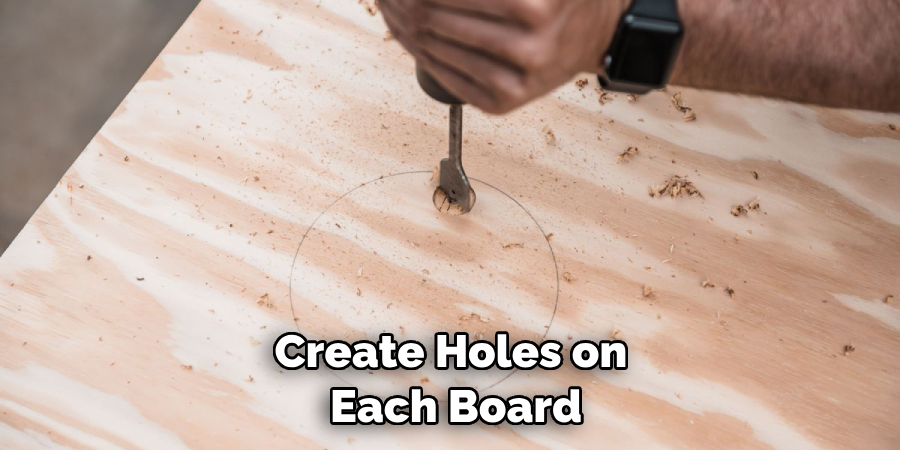
Step 3: Drill the Holes
Using a drill and countersink bit, create holes on each board in order to screw them together later on. Make sure to measure out the holes evenly so that when they are screwed together, everything is even and secure.
Step 4: Assemble the Bench Seat
Start by laying out the seat boards on a flat surface and ensuring they fit together properly. Once everything is lined up, start to secure each board with wood screws. Make sure to use enough screws along the length of the boards in order to ensure that everything is sturdy and secure.
Step 5: Assemble the Backrest
Using your drill and screwdriver, assemble the four backrest boards in the same manner as you did for the seat. Make sure to drill all of your holes first before screwing them together.
Step 6: Connect Seat and Backrest
Now that you have both sections assembled, connect them by screwing them together at either end of each section. Make sure this is secure so that when you lift the backrest, it doesn’t come apart.
Step 7: Finish It Off
Once everything is secured together, use sandpaper to smooth out any rough edges and make sure every surface is even. To finish off your bench, apply a coat of varnish or stain for a beautiful look.
Now that your bench is complete, you can enjoy the comfort and convenience of having a sturdy place to sit. With this guide, you have now learned how to make a wooden bench with back!
Some Extra Tips to Make a Wooden Bench With Back
1 . Do Not Forget Sand
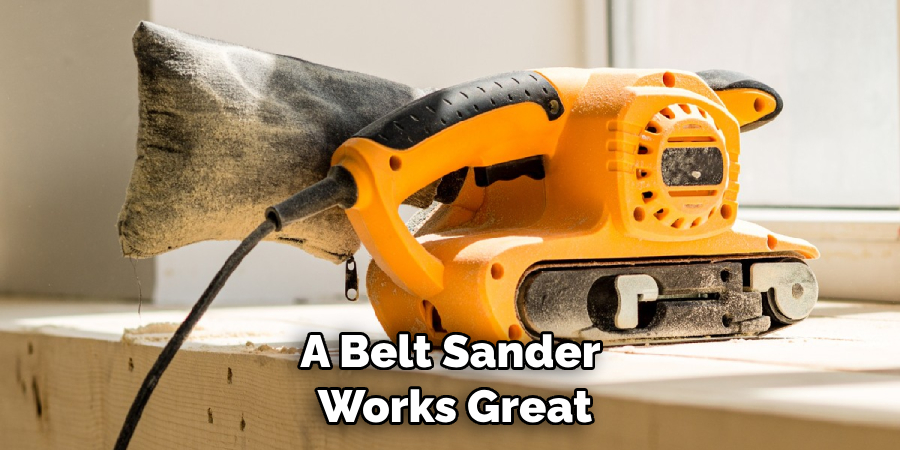
Sanding the wood will keep it from splintering, make it smoother and help create a finished look. It also prepares the wood for staining or varnishing if desired. A belt sander works great on large, flat areas like the seat of a wooden bench while an orbital sander is more effective for curved edges and irregular shapes.
2 . Use Clamps to Secure Joints
Clamping the joints of a wooden bench will help ensure that they are properly aligned and prevent them from coming apart during assembly. Make sure to use clamps with adequate strength to secure the pieces together tightly.
3 . Pre-drill Pilot Holes
When attaching screws to the bench, pre-drilling pilot holes will make it easier and also prevent the wood from splitting. Be sure to use an appropriate size drill bit for screws that are being used. This will reduce any potential problems or complications during assembly.
4 . Add Stops to Bench Legs
Adding stops to the legs of a wooden bench will help ensure that it rests evenly and does not wobble or move around. This is especially important if the bench is going to be used for outdoor activities such as gardening or entertaining guests. Stops can be made out of wood, metal or plastic and should be secured with screws or bolts.
5 . Add Finishing Touches
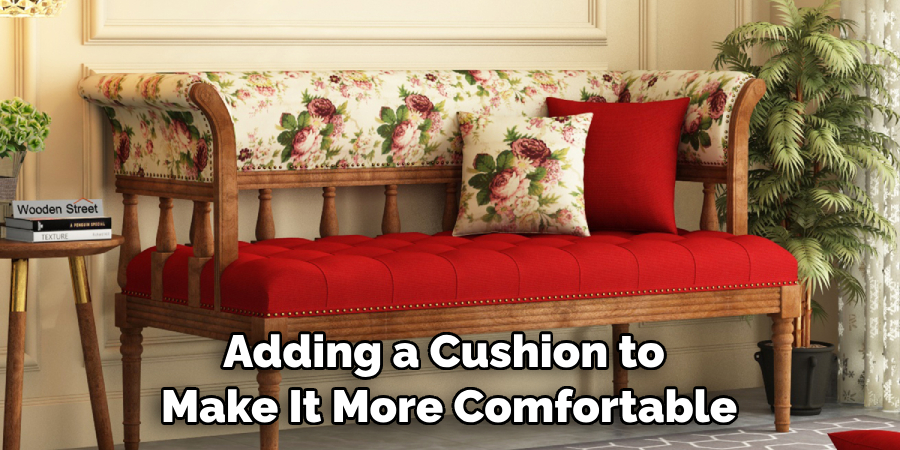
Once the wooden bench is assembled, finishing touches can be added to add a unique touch or personalize it in some way. Consider attaching decorative metal hooks for hanging items on the back of the bench or adding a cushion to make it more comfortable and inviting. With proper preparation and care, a beautiful wooden bench with back can be the centerpiece of a backyard or patio area.
6 . Regularly Maintain the Bench
Regular maintenance is important to keep wooden benches looking their best and functioning properly. Periodically inspect and tighten any screws, bolts or nails that may have come loose over time. If necessary, sand any rough edges and apply an appropriate outdoor wood finish for protection against the elements. With a little bit of effort, your wooden bench with back will look great and last for years to come!
Frequently Asked Questions
What Precautions Should I Take Before Building the Wooden Bench?
Before you start building your wooden bench with back, it is important to take some safety precautions. Make sure you wear protective gear such as goggles and gloves when handling the materials and tools.
Also, read all instructions carefully before starting the project, and check for any potential hazards in working with power tools. Finally, make sure the area where you will be working is well-ventilated and free from any flammable materials that could catch fire.
What Tools Are Needed for Making a Wooden Bench With Back?
For this project, you will need some basic woodworking tools, such as a saw, drill, clamps, and sanding blocks. You will also need a jigsaw for cutting curves, and an electric sander for sanding the curves. Additionally, you may want to use a router or chisel to shape and sculpt the wood.
What Are Some Tips for Making a Wooden Bench With Back?
When making your wooden bench with back, it is important to measure twice and cut once. Before beginning the project, make sure to check your measurements and angles several times to ensure accuracy. Additionally, use quality materials that are able to withstand weathering and wear-and-tear. Finally, sand the wood thoroughly with an electric sander for a smooth finish.
Conclusion
Constructing a wooden bench with a back is a great way to spruce up your outdoor space. With the right tools, you can successfully make one that is both functional and aesthetically pleasing.
It may take time, but once it’s finished, you’ll be proud of your accomplishment. Not only can a wooden bench with a back look better than just a plain bench, but it also provides more support and can even be used to side conversations around.
Now you know how to make a wooden bench with back! With some patience and dedication, you’re sure to build something lasting that will last for ages. Whether you want to show your work off or simply admire it in private; there is no doubt that making this piece of furniture will be an immensely satisfying task. So why not grab those tools and put your skills to the test?

