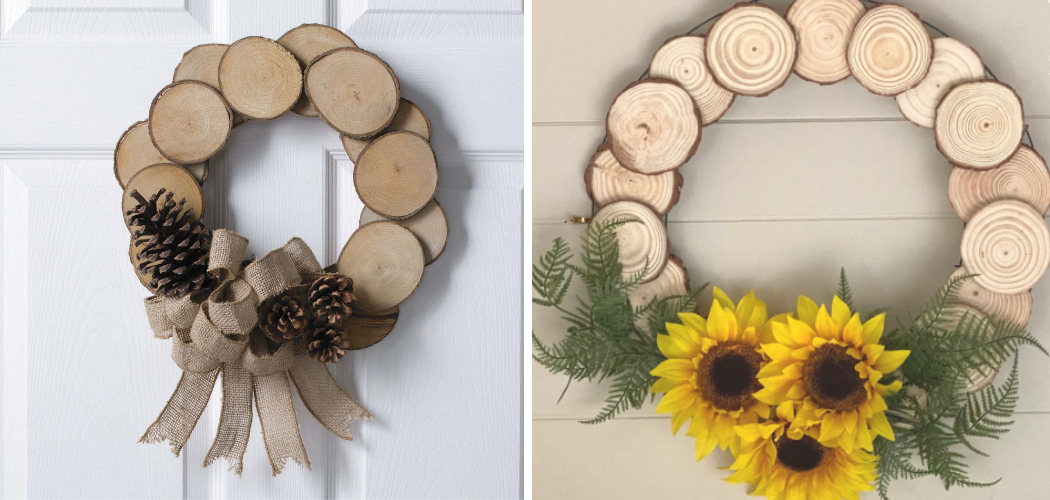
Wood wreaths offer any home or outdoor space a unique and rustic look. They can add an inviting charm to any area and are easy to make. With a few simple materials and some basic tools, you can easily create your own wood wreath that is sure to impress your guests.
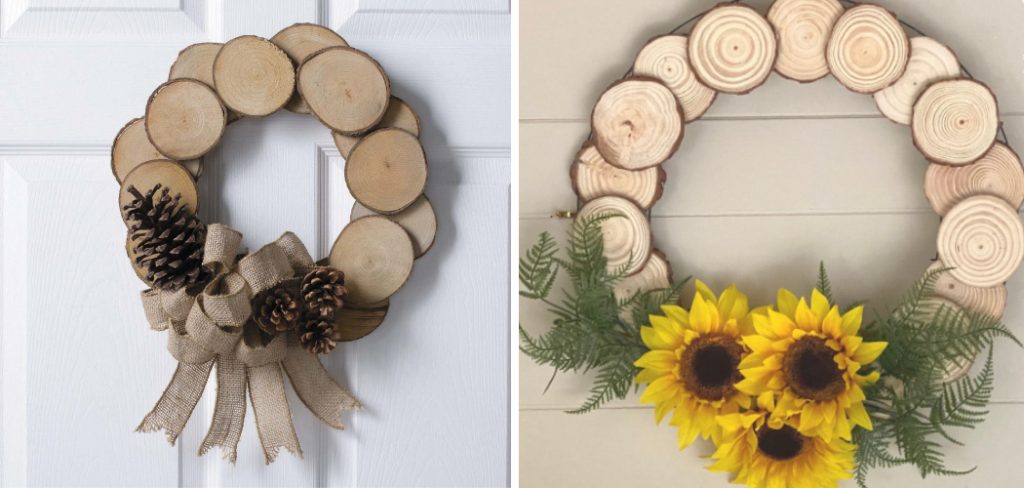
Wood wreaths provide the perfect combination of rustic charm and timeless elegance. Their natural aesthetic makes them ideal for indoor and outdoor decorating, allowing you to bring a touch of nature into your home or garden. Wood wreaths are also incredibly durable, so they can withstand even the toughest weather conditions and last for years to come. In this blog post, You will learn how to make a wood wreath in detail.
Importance of How to Make a Wood Wreath
- Wood wreaths are a unique and classic way to decorate your home or office. They can be customized with various colors, textures, and materials, making them truly unique.
- Wood wreaths are easy to craft and relatively inexpensive compared to buying pre-made versions from a store.
- Crafting your wood wreath allows you to express your creative side and make something special.
- Wood wreaths are eye-catching, making them a great focal point in any room or space.
- Wood wreaths can be customized with various accessories such as ribbons, burlap, lace, flowers, and more.
- Wood wreaths are a great way to express your personal style, turning any room into an artful display.
- Crafting your own wood wreath is a wonderful way to spend quality time with family and friends, as everyone can work together to create something beautiful.
- Creating your own wood wreath is a cost-effective and eco-friendly way to spruce up your home or office. You can also reuse the wood scraps you have lying around, making it an even more economical choice.
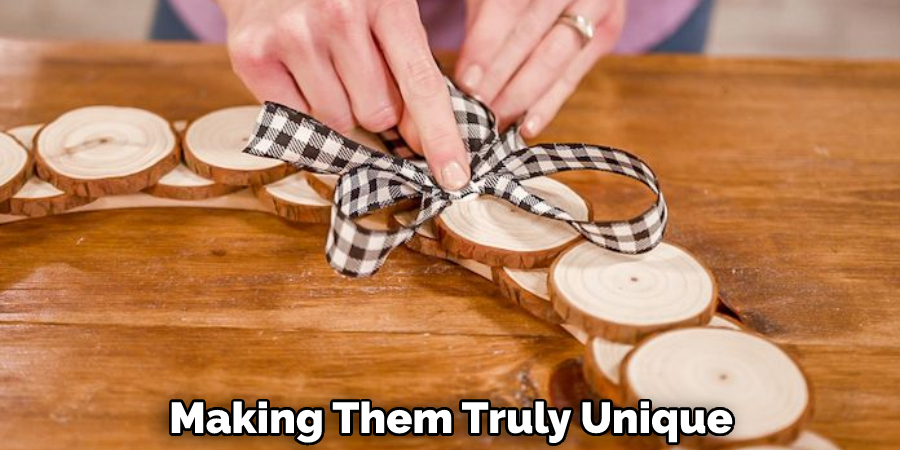
Creating your own wood wreath is not only a fun and creative experience but also a great way to add unique style and personality to any space. Creating your own wood wreath can be easy and rewarding with the right materials and tools.
Materials You Will Need
- Plywood
- Jigsaw
- Drill
- Sandpaper
- Stain and paint for decorative finishing
- Spray Adhesive or Wood Glue
- Nails or Screws
- Stencils (optional)
- Ribbon or Twine
- Wreath Hanger (optional)
Step-by-Step Processes for How to Make a Wood Wreath
Step 1: Inspect the Respective Wood Plank
Before starting with the wreath making, inspect the respective wood plank before purchasing it from the store. The plank should not have warped edges, splintering, and other major defects.
Step 2: Cut and Sand the Wood Plank
After inspecting the wood plank for any defects, use a power saw to cut it into thin strips of equal sizes. Make sure to sand the edges for a smooth finish and prevent splintering. Measure the middle portion of the wood plank and mark it with a pencil or marker. Doing so will help in positioning the individual strips accurately in their place while making the wreath.
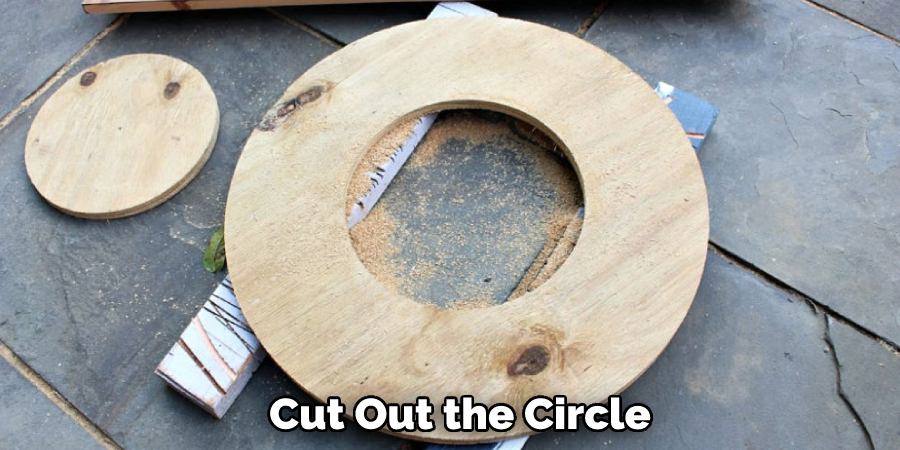
Step 3: Create a Template and Cut Out the First Circle
Use a cardboard template to create the first circle. Place it in the middle of the wood plank and trace out its outline using a pencil. Carefully use a saw or jigsaw to cut out the circle. Transfer the first circle to another part of the wood plank and trace out its outline on the second one. Carefully cut it out with a saw or jigsaw.
Step 4: Pre-Drill Holes for Screw Attachment
Pre-drill holes at equal intervals around both circles using a power drill. This will be used for attaching screws while assembling the wreath. Apply a layer of paint or stain onto both wooden circles to give them an improved look.
Step 5: Attach the Wooden Circles Together
Place both wooden circles together and attach them with a few screws. Make sure to use the pre-drilled holes while attaching. Start attaching individual strips of wood onto the wreath frame in an orderly manner. Use a glue gun or screws to secure them in place.
Step 6: Finish and Hang
Once all the strips are in place, give a final finish to the wreath by sanding down any rough edges. By following these simple steps, you can make a beautiful wood wreath that is sure to add a touch of rustic charm to any home decor.
Safety Precautions for How to Make a Wood Wreath
- Make sure that you have adequate safety gear, including safety glasses and gloves, when handling power tools and wood materials.
- Wear a dust mask to protect yourself from sawdust or other toxins in the air during the sanding process.
- Keep your hands away from any moving parts of the power tools to avoid potential injury.
- Ensure the wood you choose is not treated with chemicals to avoid any associated health risks.
- To prevent electric shock, do not touch any exposed or hot wires when dealing with electrical tools.
- Keep your workspace well-ventilated, and do not use power tools in an enclosed area without proper ventilation.
- Avoid wearing any loose clothing or jewelry while using power tools to prevent them from getting caught in the machinery.
- Unplug all power tools when not in use to avoid potential hazards.
Following these safety precautions ensures that your wood wreath project is completed safely and successfully.
How Long Does It Take to Build a Wooden Wreath?
Making a wooden wreath can be a time-consuming task, depending on the complexity of the design and the size of the wreath. Generally speaking, allowing at least one hour for basic wreaths and up to three hours or more for larger or more intricate designs are recommended. The time necessary will also depend on your skill level and the tools you have available.
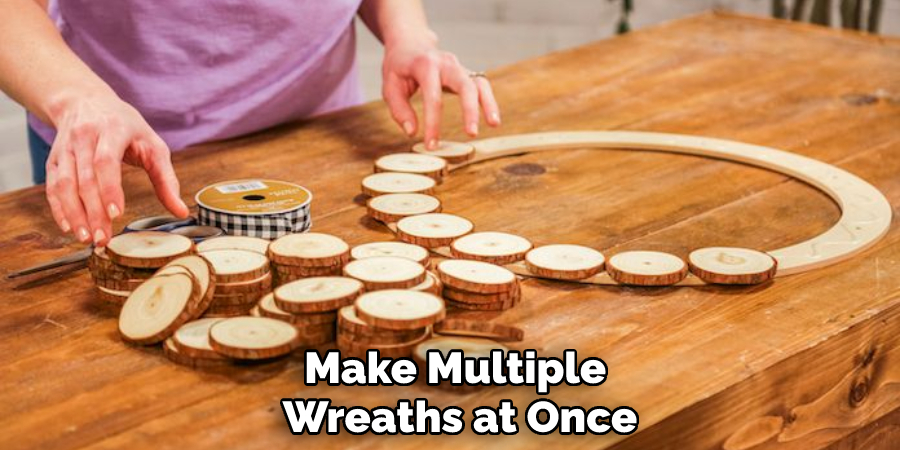
Additionally, if you use an intricate design or need to make multiple wreaths at once, it is best to allow yourself extra time to ensure that the finished product looks great. Finally, be sure to add extra time to your estimate if you plan on adding any additional decorations or embellishments to the wreath. With proper planning, making a wooden wreath can be an enjoyable and rewarding experience.
How Do You Store a Wooden Wreath for Future Use?
Once you have made your wooden wreath, storing it properly for future use is important. To do this, you’ll want to keep the wreath away from moisture and direct sunlight. You can store the wooden wreath in a cool, dry closet or other enclosed space.
If you plan on painting or staining the wreath, you may want to store it in a space that is not too cold or hot. If the wreath is exposed to weather conditions, make sure you treat it with a polyurethane sealant and apply two coats of paint or stain.
This will protect the wood from moisture and keep your wooden wreath looking beautiful for years to come. When you are ready to hang your wreath, be sure to hang it with sturdy screws that won’t damage the wood. Additionally, if you plan to display the wooden wreath outside, use weather-resistant screws and hooks.
By taking proper care of your wooden wreath, you can enjoy its beauty for many years to come. With a little bit of effort and care, your wooden wreath will look new even after several years of use.
Are There Any Special Considerations When Making a Larger Size Wreath?
When making a larger size wreath, there are a few considerations to keep in mind:
- You will need more wood for the frame of the wreath. Make sure to use pieces with similar thickness and density so they’re easy to connect into one uniform circle. To ensure evenness, you can trace the arc of a circle onto your wood pieces and cut along that line.
- You will also need larger fasteners to connect the frame together, such as bolts or nails. Make sure that the fasteners are strong enough to hold the wreath shape in place for years.
- The weight of the wreath should also be taken into consideration. For example, if you want to hang the wreath or add heavy decorations, make sure that the frame is able to support it. Additionally, if you plan on using a metal hanger for hanging the wreath, consider upgrading to one with more weight capacity than usual.
By taking these special considerations into account, you’ll be able to make the perfect wood wreath that is both aesthetically pleasing and structurally sound.

Conclusion
The main disadvantage of making a wood wreath is the amount of labor involved. It can be quite time-consuming to cut the wood into thin slices, sand it down and paint it. Combining all of this to create a beautiful wreath requires patience and skill. Additionally, it can be difficult to cut the wood into the desired size and shape if you do not have the right tools, such as a saw or drill.
In conclusion, making a wood wreath is a great way to add a unique, handmade touch to your home. With patience and craftsmanship, you can make an attractive wooden decoration that will last years. You can use different materials — such as reclaimed wood or vinyl — to create various looks while adding personal touches with paint or embellishments.
If you’re up for a fun DIY project, making a wood wreath is great. I hope reading this post has helped you learn how to make a wood wreath. Make sure the safety precautions are carried out in the order listed.

