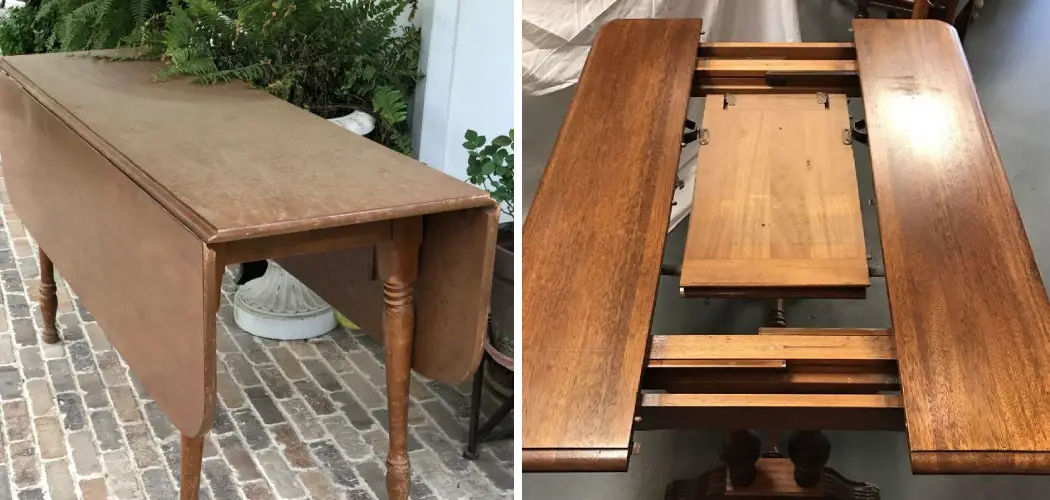
If you often find yourself hosting large gatherings or events at your home, then having a table with a removable leaf is essential. Table leaves are additional sections that can be added to extend the length of a table when needed. This allows for more guests to comfortably dine together or for larger items to be placed on the table.
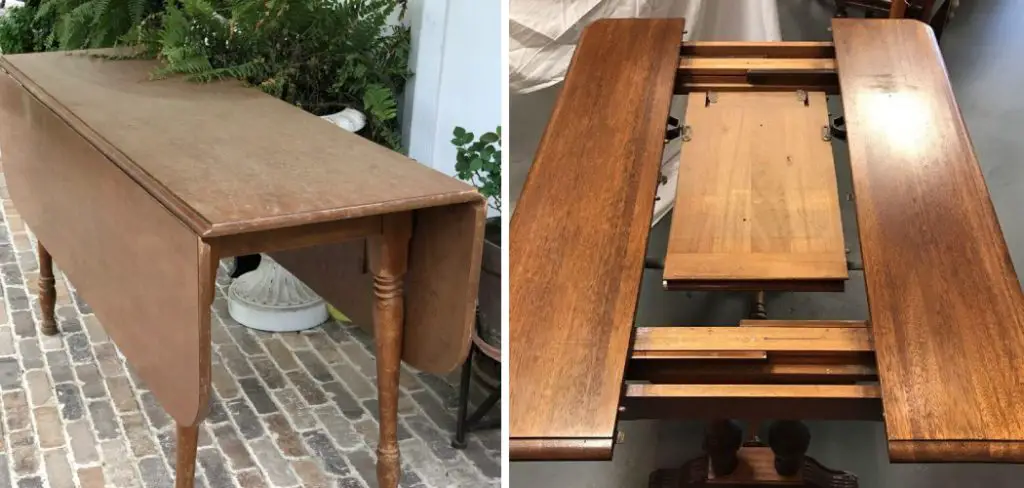
A table leaf is a detachable piece of wood that can be added to the surface of a table to extend its length. It can be incredibly useful when hosting large dinner parties or family gatherings, as it allows you to accommodate more guests at the dining table. In this blog post, You will learn in detail how to make a table leaf.
Materials You Will Need
- Tabletop
- Wood Glue
- Pocket Hole Jig
- Kreg jig is an example of a pocket hole jig.
- 2×4 lumber (for frame)
- Screws
- Clamps (optional)
- Sandpaper (optional)
- Paint or stain (optional)
- Table Leaf Hardware
Step-by-step Instructions for How to Make a Table Leaf
Step 1: Inspect and Prepare the Tabletop
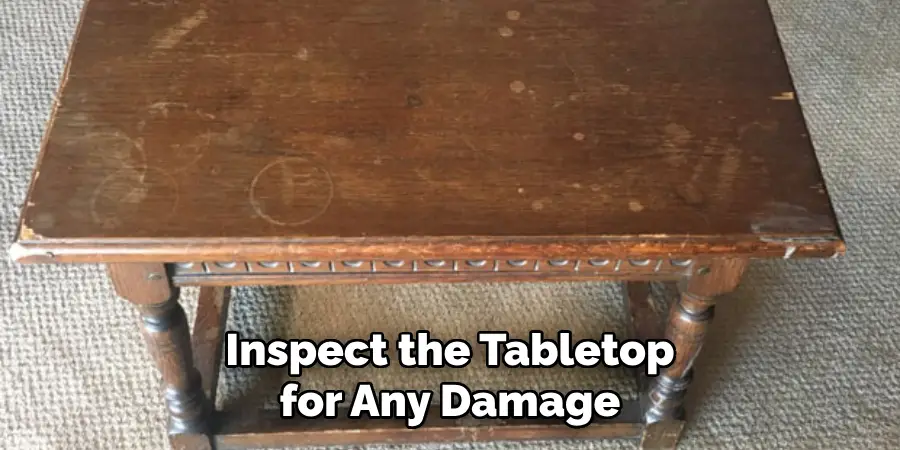
Carefully inspect the tabletop for any damage or defects. Use a sandpaper to smooth out any rough edges or blemishes. If desired, you can also paint or stain the tabletop now before adding the leaf.
Step 2: Measure and Cut Table Leaf Hardware
Using a measuring tape, measure and mark the dimensions of your desired table leaf on the underside of the tabletop. Next, use a jigsaw to cut out the leaf shape. Using wood glue, attach the table leaf hardware onto the underside of the tabletop at each corner. Allow it to dry according to the manufacturer’s instructions.
Step 3: Measure and Cut Frame Pieces
Using a measuring tape, measure and mark four pieces of 2×4 lumber to create the frame for the table leaf. Cut them to size using a saw. Using a pocket hole jig, drill pocket holes into each end of the four frame pieces.
Step 4: Assemble the Frame
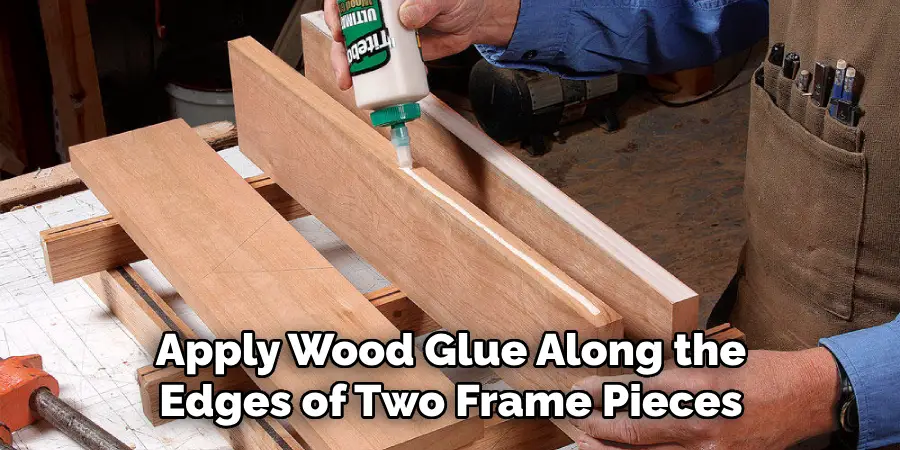
Apply wood glue along the edges of two frame pieces and clamp them together. Use screws to secure the pieces in place. Repeat this step for the remaining two frame pieces. Place the frame on top of the underside of the tabletop, lining up the corners with the table leaf hardware. Use screws to attach the frame to the tabletop.
Step 5: Test Fit and Adjust as Needed
Carefully flip over your table and test fit the leaf. If it doesn’t fit properly, adjust the frame or hardware as needed. If desired, sand down any rough edges or blemishes on the frame. You can also paint or stain the frame to match your tabletop.
Step 6: Add Table Leaf Hardware
Attach the corresponding table leaf hardware onto the underside of the leaf. Carefully align the table leaf with the frame and use screws to secure it in place. Now you can easily expand your table for larger gatherings or tuck it away when not needed.
Tips for How to Make a Table Leaf
- Wear protective gear such as gloves, eye protection and a mask while working with wood.
- Use only sharp tools to avoid accidents due to blunt force.
- Work in a well-ventilated area to prevent the buildup of toxic dust and fumes.
- Keep your work area clean and free from any clutter that could cause accidents or hinder your work process.
- Follow instructions carefully and do not take shortcuts, as they could compromise the structural integrity of your table leaf.
- Always double-check measurements and make sure to use accurate tools for precise cuts.
- If using power tools, always unplug them when not in use to avoid accidental activation.
How Do You Properly Care for and Maintain Your Newly Made Table Leaf?
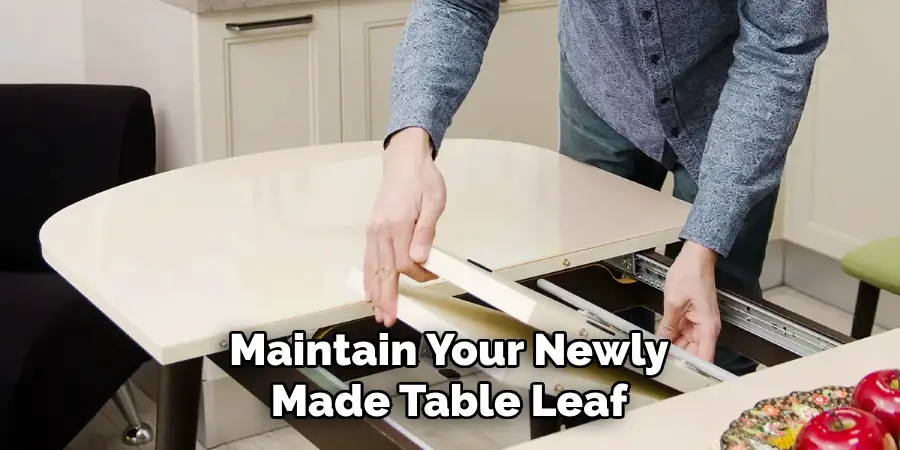
Having a well-made table leaf can be a great addition to your home. Not only does it provide extra space when needed, but it also adds charm and versatility to your dining area. However, it is important to properly care for and maintain your newly made table leaf in order to ensure its longevity and keep it looking its best. Here are some tips on how you can properly care for and maintain your newly made table leaf:
1. Keep it Clean
Just like any other piece of furniture, regular cleaning is necessary to keep your table leaf in good condition. Dust and dirt can easily accumulate on the surface, so wiping it down with a soft cloth or lightly dampened with water is recommended. Avoid using harsh chemicals or abrasive materials as they may damage the finish of your table leaf.
2. Protect it from Heat and Moisture
Heat and moisture can cause damage to your table leaf, so it is important to protect it from these elements. Avoid placing hot dishes directly on the surface and use coasters or placemats to prevent water marks. If you spill any liquid on the surface, make sure to wipe it up immediately to avoid any potential damage.
3. Store it Properly
When not in use, it is important to store your table leaf properly. Make sure to keep it in a dry and cool area, away from direct sunlight or extreme temperatures. This will prevent warping or cracking of the wood.
4. Refinish as Needed
Over time, the finish on your table leaf may start to wear off or become damaged. In this case, it is important to refinish it to restore its beauty and protect it from further damage. You can do this yourself with the help of a refinishing kit or hire a professional for a more thorough job.
5. Consider Adding Protective Pads
If you frequently use your table leaf, consider adding protective pads to the bottom of the leaf where it rests on the table. This will not only protect your table from scratches, but it will also prevent any movement or shifting of the leaf.
By following these tips, you can properly care for and maintain your newly made table leaf and ensure that it remains a beautiful and functional addition to your home for years to come. With a little bit of attention and care, your table leaf will continue to serve its purpose and enhance the overall look of your dining area.
What Are Some Common Mistakes to Avoid When Making a Table Leaf?
When it comes to making a table leaf, there are some common mistakes that people tend to make. These mistakes can not only lead to an unsatisfactory end result, but also cause frustration and wasted time during the process. In this section, we will discuss some of these common mistakes and how you can avoid them.
1. Incorrect Measurements
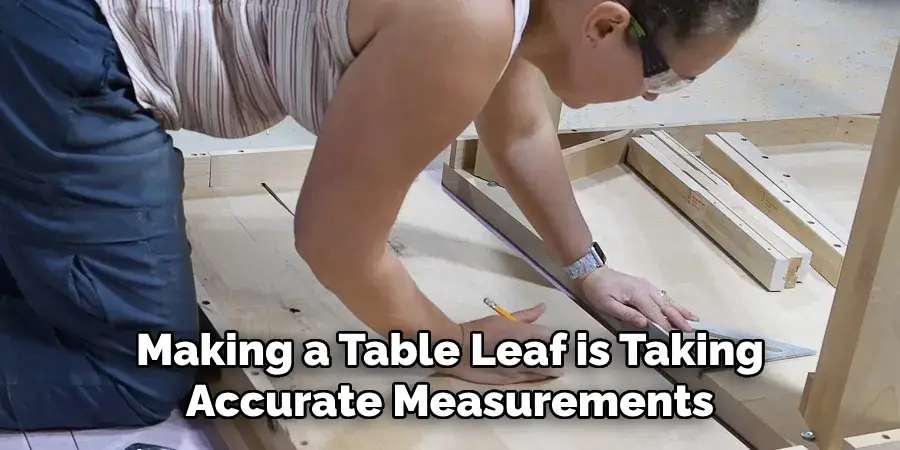
One of the most important steps in making a table leaf is taking accurate measurements. However, this is also where many people tend to make mistakes. If you do not measure correctly, your table leaf may end up being too short or too long and not fit properly with the rest of the table. Always double check your measurements before cutting any materials.
2. Not Using the Right Tools or Materials
Another mistake that people make is not using the right tools or materials for making a table leaf. This can lead to a poor quality end result and also potentially damage your existing table. Make sure you have the appropriate tools such as a saw, measuring tape, and sandpaper. Also, use high-quality wood or other materials that are suitable for making furniture.
3. Not Following Instructions or a Proper Plan
Making a table leaf may seem like a simple task, but it is important to follow instructions or have a proper plan in place. This will ensure that all the necessary steps are taken and the end result is satisfactory. Skipping steps or improvising can lead to mistakes and ultimately, an unsatisfactory table leaf.
4. Not allowing enough time for the project
Making a table leaf may not be a quick and easy task, especially if you are new to woodworking. It requires time and patience in order to achieve the desired end result. Rushing through the process or not allowing enough time can lead to mistakes that could have been avoided.
5. Not seeking help or advice when needed
Lastly, one of the biggest mistakes people make when making a table leaf is not seeking help or advice when needed. If you are unsure about something or need guidance, do not hesitate to ask for help from someone more experienced. This can save you time and prevent any potential mistakes.
By avoiding these common mistakes, you can ensure a successful and satisfying experience in making a table leaf. Remember to take accurate measurements, use the right tools and materials, follow instructions or have a plan in place, allow enough time for the project, and seek help when needed.
What Types of Wood Are Best for Making a Table Leaf?
The type of wood you use for making a table leaf can greatly affect the overall quality and appearance of your table. Here are some common types of wood that are suitable for making furniture:
- Oak: A sturdy and durable hardwood with beautiful grain patterns, oak is a popular choice for table leaves. It can be stained or painted to match the rest of the table.
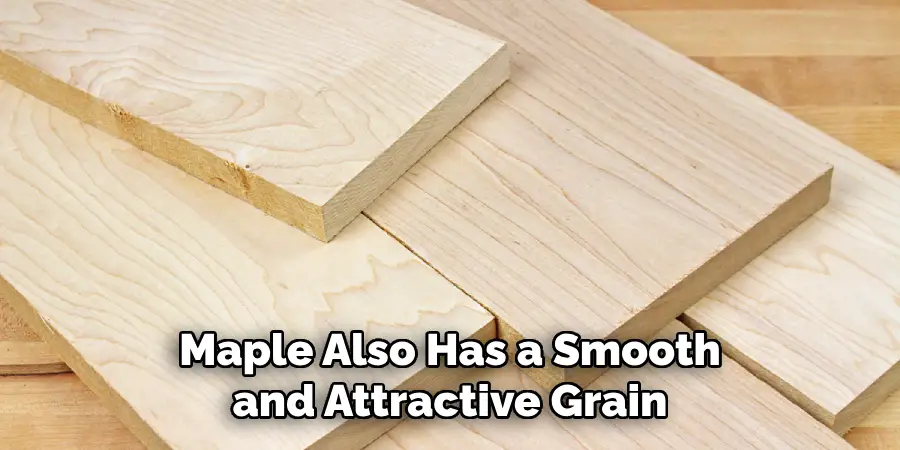
- Maple: Another hardwood that is known for its strength and durability, maple also has a smooth and attractive grain. It can be left natural or stained for a more customized look.
- Cherry: This medium-hardwood has a warm, reddish-brown color and is often used in high-end furniture. Cherry wood has a nice finish and polishes well.
- Mahogany: A rich and elegant hardwood, mahogany is known for its deep reddish-brown color and straight grain. It is a popular choice for making table leaves due to its beauty and durability.
- Walnut: With a rich dark brown color and beautiful grain patterns, walnut wood adds a touch of sophistication to any furniture piece. It is also very durable and can be finished with oil or lacquer for a smooth surface.
When choosing wood for your table leaf, consider the overall style and design of your table, as well as the level of durability and maintenance you desire. With the right type of wood, you can create a beautiful and functional table that will last for years to come.
Conclusion
In conclusion, making a table leaf is a simple and efficient way to extend the surface area of your dining table. With just a few tools and materials, you can easily create a custom-fit leaf that seamlessly integrates with your existing table.
The first step in creating a table leaf is to measure the dimensions of your dining table. This will ensure that the leaf fits perfectly and does not cause any stability issues. Once you have the measurements, you can purchase a piece of wood or plywood that matches the color and finish of your table.
I hope this article has been beneficial for learning how to make a table leaf. Make Sure the precautionary measures are followed chronologically.

