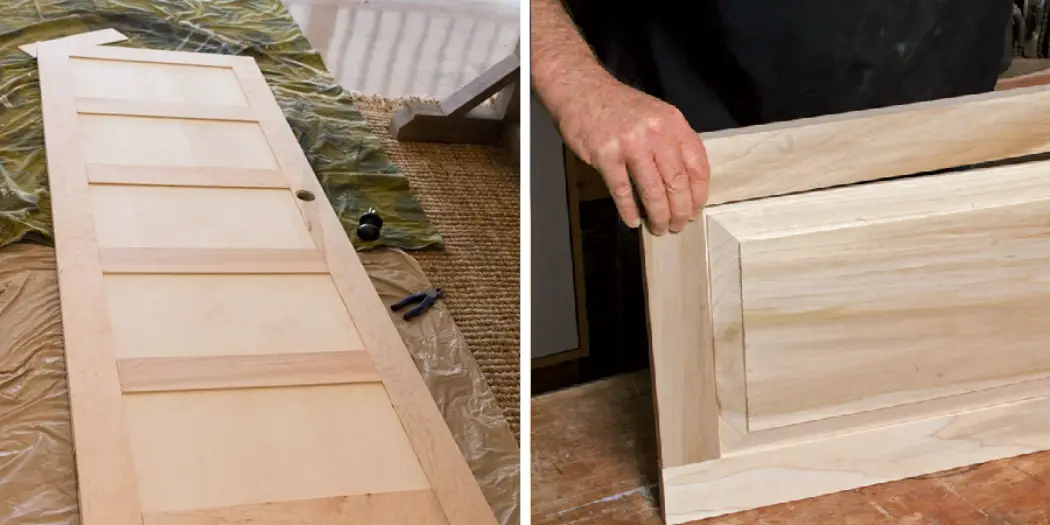
Do you have an old door that you would like to give a fresh new look? If so, you can panel the door yourself! It’s a simple project requiring only a few tools and basic carpentry skills.
Building a paneled door can add some extra character to your home. It’s not a difficult process, but there are a few things you need to know before starting.
Making a paneled door is a great way to add extra character to your home. It can be tricky, but you can do it with the right tools and instructions! In this blog post, we’ll walk you through the steps on how to make a paneled door. Let’s get started!
Summary: If you’re looking for a stylish way to add some personality to your home, consider making a panelled door. This project is easy to do and can be completed in just a few hours. All you need are some basic woodworking tools and a few supplies, including wood glue and paint. Once you’ve got the door finished, you’ll be able to show off your creative side and create a unique piece of furniture that will look great in any room.
What is a Paneled Door?
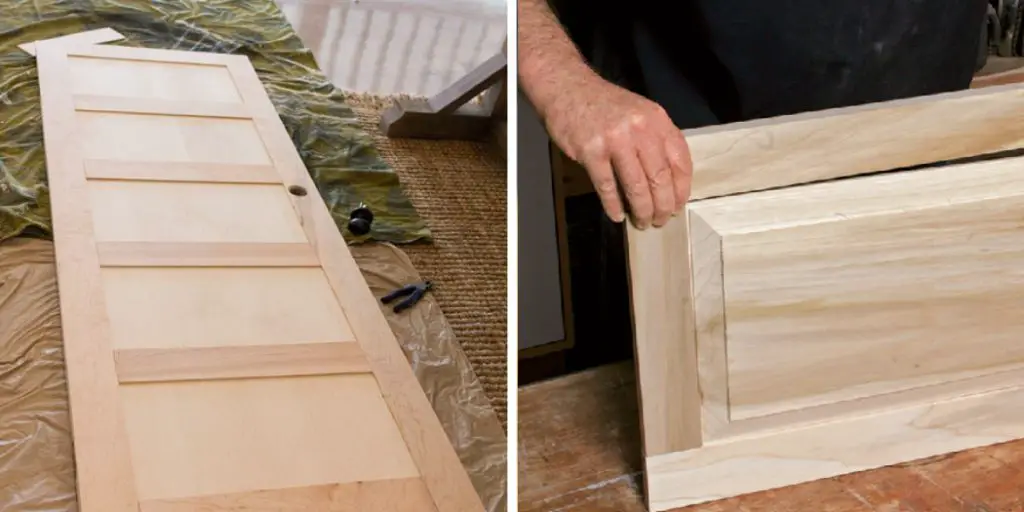
A paneled door is a door that has multiple panels, usually four or six. The panels are placed in a frame and held together with stiles and rails. This is a trendy style for interior and exterior doors.
10 Steps on How to Make a Paneled Door
You have to go through these steps to make a paneled door.
Step 1: Choose the Right Materials
First, you need to select the wood for your door. You can use a few options, but solid hardwood or engineered wood are the most popular choices. Engineered wood is the way to go if you’re looking for a more durable option. However, solid hardwood is better if you want a traditional look for your door.
Step 2: Cut the Panels
Once you have your wood, the next step is to cut the panels. For this, you’ll need a table or a circular saw. If you’re using solid hardwood, you’ll want to use a rip fence to ensure that all of your cuts are even. To choose the right size for your panels, you’ll need to measure the door opening and add 1/4″ height and width. This will allow for the door to fit snugly in the opening.
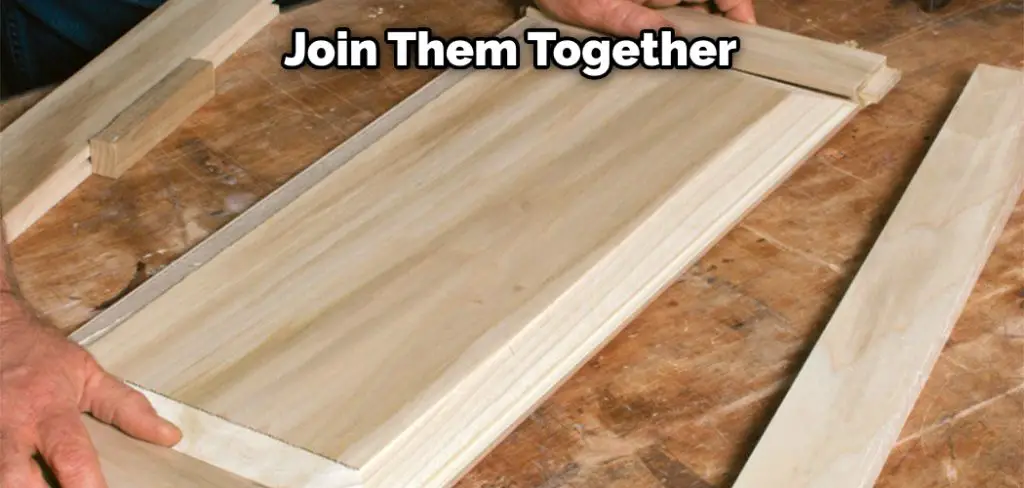
Step 3: Join the Panels Together
After you’ve cut the panels, the next step is to join them together. For this, you can either use dowels or biscuits. If you’re using hardwood, then dowels are the better choice. However, biscuits will work just as well using engineered wood. You must be careful when joining the panels, as you don’t want to create any gaps.
Step 4: Cut the Stiles and Rails
Once the panels are joined, the next step is cutting the stiles and rails. For this, you’ll need a miter saw. Again, if you’re using hardwood, you’ll want to use a rip fence to ensure that all of your cuts are even. Before doing that, you’ll need to ensure that the saw is calibrated correctly.
After the saw is calibrated, set the fence, so it’s exactly 90 degrees to the blade, then cut the stiles and rails to length. Remember to measure twice and cut once!
Step 5: Assemble the Door
After you’ve cut the stiles and rails, the next step is to assemble the door. For this, you’ll need clamps and glue. Once you’ve assembled it, you’ll want to let the glue dry for 24 hours. Otherwise, your door might not be substantial.
Step 6: Cut the Hinges
Once the glue has dried, the next step is to cut the hinges. For this, you’ll need a drill and a jigsaw. First, you’ll want to drill pilot holes for the screws. Then, you’ll want to use the jigsaw to cut out the hinge mortises. Again, remember to stay as close to the lines as possible so that the fit is tight.
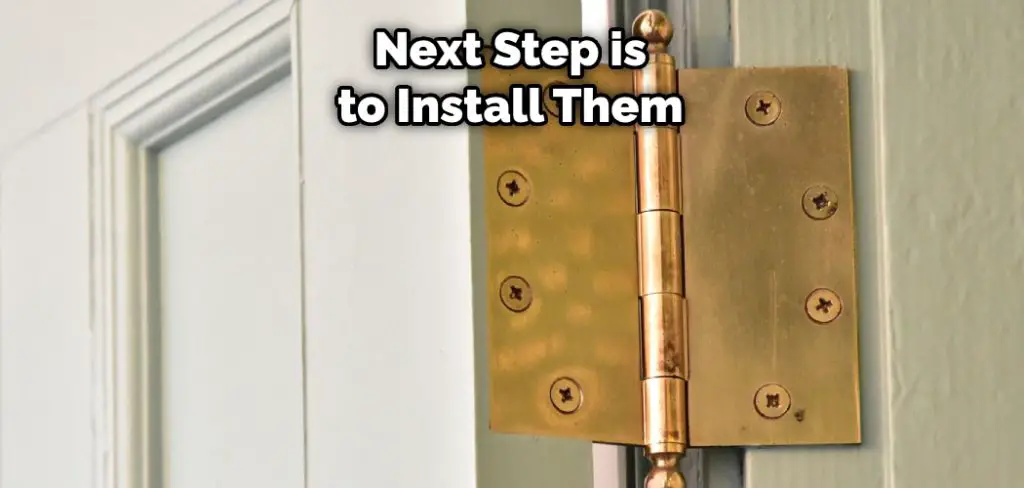
Step 7: Install the Hinges
After you’ve cut the hinges, the next step is to install them. For this, you’ll need a screwdriver and some screws. First, you’ll want to position the hinge on the door. Then, you’ll want to use the screwdriver to drive the screws into the hinge. Finally, you’ll want to check that the hinge is appropriately aligned and tighten the screws.
Step 8: Cut the Lock
After you’ve installed the hinges, the next step is to cut the lock. For this, you’ll need a chisel and a drill. First, you’ll want to mark the outline of the lock on the door. Then, you’ll want to use the chisel to cut out the mortise for the lock. Finally, you’ll want to use the drill to drill a hole for the key.
Step 9: Install the Lock
Now you need to install the lock. Start by finding the center of the door and then marking it. Then, using a hole saw, cut a hole that’s big enough for the faceplate of the lock.
Position the faceplate on the door and trace around it with a pencil. Then, remove the faceplate and use a chisel to carve out the space you just marked. Be sure to make the space a little bit bigger than the faceplate itself.
Once you’ve chiseled the space, put the faceplate back on and use a screwdriver to secure it. Now all that’s left to do is install the handle. First, find the center of the door and mark it. Then, using a hole saw, cut a hole that’s big enough for the faceplate of the handle.
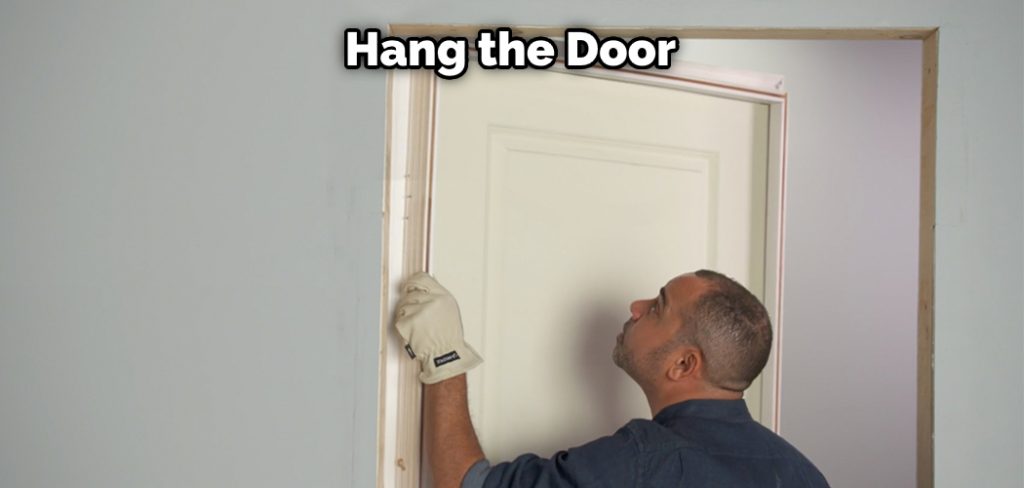
Step 10: Hang the Door
First, thread the door knob spindle through the hole in the latch to hang the door. Then, put the door in place, lining up the screws in the hinge with the holes in the door jamb. Next, use a screwdriver or power drill to tighten the screws. Finally, check to ensure the door is level and swings correctly before trimming any excess shims.
With these easy steps, you can add a touch of beauty and elegance to any room in your home by learning how to make a paneled door!
You Can Check It Out to Remove a Pocket Door
10 Safety Precautions You Need to Keep in Mind Before Making a Paneled Door
- Always use gloves when handling panels or working with power tools.
- Make sure your work area is well-ventilated and free of flammable materials.
- Inspect your panels to ensure they’re not damaged or warped.
- Cut paneling in a well-lit area to avoid mistakes.
- Use a tape measure to double-check your paneling cuts before you make them.
- Wear safety goggles when working with power tools.
- Drill pilot holes in the panels before screwing or nailing them into place.
- Be careful not to over-tighten screws or nails when attaching panels.
- Use caulk or sealant to fill gaps between the panels and the door frame.
- Let the door dry completely before hanging it or using it.
How Do You Cut a Door Panel?
First, measure the height and width of the opening. Then, cut two pieces of lumber to these dimensions. These will be your stiles.
Cut three or four more pieces of lumber to the width of the stiles. These will be your door panels. Then, assemble the stiles and panels using glue and nails.
Cut a piece of plywood to fit the back of the door frame. This will be your door’s backing board. Attach the backing board to the door frame with screws.
Finally, hang your door on the hinges and enjoy!
How Do You Make Plain Interior Doors Look Better?
There are a number of ways to make plain interior doors look better. One way is to add panels to the door. This can be done by adding strips of wood to the door or using a router to create paneled sections in the door.
Another way to improve the look of plain interior doors is to add trim around the door. This can be done by attaching molding to the door with nails or screws.
Yet another way to make plain interior doors look nicer is to paint them. Again, this can be done using high-quality paint and applying multiple coats if necessary.

No matter which method you choose, taking the time to improve the look of your interior doors can make a big difference in the overall appearance of your home.
You Can Check It Out to Fix Pocket Door Scratching
FAQ
Which Materials Are Commonly Used for the Panels of Panel Doors?
There are a few materials that are commonly used for the panels of panel doors. These include wood, metal, and plastic. The most popular choice among consumers seems to be metal panels. This is likely because they are strong, weatherproof, and look good. Wood panels also tend to be popular, especially in older homes that may need to be updated. Plastic panels are becoming increasingly popular, as they are lightweight, affordable, and resistant to water damage.
How Many Panels Should a Door Have?
A door should have at least one panel, but two panels are better in order to increase the efficiency of your home’s air conditioning and heating. Having more than two panels will not only allow for a greater flow of air, it will also reduce the chances of overheating or freezing.
Are Panel Doors Strong?
The strength of a panel door will vary depending on the weight and build of the door, as well as any external factors like weather conditions. However, most standard doors that are installed in homes or businesses can withstand moderate to heavy use without failing. If you’re concerned about your door’s strength or want to ensure that it is suitable for your specific needs, please contact a qualified professional installer.
What Are Panel Doors Called?
A panel door is a type of door that consists of several panels that can be opened and closed independently. This gives the illusion of multiple doors when in use, which can be helpful for spaces that are often busy or noisy. Panel doors are an affordable alternative to traditional wood or metal doors and come in a variety of styles and colors.
Panel doors are perfect if you need to create more space by dividing a room into separate areas, or if you simply want an easy way to adjust the level of privacy within your home. They also make a great addition to any home decor scheme!

Conclusion
Now that you know how to make a paneled door, try it yourself! You may want to start with a more accessible project, like adding panels to a cabinet door, before moving on to a larger project, like making a new front door for your home. With a bit of practice, you’ll be able to create beautiful paneled doors that will add personality and style to any room in your house. So, what are you waiting for? Get started today!

