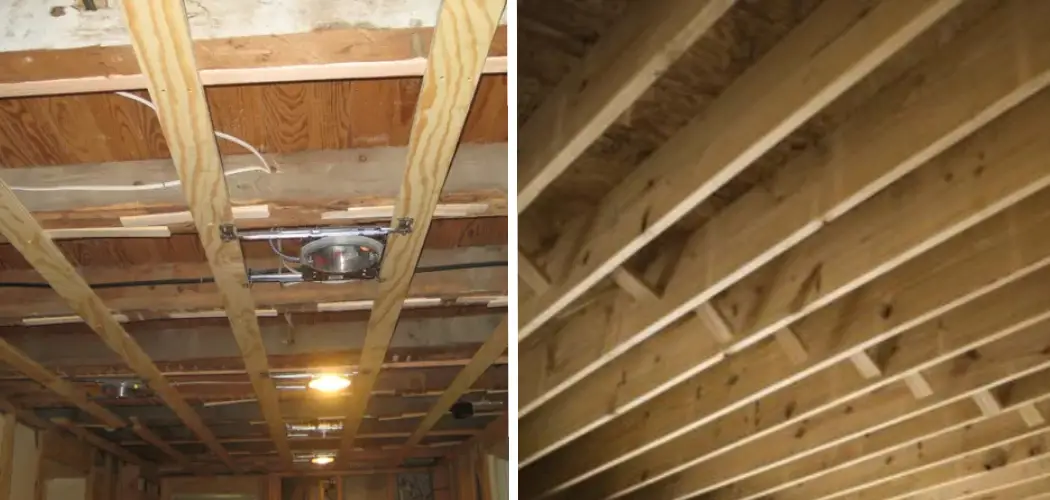
Furring strips are an ideal way to level a ceiling, as they are lightweight, easy to install, and cost-effective. Furring strips also provide a strong foundation for any additional insulation or acoustic materials you may choose to use in your home or office.
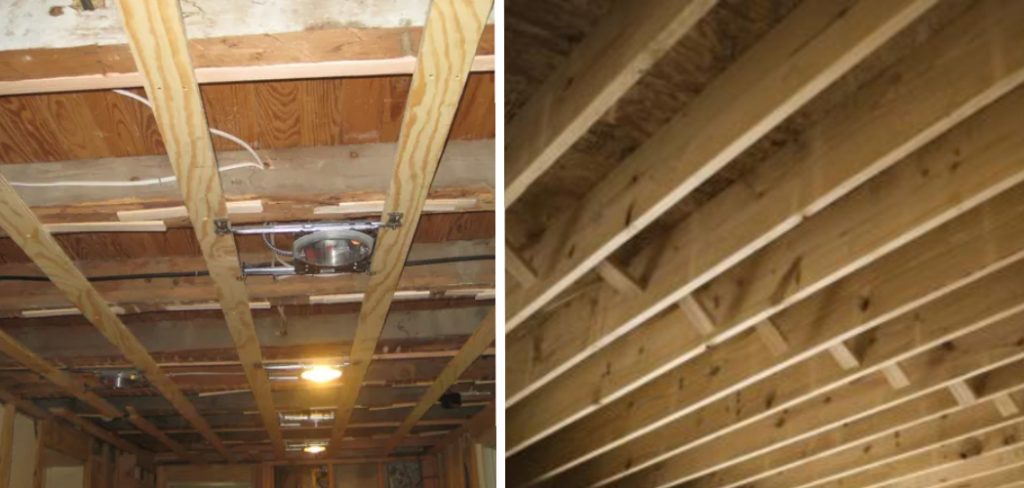
If you’ve ever tried to hang something on your ceilings, such as a light fixture or painting, only to find that it doesn’t sit flat and level against the wall, then you may need to level your ceiling with furring strips. Furring strips are thin pieces of wood used to attach framing material onto walls and ceilings.
They are an effective way to level a ceiling and can be used in both residential and commercial applications. In this blog post, you will learn in detail how to level a ceiling with furring strips.
Step-by-Step Processes for How to Level a Ceiling With Furring Strips
Step 1: Inspect the Celling
Make sure that the ceiling is in good condition before you begin. Ensure that it does not have cracks, bubbles, or any other type of damage. Using a measuring tape, measure out where you want to place your furring strips. Mark each spot with a pencil.
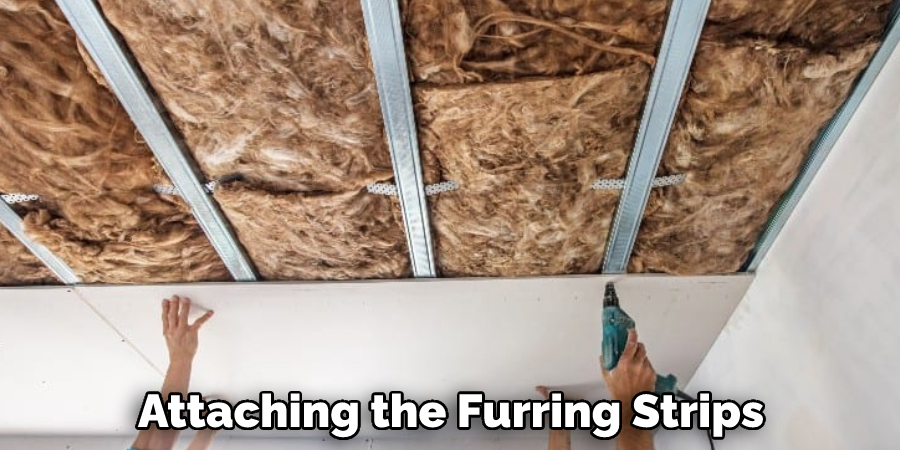
Step 2: Attach the Furring Strips.
Once you have marked out your furring strips, attach them to the ceiling. Using a drill and screws, screw each strip into the ceiling. For added stability, reinforce each strip with a few extra screws. Make sure that all of the strips are level and in line with each other.
Step 3: Measure the Height Differences.
Using a level, measure the height differences between each furring strip. Depending on how much of an uneven slope you have to fix, use shims to raise or lower certain strips until they are all level with one another. Ensure all the furring strips are level before moving on to the next step.
Step 4: Fasten the Strips
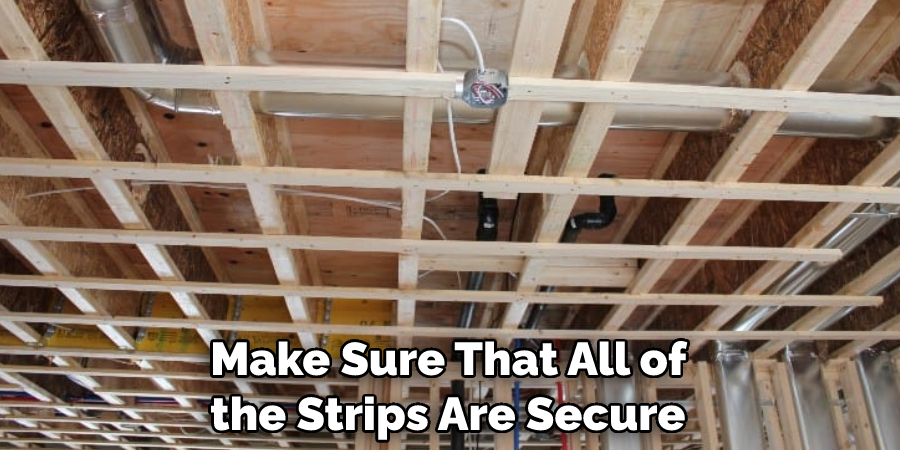
Once your furring strips are level, fasten them together with nails or screws. Make sure that all of the strips are secure and will not move when you walk across them. Insulate the furring strips with fiberglass insulation and a vapor barrier. Cut the materials to fit each strip, then secure them firmly into place.
Step 5: Apply Sheetrock
Using sheetrock screws, attach drywall sheets over the furring strips. Make sure that all seams are aligned properly and that the screws are flush with the surface. Apply joint compound to all areas where sheetrock meets the furring strip.
Make sure that there is a smooth transition from one material to another and that any screws are hidden beneath the drywall mud. Let it dry for 24-48 hours before sanding it down.
Step 6: Sand Down the Sheetrock
Using a sanding block, gently sand down any bumps or raised areas in the drywall. Make sure to use a dust mask and safety goggles while you are doing this step. Once your ceiling is level and sanded, apply a coat of primer followed by a few coats of paint. Make sure to let each coat dry before applying the next one.
Step 7: Install Any Fixtures
If you need to install ceiling lights or fans, now is the time to do it. Follow the manufacturer’s instructions for installing and wiring the fixtures.
Tips for How to Level a Ceiling With Furring Strips
- Before starting the project, wear protective eyewear and clothing to avoid any injuries or accidents.
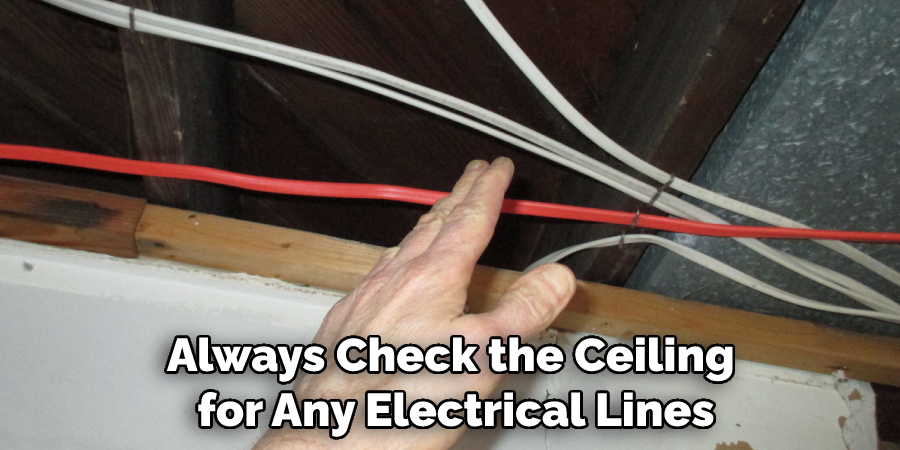
- Always check the ceiling for any electrical lines, water pipes, heating ducts, etc., that could be damaged during installation before proceeding with the furring strips.
- Securely fasten the furring strips to the wall and not to the ceiling joists, as this could create a weak spot in the structure of your ceiling.
- Cut furring strips with a miter saw instead of using hand tools such as an electric drill or box cutter, as this will be much safer and more precise.
- Use self-drilling screws instead of nails when attaching the furring strips, as this will provide better stability.
- Be sure to use a level to check that all of the furring strips are installed straight and even.
- Use a power drill or screw gun to fasten the furring strips into place securely, but be sure to use a low-speed setting to avoid damaging the material.
- Always check for any structural problems when leveling your ceilings, such as sagging, joist misalignment, and uneven surfaces.
How Many Furring Strips Should Be Installed?
The number of furring strips you use will depend on the size of the room and how level you would like your ceiling to be. Generally, it’s recommended that a minimum of three furring strips are installed across the entire length of the ceiling. This ensures that there is enough support for any drywall or other material that will be attached to the furring strips.
Each furring strip should be spaced evenly throughout the width and length of the room, ensuring that each one is securely anchored to the ceiling joists. The spacing between each furring strip may differ depending on the size of your room and how level you would like your ceiling to be, but it should not exceed 12” between strips.
Once the furring strips have been properly secured to the joists, use a level to ensure that each one is perfectly straight and flat. This will give you an accurate indication of how much material needs to be added or removed from each strip to achieve your desired ceiling level. If needed, shims can be used to level out any irregularities in the furring strips.
Should Any Special Sealant or Adhesive Be Used to Hold the Furring Strips in Place?
Yes, it is necessary to use a special sealant or adhesive when installing furring strips. You can opt for construction adhesive or liquid nails depending on the type of furring strips you use and their application. Construction adhesive is great for metal furring strips, while liquid nails are better suited for wooden ones. Make sure to read the instructions on the packaging carefully before starting installation to ensure you are using the correct sealant or adhesive.
Applying enough pressure around the perimeter of each furring strip will also help ensure a secure hold and prevent them from shifting over time. Once all of the furring strips have been attached, wait for at least 24 hours before adding any finishing touches to the ceiling for a long-lasting and level surface. It is also important to note that any screws should not be driven through the furring strips, as this could weaken their hold. Instead, use nails or staples to secure them in place further.
Are There Any Tips or Tricks for Properly Leveling a Ceiling With Furring Strips?
Remember some tips and tricks when leveling a ceiling with furring strips. Firstly, ensure that the furring strips run perpendicular to the joists. This will provide a strong foundation for the drywall or other material used to cover your ceiling. You also need to ensure that the furring strips are flush with the joists to ensure a level surface.
Secondly, use only longer screws when attaching the furring strips to the joists to provide an equally strong foundation. When using these longer screws, you should also pre-drill pilot holes into your furring strips and joists before inserting the screws. This will make the process much easier and avoid any unnecessary damage to your material.
Finally, it’s important to check all of your furring strips once they have been attached to ensure that there are no gaps between them. This is especially important if you use multiple pieces of drywall or other material to cover your ceiling. If you do find any gaps, you can use shims or wood wedges to fill them and make sure they’re level.
Is It Necessary to Call Any Professional to Level a Ceiling With Furring Strips?
Leveling a ceiling with furring strips is a relatively simple process and can easily be done as a DIY (do it yourself) project. However, hiring a professional may be advisable if you don’t feel confident in your abilities to complete the task.
The primary benefit of seeking out the advice of a professional is that they will be able to assess your ceiling accurately and ensure you have the correct materials. Depending on the extent of the work needed, a professional may also be able to recommend alternatives such as drywall or wooden trusses that could save time and money.
How Much Will It Cost if You Hire a Professional?
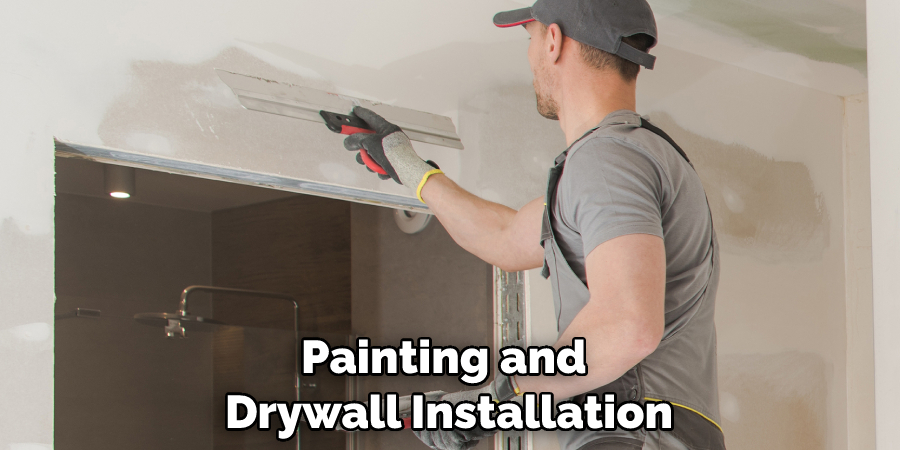
If you don’t have the time or the skills to level a ceiling yourself, it may be worthwhile to hire a professional. How much this will cost depends on the size of your room, the materials used, and the job’s complexity. Generally speaking, a basic furring strip installation in a standard-sized room could run anywhere from $500 to $1,000. The cost could rise significantly if the job is more complicated or adds additional elements, such as painting and drywall installation. It’s important to research different professionals in your area and get quotes before hiring a contractor. That way, you can be sure that you’re getting the best price for the job.
Conclusion
Leveling a ceiling with furring strips is a great way to add strength and stability while also improving the overall look of the ceiling. By ensuring that the furring strips are securely fastened, you can easily level even an uneven surface and create a polished, professional end result.
With just some basic tools and materials, you can transform a room and enhance the aesthetic value of your home. With furring strips, leveling a ceiling doesn’t have to be complicated or time-consuming; anyone can do it in just a few steps.
I hope this article has been beneficial for learning how to level a ceiling with furring strips. Make sure the precautionary measures are followed chronologically.
You Can Check It Out to Seal Wood Floors in Bathroom

