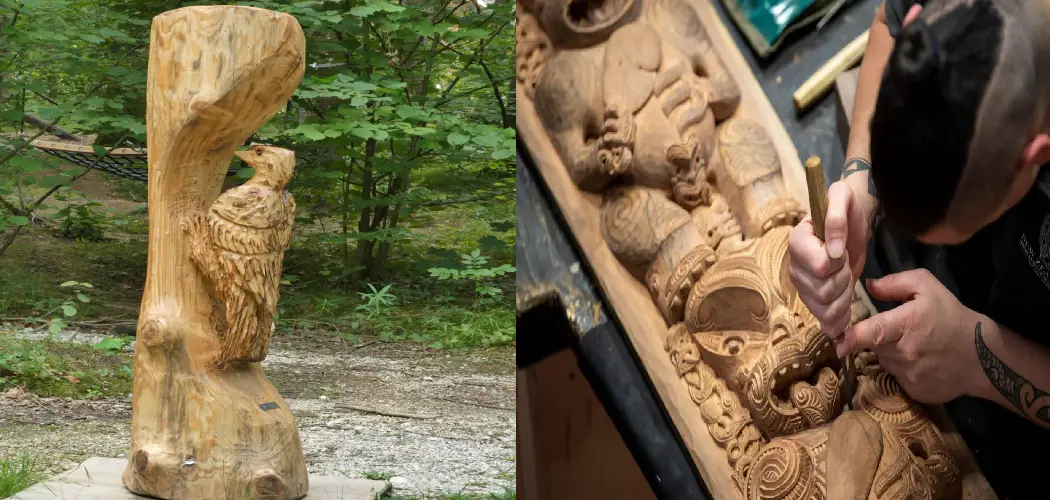
If you’re looking for a new hobby that is both relaxing and rewarding, wood carving may be the perfect choice for you. With a little practice, you can create beautiful pieces of art that everyone can admire. In this article, we’ll teach you how to start wood carving and show you some basics you’ll need to know. So keep reading to learn more about how to learn wood carving!
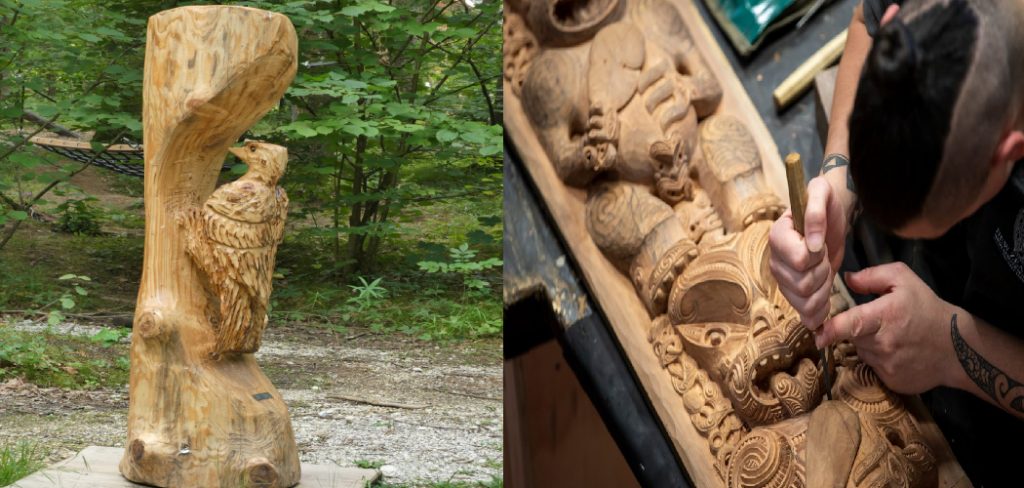
We all know that wood carving can be used to make furniture, sculptures, and other decorative items. But did you know it’s also a great way to relieve stress? When you’re focused on carving a piece of wood, your worries will fade away. And when you’re finished with your project, you’ll have a sense of accomplishment that is hard to beat. As a result, many people find wood carving to be a very therapeutic hobby.
Summary: First, you need to understand what type of wood you are carving. If you are carving hardwood, you need to be careful not to carve through the middle of the tree. If you are carving softwood, you can carve more freely. Once you have chosen your wood, you need to prepare it. You can do this by sanding the wood, or by using a wood filler. Once the wood is ready, you can start carving. The first step is to mark the shape you want to achieve with a pencil or a knife. Next, use a chisel to cut the outline of the shape. Then, use a gouge to rough out the details. Finally, use a plane to smooth out the surface.
What Do You Need to Know Before Starting Wood Carving?
If you’re interested in learning wood carving, you should know a few things before getting started.
- Selecting the Right Wood: The type of wood you select will have a major impact on the success of your carving project. Softer woods are generally easier to carve but require more care. Harder woods are more durable but can be challenging to work with.
- The Right Tools: To get started with wood carving, you’ll need the right tools. A sharp knife is essential, and you may also want to invest in a few other equipments, such as chisels or gouges.
- Safety First: Carving wood can be dangerous if you’re not careful. Always use caution when handling sharp tools, and work in a well-ventilated area.
- Always Follow a Plan: It’s essential to have a plan before you start carving. First, decide what you want to carve, and then find a pattern or tutorial to follow. This will help you avoid making mistakes and ensure that your project turns out the way you want it to.
- Practice Makes Perfect: Don’t be discouraged if your first few attempts at wood carving are less than perfect. With practice, you’ll get better and better at this enjoyable hobby.
- Sanding: After you’ve finished carving your project, it’s important to sand it smooth. This will help protect the wood and give it a polished look.
- Have Fun: Carving wood can be a relaxing and satisfying hobby. Take your time and enjoy the process, and you’ll be sure to create some amazing projects you can be proud of.
Types of Wood Carving
There are many types of wood carving, from the simple act of whittling a piece of wood with a knife to the complex art of sculpting a detailed figurine. The type of wood carving you want to do will determine the kind of tools and materials you’ll need.
Here are some of the most popular types of wood carving:
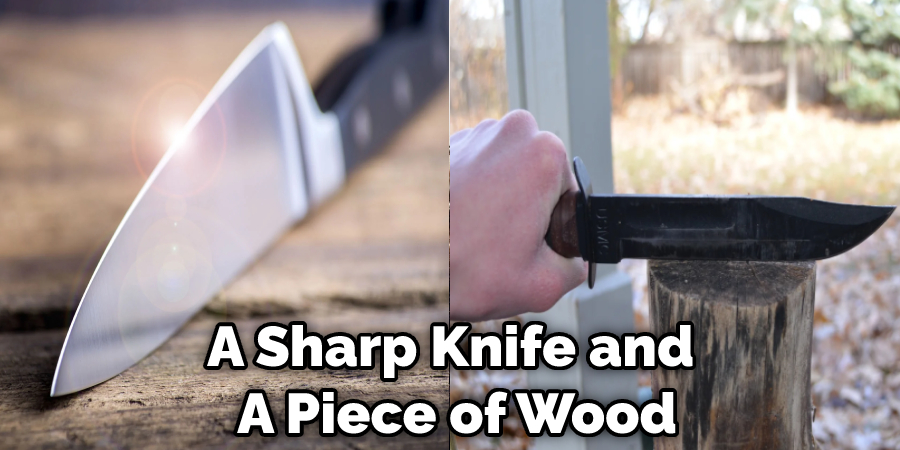
Whittling: Whittling is one of the simplest and most popular forms of wood carving. All you need is a sharp knife and a piece of wood. You can carve almost anything with a knife, from animals to intricate designs.
Chip Carving: Chip carving is similar to whittling but uses special chisels instead of a knife. This type of carving is excellent for creating geometric patterns and detailed designs.
Relief Carving: Relief carving is a carving where the design is raised above the surface of the wood. This is a more complex form of carving and requires specialized tools and techniques.
Sculpting: Sculpting is the most complex form of wood carving. It involves creating three-dimensional figures and sculptures from a piece of wood. This carving requires various tools, including chisels, hammers, gouges, and rasps.
Power Carving: Power carving is a type of carving that uses power tools, such as an electric drill, to create the desired design. This type of carving is excellent for larger projects or those who want to carve more quickly.
Wood Carving Tools
If you’re interested in learning wood carving, the first step is to gather the necessary tools. Many of these tools can be found around the house, but you may also need to purchase a few specialized items. Here is a list of essential wood carving tools:
- A Sharp Knife: This is perhaps the essential tool for wood carving. A sharp knife will make it easier to carve intricate details and avoid accidents.
- A Gouge: A gouge is a curved blade used to hollow out wood areas.
- A Chisel: A chisel is a straight blade that can be used for carving and shaping wood.
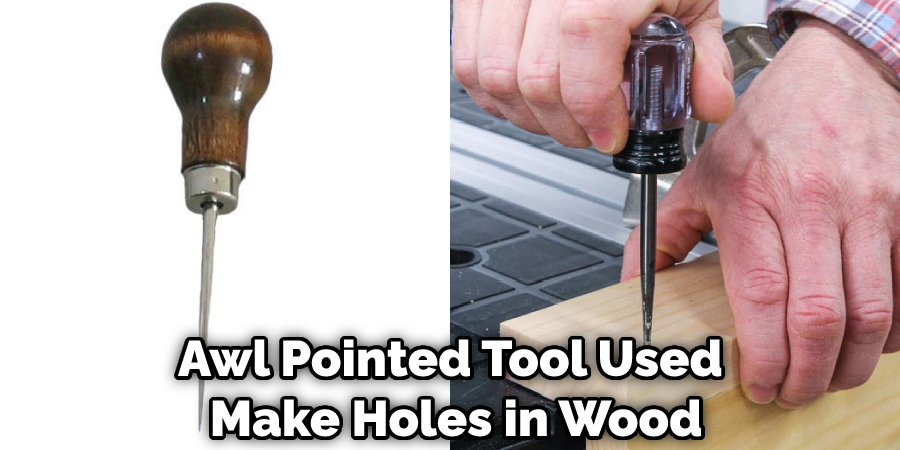
- An Awl: An awl is a pointed tool used to make holes in wood.
- A Rasp: A rasp is a coarse file that can be used to remove large pieces of wood quickly.
- A Sandpaper: Sandpaper is used to smooth the surface of the wood after carving.
A Step by Step Guide on How to Learn Wood Carving
Step 1: Determine What Type of Wood Carving You Want to Do
There are many types of wood carving, from simple relief carvings to complex three-dimensional sculptures. It’s important to decide what kind of wood carving you want to do before you start learning. This will help you choose the right tools and find the best resources for learning.
Step 2: Choose the Right Tools
As we mentioned above, you will need some essential tools to start wood carving. We recommend investing in a knife, gouge, chisel, and rasp if you’re starting. These four tools will give you a good foundation for learning wood carving.
Step 3: Find a Good Resource for Learning
There are many different ways to learn wood carving. You can find books, online tutorials, and even classes in your area. The best way to learn is to find a resource that suits your learning style and pace. For example, if you’re a visual learner, you might prefer watching video tutorials or taking classes. On the other hand, if you like to work at your own pace, you might prefer reading books or following online tutorials.
Step 4: Prepare the Wood
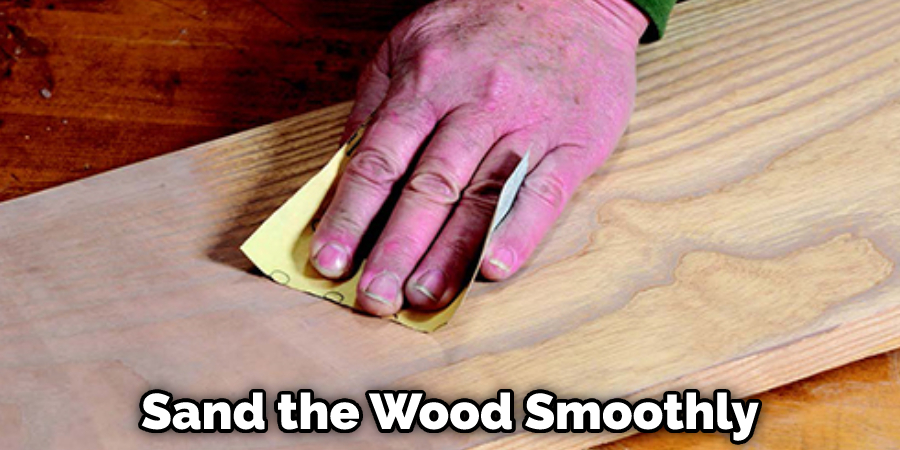
Before you start carving, it’s essential to prepare the wood. You will need to choose the right type of wood for your project and ensure it is the correct size and shape. You will also need to sand the wood smoothly, making it easier to carve.
Step 5: Choose Design
One of the most challenging aspects of wood carving is choosing a design. If you’re starting, we recommend choosing a simple design you can complete in a few hours. Then, as you become more experienced, you can try more complex designs.
Step 6: Start Carving
Now it’s time to start carving! Begin by tracing your design onto the piece of wood you’re going to carve. Then, use your knife to start carving out the rough shape of your design. Once you’ve carved out the basic shape, you can use your other tools to add details. Finally, use sandpaper to smooth the surface of your carving.
Step 7: Finish Your Carving
Once you’ve finished carving, you can add a finish to your piece. This is optional, but it will help protect your carving and make it look more polished. You can use a clear finish, like lacquer or varnish, or stain the wood with a dark color.
Step 8: Practice, Practice, Practice
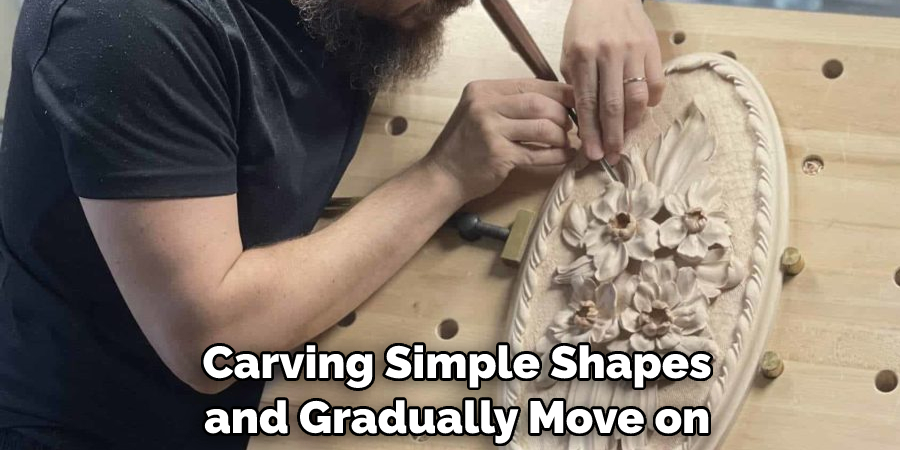
The only way to get better at wood carving is to practice as much as possible. Start by carving simple shapes and gradually move on to more complex designs. As you become more comfortable with the tools, you’ll be able to try new techniques and experiment with different types of wood.
You Can Check It Out To Transfer Pattern to Wood for Carving
Tips
- There is a wide variety of wood carving books and magazines available today. When first starting out, investing in one of these resources might be helpful. This way, you can have on-hand instructions and diagrams to help you as you learn.
- Many people swear by taking wood carving classes from a local instructor. There is nothing like learning in person from someone experienced in the craft. If possible, try to find an instructor who uses the same type of tools that you plan on using. That way, you can get a feel for how they should be used.
- Don’t be afraid to ask other wood carvers for advice and tips. The wood carving community is generally very friendly and willing to help beginners. You can find other wood carvers online through message boards and forums or in person at local wood carving clubs or events.
- Take your time when starting. Rome wasn’t built in a day, and neither will your wood carving skills. Be patient and enjoy the process of learning something new. Remember that practice makes perfect!
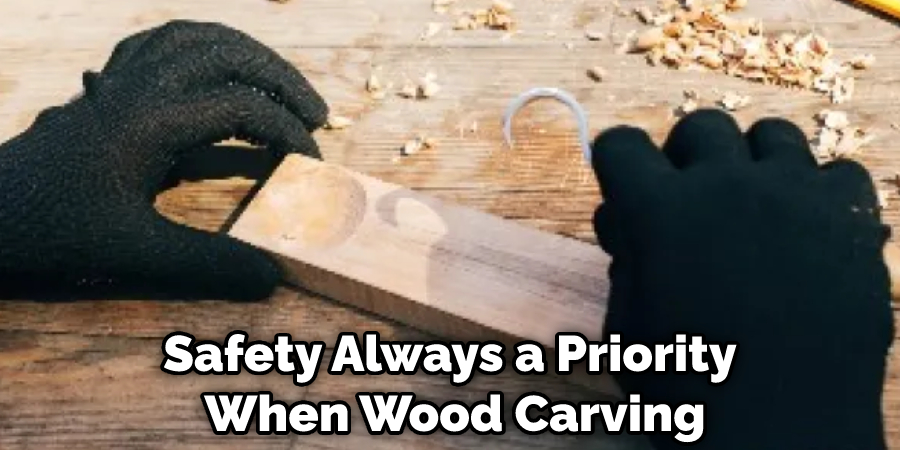
- Safety should always be a priority when wood carving. Be sure to wear appropriate safety gear, such as gloves and goggles, and use sharp tools with care. If you’re unsure how to use a tool properly, seek guidance from an experienced wood carver before proceeding.
What Should I Carve as My First Project?
Fixing uneven wood joints can be a great first project for someone who is just getting into wood carving. You’ll need some basic tools like a chisel, hammer and sandpaper, as well as some wood glue. Start by cleaning up the edges of the joint with the chisel and then use the hammer to tap them together.
Once you’ve aligned them, apply some glue to both pieces of wood and secure them with clamps or weights until it has fully dried. Finally, use sandpaper to smooth out any rough spots or imperfections before you move on to your next project!
Should You Focus on the Shape of the Design?
When fixing uneven wood joints, it is important to consider the shape of the design. The joint will be straight and even if the wood pieces fit together correctly. However, if the pieces are not cut properly or do not fit together correctly, then this can cause an uneven joint. To avoid this, it is essential to pay attention to the design and make sure that the pieces fit together precisely.
Once the shape of the joint has been determined, it is important to calculate how much extra material needs to be added to fill in gaps or uneven areas. This can be done by taking precise measurements of both sides of the joint. If too much material is added, then this can create unnecessary stress on the joint and weaken it. If not enough material is added, then this will not fix the issue and could leave unsightly gaps in the joint.
How Long Does It Take to Complete Wood Carving Projects?
Wood carving projects can take anywhere from a few hours to several weeks or even months to complete, depending on the size and complexity of the project. Woodcarvers need to consider the type of wood they are working with, as well as any tools needed to complete their design.
For example, softer woods may require less time to carve, but require more skill and precision when carving. Additionally, a woodcarver will need to select the correct project tools to achieve the desired results.
Conclusion
Wood carving is a great hobby, and you can create beautiful pieces of art with the proper instruction. We hope this article on how to learn wood carving has given you a good starting point for learning how to carve wood. If you have any questions, don’t hesitate to reach out to one of our many other blog contributors or us. With a little practice and patience, you will be on your way to becoming a master carver in no time!

