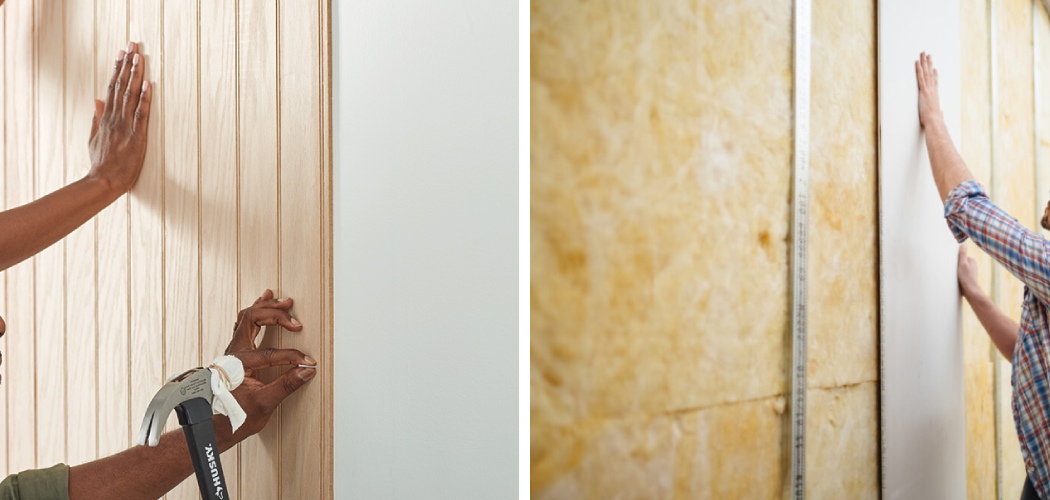
Wood paneling is a great way to add warmth and texture to any room in your home. Whether you’re looking for a rustic aesthetic or something more contemporary, wood paneling can give your walls a perfect look.
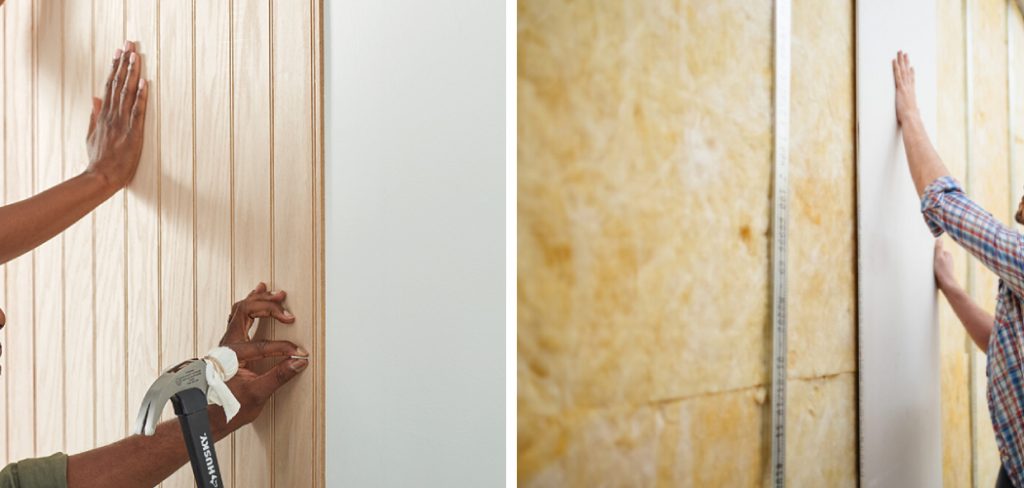
Installing wood paneling isn’t a difficult job, but it does require some preparation and knowledge of how to do it right. If you’re ready to refresh your walls with some new wood paneling, here’s a step-by-step guide on installing wood paneling in any room.
Installing wood paneling can have a number of advantages. One advantage is that it can provide an aesthetically pleasing finish to a room. Depending on the type of material used, wooden panels can be relatively inexpensive and easy to install.
They are also durable and will last for years if properly maintained. Additionally, wood paneling helps reduce noise levels and can help to keep a room cooler in the summer months. You can find step-by-step instructions on how to install wood paneling in this blog article.
Tools & Materials You Will Need
- Tape Measure
- Pencil
- Level
- Hammer
- Nails
- Chisel and Mallet
- Router with a 1/4” round over bit
- Saw (Circular or jig saw)
- Wood Glue
- Panel Adhesive
Step-by-step Instructions for How to Install Wood Paneling
Step 1: Inspect the Walls
To ensure a good fit, inspect the walls and make sure they are flat. Any bump or unevenness may cause problems when installing the paneling. Carefully measure each wall where you wish to install the paneling. Make sure to take into account any windows, doors, or other architectural features that could interfere with the paneling.
Step 2: Prepare the Walls
Ensure that the walls are free of dust, dirt, and debris before installing the wood paneling. If necessary, use a damp cloth to wipe down any surfaces that may be dirty or dusty. Once you have all the measurements, you can begin to cut the panels to size. Use a jigsaw or other saw to achieve a precise fit if necessary.

Step 3: Attach the First Panel
Place the first panel in its desired location and attach it using screws or nails. Make sure that it is level before continuing. Once the first panel is secure, continue attaching panels until all of your desired walls are covered.
Step 4: Fill Gaps and Joints
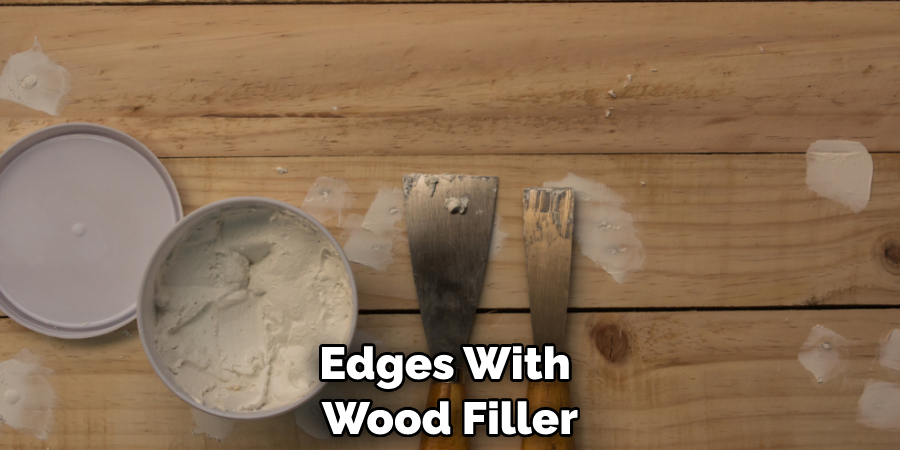
If necessary, use wood filler to fill any gaps or joints that may have been left when attaching the panels. Once all of the panels are attached, use sandpaper to smooth any rough edges.
Step 5: Prime the Panels
Before painting, make sure to prime the panels with a high-quality primer. This will help ensure better coverage and prevent the paint from chipping or peeling off. If desired, you can choose to paint the panels. Many people prefer to leave the wood paneling in its natural state, but some may want to add a unique touch by painting it a different color.
These are the steps for installing wood paneling. With just a few tools and some careful planning, anyone can easily install wood paneling in their home.
Safety Precautions for How to Install Wood Paneling
- Always wear protective gear such as glasses, gloves, and a mask when working with wood paneling.
- Ensure the wall surface is clean, dry, and dust-free before installation.
- Measure the area accurately so you can cut the wood paneling to size accordingly.
- Use a leveler to ensure the wood paneling is straight and plumb before you nail it into place.
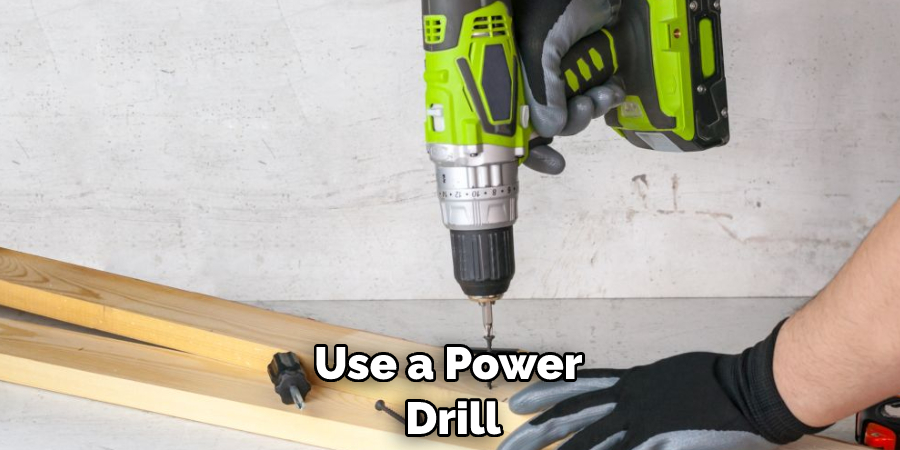
- Use a power drill to pre-drill holes in the wood paneling for nails or screws so that you have more control when securing them in place.
- Secure the paneling to the wall with nails or screws and use caulking to seal any gaps or cracks.
- Keep a fire extinguisher nearby in case of an emergency.
- Turn off the electricity before you begin to prevent accidental shocks.
Following these safety precautions can help ensure that you install your wood paneling safely and efficiently.
Are There Different Methods for Installing Wood Paneling Depending on the Wall Surface?
Yes, depending on the wall surface, there are different methods of installing wood paneling. Before starting the installation process, it is important to check that your walls are in good condition and free from defects. Additionally, if you plan to use nails or screws to install the paneling, make sure that your walls have enough structural integrity to support them.
You can use nails and construction adhesive to install the paneling for wall surfaces made of drywall, such as those used in most homes. Use a level and measuring tape to ensure the panels are properly aligned before securing them with a nail gun or hammer. If you need to reposition any of the panels, you can remove them and reapply the adhesive before replacing them.
What Should Be Done to Ensure That the Finished Product is Durable?
When installing wood paneling, there are certain steps that should be taken to ensure the finished product is durable. This includes cleaning the wall before starting and caulking any cracks or holes in the wall with a high-quality sealant.
The wood paneling must then be measured and cut accordingly to fit the space it is being installed into. Once the paneling is ready to be installed, use a strong adhesive or nails to attach it securely.
Be sure to space the nails along the wall for optimal support evenly. To finish off, seal all seams and edges with wood filler and sand them down until they are smooth before painting.
Following these steps will help ensure that your wood paneling will remain durable for years to come. Investing in quality materials and taking the necessary time and care to ensure each step is done correctly will result in a beautiful, long-lasting product.
How Can You Maintain Wood Paneling for a Long-lasting Look and Feel?
Once you’ve successfully installed your wood paneling, it’s important to maintain its look and feel for a long-lasting effect. To do so, here are some tips:
- Clean the panels regularly with a damp cloth or mild detergent to keep dirt and dust build-up at bay. Wipe off any moisture or spills immediately to avoid discoloration or other damage.
- Avoid using furniture polish, wax, or abrasive cleaners on the paneling, as they can cause discoloration and dullness.
- Consider applying a clear sealant to your wood paneling once a year to protect the finish and keep it looking fresh.
- If water damage occurs, be sure to fix it as soon as possible. Check for soft spots or discoloration in the wood and thoroughly dry any wet areas with a fan or dehumidifier before assessing if repair is necessary.
By following these tips, your wood paneling will look good and last for years to come. Regular maintenance lets you enjoy the timeless beauty of wood paneling in your home.
How Can Any Potential Issues With Wood Paneling Be Avoided?
When installing wood paneling, it’s important to take into account the potential issues that could arise. Wood paneling can be susceptible to warping and buckling due to changes in temperature and humidity.
Before installing your panels, ensure that you have enough space between them for expansion and contraction. Additionally, seal any seams between panels with a good quality sealant to protect against moisture and humidity.
It’s also important to remember that sunlight can affect wood paneling, so if you are installing it in a room with direct sunlight, use a UV-resistant finish or apply window tinting.
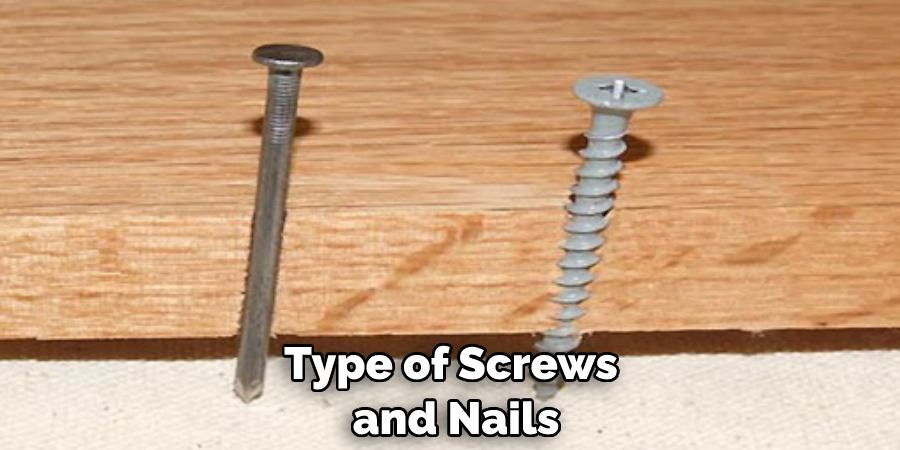
Additionally, ensure the panels are securely fastened when attaching them to the wall– using the right type of screws and nails will help to keep them in place. Taking these precautions can help you avoid any potential issues with your wood paneling and ensure it looks great for years to come.
How Should You Clean Wood Panel After It is Installed?
Once your wood paneling is installed, keeping it clean and maintained is important. Before you start cleaning, ensure the wood is sealed properly so that any cleaner won’t damage or cause discoloration. Start by dusting off the panels with a dry cloth or duster. If there are stubborn spots, use a slightly damp cloth and gently rub the area until it’s clean.
You can use a mild dish soap and warm water solution to remove any dirt or grime that has built up over time. Do not scrub too hard, as this could cause damage to the wood finish. Instead, stick with gentle cleaning motions when wiping off the wood paneling. You can use a wood cleaner specifically designed for wood paneling for deeper cleaning.
This will help restore your wood’s natural beauty and keep it looking new for years to come. Follow all instructions carefully when using these cleaners, and make sure to test them on a small area first before applying them to all of the wood paneling.
Conclusion
In conclusion, installing wood paneling is an easy and cost-effective way to add charm and warmth to any room instantly. To ensure a successful project, it’s important to take time for proper measurements, make sure the walls are flat and free of nails, use good quality adhesive or screws, and ensure all seams are tightly sealed.
With patience and expertise, you can quickly and easily install your wall paneling with just a few simple tools. I hope this article has been beneficial in learning how to install wood paneling. Make Sure the precautionary measures are followed chronologically.

