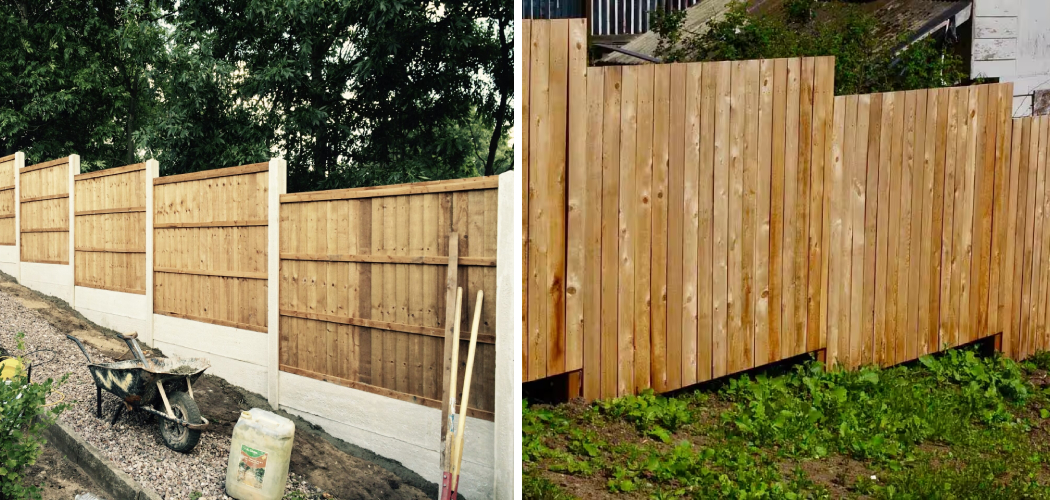
Do you have uneven ground and need to know how to install wood fence panels? If so, you’ve come to the right place! Installing a fence can be a daunting task if your terrain is uneven or sloped. It requires extra care during each step of the process, which can feel overwhelming at first. However, with the right techniques, installing a wood fence on uneven ground doesn’t have to be difficult – it just takes effort and patience.
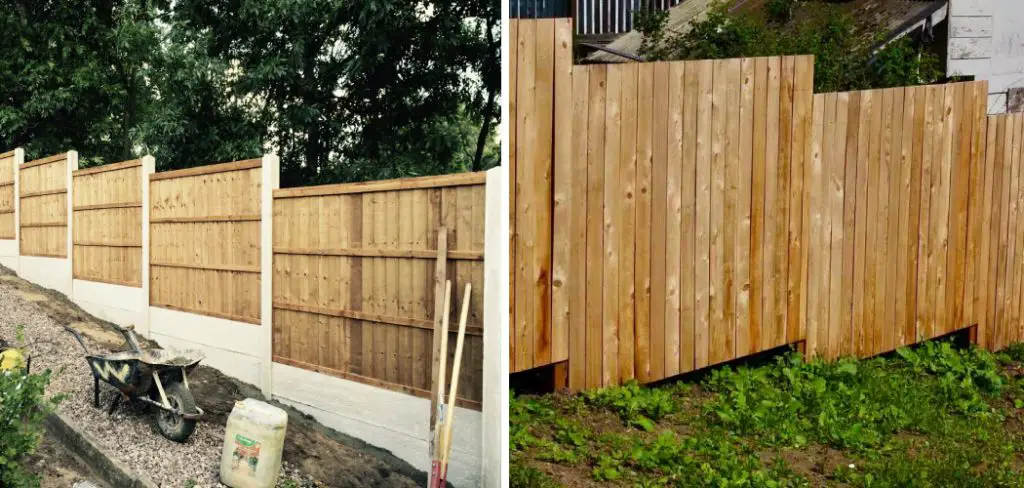
In this blog post on how to install wood fence panels on uneven ground, we will explore how you can successfully install wood fence panels on an uneven piece of land. Read on for more information and find out all you need to know about fencing in those tricky spots!
Needed Materials
Given below is a list of materials that you will need to successfully install your wood fence panels on uneven ground:
- Wood Fencing Panels
- Wooden Posts With Metal Brackets or “staples”
- Posthole Digger (or Other Digging Tool)
- Gravel, Sand, or Crushed Stone
- Level and Tape Measure.
- Hammer and Nails
- Deck Screws for Wooden Posts
- Concrete or Cement Mix
11 Step-by-step Guidelines on How to Install Wood Fence Panels on Uneven Ground
Step 1: Measure the Area
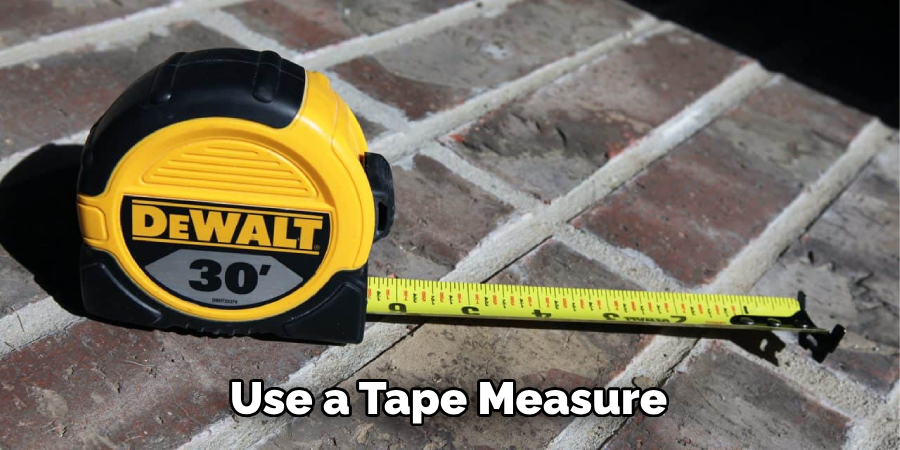
Use a tape measure to accurately measure the length and width of your fence line. Make sure you keep them even – this will help make installation easier and ensure that your fence looks neat. This is especially important on uneven terrain. It is also a good idea to mark the area where you want your fence with stakes and string. But remember that you should not dig any holes until you have double-checked your measurements.
Step 2: Calculate the Grade
Using a level, check the grade of the terrain. Carefully measure and mark each post in order to maintain an even grade along the entire length of your fence line. This will ensure that the fence looks uniform and professional. It is important to make sure that your posts are even, as this will avoid any gaps or unevenness in the fence. If there is a large variation in the terrain, you may need to add additional posts.
Step 3: Dig Your Postholes
Use a posthole digger to dig deep holes for your posts into the ground at each marked location. Make sure they are adequately deep and wide enough – typically 6-8” depending on soil type and post size.
You may need to add or remove dirt to make it perfectly level with other posts. This is especially important with uneven terrain, so make sure each posthole is level before proceeding. This will ensure that your fence panels are evenly distributed and secure.
Step 4: Place Posts In Holes
Carefully place each post into its respective hole and use a level to make sure it is perfectly upright. To add extra security, fill the hole with gravel or sand around the post. But make sure that you leave around 4” of space at the top for attaching your fence panels. It is important that your posts are secure and level, so take extra time to make sure they are plumb.
Step 5: Add Concrete or Cement
Mix concrete or cement according to package instructions and pour into each of the postholes. Make sure that enough concrete is used to fill each hole thoroughly and securely in order to avoid any potential movement of posts over time. Allow this mixture to dry for at least 24 hours before continuing with the installation. This will ensure that your posts are completely secure and stable.
Step 6: Install Fence Rails
Starting from one end, attach rails to each post using nails or deck screws. Make sure they are firmly attached and use a level again in order to keep them even across the entire fence line. But remember, if you are installing a picket fence with wide gaps between the pickets, make sure to leave enough space.

Step 7: Install Fence Panels
Once the rails are in place, it is time to install your wood fence panels. Begin by attaching two adjacent panels at each post using nails or deck screws. Make sure they are firmly attached and use a level again to check that they are even across the entire length of the fence line. It may be necessary to adjust the height of each panel if there is a large variation in the terrain.
Step 8: Fill With Gravel or Sand
If needed, fill any gaps between posts with gravel or sand for extra support and stability. This will prevent movement over time due to weather changes and soil erosion. But make sure that the ground is compacted as much as possible, as this will ensure a sturdy and long-lasting fence. Although it is not necessary, you can also add a layer of topsoil or mulch for added protection.
Step 9: Add Braces
Use metal brackets or “staples” to secure each post to its respective rail in order to provide extra support and stability. It is important to make sure that these braces are firmly attached – you can use a hammer or screwdriver to secure them in place. But remember to check the fence every few months and make sure that all brackets remain in place.
Step 10: Attach Post Caps
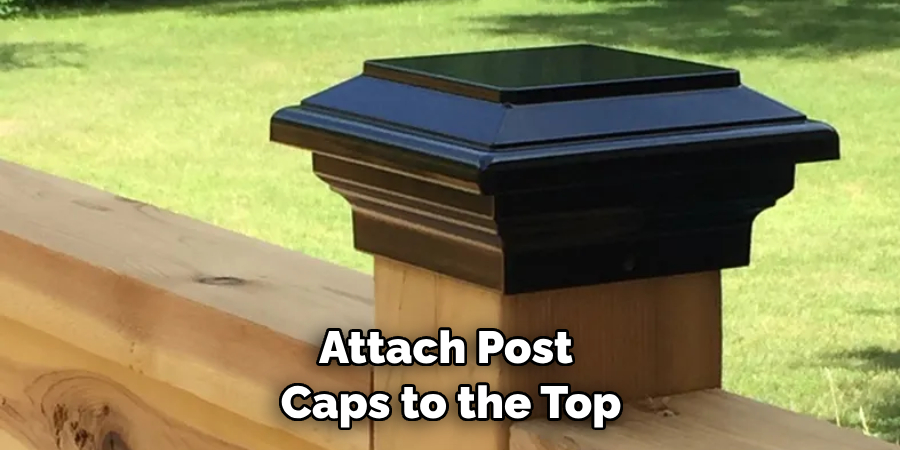
Attach post caps to the top of each post in order to protect them from moisture, pests, and weathering. This will also make your fence look more attractive and provide a finished look. It may also be a good idea to paint your fence in order to better protect it from the elements and make it look even more appealing.
Step 11: Enjoy Your New Fence!
Now that you have successfully installed your wood fence panels on uneven ground, sit back and enjoy your new fence! With some patience and effort, you can easily create an aesthetically pleasing fence line that will last for many years to come. Have fun with it – different ways of arranging or combining materials can give your space a unique character!
Installing a fence on uneven ground may seem daunting at first, but with these 11 steps on how to install wood fence panels on uneven ground and the right materials, it doesn’t have to be intimidating. With proper planning and execution, you can easily create your own unique wood fence panels that will provide the perfect look for your outdoor space. Good luck and happy fencing!
Do You Need to Hire a Professional?
If you don’t feel comfortable tackling this project on your own, it is always a good idea to consult with an experienced fencing contractor or professional handyman. They will be able to assess the terrain and advise you on the best approach for installing fence panels on uneven ground.
Hiring a pro does come at a cost, but in the end, it can save you money by ensuring that the job is done correctly and safely with minimal fuss. So if you are stuck or simply not sure how to go about installing wood fence panels on uneven ground, consider consulting with a professional before starting this project.
Frequently Asked Questions
Q: Can I Install a Wood Fence on Uneven Ground?
A: Yes, you can. It takes extra effort and materials but with the right techniques and materials, it is possible to successfully install a wood fence on uneven ground.
Q: How do I Keep Fence Posts Level on Uneven Ground?
A: Use a level to check the grade of the terrain and place each post into its respective hole. Use gravel, sand, or crushed stone to fill any gaps between posts for extra stability and support.
Q: Can I Install a Fence Myself?
A: Yes, you can. Installing a wood fence on uneven ground does require some skill and patience but it is possible to do the job yourself with the right guidance and materials.
Q: How Long Does a Wood Fence Last?
A: A well-maintained wood fence can last up to 15 years or more depending on the type of wood used, how it is treated, and the climate in which it is installed.

It is important to properly maintain your fence so that it will last longer and look better for years to come. Regularly inspect the posts, rails, panels, and hardware to ensure everything is in good condition. Periodically check for any signs of weakness or deterioration and repair as needed.
Conclusion
Installing a wood fence on uneven ground is not an easy task. But, with the right tools, some elbow grease, and a plan of attack, you too can transform any irregular or hilly terrain into a beautiful and secure fencing system.
After completing your project, you can proudly display your handiwork knowing that you tackled a difficult challenge and have produced quality results. As your project moves along don’t be afraid to tackle any unforeseen issues that may arise.
Before you take on this mammoth endeavor make sure you educate yourself in order to effectively install wood fence panels on uneven ground. You should also seek help from reliable online resources for guidance when needed; this is especially beneficial to avoid potentially costly errors.
Lastly on how to install wood fence panels on uneven ground, if there are complications or damage with grout lines or fireplace cracks during the installation process consider how to fix them before proceeding further – our blog should have helpful information about this topic too!

