Do you have some soft wood around the house that could use being hardened? Are you looking for ways to make your woodworking project more durable? Have soft wood pieces been detracting from the overall strength of your build? If so, you’ve come to the right place. Hardening softwood can add that extra bit of protection or rigidity needed. Hardening soft wood can help make it more durable and less susceptible to damage over time.
In this blog post, we will discuss the simple yet effective method of hardening and strengthening softer woods with a few easy steps, including choosing a type of finish or treatment, prepping the surface, preparing your tools and materials for application, and finally applying multiple layers of finish for optimal protection. Read on to learn how to harden soft wood in quick and straightforward ways for any type of soft lumber so you can create amazing projects with longevity!
Why Do You Need to Harden Soft Wood?
Wood is composed of fibers that can easily be damaged if left unprotected. Applying a finish or protective treatment to the wood will help increase its durability and extend its life. Hardening soft wood also allows it to become more resistant to scratches, dents, and other forms of damage caused by everyday wear and tear. This makes the wood ideal for those projects that need to last a long time or will be exposed to the elements.
The Advantages of Hardening Soft Wood
There are several advantages to soft-hardening wood, including the following:
- Improved durability and strength
- Protection from scratches and dents
- Resistant to moisture and weathering
- Easy maintenance
- Enhances the overall look of a project.
Now that we have discussed why it is important to harden softwood, let’s look at the steps involved.
Required Materials for Hardening Soft Wood
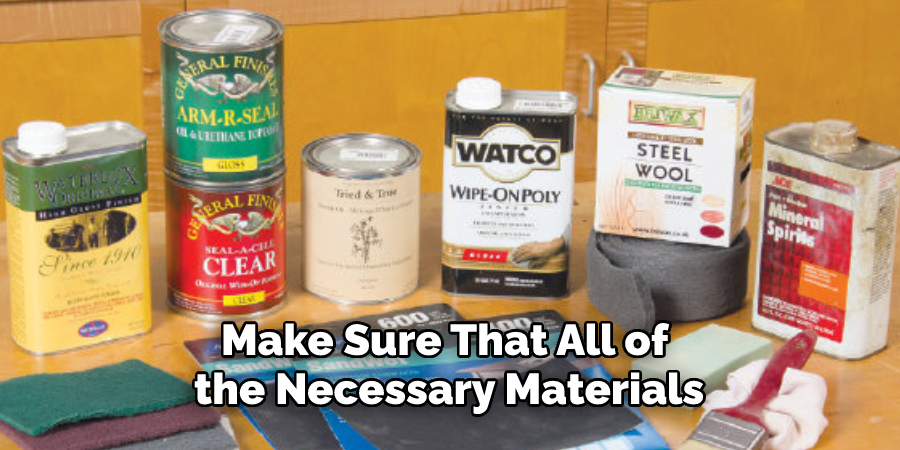
Before you begin, make sure that you have all of the necessary materials. Generally speaking, these will include the following:
- Finishes (oil-based varnish, water-based varnish, wax, oil)
- Sandpaper
- Lint-free cloths
- Mineral spirits
- Paintbrush
10 Steps on How to Harden Soft Wood
Step 1: Choose the Right Finish
The first step in hardening softwood is to choose the right finish. Generally, oil-based varnish or lacquer will provide the best protection, and water-based varnishes are more suitable for indoor projects. Waxes, oils, and other finishes may also be used to provide additional protection.
Step 2: Prepare the Surface
Once you have chosen the right finish, you will need to prepare the surface. Begin by sanding the wood to remove any imperfections and create a smooth surface. Make sure to use fine-grit sandpaper (220-400) so that you don’t leave any marks on the wood.
Step 3: Clean the Surface
Once sanded, use a lint-free cloth to wipe down the wood and remove any dust or debris. You may also need to use mineral spirits depending on the type of finish you are using. This will help ensure that all particles have been removed from the surface.
Step 4: Apply the Finish
Once the surface is clean, you can begin to apply your chosen finish. It’s important to use a brush with natural bristles as this will ensure that the finish goes on evenly and properly. Start by brushing in one direction, then lightly brush back over it in the opposite direction. This will help create an even coat of finish. For oil-based finishes, you may also need to use a rag or cloth to help rub in the finish.
Step 5: Allow the Finish to Dry
Once the first coat is applied, it’s important to allow it time to dry before adding additional coats. This will help ensure that each layer adheres properly and prevents any puddling or pooling of the finish.
Step 6: Apply Additional Coats
Once the first coat is dry, you can begin to apply additional coats. Generally speaking, two to three coats are sufficient, but if you want an extra glossy look and added protection, more layers may be necessary. Make sure to allow each layer to dry completely before adding the next.
Step 7: Sand Between Coats
Between each coat, it’s a good idea to lightly sand the wood with fine-grit sandpaper (400-600). This will help remove any imperfections and create an even surface for the next layer of finish. Be sure to use a light touch and remove only the excess finish.
Step 8: Apply a Final Coat
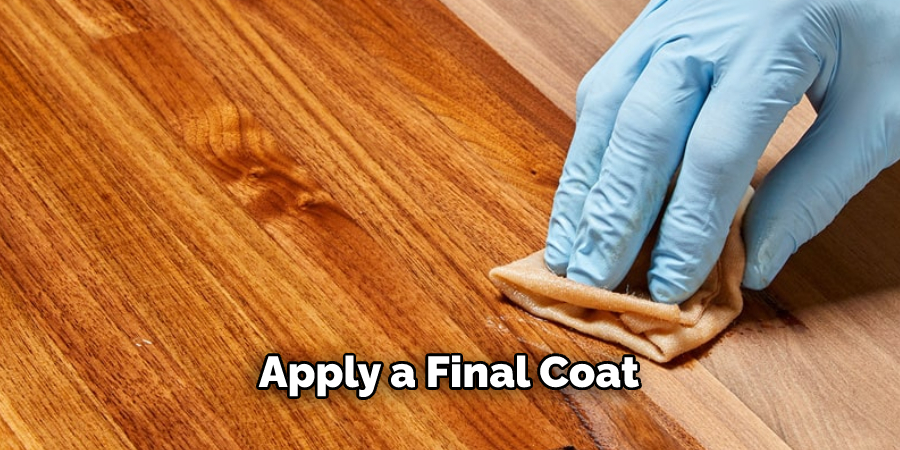
Once all of the previous layers have been applied and sanded, you can apply a final coat. This should be done with a brush in one direction, then lightly brushed back in the opposite direction. This will help create an even and glossy finish.
Step 9: Allow the Final Coat to Dry
Now that the final coat has been applied, it’s important to allow it time to dry. This will ensure that all of the layers have adhered properly and are not pooled or puddled in any areas.
Step 10: Enjoy Your Hardened Soft Wood!
Once the final coat has been applied and dried, you can enjoy your hardened, soft wood. The finish will help protect the wood from moisture, wear, and tear while also enhancing its natural beauty.
With these steps in mind, hardening softwood shouldn’t be a difficult process. Just make sure to take your time and follow the steps carefully to achieve the best results.
8 Common Mistakes to Avoid
When it comes to soft-hardening wood, there are a few mistakes that can be made. Here are eight of the most common mistakes to avoid:
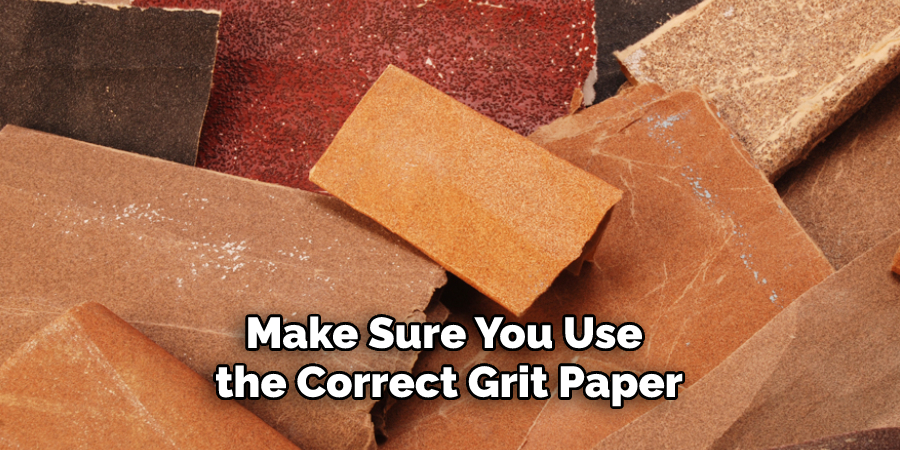
1. Not sanding your wood. Sanding your wood is an important step in hardening and sealing it. Make sure you use the correct grit paper and take care not to damage the wood.
2. Not applying a sealer. A sealant is important for protecting the wood and preventing it from becoming brittle or cracking over time. Always make sure to apply a quality sealant before moving on to any other steps of hardening your softwood.
3. Using too strong a glue. If you’re using glue to join pieces of wood together, make sure the strength of the glue matches the type of wood you’re using. Using a stronger adhesive than necessary can cause your soft wood to become brittle and crack.
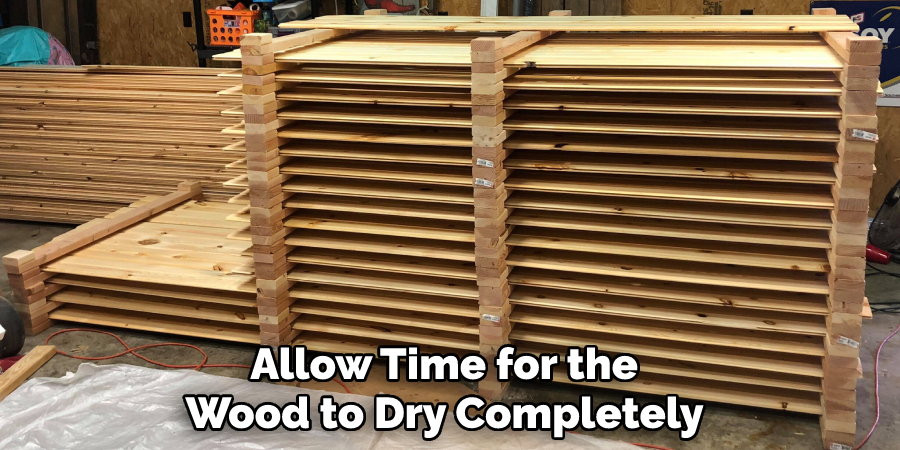
4. Not drying your wood properly. Softwoods can be prone to warping if they aren’t dried properly. Make sure to take the time to let your wood dry thoroughly before hardening it.
5. Using cheap materials. When it comes to hardening softwood, always make sure you’re using quality materials and tools. Cheap products can damage your wood and leave it vulnerable to breakage or cracking over time.
6. Not monitoring the humidity levels. Softwood can expand and contract depending on the humidity levels in your home or workspace. Monitoring these levels can help you make sure your wood stays stable and doesn’t warp or crack.
7. Not allowing enough time to cure. It’s important to give your hardening project enough time to cure. Make sure you wait the full recommended amount of time before attempting to use your wood or applying any further finishes.
8. Not testing out your finish. Before applying a finish to your project, make sure to test it on a small sample piece of wood first. This can help you avoid any unexpected color changes or problems with the finish.
By avoiding these common mistakes, you can ensure that your hardening project will turn out well and your softwood will remain strong for years to come. With the right precautions and attention to detail, you can easily harden soft wood for any project.
Frequently Asked Questions
Does Wood Hardener Work?
Yes, wood hardener does work and can be a great way to make softwood more durable. It helps seal the wood, making it stronger and better able to withstand wear and tear. However, you should always make sure you are using the right product for your particular wood type, as not all hardeners are suitable for every kind of wood.
How Long Does It Take for Wood Hardener to Work?
It depends on the product you’re using and the wood type, but most wood hardeners take 24-48 hours before they are fully effective. You should also allow time for the wood to dry completely after applying the hardener before adding any other finishes or treatments.
Conclusion
In conclusion, there are several steps on how to harden soft wood one can take to make softwood harder and more durable. Utilizing several of these techniques, such as laminating, structural reinforcement, hardening with glue, steaming and bending wood, or using a wood stabilizer, can add strength and increase the life of your project. Preparing and properly treating softwood before you begin your construction processes are essential for avoiding common problems such as warping or other degradation over time due to humidity changes.
Ultimately, understanding and working correctly with the specific type of softwood you’re using in any project is key for long-term success. Taking the time to know about the specific characteristics of different types of woods, their strengths, limitations, and how best to prepare them prior to use will pay dividends in durability in the future. Being informed and understanding what needs to be done before beginning any task is necessary for successful outcomes.

