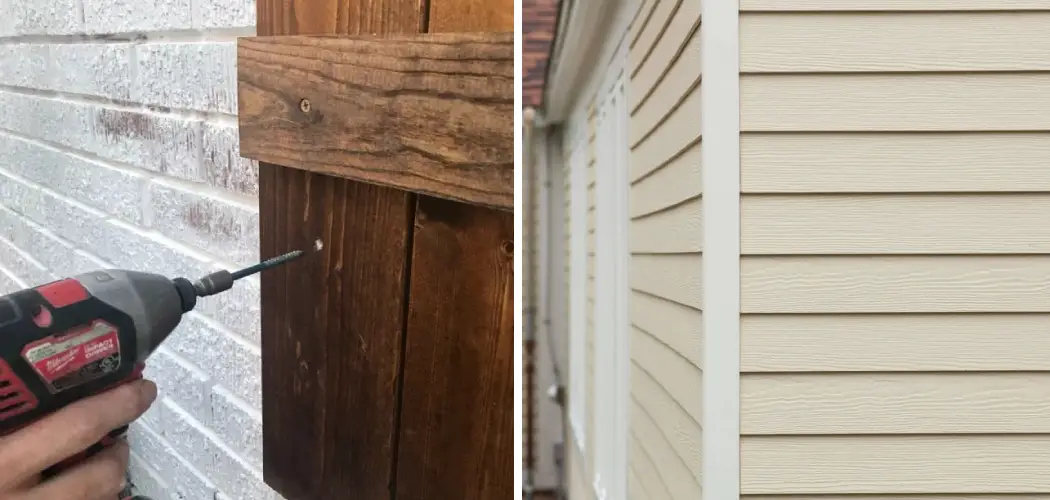
Hanging wood shutters on vinyl siding is a popular and visually appealing way to enhance the curb appeal of your home. Whether you’re aiming to add a touch of rustic charm or create a classic look, wooden shutters can transform the appearance of your house. However, the process of attaching wood shutters to vinyl siding requires careful planning and execution to ensure they are securely and aesthetically installed.
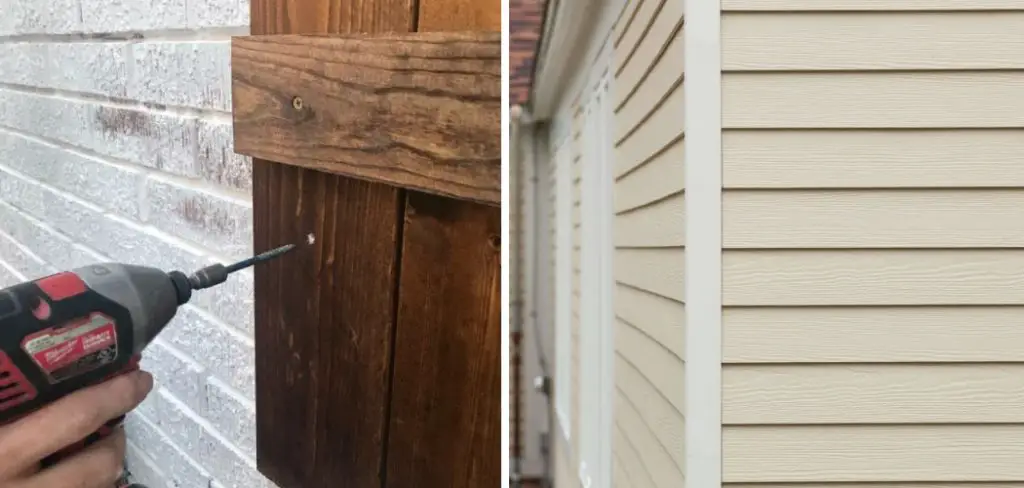
In this guide, we’ll explore the step-by-step instructions and considerations for how to hang wood shutters on vinyl siding, ensuring they not only look stunning but also withstand the elements. From selecting the right materials and tools to positioning the shutters correctly, we’ll cover all the essential aspects of this home improvement project, helping you achieve a polished and long-lasting result.
Importance of Proper Installation of Wood Shutters
Wood shutters are a popular choice for adding beauty and character to the exterior of a home. They come in various styles, colors, and materials and can instantly enhance the curb appeal of any house.
However, to achieve maximum benefits from wood shutters, proper installation is crucial. Improperly installed wood shutters can not only affect the appearance of a home but also cause damage to the siding and trim. In this section, we will discuss the importance of proper installation of wood shutters on vinyl siding.
Prevents Damage to Siding
Vinyl siding is a durable material that provides excellent protection to the exterior of a home. However, it can still be vulnerable to damage if not properly installed. When installing wood shutters on vinyl siding, care must be taken to ensure they are securely attached and do not cause any damage to the siding.
Improperly hung shutters can create gaps or holes in the siding, leading to moisture penetration and potential rotting or warping of the underlying materials. This can result in costly repairs and compromise the integrity of the home’s exterior.
Maintains Structural Integrity
Wood shutters are not only decorative but also functional. They are designed to protect windows from harsh elements such as wind, rain, and debris. Proper installation ensures that the shutters function correctly and do not cause any strain on the window frame or structure of the house.
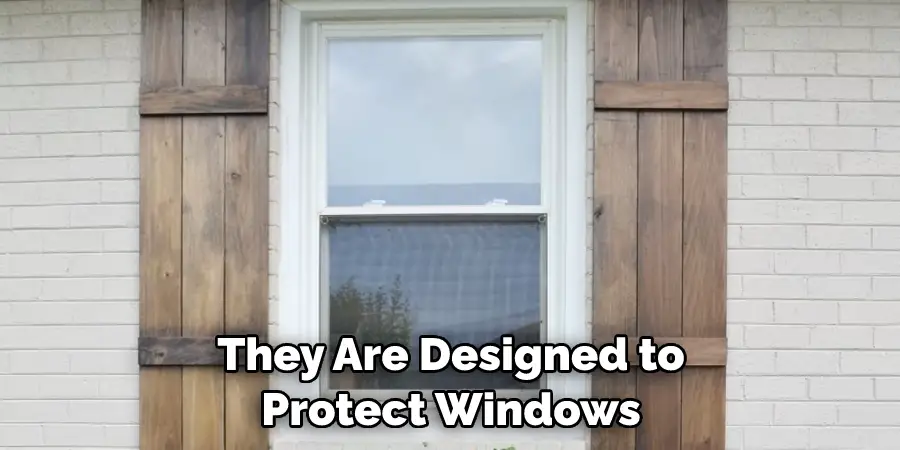
When installed incorrectly, shutters can put excess weight on the frame or cause uneven pressure, leading to potential damage over time. By following proper installation techniques, you can maintain the structural integrity of your home and prolong its lifespan.
Enhances Aesthetics
One of the main reasons homeowners choose wood shutters is for their aesthetic appeal. Properly installed shutters can instantly enhance the curb appeal of a home and add character to its exterior. On the other hand, poorly hung shutters can look crooked, and uneven or create an unbalanced appearance.
This can significantly affect the overall visual appeal of a house. By taking the time to properly install wood shutters on vinyl siding, you can ensure they not only function correctly but also enhance the beauty of your home.
10 Methods How to Hang Wood Shutters on Vinyl Siding
1. Use Vinyl Siding Clips
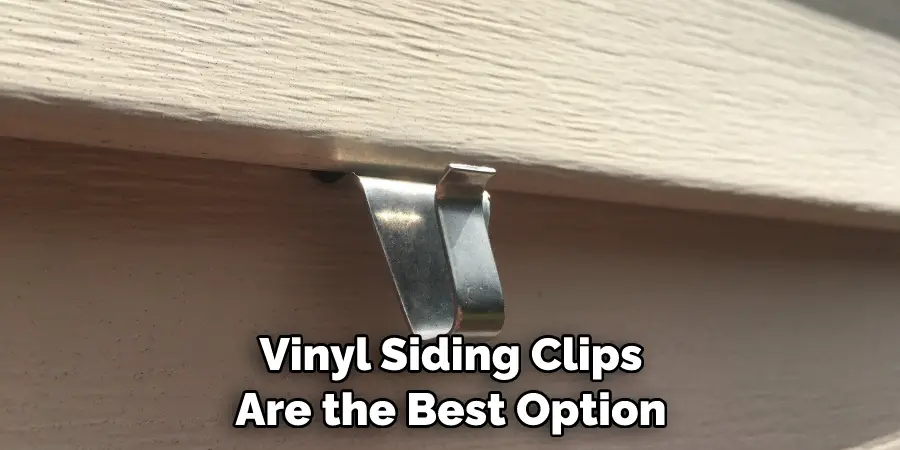
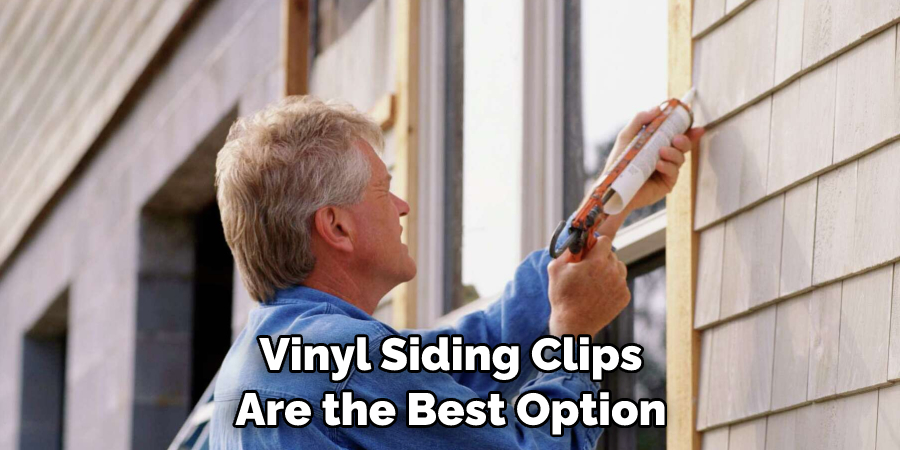
Vinyl siding clips are the best option for securely mounting wood shutters to vinyl siding. To use them, simply slide the clip onto the back of the shutter and then slide it over the top edge of your vinyl siding. The clip will hold the shutter in place and provide a secure mount. If you do not have access to vinyl siding clips, you can also use self-tapping screws or adhesive strips.
2. Measure and Mark
Before you begin installing your wood shutters, measure and mark where they will be mounted on your vinyl siding. This will help ensure that they are properly placed and leveled when you install them. You should also check to make sure there is enough clearance between the shutter and any other objects, such as windows or doors so that they can open and close without obstruction.
3. Pre-Drill Holes
Once you have measured and marked where your wood shutters will be installed, pre-drill holes using a drill bit that is slightly smaller than the screws or nails that you plan to use for mounting the shutters. This step is important because it helps to prevent splitting or cracking of your vinyl siding when inserting screws or nails into it.
4. Insert Screws or Nails
Once you have pre-drilled your holes, insert screws or nails into them in order to mount your wood shutters onto your vinyl siding. Make sure that all screws or nails are securely tightened before moving on to the next step. If necessary, add additional screws or nails for added stability and security of your wood shutters on vinyl siding installation project.
5. Add Caulk
To further secure your wood shutters onto the vinyl siding, apply a bead of caulk around each screw head or nail head before tightening them down completely with a screwdriver or hammer respectively. This will help ensure that no water seeps behind the shutter, which could cause damage over time due to moisture buildup behind it from rainwater runoff from above it during storms etc.
6. Install Shutter Hardware
Once all of your screws and nails are in place, install any necessary hardware such as hinges, latches, handles etc, if applicable depending on what type of wood shutter installation project you are doing on your home’s exterior walls/sides etc. Make sure all hardware is securely tightened down before continuing with any other steps involved in this process as well for a successful outcome overall with this project at hand!
7. Paint Shutters
If desired, paint your newly installed wood shutters with an exterior grade paint in order to protect them from weather elements such as rainwater runoff from above them during storms, etc., UV rays from strong sunlight exposure throughout different times throughout each year seasonally speaking too etc, dirt & debris buildup over time due to windy conditions outdoors etc.
8. Hang Shutters
Finally, hang up/mount each one of those newly painted wooden shutters onto their respective wall sides/areas per measurements taken earlier on during this entire process by attaching hinges at appropriate places along those wall sides/areas accordingly as well!
9. Check Level & Securely Tighten Screws/Nails
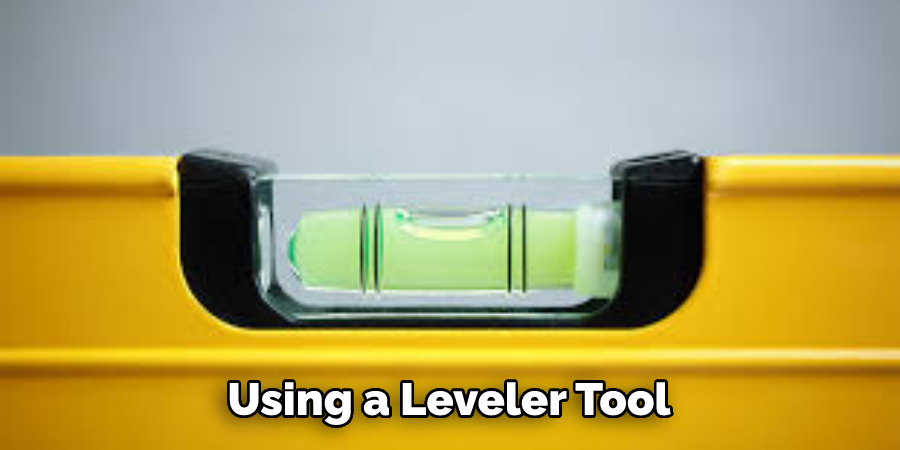
After hanging up each one of those wooden shutters onto their respective wall sides/areas, make sure each one is properly leveled out by using a leveler tool (if available) & then securely tighten down all screws & nails used during this entire process once again just like done earlier on too!
10. Test Shutters Operationally & Enjoy Results!
Finally, test out how those newly hung up wooden shutters operate (open & close wise) after completion of this entire project by opening & closing them several times respectively & enjoy looking at those great results achieved through hard work put forth earlier on throughout this entire process!
Things to Consider When Hanging Wood Shutters on Vinyl Siding
When it comes to decorating our homes, we often think of the interior design and forget about the exterior. However, adding elements such as wood shutters can greatly enhance the overall look of your home’s exterior. If you have vinyl siding on your house, there are a few things to consider when hanging wood shutters. In this guide, we will discuss important factors to keep in mind when installing wood shutters on vinyl siding.
1. Choose the Right Type of Shutters
Before you start the installation process, it’s essential to select the right type of wood shutters for your home. There are various styles and materials available in the market, including natural wood, composite wood, and PVC. While natural wood offers a classic and authentic look, composite and PVC options are more durable and require less maintenance.
2. Measure Your Windows Accurately
Accurate measurements are crucial when it comes to installing wood shutters on vinyl siding. Improperly measured shutters can end up looking uneven or cause gaps between the shutter and siding, allowing moisture and insects to enter. Before purchasing your shutters, measure the height and width of each window carefully. It’s always better to measure twice to ensure accuracy.
3. Use Proper Tools and Fasteners
When hanging wood shutters on vinyl siding, it’s essential to use the right tools and fasteners. The type of fasteners will depend on the material of your siding, as well as the weight of the shutters. Stainless steel or rust-resistant screws are recommended for vinyl siding, while different materials may require different types of anchors.
Conclusion
With a few basic tools and the proper technique, you can easily add beautiful wood shutters to your vinyl siding and enjoy the completed look for years to come. Whether they’re decorative or functional, any style of wooden shutter can add an aesthetic boost to a home. Just be sure to follow the outlined steps and safety precautions in order to make sure everything is hung correctly and neatly.
If you need help, don’t be afraid to call in professional help before attempting a DIY project like this one. And don’t forget—your local hardware store will likely have all the supplies you need when it comes to hanging wood shutters on vinyl siding! So go ahead, give it a try, and get creative with the design of your outdoor window treatments. You won’t regret taking the time to learn how to hang wood shutters on vinyl siding!

