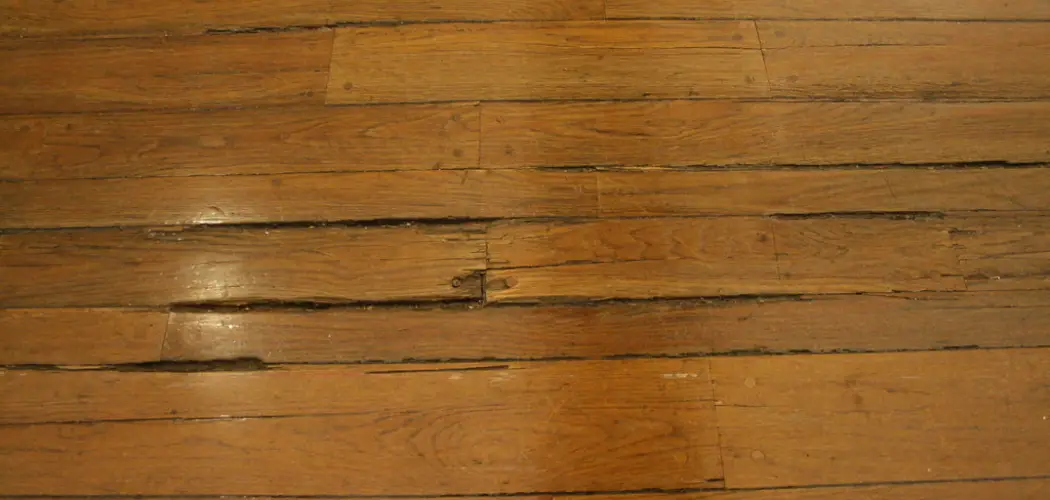
If you’ve noticed an area of your wood floor that seems to be a little warped, don’t fret. Wood warping can happen for a number of reasons – the most common causes being too much moisture or humidity in the environment and direct exposure to light and heat.
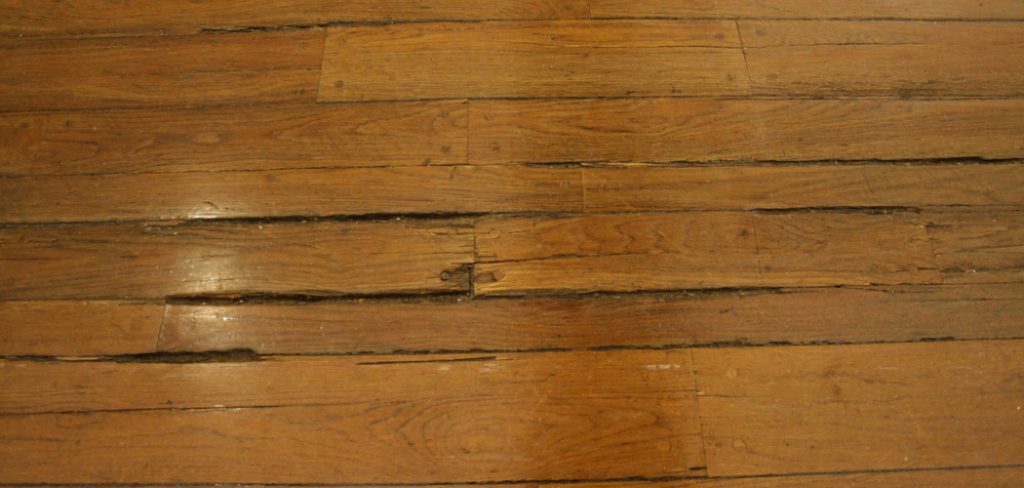
Unfortunately, repairing it with anything more than temporary solutions is often seen as a difficult task that should be left up to professionals. But this isn’t always the case – depending on what kind of condition your flooring is in, it could just need some re-leveling instead of full replacement!
So if you’re wondering how to fix a wood floor that is warped, read on for all the tips and information you need to make sure your hardwood floors look fresh and new once again!
Tools and Materials You Will Need to Fix a Wood Floor That is Warped
- Wood clamps
- Sander or sandpaper
- Wood filler
- Chisel and hammer
- Utility knife
- Putty knife
- Straight edge ruler
- Drill and screws (optional)
- Replacement wood planks (if necessary)
- Paint or stain (for finishing touch)
Step-by-step Guidelines on How to Fix a Wood Floor That is Warped
Step 1: Identify the Warped Area
The first step to fixing a warped wood floor is to identify the affected area. Look for any signs of bulging, unevenness, or separation between planks. This will help you determine how big of an area needs to be repaired and what tools and materials you will need. This will also give you an idea of the extent of the warping and whether it can be fixed or if replacement is necessary.

Step 2: Remove Any Obstacles
Before beginning the repair process, make sure to remove any furniture or other objects from the affected area. This will allow for easier access to the floor and prevent accidental damage to your belongings. While removing the furniture, take note of any damage to the floor caused by heavy objects or sharp edges.
Step 3: Dry Out the Affected Area
If moisture or humidity is the cause of warping in your wood floor, it is important to dry out the affected area before attempting any repairs. This can be done by using a dehumidifier or fans to increase air circulation and reduce moisture levels. It is important to fix the source of excess moisture before proceeding with repairs to prevent future warping.
Step 4: Straighten Out the Warped Area
Using wood clamps, apply pressure to the warped area in order to straighten it out. Make sure to place a flat piece of scrap wood between the clamp and the floor to prevent any damage. Leave the clamps in place for at least 24 hours to allow the wood to adjust and flatten out.
Step 5: Sand Down Any Uneven Areas
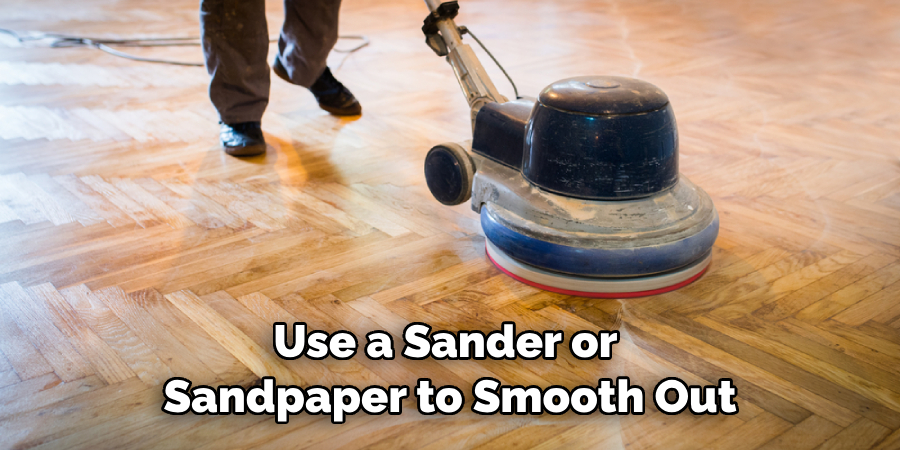
After removing the clamps, use a sander or sandpaper to smooth out any remaining unevenness in the affected area. This will ensure that the repaired section of the floor is level with the rest of the flooring. Sand in the direction of the grain for best results. While sanding, be careful not to apply too much pressure as this can create new dips or uneven areas.
Step 6: Fill in Gaps with Wood Filler
If there are gaps between planks after sanding, use wood filler to fill them in. Apply the filler using a putty knife and smooth it out with a straight-edge ruler. Once dry, sand down the filler to ensure a smooth and even surface. Make sure to choose a filler that matches the color and grain of your wood floor for a seamless finish.
Step 7: Replace Damaged Wood Planks
If the warping is too severe or there are damaged planks, you may need to replace them entirely. Use a chisel and hammer to carefully remove the damaged plank. Measure and cut a replacement plank to fit and use a putty knife to spread wood glue on the edges of the surrounding planks. Place the replacement plank and secure it with clamps or screws until the glue dries.
Step 8: Finish with Paint or Stain
Once all repairs are complete, finish off your wood floor by painting or staining it to match the rest of the flooring. Make sure to choose a finish that is suitable for hardwood floors and follow the manufacturer’s instructions for the best results.
Following these steps will help you fix a warped wood floor on your own, saving you time and money compared to hiring a professional. Remember to properly maintain your wood floors by keeping them free of moisture and avoiding exposure to direct sunlight and excessive heat.
With proper care, your hardwood floors can stay beautiful and smooth for years to come! So don’t let a little warping discourage you, with these tips and tricks, you can easily fix your wood floor and enjoy its natural beauty once again. Happy repairing!
Additional Tips and Tricks to Fix a Wood Floor That is Warped
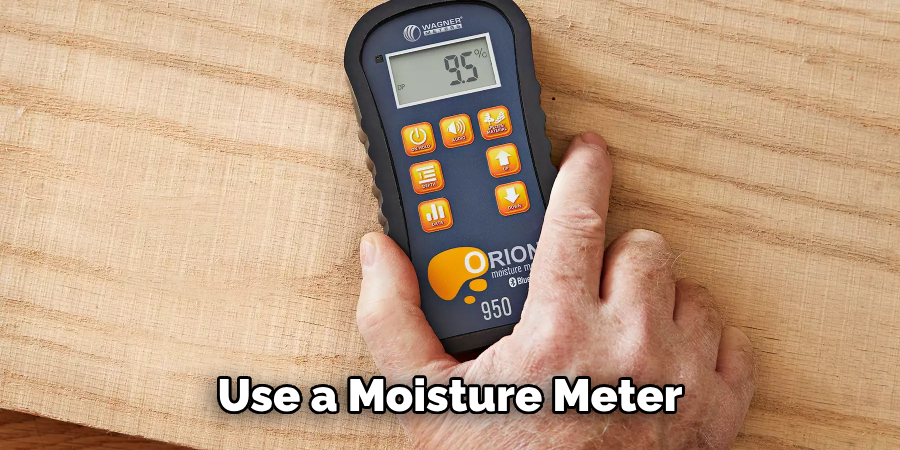
1. Use a Moisture Meter. Before attempting any repairs on your wood floor, it’s important to determine the cause of the warping. One common cause is excess moisture, which can come from leaks or high humidity levels. Using a moisture meter, you can accurately measure the moisture content of your wood floor and determine if it’s the root cause of the warping.
2. Address Any Moisture Issues. Once you’ve identified excess moisture as the culprit, it’s important to address this issue before attempting any repairs. This may involve fixing leaks or installing a dehumidifier in the affected area. Once the moisture levels are under control, you can move on to repairing your wood floor.
3. Sand Down the Warped Area. If your wood floor is only slightly warped, sanding may be enough to fix the issue. Use a belt sander or hand sander to sand down the raised areas until they are level with the rest of the floor. Be sure to wear a dust mask and work slowly to avoid causing further damage.
4. Fill in Gaps with Wood Putty. If your wood floor has warped to the point where there are gaps between boards, you can use wood putty to fill them in. Choose a color that matches your floor and apply it carefully using a putty knife. Once the putty has dried, you can sand it down to create a smooth surface.
5. Replace Severely Warped Boards. If your wood floor is severely warped and cannot be fixed with sanding or wood putty, you may need to replace some of the boards. Use a circular saw or hand saw to carefully remove the affected boards and replace them with new ones. Be sure to choose a replacement board that matches the type and color of your existing floor.
6. Address Underlying Structural Issues. In some cases, warping may be caused by underlying structural issues such as uneven joists or an unstable subfloor. If this is the case, it’s important to address these issues before attempting any repairs on your wood floor. This may involve hiring a professional contractor to make necessary repairs.
7. Prevent Future Warping. Once you have successfully repaired your wood floor, it’s important to take steps to prevent future warping. This may include regularly checking and maintaining moisture levels, avoiding excessive exposure to water or humidity, and properly acclimating any new wood flooring before installation.
Following these tips and tricks can help you effectively fix a wood floor that is warped. However, if the warping is severe or you are unsure about how to proceed, it’s always best to consult a professional for assistance.
With proper maintenance and repair techniques, your wood floor can be restored to its original beauty and continue to provide a durable and attractive flooring option in your home. So don’t give up on your wood floor–with the right tools and techniques, you can make it look as good as new!
Precautions Need to Follow for Fixing a Wood Floor That is Warped
- First and foremost, you should identify the root cause of the warping. There could be multiple reasons behind a warped wood floor, such as moisture or temperature changes. Identifying the cause will help you take necessary precautions to prevent it from happening again in the future.
- Before beginning any repair work, make sure you have a stable and well-lit work area. This will help you see the damage clearly and work more efficiently.
- Wear protective gear, such as gloves and eyewear, to avoid any injuries while working on the wood floor.
- It is important to let the wood floor acclimate to the room’s temperature before beginning any repairs. This will prevent further warping or damage due to sudden changes in temperature during repair work.
- If the wood floor is severely warped, it is recommended to seek professional help. Attempting to fix it yourself may result in further damage and costly repairs in the long run.
- Always use proper tools and equipment while fixing a warped wood floor. This includes a pry bar, hammer, nails or screws, and a level.
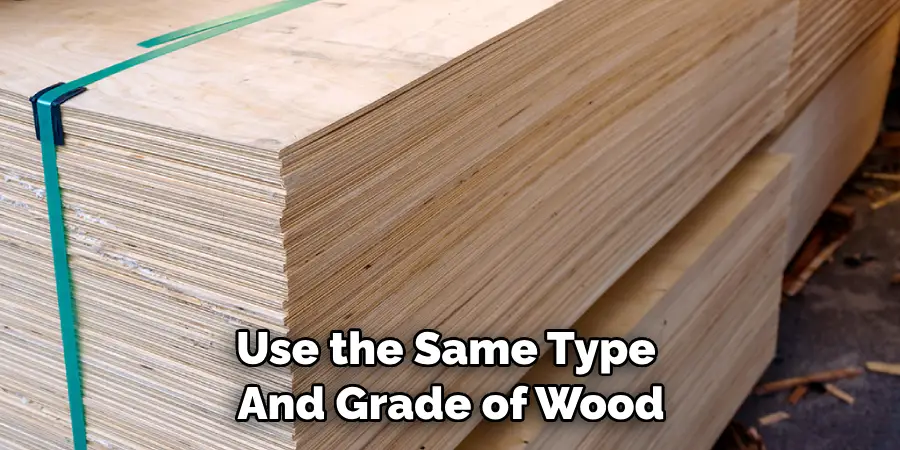
- When repairing individual boards, make sure to use the same type and grade of wood to maintain consistency in appearance.
- After repairing the wood floor, it is important to seal or refinish it properly to protect it from future damage.
Following these precautions will not only ensure a successful repair but also help maintain the integrity and longevity of your wood floor. So, it is important to carefully follow these steps to fix a warped wood floor and prevent it from happening again in the future.
Conclusion
In conclusion, having a warped wood floor can be an unpleasant and disheartening experience. Thankfully, it is completely fixable at home by taking the initiatives outlined in this post.
Start by assessing the extent of your warped floor and figure out what kind of water damage caused it, if any. After looking into what type of substance is needed to fix your specific issue, purchase the necessary products and begin repairing it from there. By using the right tools and materials, you too can receive excellent results like professional contractors would do.
With that in mind, why not take on this challenging project with confidence, watch as your efforts pay off, and enjoy a beautiful new hardwood floor? By following our simple steps on how to fix a wood floor that is warped, you will be sure to have success!

