Staining your deck is a great way to preserve the natural beauty of outdoor wood and protect it from wear and tear. But, if you’re not careful, staining can also leave you with an unsightly sticky residue on your decking that won’t seem to go away no matter how much you scrub!

Don’t worry—here we’ll explain the causes for this sticky residue and provide guidance on how to fix a sticky deck after staining so that you can restore the pristine look of your freshly stained deck. Keep reading to learn more about how easily fixing a sticky deck after staining can be!
12 Step-by-step guides on how to fix a sticky deck after staining
Step 1: Understand the Cause
The sticky residue left behind from staining your deck is usually caused by the oil-based stains that are used to protect and enhance the wood. This oil-based stain can react with the existing moisture in the decking and form a sticky layer.
If your deck is new, the adhesive used to hold down the boards may also contribute to this sticky residue. It’s important to understand the cause before attempting to fix the problem.
Step 2: Prepare the Deck for Cleaning
Before you start cleaning, make sure that you cover any plants or furniture around your deck to protect them from potential overspray. You should also wear protective gear like gloves, eye protection, and a respirator to ensure your safety when dealing with harsh chemicals.
This also applies to any pets or children that might be in the area. This is especially important if you’re using a pressure washer to clean your deck.
Step 3: Choose an Appropriate Cleaner
The type of cleaner you use to try and remove sticky residue from your deck depends heavily on what type of stain was used originally, so be sure to check labels first before purchasing your cleaner.

Generally speaking, oil-based cleaners are best for removing oil-based stains, and water-based cleaners work better for water-based stains. It’s also important that whichever cleaner you choose is designed specifically for outdoor use to ensure the best results.
Step 4: Mix the Cleaner Properly
Be sure to follow the instructions on your chosen cleaner’s label when mixing it with water. Different products will have different ratios of cleaner to water, so make sure you follow those instructions carefully in order to get the best results. This is also the time to add any additives such as detergent or degreasers if needed. It’s best to use warm water when mixing your cleaner. Otherwise, the mixture may not work as effectively.
Step 5: Apply the Cleaner and Scrub Away Sticky Residue
Once you’ve mixed up your cleaning solution, apply it liberally onto the decking where the sticky residue is present and let it sit for a few minutes before scrubbing it away are the best choice for removing sticky residue from decks. It’s best to use a stiff-bristled brush for this task. Be sure to put some elbow grease into it, as the sticky residue can be stubborn and require a bit of force to remove.
Step 6: Mix and Test Your Cleaner
Mix your chosen cleaner in a bucket according to the product’s instructions and then test it on an inconspicuous area of your deck first to make sure that it won’t cause any further damage. This is especially important if you’re dealing with a new deck, as some cleaners can strip away the protective sealants that come pre-applied to some new decks.
Step 7: Apply Cleaner and Scrub
Once you’ve ensured that your cleaner won’t cause any additional damage, apply it to the stained portions of your deck using a scrub brush and allow it to sit according to package directions.
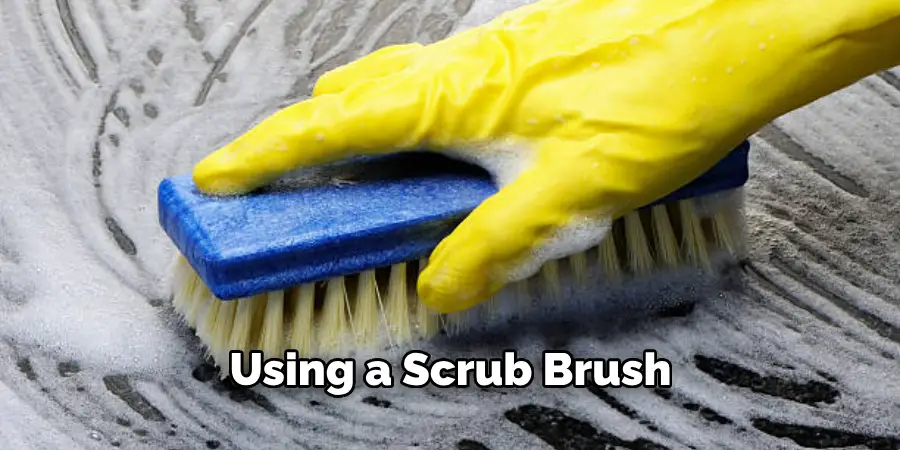
But be sure to keep an eye on your deck while it’s soaking, as some cleaners can react differently with different types of wood. After the cleaner has had a chance to saturate, scrub away the sticky residue with a bristle brush or other stiff-bristled tool.
Step 8: Rinse Away Residue with Water
After the allotted time has passed, use a garden hose set to its highest pressure setting to rinse away the cleaner and any remaining sticky residue. Be sure to hold the hose at least 3 feet away from the deck so as not to cause additional damage. If you’re dealing with a new deck, take extra care to not over-rinse as this can cause warping or other damage.
Step 9: Let it Dry Completely
Once your deck is clean, let it dry completely before proceeding with any sort of sealant or protective coating. This will ensure that all excess moisture has been removed and won’t affect how well these products adhere to the wood. It’s best to let your deck dry for at least 24 hours before applying any sealants or protective coatings.
Step 10: Apply a Protective Coating.
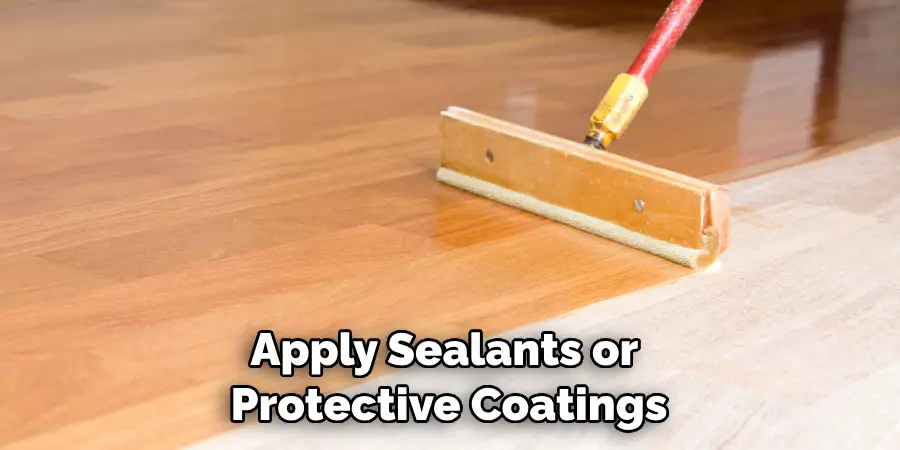
Once your deck is completely dry, apply a quality sealant or protective coating suitable for outdoor use in order to protect it from future weathering and staining issues. This will also help the deck resist moisture, which could otherwise contribute to additional sticky residue issues. If you’re using a sealant, it’s best to apply two coats for the best protection.
Step 11: Make Sure That All Sticky Residue Is Gone.
Give the deck a final once-over to make sure that all of the sticky residues have been removed from your freshly stained and sealed decking. It’s best to use a simple rag dampened with water and wipe down the entire deck to make sure that all of the residue is gone. If you spot any remaining residue, repeat steps 2-8 until the entire deck is completely free of sticky residue.
Step 12: Enjoy Your Clean Deck.
Now that you’ve successfully removed the sticky residue and coated your deck with a protective sealant, you can sit back and enjoy your newly clean, refreshed, and protected outdoor space! But remember, always follow the instructions on your chosen cleaner and sealant to ensure that you’re getting the best results. After all, prevention is the best cure.
These easy steps on how to fix a sticky deck after staining will help ensure that your outdoor wood is safe from stains and sticky residues in the future. With some simple cleaning techniques, you can easily fix a sticky deck after staining so that it looks like new again! Now get out there and enjoy your fresh-looking outdoor area!
Do You Need to Use Professionals?
In most cases, you should be able to remove sticky deck residue yourself with the help of the tips above. However, if you feel like you need further assistance or guidance in removing stubborn stains and residues, it may be best to call in a professional for advice.
Professional cleaners have access to heavy-duty cleaning products that can safely and effectively remove even the toughest stains from your outdoor wood surfaces. So before attempting any major DIY projects on your own, consider asking an expert for help first! That way, you can ensure the job is completed properly and without causing further damage to your precious outdoor spaces. Good luck!
Frequently Asked Questions
Q: Is It Safe To Use Professional Cleaners?
A: Yes. Professional cleaners have access to heavy-duty cleaning products that can safely and effectively remove even the toughest stains from your outdoor wood surfaces. So before attempting any major DIY projects on your own, consider asking an expert for help first! That way, you can ensure the job is completed properly and without causing further damage to your precious outdoor spaces.

Q: How Long Should I Let The Cleaner Sit?
A: The amount of time you let the cleaner sit depends on what type of stain was used originally and what kind of cleaner you’re using. Be sure to check the instructions on your chosen product’s label in order to determine how long it should stay on the wood before being rinsed away. Generally speaking, most cleaners should be given at least 10 minutes to work their magic before rinsing them off with a garden hose.
Q: Can I Use A Pressure Washer To Clean My Deck?
A: Yes, you can use a pressure washer to clean your deck as long as the pressure is set to its highest setting. However, it’s important to note that too much pressure can damage the wood, so always be sure to keep the nozzle at least 3 feet away from any wood surfaces when using a pressure washer.
The best way to ensure that no damage is done is by testing out the pressure washer on a small area first before attempting to wash your entire deck. This will give you an idea of how much power is needed without risking any serious damage.
Q: How Often Should I Clean My Deck?
A: Generally speaking, you should clean your deck at least twice a year with a mild cleaner. This will help to keep it looking like new and prevent any residues or stains from building up over time. It’s also important to apply sealants or protective coatings regularly in order to protect your wood from weathering and staining issues in the future. For best results, follow these steps twice a year for optimal protection!
Conclusion
Fixing a sticky deck after staining is not an easy task but with patience and the right steps it can be done. After stripping off any excess stain from the surface, you’ll need to clean the deck thoroughly. An effective cleaning should include using hot water, detergent and a scrub brush. Once you’ve cleaned your deck, apply sealer or polyurethane to seal it.
This will provide protection against weather damage as well as enhance the look of your stained deck. Finally, you may want to consider applying water repellents or stains that contain anti-stick components to reduce stickiness in future applications.
By taking these simple steps on how to fix a sticky deck after staining, you can fix a sticky deck after staining and keep your outdoor living space looking great for years to come.

