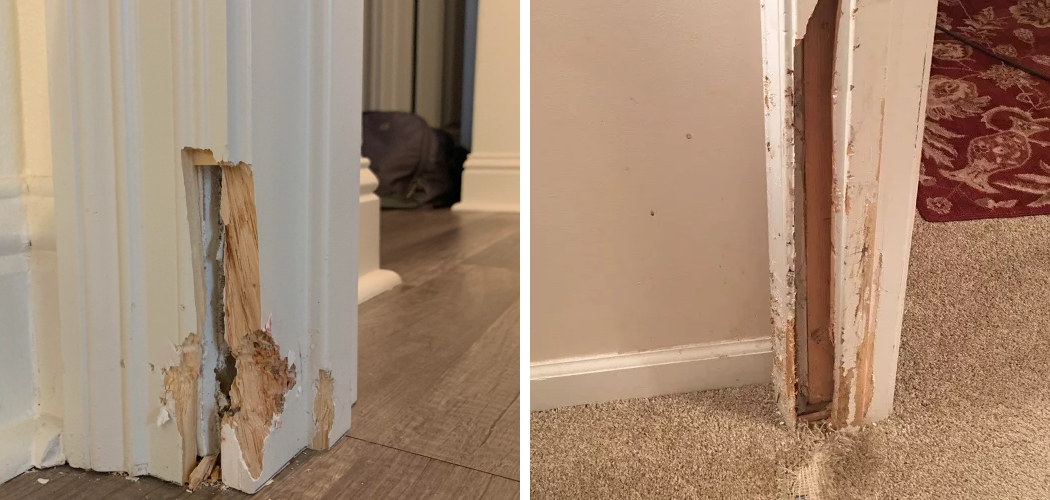
As a pet owner, it is sometimes impossible to prevent your furry family member from chewing on furniture or other items. Chewing can cause damage to wooden door frames, leaving them splintered and unattractive. If you have a chewed-up door frame needing repair, there are a few steps you can take to restore its appearance while preserving its structural integrity. With the right tools and supplies, you can learn to fix a chewed-up door frame and save yourself considerable money in the long run.
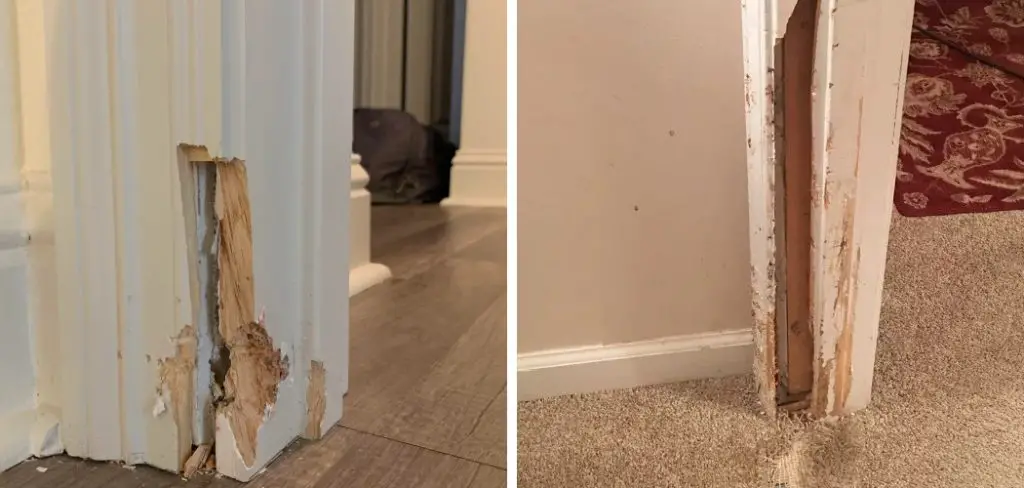
Fixing a chewed-up door frame has many advantages. First and foremost, it ensures that your home remains safe from the damage caused by gnawing animals or toddlers with sharp teeth. You also prevent further damage to your walls and other parts of the house by repairing the frame. Additionally, this type of repair can save you money in the long run as it prevents you from having to replace the entire door frame. You can find step-by-step instructions on how to fix a chewed up door frame in this blog article.
Materials You Will Need
- Putty knife
- Sandpaper
- Wood putty or filler
- Paintbrush
- Drop cloths
- Masking tape
- Paint (optional)
- Wood glue
- Hammer and nails or screws (optional)
- Wood shims (optional).
Step-by-Step Processes for How to Fix a Chewed Up Door Frame
Step 1: Inspect the Damage
Carefully inspect the damage done by your pet to identify what parts of the door frame need to be repaired. Take note of any broken or missing pieces, as you may need to replace them. Get together all the supplies you’ll need for this project, such as wood glue, sawdust, wood filler, saws, and sandpaper.
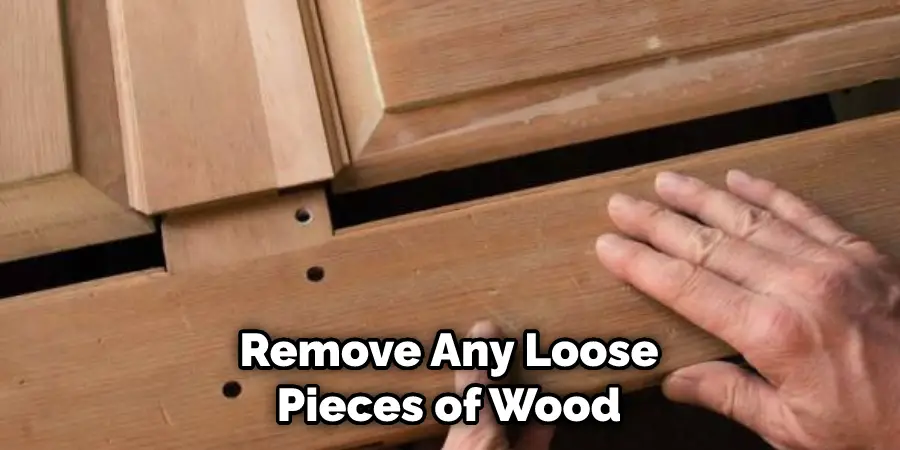
Step 2: Remove Loose Material
If possible, use a screwdriver to remove any loose pieces of wood or other materials from the door frame. This will help you better assess the extent of damage and prepare for repairs. Apply wood filler to any gaps and holes in the door frame. Leave it to dry completely before sanding it down with fine-grit sandpaper.
Step 3: Create Replacement Pieces
If necessary, use wood scraps or new boards to create replacement pieces that fit into the damaged parts of the door frame. It’s best to paint these pieces to match the existing wood before installing them. Use a saw to cut any new pieces that are needed for repair. Measure carefully and use clamps to hold the replacement piece in place while you work.
Step 4: Glue New Pieces into Place
Apply wood glue to the edges of the replacement pieces and carefully press them into place. Use a hammer or rubber mallet to make sure they are firmly attached. Once the new pieces have been attached, use sandpaper to smooth out any rough areas around the repair site. Make sure to get into all the cracks and crevices.
Step 5: Fill in Any Cracks or Gaps with a Wood Filler
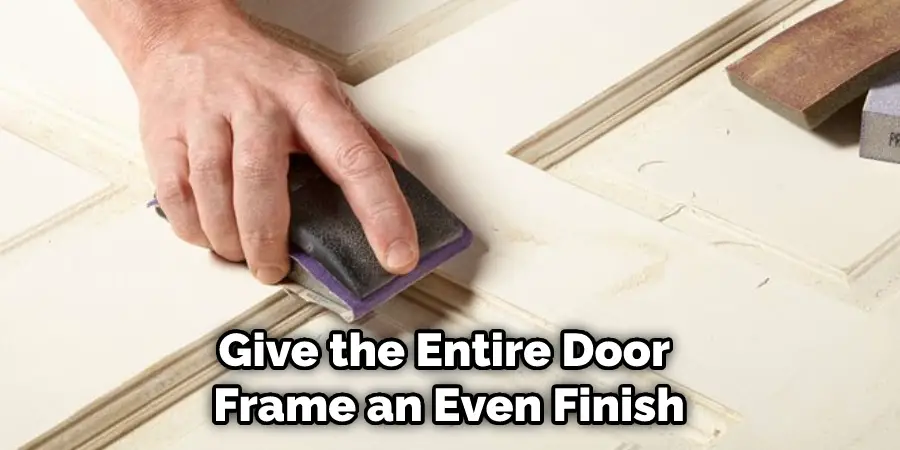
If there are any remaining gaps or cracks, apply wood filler to them before sanding them down again. Use sandpaper to give the entire door frame an even finish. Start with rough-grit sandpaper and go to finer grits until you get a smooth, uniform appearance. If desired, you can also apply wood stain to the entire door frame for a more polished look. Allow the stain to dry completely before applying a coat of sealer.
And you are done! With these steps, you should have no trouble fixing your chewed-up door frame, restoring it to its former glory.
Tips for How to Fix a Chewed Up Door Frame
- Wear safety glasses, a mask, and gloves to protect yourself against dust and wood splinters while working.
- Block off the area with plastic sheeting to prevent sawdust or debris from spreading throughout your home.
- Remove all broken pieces of wood from the doorframe using a hammer and chisel.
- Measure the dimensions of the gap left by the chewing and cut a piece of wood to size using a saw or power tool.
- Place the new wood into position in the doorframe and glue it down with the carpenter’s glue or wood adhesive.
- Secure the newly placed wood with nails or screws, ensuring the new wood is flush with the existing frame.
- Sand down any rough edges to ensure everything is even and smooth when finished.
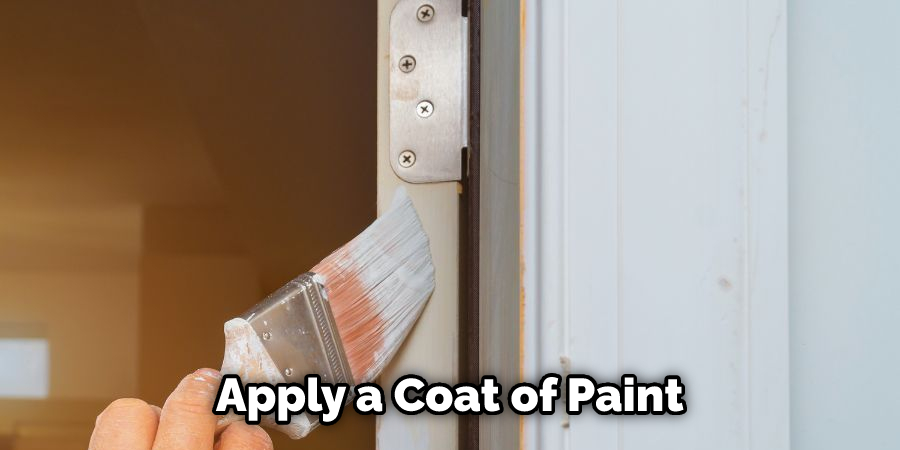
- Apply a coat of paint or varnish to match your doorframe if desired.
Following these safety tips will help ensure that you can safely fix your chewed-up door frame without harming yourself or damaging the existing wood.
How Do You Prevent Further Damage to Your Door Frame?
Once you have fixed the existing damage, it is important to take steps to prevent your pet from causing further destruction. The first step is to make sure that whatever was causing your pet to chew on the door frame in the first place has been removed or corrected. This could be something like an overabundance of energy, boredom, or even a dietary issue.
Another important step you can take is to provide your pet with plenty of toys and other appropriate items for chewing or gnawing. This will help satisfy your pet’s needs without them resorting to destructive behavior such as chewing on the door frame again. You also want to ensure that all areas of your home, including the door frames, are off-limits to your pet. This will help ensure they no longer have access to areas where they can damage.
How Often Should You Check for Any New Signs of Damage to the Door Frame?
Once the original damage has been repaired, regularly check for any new signs of damage to the door frame. This can help prevent further or more severe damage in the future. Inspecting your door frames weekly can help catch any potential issues early and allow for quick and easy repairs. When inspecting, it is important to focus on the condition of the door frame itself.
Look for any signs that your pet may have chewed or clawed at the frame again, such as scratches, scuff marks, chips or other indications of damage. If anything looks suspicious, take a closer look to determine if repairs are needed.
It is also important to pay attention to any signs of damage around the door frame, such as shredded carpet or woodwork underneath the frame. These can be indicators that your pet has been using the area for a chew toy and may require more extensive repairs to prevent further damage. By monitoring the condition of your door frames regularly, you can help ensure that any potential issues are addressed quickly. This will help keep your door frames looking and functioning like new for years to come.
How Can You Clean and Maintain Your Repaired or Replaced Door Frame?
- Vacuum the area around the repaired or replaced door frame to remove any dirt, dust, and debris that have accumulated in the crevices.
- Use a damp cloth to gently wipe down all of the areas surrounding the door frame, including the threshold and jambs. Make sure to get into all of the corners and crevices.
- Use a mild detergent and water solution to remove any stains or dirt that may be on the repaired door frame. It is important to use a mild detergent as using too harsh of a cleaner could damage the frame material.
- Once the frame is clean and dry, apply a coat of wood sealant or finish to protect it and help maintain its condition.
- To keep the door frame looking new, regularly dust it with a microfiber cloth and use furniture polish as needed. This will help to prevent dirt and dust from accumulating in the crevices of the woodwork.
By following these steps, your door frame will remain in great condition for years to come. With proper care and maintenance, you can extend the life of your repaired or replaced door frame.
How Often Should You Inspect Your Door Frame for Signs of Further Damage?
Inspecting the door frame regularly can help you prevent further damage caused by chewing. Make sure to inspect your door frame at least once a month or more frequently if needed. Look for signs of existing damage and chew marks that may indicate that your pet is still actively trying to chew its way through the frame. Additionally, keep an eye out for any loose parts that the chewing may have detached.
If you find significant additional damage, it is best to replace the frame as soon as possible. This will ensure that your pet’s destructive behavior does not cause further damage to your property. Additionally, if you suspect your pet is still actively trying to chew its way through the frame, consider trying to distract them with other chew toys or provide them with more exercise and stimulation. Taking these steps can help prevent further damage from occurring in the future.
Conclusion
In conclusion, if your pet has chewed up a door frame, know that you don’t need to live with the damage or replace the entire frame. Instead, there are several ways to make quick and easy repairs to get the job done without any difficulties. You can patch up holes using a spackle and a putty knife, fill in scratches with wood filler, and even replace pieces that are too far gone with new parts.
With the help of these tips, you’ll be able to fix up your door frame in no time and have everything looking good as new again. I hope this article has been beneficial for learning how to fix a chewed up door frame. Make Sure the precautionary measures are followed chronologically.
You Can Check It Out to Make a Paneled Door

