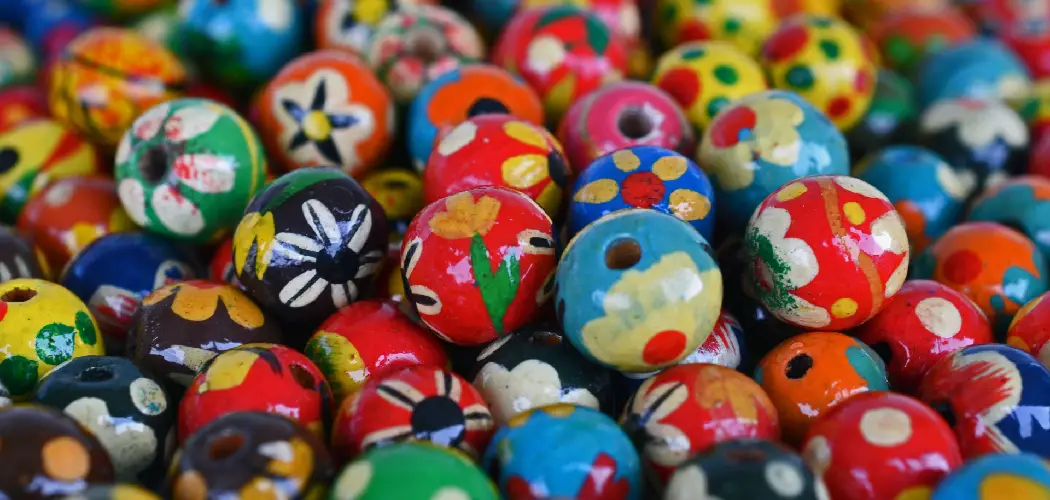
Are you looking for a creative craft that will bring your style to life? Have you ever wanted to customize your own jewelry, accessories, or décor with something made entirely by you? If the answer is yes, then it’s time to start dyeing wooden beads!
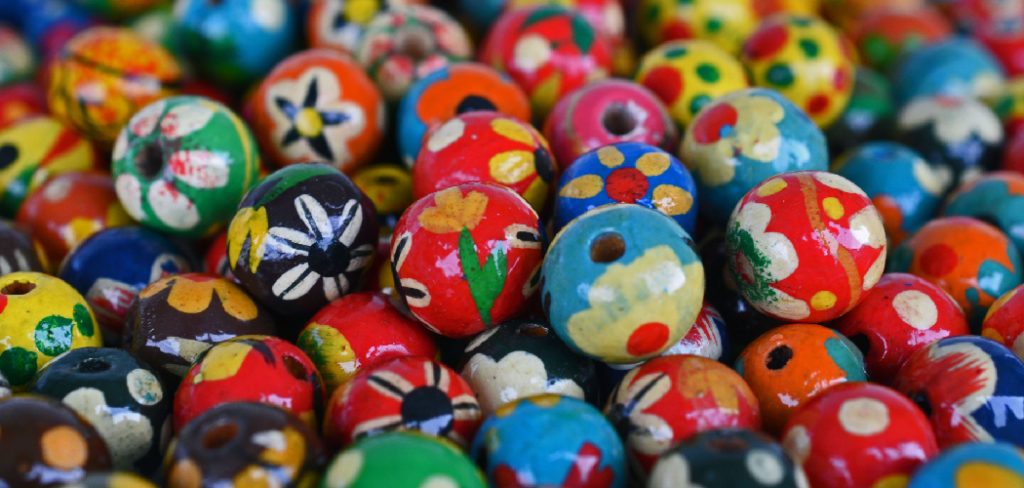
With just a few supplies and some simple steps, this creative project can add vibrancy and uniqueness to your look in no time. Whether you already love crafts or want to give it a try for the first time – read on for all the details on how to successfully dye wooden beads!
Adding a personal touch to your DIY jewelry projects is an easy way to make them unique. With colorful wooden beads, you can create truly show-stopping pieces of art. Today we’re here to teach you exactly how! Whether you’re a beginner crafter or an experienced pro, this step-by-step guide on how to dye wooden beads will help you dye wooden beads in any color imaginable. So get ready – it’s time for some creative fun!
Why May You Want to Dye Wooden Beads?
1 . To Create a Unique Look
Dyeing wooden beads can be a great way to give them a unique look. You can choose from a variety of colors and finishes to create something that stands out from the crowd. Depending on the dye you use, you may even be able to customize the hue or finish of your beads as desired. This can make for some interesting projects!
2 . To Match Objects or Colors
Wooden beads can be dyed to match other objects, such as clothing and accessories. This is very helpful if you’re making jewelry or decorations and need the colors to match perfectly. You can also dye wooden beads to complement the color scheme of a room or event – for example, you could use light blue beads to decorate a baby shower or red and green beads for Christmas decorations.
3 . To Enhance Craftwork
Dyeing wooden beads can help you create unique craft projects. With the right colors, you can make your items look more vibrant and eye-catching – perfect for adding that extra special touch to handmade gifts or decorations. Dyed wooden beads also add texture and interest to wooden ornaments, wall hangings, and more!
4 . To Make a Statement
Finally, dyeing wooden beads can be a great way to make a statement. You can choose bold colors to stand out from the crowd or use subtle shades for a more delicate look. Whichever you prefer, dyed wooden beads can help you express your personality and create something that reflects your style. Whatever the reason, dyeing wooden beads is a fun and creative way to update any project!
What Types of Dyes Are Available For Wooden Beads?
There are a few different types of dyes that can be used on wooden beads. Each type has its own advantages and disadvantages, so you’ll need to choose the one that best suits your project. Here are some of the most common:
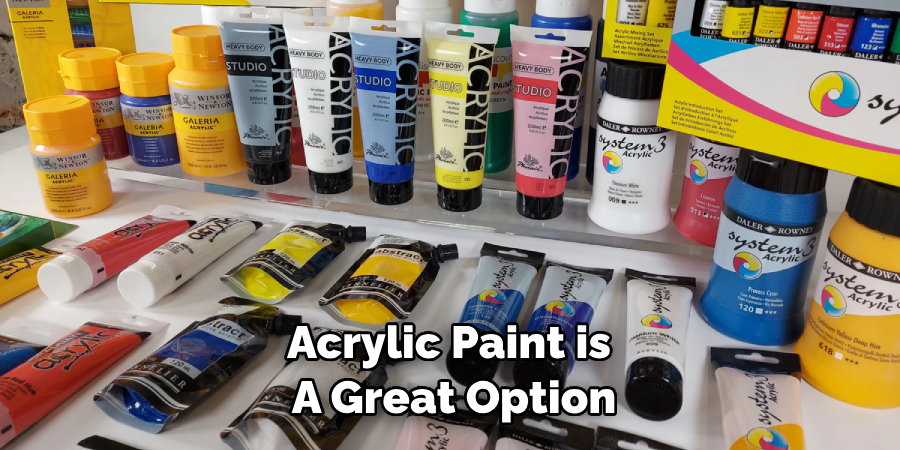
1 . Acrylic Paint
Acrylic paint is a great option for dyeing wooden beads because it’s affordable, easy to apply, and available in a wide range of colors. You can also mix different shades together to create unique hues. The downside is that acrylic paint doesn’t last as long as some other types of dyes, so you’ll need to reapply it periodically.
2 . Fabric Dye
Fabric dye is another popular option for dyeing wooden beads. It gives a strong, vibrant color that’s more long-lasting than acrylic paint. However, it can be difficult to control the shade of the finished product and fabric dyes are often more expensive than other types.
3 . Stains
Stains are a great choice for dyeing wooden beads because they penetrate the wood, giving it a richer color. They’re also durable and easy to apply. The downside is that stains can be difficult to remove once applied, so you need to make sure that you’re happy with the color before you start.

4 . Wax
Wax is a great choice for dyeing wooden beads because it creates a waterproof seal that prevents them from fading or tarnishing. You can also choose from a wide range of finishes, such as matte and glossy. The downside is that wax doesn’t penetrate the wood, so it doesn’t add much color.
How to Dye Wooden Beads in 6 Easy Steps
Dyeing wooden beads is a simple process, but there are some important steps you need to follow in order to get the best results. Here’s a quick guide:
Step 1: Prepare the Beads
The first step is to prepare the beads for dyeing. Sand them down with a fine-grit sandpaper to remove any dirt or grime, then wipe them off with a damp cloth. This will help ensure that the dye has an even surface to adhere to.
Step 2: Select Your Dye
Once you’ve prepared the beads, it’s time to select a dye. There are many types of dyes available and each has its own unique properties. Be sure to choose one that is designed specifically for wooden beads and that will provide you with the desired color results.
Step 3: Prepare Your Dye Solution
Once you have your dye, mix it with hot water according to the instructions on the package. Generally, you will want to use twice as much dye as recommended to ensure an even, deep color.

Step 4: Dip the Beads
When your dye is ready, dip the beads into the solution one at a time. If you’re using multiple colors, you will want to dip each bead separately. Allow the beads to sit in the dye for several minutes before removing them and placing them on a towel to.
Step 5 Rinse the Beads
Once the beads are dry, it’s time to rinse them off. Use warm water and a mild soap to remove any excess dye from the beads.
Step 6: Dry and Cure the Beads
Finally, allow the beads to dry completely before using them. Once they are dry, you can cure them by heating them in an oven for a few minutes at a low temperature. This will help ensure that the dye is set permanently and won’t fade or flake off.
Now that you know how to dye wooden beads, it’s time to get creative! You can mix and match colors, experiment with different techniques, and create unique pieces of jewelry or artwork.
Some Extra Tips to Dye Wooden Beads
1 . Do Not Over-Soak the Beads
When dyeing wooden beads, it is important to not oversoak them. Doing so can make them too soft and cause them to break easily. Be sure to remove the beads from the dye solution as soon as they have achieved their desired color.
2 . Wear Protective Gear
Whenever you are working with dyes, it is important to wear protective gear such as gloves and protective eyewear. This will help ensure that you do not come in contact with any hazardous materials.
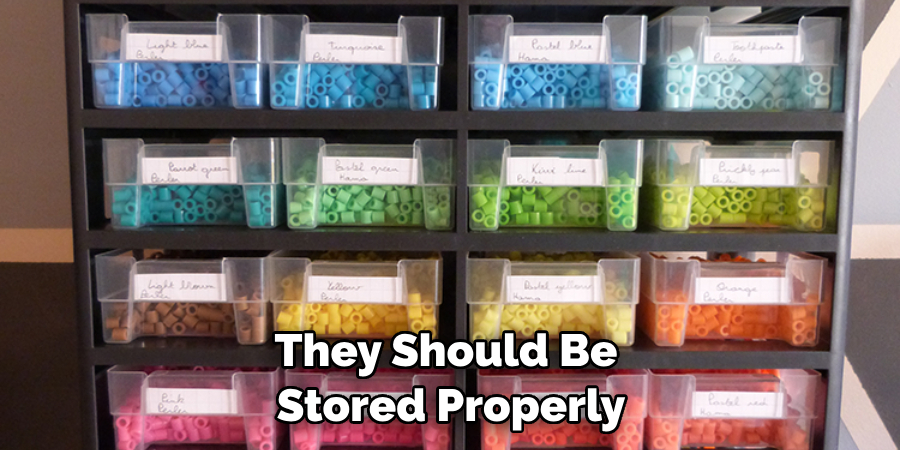
3 . Store Properly
Once the beads have been dyed, they should be stored properly. Be sure to keep them away from extreme temperatures or direct sunlight and store them in a cool, dry place. This will help preserve their color for longer periods of time.
4 . Use Clear Finishes
After the beads have been dyed and stored properly, it is important to apply a clear finish in order to preserve the color of the beads for longer periods of time. Be sure to choose a finishing product that is specifically designed for use on wooden beads.
5 . Test First
Before dying a large batch of wooden beads, it is important to test the dye on a single bead first. This will help you to determine if the color is what you were hoping for, and if not, make adjustments accordingly. Doing so will help ensure that your final product meets your expectations.
6 . Have Fun!
Dyeing wooden beads can be a fun and creative process. Enjoy the process and see where your creativity takes you! Always remember to take safety precautions while working with any dyes or finishes, and have fun creating beautiful pieces of art. Good luck!
Frequently Asked Questions
What Precautions Should I Take When Dyeing Wooden Beads?
When dyeing wooden beads, always start by wearing protective gloves to keep your hands from coming into contact with the dye. Additionally, make sure that you are working in a well-ventilated area, as some dyes may contain harsh chemicals. To further protect yourself and your surroundings, consider using a face mask if the odor of the dye is strong.
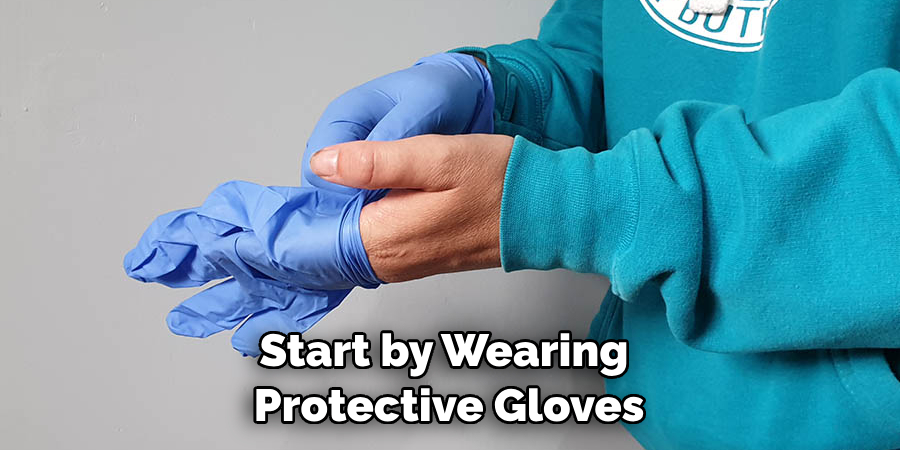
Finally, it’s important to avoid getting any of the dye on non-wooden surfaces, as this could cause permanent staining. Make sure that you are working on a protected surface and clean up any spills immediately.
What Are Some Dyeing Techniques That I Can Use?
There are plenty of methods for dyeing wooden beads. One popular technique is to dip the beads into a dye bath and let them sit until the desired color is achieved. Alternatively, you can use a brush to apply the dye directly onto the bead surface.
A third option is to use spray paint, although this should only be done outdoors due to its strong odor and potential for staining. Finally, you can also use markers and colored pencils to draw intricate patterns directly onto the bead surface.
What Kind of Dye Should I Use?
The type of dye that you choose will depend on the look that you are trying to achieve. If you want a bright, vibrant color, then an acrylic or oil-based dye is the best option. If you are looking for a natural hue, then using wood stain or water-based dyes will be ideal. Additionally, if you want to add a glossy finish to the beads, then consider using polyurethane sealants or varnishes.
How Do I Make Sure That My Beads Have Even Color?
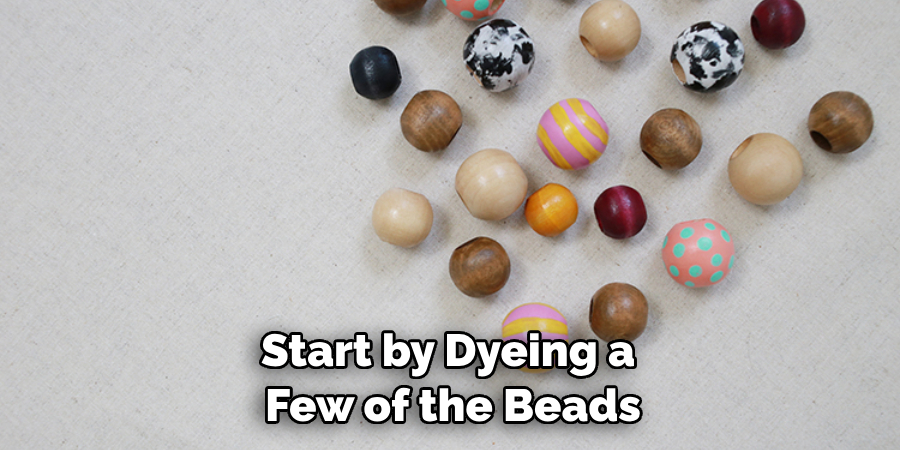
The key to making sure that your beads have an even color is to work in small batches. Start by dyeing a few of the beads at a time and then move onto the next batch after they are dry.
This will help prevent any inconsistencies in the color, as some of the beads may take longer than others to absorb the dye. Additionally, make sure to stir the dye bath regularly when dipping your beads to ensure that all of the beads come out with a consistent color.
How Should I Store My Dyed Beads?
Once you have finished dyeing your wooden beads, it’s important to store them in an airtight container to prevent any dust or debris from settling on them. Additionally, make sure that the container is in a cool, dry place away from direct sunlight to prevent any fading or discoloration. This will help keep your beads looking bright and vibrant for years to come!
Are There Any Ways To Re-Color Dyed Beads?
If you want to change the color of your dyed wooden beads, there are a few different methods that you can use. One option is to strip the existing color and start over with a new dye. Alternatively, you could use paint or markers to create intricate designs on top of the existing color. Finally, you could also add layers of wax for a glossy finish and extra protection against fading or discoloring.
Conclusion
Crafting with wood, or in this case, wooden beads, is as creative and captivating an experience as it was centuries ago. In addition to the traditional methods of dyeing beads, there are now a variety of ways to do it. Whether you choose to use natural dyes like onion skins, flower petals and tea bags or modern methods like fabric dye, you’ll be sure to find that the resulting dyed wooden beads deliver a lasting appearance.
Now you know how to dye wooden beads! Ultimately, the results you achieve with your dye job all come down to how much time and preparation you put into it before diving in. But if you take your time and practice proper safety protocols when handling different dyes, you can easily complete a beautiful project that will be appreciated for years to come!

