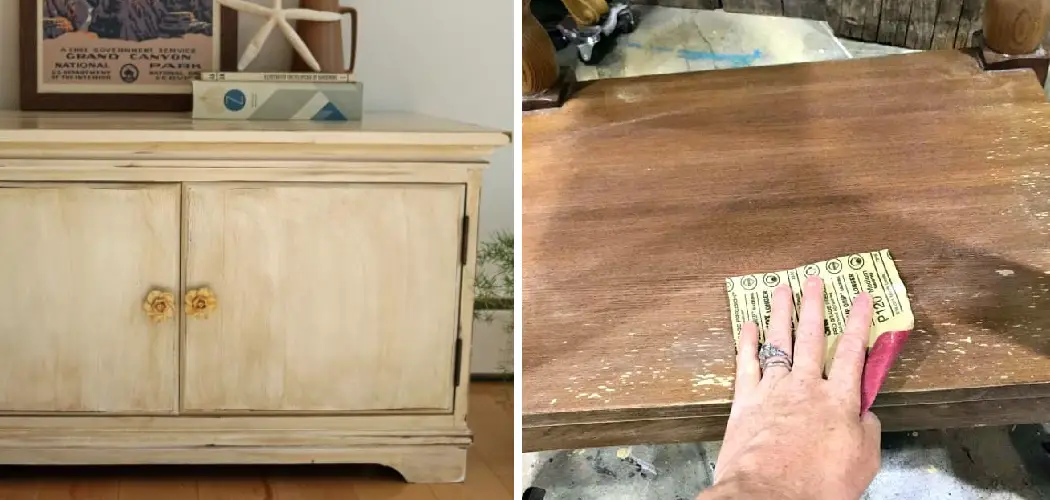
There are many reasons why people choose to distress furniture with sandpaper. Some may do it for aesthetic purposes, while others see it as adding character and charm to their furniture pieces. Whatever the reason, learning to distress furniture with sandpaper can be a valuable skill that will come in handy whenever you want to update the look of your home.
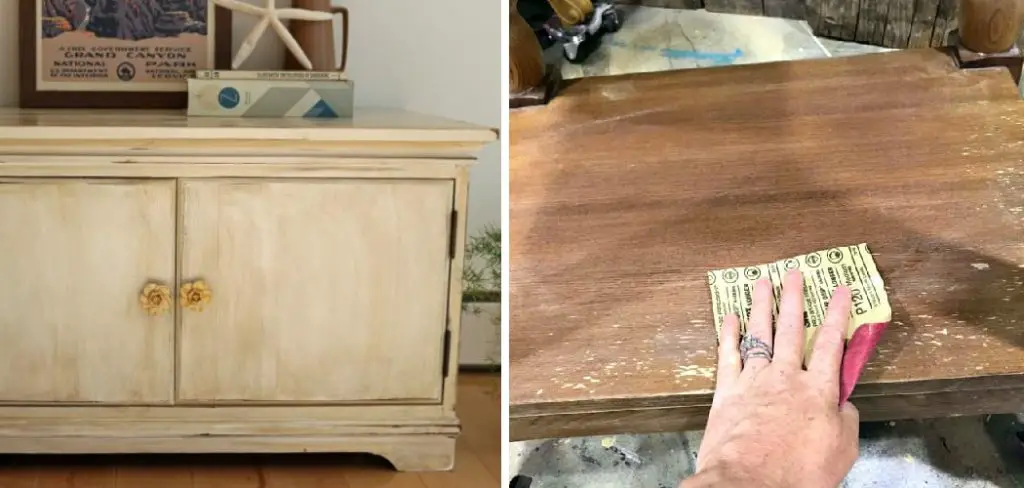
Distressing furniture with sandpaper is a popular technique used in the world of DIY home decor. Not only does it give your furniture a unique and rustic look, but it also allows you to repurpose old or worn-out pieces of furniture. This method uses sandpaper to deliberately remove layers of paint or stain from furniture, creating a distressed or aged appearance. In this blog post, You will learn how to distress furniture with sandpaper.
Step-by-step Instructions for How to Distress Furniture With Sandpaper
Step 1: Inspect the Furniture
Start by inspecting the furniture you want to distress. Look for any flaws or imperfections in the wood that may need sanding before distressing. This step is important as it will help ensure a smooth and even finish.
Step 2: Gather Your Supplies
To successfully distress your furniture with sandpaper, you’ll need some essential supplies such as:
- Sandpaper in various grits (we recommend starting with a medium grit and then moving to finer ones)
- Clean cloth or tack cloth
- Protective gear such as gloves, goggles, and a dust mask
Step 3: Prepare the Work Area
Choose a well-ventilated area to work on your furniture. Lay down newspapers or old sheets to protect your floor or work surface. Remove any hardware, such as handles or knobs, before you begin.
Step 4: Sand the Edges
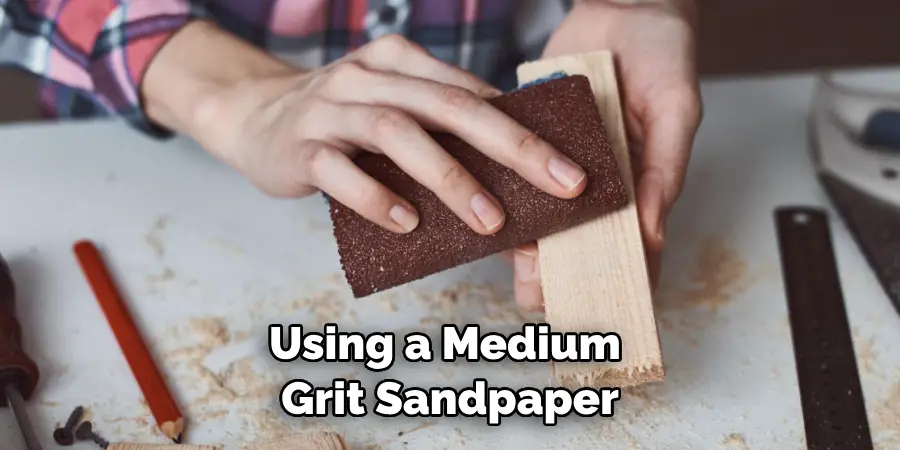
Using a medium grit sandpaper, start distressing your furniture by sanding the edges and corners. This will give your piece a more worn and aged look. Use the sandpaper to create random scratches and indentations on the surface of your furniture. This will add depth and character to your distressed piece.
Step 5: Sand in the Direction of the Grain
When sanding, make sure to follow the direction of the grain for a more natural look. Avoid sanding in circles, as this can create an artificial distressed effect. Frequently wipe away dust or debris with a clean or tack cloth. This will help you see which areas still need more distressing.
Step 6: Add More Distressing
If you want a more heavily distressed look, repeat steps 4-7 until you achieve the desired effect. Remember to use finer grit sandpaper as you go for a smoother finish. If your furniture is painted, you can distress the paint by lightly sanding it in areas where natural wear and tear would occur over time. This includes around handles, edges, and corners.
Step 7: Remove Any Sharp Edges
Be careful not to create any sharp or splintered edges while distressing. If you do, use fine-grit sandpaper to smooth them out. Once you have achieved your desired level of distress, clean up any leftover dust and debris. This will prepare your piece for sealing or staining.
To protect the distressed look and add depth to the color, seal or stain your furniture. For this step, you can use clear wax, polyurethane, or a dark glaze. Apply with a cloth and wipe off any excess to achieve your desired finish.
Safety Precautions for How to Distress Furniture With Sandpaper

- Always wear protective gear such as gloves, goggles, and a dust mask when working with sandpaper to avoid skin irritation and inhaling of dust particles.
- Ensure that the furniture piece is properly secured before distressing it with sandpaper. This will prevent accidental slips or falls.
- Use appropriate sandpaper grit for the job. A lower grit (such as 80 or 100) is ideal for removing paint, and a higher grit (such as 120 or above) can smooth rough surfaces.
- Sand in the direction of the grain to achieve a more natural distressed look and avoid damaging the furniture‘s surface.
- Test an inconspicuous area first to get a feel for how quickly your sandpaper removes the finish. This will help you determine which areas need more attention or a lighter hand.
- Keep a vacuum cleaner handy to clean up any dust particles that may accumulate while sanding.
- Take breaks between sanding sessions to avoid straining your muscles and causing fatigue.
Following these safety precautions ensures a smooth and safe process while disposing of furniture with sandpaper. Remember also to take your time and have fun with it! Distressing furniture with sandpaper is a great way to give old pieces a new life and add character to any room.
What Are the Benefits of Distressing Furniture With Sandpaper?
Distressing furniture with sandpaper is a popular trend in interior design. It involves using sandpaper to give furniture pieces a worn and weathered look, as if they have been aged naturally over time. This technique can be applied to various types of furniture, from vintage finds to modern pieces, and can add character and charm to any room.
But aside from its aesthetic appeal, distressing furniture with sandpaper offers a range of benefits. This article will explore some of the advantages of using this technique and why it’s worth trying out in your own home.
1. Easy to do
Distressing furniture with sandpaper is a relatively simple process that anyone can do, regardless of their level of DIY experience. All you need is a piece of furniture, some sandpaper, and some elbow grease. It doesn’t require any special skills or tools, making it a budget-friendly option for updating your furniture.
2. Customizable
One of the great things about distressing furniture with sandpaper is that you have complete control over the result. You can choose how much distressing you want to do and where to focus it. This means you can create a unique, one-of-a-kind piece that fits perfectly with your personal style and home decor.
3. Adds dimension
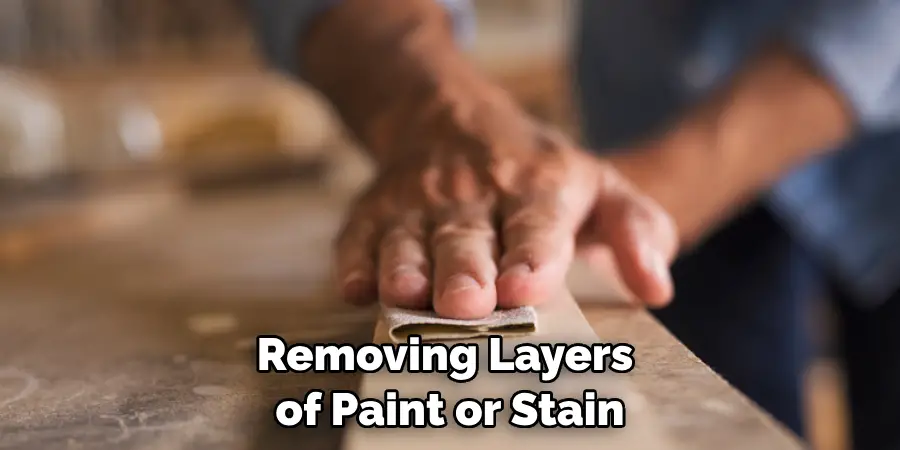
By distressing furniture with sandpaper, you are removing layers of paint or stain from the surface. This creates texture and adds dimension to the piece, giving it a more interesting and dynamic look. It can also help to bring out the natural wood grain, which adds warmth and depth to the furniture.
4. Covers imperfections
If you have an old piece of furniture with scratches, dings, or other imperfections, distressing it with sandpaper can work in your favor. The distressed look will help to camouflage these flaws, making it look intentionally aged rather than damaged. This can save you time and money from repairing or replacing the furniture.
5. Eco-friendly
Distressing furniture with sandpaper is a great way to repurpose old or outdated pieces instead of throwing them away. This reduces waste and allows you to create something new and unique without contributing to the demand for new furniture production.
Are There Any Alternative Methods for Distressing Furniture Without Using Sandpaper?
As discussed earlier, sandpaper is a popular tool for distressing furniture. However, for those who may not have access to sandpaper or prefer not to use it, there are alternative methods available. One method is using steel wool or a wire brush. These tools can create scratches and rough the furniture’s surface like sandpaper. Another method uses a hammer or chains to create dents and divots in the wood, giving it a distressed look.
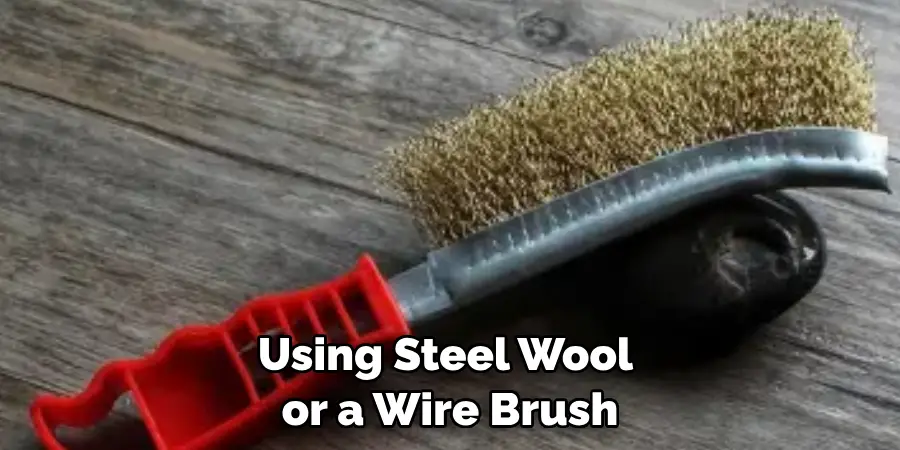
Another option is to use a paint stripper or a chemical deglosser to remove layers of paint or varnish from the furniture, revealing the raw wood underneath. This can create a distressed and worn appearance without the need for sanding. Some people also opt to use a blowtorch or heat gun to create burn marks and discoloration on the wood, which can add to the distressed look of the furniture. However, these methods should be used cautiously as they can be dangerous and potentially damage the furniture if not done carefully.
What Are Some Common Mistakes Beginners Make When Distressing Furniture With Sandpaper?
Regarding distressing furniture, sandpaper is often the go-to tool for achieving that rustic, aged look. However, only some enjoy working with sandpaper or may simply prefer alternative methods for distressing their furniture pieces.
If you fall into this category, don’t worry! You can use plenty of other techniques and tools to achieve the distressed look without using sandpaper. Here are a few alternative methods to consider:
1. Steel Wool
Similar to sandpaper, steel wool can be used to buff away paint or stains from furniture surfaces. It is commonly used with chemical strippers for a more intense distressing effect.
2. Vinegar and Water Mixture

This method involves mixing vinegar and water and spraying it onto the furniture surface. The acid in the vinegar will react with the wood, causing it to appear aged and distressed.
3. Chalk Paint
Another popular method for distressing furniture is using chalk paint. This type of paint has a matte finish and can be easily sanded or wiped away to create a distressed look.
4. Wax Resist Technique
Applying wax to certain areas of the furniture before painting can create a distressed effect by easily wiping away the paint in those areas.
5. Hammer and Nails
You can use a hammer and nails to create dents and indentations on the furniture’s surface for a more rustic and rough look. This method is especially effective for creating a distressed look on wooden pieces.
While these alternative methods may require more experimentation and practice, they can be great options for those who don’t want to use sandpaper or want to achieve a different type of distressed look. Of course, it’s always important to test out any method on a small area before applying it to the entire piece of furniture.
Conclusion
In conclusion, sandpaper is essential for distressing furniture and achieving a vintage, rustic look. It may seem daunting initially, but with the right techniques and tools, anyone can learn how to distress furniture with sandpaper—one of the key things to remember when distressing furniture is to have patience. The process takes time and effort, but the result is worth it.
Another important factor is to choose the right type of sandpaper for the job. Coarse grit sandpaper is ideal for removing large chunks of paint or finish, while fine grit sandpaper is better for achieving a smooth, worn look. Experimenting with different grits will help you achieve different levels of distress. This article has been beneficial for learning how to distress furniture with sandpaper. Make Sure the preventive measures are followed chronologically.

