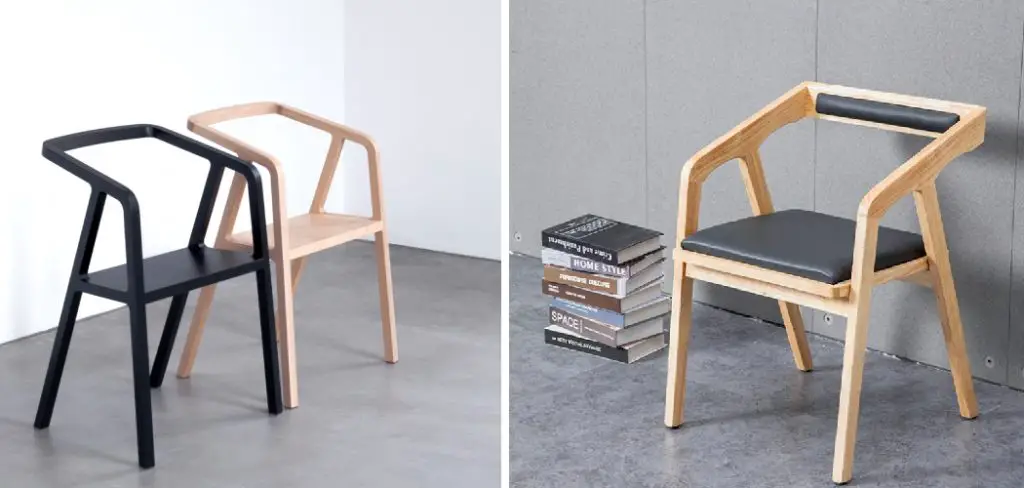
Do you ever find yourself admiring designer furniture, wishing you had the skill and creativity to make a unique piece of art for your home? The thought can be daunting–it’s hard to know where to start when it comes to designing something completely new, like a chair. Not anymore!
In this blog post on how to design a chair, we’ll break down the ins and outs of making furniture at home so you can create personalized pieces that will be treasured for years.

From choosing materials and putting together intricate joints to finding tools perfect for the job—you’ll learn all about how to design chairs from scratch in a few simple steps. Let’s get started!
Why Do People Design Chairs in the First Place, Anyway?
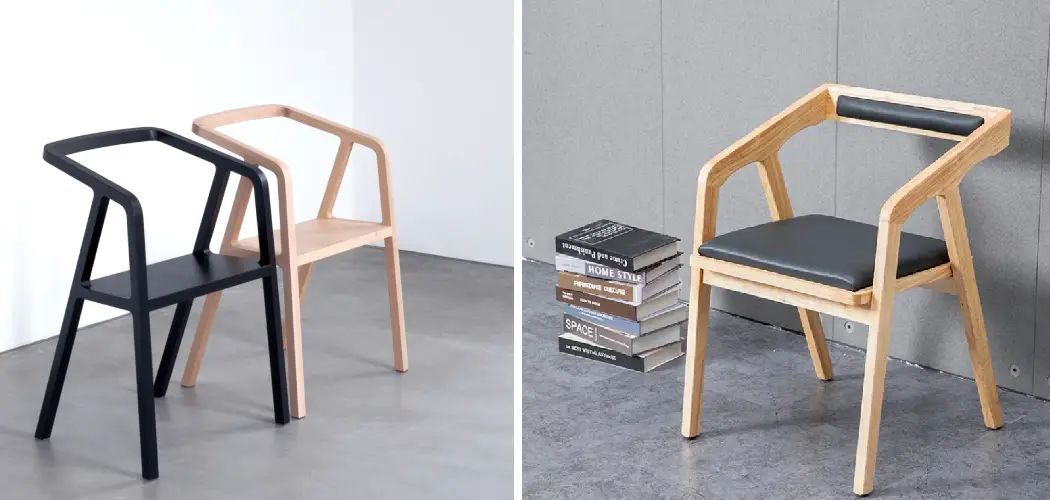
Chairs are an essential part of our everyday lives–we use them at home, at work, and everywhere in between. But functionality is not the only reason to design a chair. Furniture is art, too! Chairs can be sculptural or architectural statement pieces that elevate any space they’re placed in.
Plus, designing a chair gives you complete control over the aesthetics of your home. So why not put in that extra effort to create something truly unique?
Necessary Materials: From Wood to Upholstery
Before we dive into the nitty-gritty of designing a chair, let’s start with the basics. First, you’ll need materials for your project:
- Wood,
- Screws and Dowels,
- Clamps,
- Tools Like Saws, Hammers, and Chisels,
- Glue or Epoxy,
- Sandpaper, and
- Upholstery Fabric.
You can choose any type of wood you like–solid or engineered, hardwood or softwood. For modern chairs, metal is also an option. No matter the material, it’s essential to make sure it’s sturdy enough to support human weight.
9 Simple Step-by-step Guidelines on How to Design a Chair
Step 1: Research and Sketch
Before you start designing, do some research–look at different styles, materials, and joints that people use in their creations. Then sketch out a rough design to help bring your vision to life. It doesn’t have to be perfect; it’s just a starting point. It’s a good idea to make several sketches, each with slight variations in design and dimensions to choose from.
Step 2: Determine the Size of Your Chair
Consider where you’ll place your chair–the size should be proportional to its surroundings. You can also base the dimensions on existing chairs or use ergonomic guidelines for comfort.

But keep in mind that experimenting with size and proportions can create a unique piece. It’s all about finding the right balance. You can use a scale model to get an idea of how it will look in real life. But if you’re confident, you can skip this step.
Step 3: Create a Detailed Plan
Once you’ve decided on the design and size of your chair, create a detailed plan with all the measurements and necessary materials. This will help you keep track of progress and stay organized throughout the process.
You can also make a mock-up using cardboard to see how the chair will look before you commit. It can help you identify any potential issues or changes that need to be made.
Step 4: Prepare the Materials
Now it’s time to purchase your materials and gather all the tools needed for your project. Make sure you have everything on hand before starting to save time and frustration later on.
It’s also a good idea to set up your workspace–have enough room to move around and work comfortably. But don’t worry if you have limited space. With a little creativity, you can make any area work for your project.
Step 5: Cut and Shape the Wood
With your materials prepared, start cutting and shaping the wood according to your plan. Make sure to follow all safety precautions–wear protective gear like gloves, goggles, and a dust mask when working with power tools. This step requires precision, so take your time and measure twice before making any cuts. It’s better to be accurate than sorry later.
Step 6: Assemble the Pieces
Once you have all the pieces cut and shaped, it’s time to put them together. This is where clamps, wood glue, and screws or dowels come in handy. Follow your plan step by step, working carefully to make sure everything fits snugly together. Take your time and make sure the chair is stable before moving on to the next step.

Step 7: Add Detailing
Now that you have a basic chair structure, it’s time to add your personal touch. You can use different techniques like carving, routing, or sanding to create unique details that will make your piece stand out.
This is also where you can experiment with different finishing methods, like staining or painting, to achieve the desired look. However, be careful not to overdo it–sometimes less is more.
Step 8: Attach the Upholstery
If you’ve chosen to upholster your chair, this is the time to do it. Cut out the fabric according to the dimensions of your seat and backrest, leaving a few extra inches for wrapping around and stapling. Properly pull and stretch the fabric over the surface, making sure there are no wrinkles or loose spots. Then staple it in place using an electric stapler or a staple gun.
Step 9: Finishing Touches
The final step is to make sure your chair is sturdy and comfortable. Check for any loose joints, tighten them if necessary, and add padding if needed. You can also add decorative elements like buttons or nail heads to give your chair that extra oomph.
Although it’s not a must, adding felt pads to the bottom of your chair legs can help prevent scratches on your floors. And that’s it–you’ve designed and built your very own chair!
Following these simple steps on how to design a chair, you can create a chair that’s not only functional but also aesthetically pleasing. With practice and experimentation, you can develop your style and design chairs for any space or occasion. So go ahead and let your creativity flow–who knows, maybe you’ll even start a furniture designing business! Happy creating!

Frequently Asked Questions
Q1: How Long Does It Take to Design a Chair?
A1: The time it takes to design a chair can vary depending on the complexity of the design and your level of experience. On average, it can take anywhere from several hours to a few days. It’s a good idea to factor in more time for the first few times you design a chair to allow for any mistakes or adjustments.
Q2: Can I Design a Chair Without Any Prior Experience?
A2: Yes, you can! While having some knowledge about basic woodworking and furniture design will be helpful, it’s not a requirement. With determination and following our step-by-step guidelines, you’ll have a chair in no time. And who knows–it might even become your new favorite hobby or career path.
Q3: How Much Will It Cost to Design a Chair?
A3: The cost of designing a chair will depend on the materials you use and their availability in your area. However, compared to buying a ready-made chair, designing one can save you money in the long run, especially if you plan on making more chairs in the future. It’s always a good idea to research and compare prices beforehand to get the best deal.
Q4: Can I Design a Chair Without Any Woodworking Tools?
A4: It’s possible to design a chair without any woodworking tools, but it will require more effort and creativity. Consider using alternative materials like PVC pipes or metal if you don’t have access to traditional woodworking tools. However, investing in basic woodworking tools can make the process easier and faster in the long run.

Conclusion
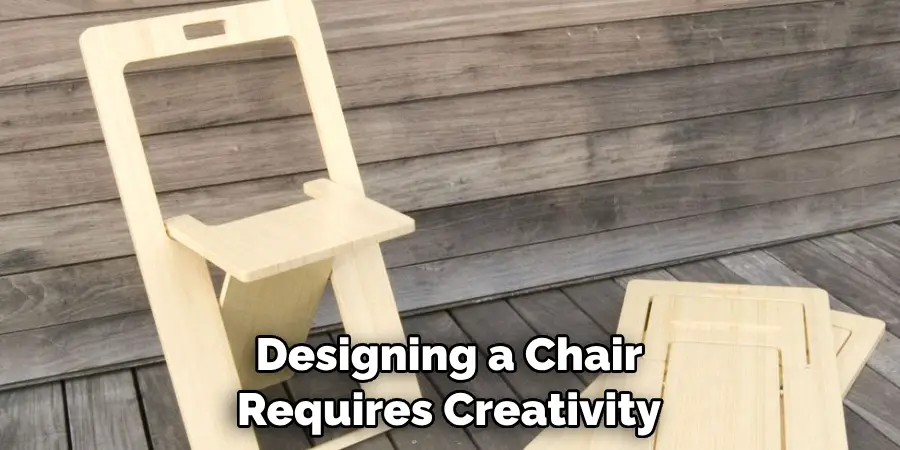
All in all, designing a chair requires creativity, dedication, and knowledge of ergonomics. Whether you are a novice or an experienced craftsman, you can create a piece of furniture that is uniquely your own design and tailored to your exact preferences. Taking the time to consider how to design the perfect chair will bring about a sense of pride and accomplishment when the task is completed.
When taken step by step, creating your own chair isn’t as daunting as it might seem. String together the elements and follow instructions on how to design a chair to produce a work that speaks to your unique style and provides lasting comfort no matter where you are sitting.
What’s more, when people notice your masterpiece they may request that you make one for them too! Go ahead – dive into the project with confidence and soon enough you will have created something that not only meets your needs but serves an aesthetic purpose too. So why wait? Get started on designing that magnificent chair today!

