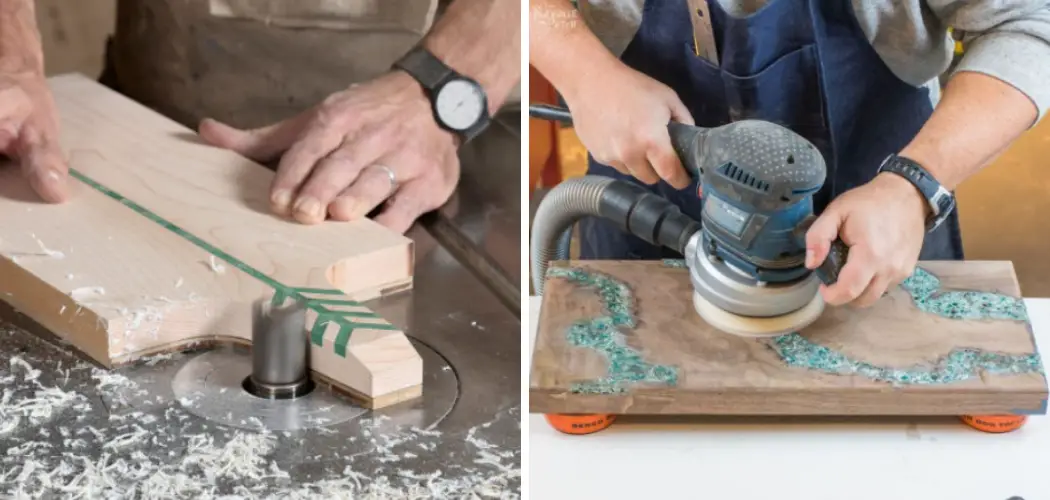
There are many different types that you can use for your project when it comes to resin. One of the most popular is epoxy resin. Epoxy resin is strong and durable, making it the perfect choice for various projects. If you’re new to working with this material, though, you may be wondering how to cut it. In this article, we’ll walk you through how to cut epoxy resin so that you can get started on your project as quickly as possible. Let’s get started!
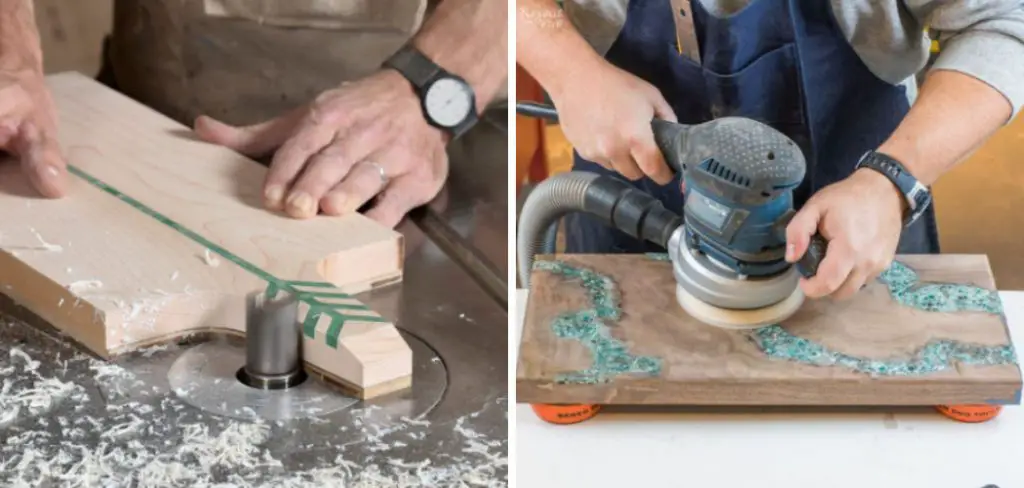
Epoxy resin is a material that consists of two parts: the epoxy resin and the hardener. These two parts are mixed to create the final product. The ratio of epoxy resin to hardener will vary depending on the project you’re working on. Once mixed, the epoxy resin will start to set, so it’s essential to work quickly.
A Detailed Guide on How to Cut Epoxy Resin
Method 1: Use a Sharp Knife
If you need to cut epoxy resin for a small project, using a sharp knife is best. You can use a utility knife, box cutter, or even a razor blade. Just make sure the blade is sharp and clean.
To cut epoxy resin with a knife, you’ll need:
– A sharp knife
– A cutting board
– Epoxy resin
Step 1: Determine Where You Need to Make the Cut
First, you need to determine where you need to cut. Then, use a pencil or pen to mark the spot on the epoxy resin where you want to cut.
Step 2: Place the Epoxy Resin on a Cutting Board
Next, place the epoxy resin on a cutting board. If you don’t have a cutting board, you can use a piece of cardboard. Just make sure the surface is flat and sturdy.
Step 3: Start Cutting the Epoxy Resin
Start cutting the epoxy resin along the line you marked in Step 1. Apply even pressure as you cut through the resin. You can go over the same area multiple times to get a clean cut if necessary.
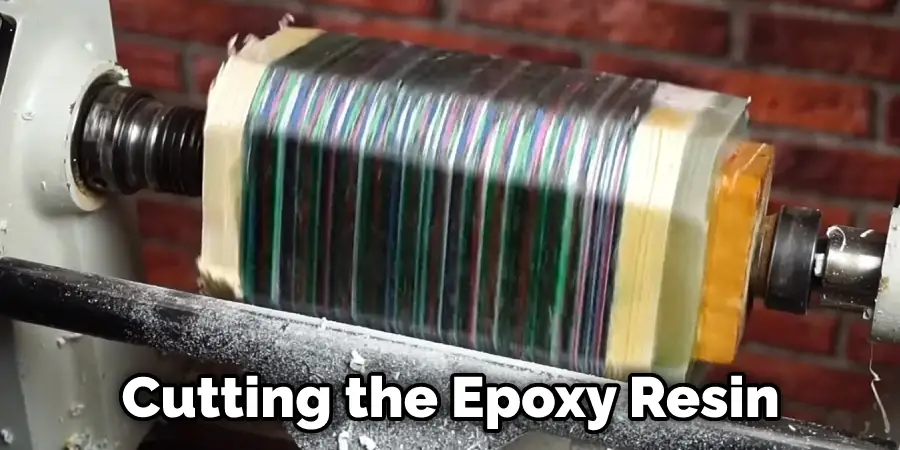
Step 4: Remove the Excess Resin
Once you’ve cut, remove the excess resin from the cutting board. You can do this by scraping it off with a knife or your fingers.
Step 5: Clean Up the Edges
Finally, use a sanding block or piece of sandpaper to smooth out the edges of the cut. This will help prevent the resin from chipping or cracking.
Method 2: Use a Dremel Tool
A Dremel tool is a versatile power tool that can be used for various projects, including cutting epoxy resin. It consists of a rotating bit that can be outfitted with various attachments, making it perfect for precise and detailed work.
When choosing a Dremel bit for cutting epoxy resin, you’ll want to choose one made of carbide or diamond. These materials will stay sharp longer and make cleaner cuts than other types of bits.
To use a Dremel to cut epoxy resin, you will need:
– A Dremel rotary tool
– A cutting attachment (such as a saw attachment)
– Epoxy resin
– Safety goggles
– A dust mask
– A work surface protector (optional)
Step 1: Prepare Yourself and Your Work Area
Before you begin cutting epoxy resin, it’s essential to take the necessary precautions to protect yourself and your work area. Epoxy resin can give off harmful fumes, so work in a well-ventilated area.
You’ll also want to wear gloves and a dust mask to avoid getting the resin on your skin or inhaling any fumes.
Step 2: Set Up Your Dremel Tool
Once you’ve prepared yourself and your work area, it’s time to set up your Dremel tool. First, attach the carbide or diamond bit to the end of the tool, and then insert the appropriate type of cutting disc.
There are two types of cutting discs that can be used with a Dremel tool: cutting wheels and grinding stones. Cutting wheels are made of thin metal and are great for making precise cuts. Grinding stones are made of abrasive material and are better for making rough cuts.
Step 3: Cut the Epoxy Resin
Now you’re ready to start cutting the epoxy resin. First, hold the Dremel tool like a pencil, and then slowly guide it along the line you want to cut. Apply gentle pressure as you work your way around the resin.
If you’re using a cutting wheel, you may need to make several passes over the same area to get through all of the resin. Using a grinding stone, you can apply more pressure since the abrasive material will quickly cut through the resin.
Step 4: Clean Up Your Work Area
Once you’ve finished cutting the epoxy resin, it’s time to clean up your work area. Be sure to dispose of any waste material properly, and then wash your hands and tools with soap and water.
You may also want to vacuum your work area to remove residual dust.
You can easily cut epoxy resin using a Dremel tool with these simple steps! Just be sure to take the necessary precautions to protect yourself and your work area.
Method 3: Use a Circular Saw
If you’re working with a large piece of epoxy resin, or if you need to make a precise cut, you may want to use a circular saw. You can use either a hand-held saw or a table saw, but wear gloves and safety glasses to protect yourself from the blade.
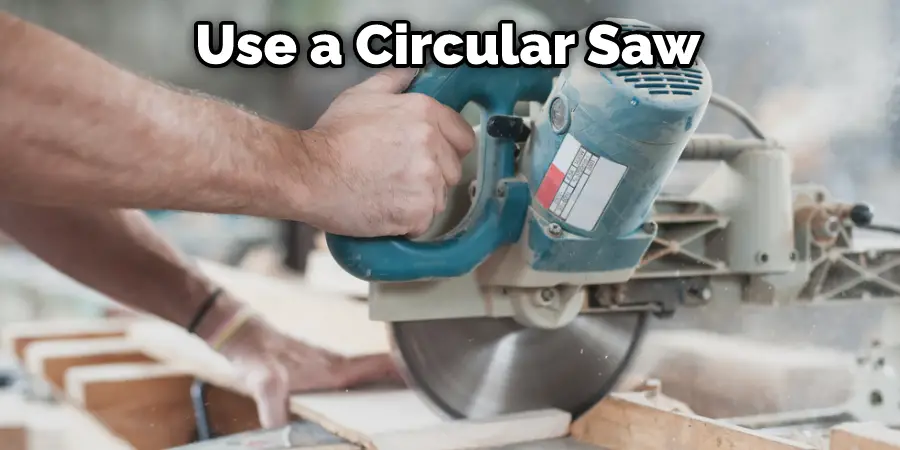
You’ll need:
– A hand-held or table saw
– A piece of scrap wood
– Epoxy resin
– Gloves
– Safety glasses
Step 1: Measure and Mark Your Cut
Start by measuring the piece of epoxy resin that you need to cut. Use a ruler or a tape measure to get an accurate measurement, and then mark the spot where you need to make your cut with a pencil.
Step 2: Protect Your Work Surface
Place the piece of scrap wood on your work surface. This will help to protect the surface from the saw blade.
Step 3: Set Up the Saw
If you’re using a hand-held saw, clamp the piece of epoxy resin to your work surface. If you’re using a table saw, place the epoxy resin on the table and adjust the blade to be at the correct height.
Step 4: Make Your Cut
Slowly and carefully guide the saw blade through the epoxy resin. If you’re using a hand-held saw, you may need to use both hands to keep the saw steady.
Step 5: Clean Up Your Cut
Use a piece of sandpaper to smooth out any rough edges on your cut.
How to Finish the Edges of Your Epoxy Resin Once It’s Been Cut
If you’re working with epoxy resin, you know that it can be tricky to get a perfect finish on your project. If you’ve cut the epoxy resin, you’ll need to take some extra steps to make sure the edges are nice and smooth. Here’s how to do it:
1. Use sandpaper to smooth out the edges of your epoxy resin piece. Start with coarse-grit sandpaper and work your way up to a finer grit. This will help to remove any roughness from the cut edge.
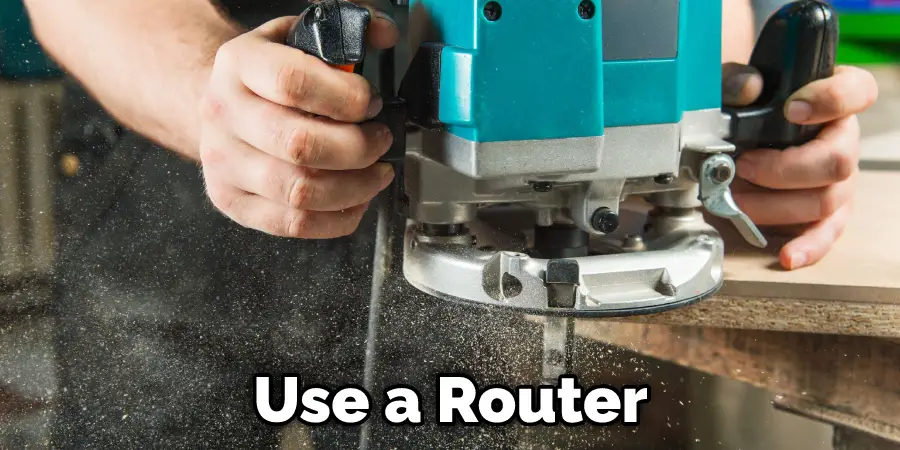
2. Use a router or other tool to create a beveled edge on the epoxy resin piece. This will help create a smoother transition between the edge of the resin and the rest of the piece.
3. Use a clear coat or other finish to seal the edges of the epoxy resin. This will help protect the resin from damage and keep it looking its best.
Follow these steps, and you’ll have smooth, professional-looking edges on your epoxy resin project in no time!
Storage and Disposal of Epoxy Resin
Epoxy resin is a strong and durable material that can be used for various purposes. However, it is also important to note that epoxy resin can be quite challenging to remove once it has hardened. Therefore, it is essential to take proper precautions when handling and disposing of epoxy resin.
When storing epoxy resin, it is essential to keep it in a cool, dry place. Epoxy resin can become brittle and break down if exposed to high temperatures or direct sunlight. It is also essential to ensure that the container you are using to store epoxy resin is airtight. This will help to prevent the resin from curing prematurely.
When disposing of epoxy resin, it is essential to do so in a way that will not harm the environment. One option is to cure the resin before disposing of it. This can be done by mixing the resin with a hardener and exposing it to ultraviolet light or heat. Once the resin has cured, it can be safely disposed of in the trash.
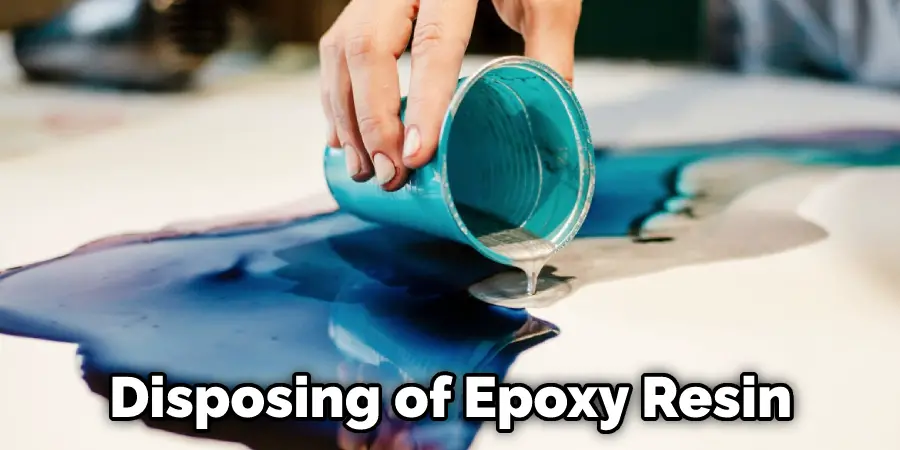
Another option for disposing of epoxy resin is to donate it to a local recycling center. Many centers accept epoxy resin as long as it is free of contaminants such as oil or paint. Contact your local recycling center to see if they can accept epoxy resin before donating it.
Additional Tips:
- Always Wear Protective Gear Such as Gloves and Safety Glasses When Working With Epoxy Resin.
- Keep Your Work Area Clean to Avoid Any Accidents or Contamination.
- Use a Respirator Mask if You Are Sensitive to Fumes.
- When Storing Epoxy Resin, Make Sure to Label the Container With Its Contents and Expiration Date.
- Avoid Mixing Large Batches of Epoxy Resin at Once, as It Can Harden Quickly.
- If You Need to Make Multiple Cuts in the Epoxy Resin, Clean the Blade of Your Tools Between Each Cut to Prevent Any Buildup or Clogging.
- Familiarize Yourself With Local Regulations for Disposing of Hazardous Materials, Such as Epoxy Resin.
- Always Follow the Manufacturer’s Instructions and Safety Precautions When Working With Epoxy Resin. It is a powerful chemical compound that should be handled with care.
- If You Are Unsure About How to Properly Store or Dispose of Epoxy Resin, Do Not Hesitate to Seek Professional Help or Guidance.
By following these tips and using the appropriate cutting method, you can successfully cut epoxy resin for your next project. Remember to always prioritize safety and proper disposal when working with this versatile material.
Do You Need to Get Help From Professionals?
If you are new to working with epoxy resin or have a complex project that requires precise cuts, it may be best to seek help from professionals. They have the experience and equipment needed to handle epoxy resin safely and accurately. They can also advise you on the best way to store and dispose of any leftover materials. Don’t hesitate to reach out for assistance if needed – it’s better to be safe than sorry!
With proper care and attention, you can create beautiful and durable projects with epoxy resin. So, don’t be afraid to experiment and let your creativity shine with this versatile material. You’ll be amazed by the results! Remember to always follow safety precautions and take proper care when working with epoxy resin. Happy crafting!
How Much Will It Cost?
The cost of cutting epoxy resin will vary depending on the tools and materials you use, as well as the complexity of your project. However, investing in high-quality tools and taking proper precautions can save you time and money in the long run by avoiding mistakes or accidents. Consider consulting with professionals to get a better idea of the overall costs for your specific project. Remember safety and precision should always be a priority when working with epoxy resin.
So, don’t hesitate to invest in the necessary tools and equipment to ensure successful results. Ultimately, this will lead to beautiful and long-lasting projects that you can be proud of. It’s a small price to pay for the satisfaction and enjoyment of creating something with your own hands. Keep learning and experimenting, and you’ll soon master the art of cutting epoxy resin! Happy crafting!
Frequently Asked Questions:
Q: Is It Safe to Cut Epoxy Resin?
A: Yes, it is safe to cut epoxy resin as long as you take the necessary precautions and use the proper tools. You should always wear protective gear, such as gloves and safety glasses, and follow the instructions provided by the manufacturer of your chosen cutting tool. You should also be mindful of the potential fumes that may be emitted during the cutting process and make sure to work in a well-ventilated area.
Q: What Happens If Epoxy Resin Is Not Cut Correctly?
A: If epoxy resin is not cut correctly, it may result in jagged edges or an uneven finish. This can affect the overall appearance of your project and make it more difficult to apply a clear coat or other finish. Additionally, incorrect cutting could cause the resin to chip or break off in unwanted areas. The right cutting technique is crucial for achieving a successful and professional-looking end result.
Q: Can I Use Any Type of Saw to Cut Epoxy Resin?
A: No, not all saws are suitable for cutting epoxy resin. It is important to use a saw with a fine-toothed blade and one that is specifically designed for cutting hard materials like plastic or metal. A Dremel tool or circular saw are both good options for cutting epoxy resin. Avoid using serrated blades or saws with coarse teeth, as these may cause the resin to chip or crack.
Q: Is It Necessary to Sand the Edges of Epoxy Resin After Cutting?
A: Yes, it is necessary to sand the edges of epoxy resin after cutting. This will help remove any roughness or imperfections caused by the cutting process and create a smooth surface for finishing. Skipping this step could result in a less polished and professional-looking final product. It is recommended to start with coarse grit sandpaper and work your way up to a finer grit for the best results.
Q: Can Epoxy Resin Be Stored for a Long Period of Time?
A: Yes, epoxy resin can be stored for a long period of time if proper precautions are taken. It is important to keep it in a cool, dry place and ensure that the container is airtight to prevent premature curing. However, it is recommended to use epoxy resin within 6 months of purchase for optimal results. If stored for an extended period, it is advisable to test the resin before using it for any project.
Conclusion:
So there you have it: how to cut epoxy resin. You will need a sharp blade and a steady hand to cut epoxy resin. Use safety gear, including gloves and goggles, to protect yourself from the fumes and debris of cutting epoxy resin. Cut the epoxy resin slowly and carefully, making sure not to apply too much pressure or drag the blade across the surface. You can safely and efficiently cut epoxy resin into the desired shape or size by following these simple steps.

