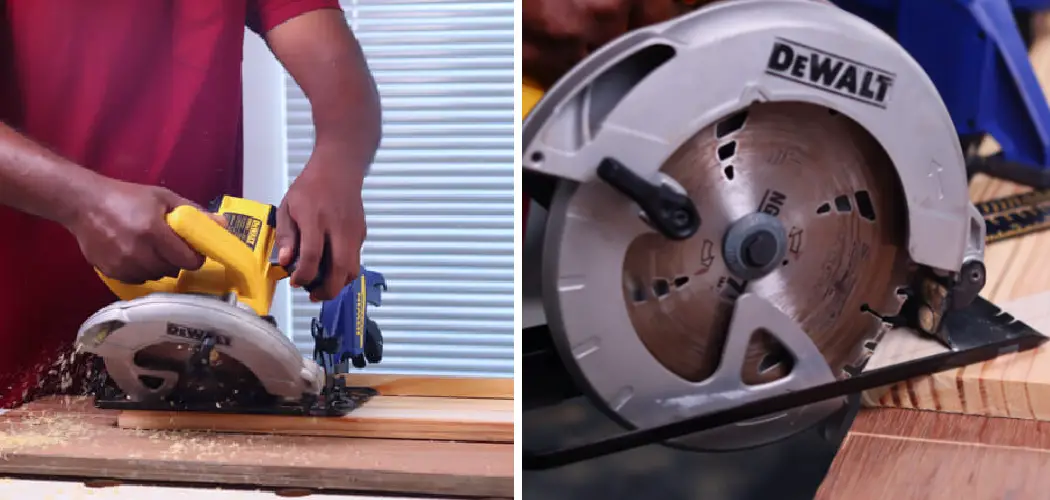
If you’ve ever tried to make a precise cut for a project that requires angles, you know just how difficult and frustrating it can be. Whether you work with wood or metal, accuracy is key – so getting the angle right on even the most basic of projects can create challenges. Fortunately, there are ways to ensure your cuts come out perfectly every time – and in this blog post we’ll be looking at one such method; using a circular saw to cut angles!
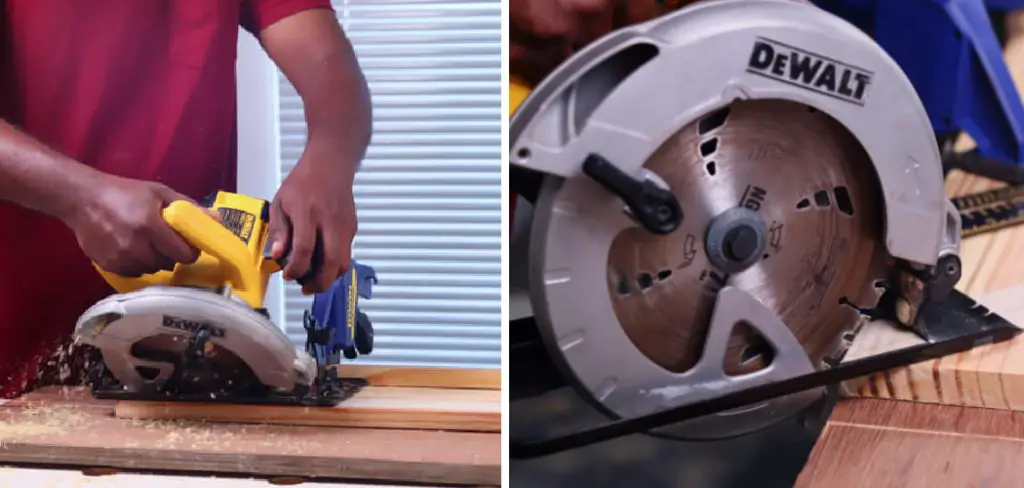
We’ll delve into all the tips on how to cut angles with a circular saw and tricks needed to achieve accurate results every time and help save you valuable time when working on all manner of projects whether in workshops or the home. So if precision cutting is something that has been giving you trouble lately, then read on as we explore how cutting angles with a circular saw can provide better results!
Needed Materials
Given below are the materials you would need for cutting angles with a circular saw.
- Circular Saw
- Protractor or Angle Finder Tool
- Clamps (Optional)
- Wood/Metal to be Cut
- Safety Gear (Gloves, Goggles, Earplugs)
11 Step-by-step Guidelines on How to Cut Angles With a Circular Saw
Step 1: Prepare the Work Area
Before you start cutting, it’s essential to ensure that your work area is ready. Remove any potential hazards and make sure you have enough space to maneuver the circular saw safely. It’s also recommended to secure your workpiece with clamps if possible, as this will ensure better stability and accuracy. You should also put on your safety gear at this stage to protect yourself from any potential injuries.
Step 2: Determine the Angle
Using a protractor or angle finder tool, measure and determine the angle you need to cut. You can find these tools at your local hardware store or use a digital protractor app on your phone for convenience. But if you’re cutting a common angle like 45 or 90 degrees, you can use the markings on your saw’s base plate for reference.
It’s always a good practice to double-check the angle before making any cuts. This will help avoid any mistakes and save you from wasted materials or time. You can also use a scrap piece of wood or metal to test the angle before cutting into your actual workpiece.
Step 3: Adjust the Saw’s Bevel Angle
Most circular saws have a bevel adjustment knob that allows you to tilt the blade to a specific angle. Use this feature to set your desired bevel angle. You can refer to your saw’s manual for specific instructions on how to make bevel adjustments.
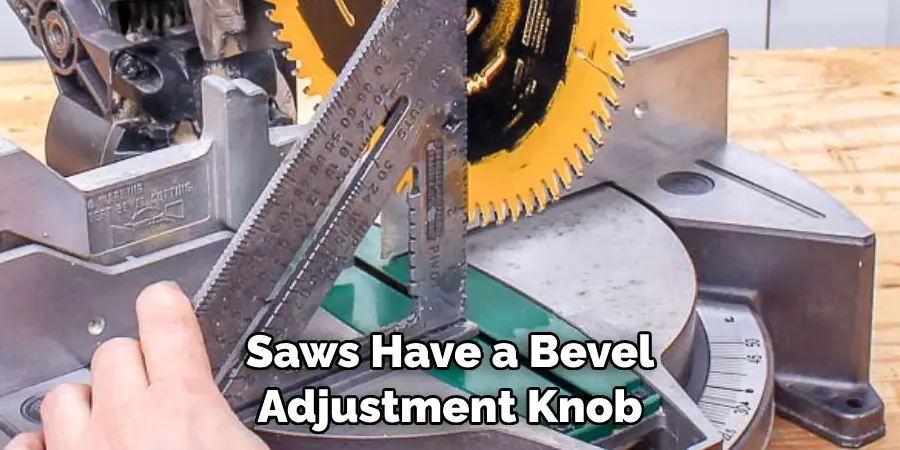
It’s worth noting that bevel adjustments are made in degrees, so make sure to match the angle you determined in step 2. It’s also recommended to mark the bevel angle on your saw with a pencil or a piece of tape for quick reference.
Step 4: Adjust the Saw’s Cutting Depth
To ensure a clean and accurate cut, it’s crucial to adjust the saw’s cutting depth. Most circular saws have a depth adjustment knob or lever that controls the depth of the blade. Set it to match the thickness of your workpiece, but be sure not to set it too deep as this can be dangerous.
It’s always better to make multiple shallow passes than one deep cut. You can also use a scrap piece of wood or metal to test the cutting depth before starting on your actual workpiece. It’s also important to note that the saw blade should be spinning in a counterclockwise direction.
Step 5: Mark Your Cut Line
Using a pencil or marker, mark your desired cut line on the top surface of your workpiece. It’s recommended to use a carpenter’s square for more precise markings. It’s also essential to mark the waste side of the line, so you don’t accidentally cut into the wrong section.
Double-check your measurements and markings before proceeding. This step is crucial for accuracy, so take your time and make sure everything is aligned correctly. It’s also a good idea to clamp a straight edge or guide along your cut line for better guidance.
Step 6: Align the Saw’s Blade with the Cut Line
Before making any cuts, make sure that the circular saw’s blade is aligned with your cut line. This will help you achieve a clean and accurate cut. You can do this by lining up the blade with your mark and checking for any deviations using a straight edge or ruler. Adjust if necessary.
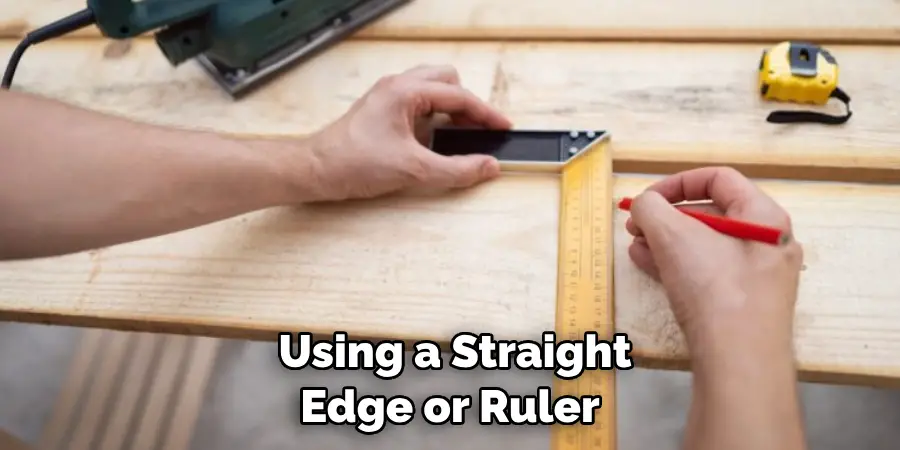
It’s also recommended to use a sacrificial board under your workpiece to prevent the saw’s base plate from scratching or damaging the surface. You can clamp both the workpiece and sacrificial board together for added stability.
Step 7: Turn on the Saw and Make a Test Cut
Once everything is aligned, turn on the saw and make a test cut along the marked line. This will help you identify if there are any adjustments needed before making your final cut. It’s also a good way to practice your technique and get a feel for how the saw handles.
If you’re satisfied with the result, you can move on to the next step. You can also use this opportunity to check the saw’s blade for any dullness or damage and replace it if necessary. It’s also important to keep the saw’s cord away from the cutting path for safety reasons.
Step 8: Secure Your Workpiece
If you didn’t use clamps in step 1, secure your workpiece in place to ensure it doesn’t move while cutting. This is especially crucial if you’re making a bevel cut as the angle can cause the piece to shift. It’s also essential to keep your hands clear of the cutting path and use both hands to hold the saw firmly.

If you’re using clamps, make sure they are not in the way of the saw’s base plate to avoid any potential accidents. But if you’re not using clamps, you can secure the piece by applying slight pressure with your non-dominant hand.
Step 9: Make Your Final Cut
With everything set, carefully guide the saw along your marked line and make your final cut. Apply steady pressure and let the saw do the work, don’t force it. It’s recommended to make a continuous cut without stopping or lifting the saw as this can cause rough edges or uneven cuts.
Keep your eyes on the cutting path and adjust your grip if necessary. Once you’ve finished cutting, release the trigger and wait for the blade to stop spinning before setting down the saw. You can then remove your workpiece and inspect the cut for any imperfections. Congratulations! You have successfully cut an angle with a circular saw. Remember to always practice safety precautions and have the appropriate tools before attempting any cuts.
Step 10: Repeat for the Second Piece
If you need to make identical cuts on another piece, repeat steps 5-9 with your second workpiece. This will ensure consistency and accuracy between the two pieces. Double-check your measurements and markings to avoid any mistakes. It’s also recommended to use a stop block when making multiple cuts of the same angle for added convenience.
Once you’ve completed both cuts, you can proceed with assembling your project or continue making more angled cuts as needed. Now that you know how to cut angles with a circular saw, you can confidently take on projects that require precise cuts and angles.
Step 11: Finishing Touches
Once you’ve completed your cuts, remove any excess debris and check that all pieces fit together correctly. If needed, use sandpaper to smooth out any rough edges. And that’s it! You’ve successfully cut angles with a circular saw.

Always remember to clean and properly store your tools after use for longevity. With regular practice, you’ll become more comfortable and proficient in cutting angles with a circular saw. You can also explore different techniques and projects that involve angled cuts to further enhance your skills. Now go out there and tackle those angled cuts like a pro!
Following these steps on how to cut angles with a circular saw will ensure that you make accurate and precise angle cuts every time with your circular saw. With a bit of practice, you’ll be able to tackle any project that requires angled cuts with ease. So go ahead and give it a try on your next woodworking or metalworking endeavor!
Frequently Asked Questions
Q1. Can I Use a Circular Saw to Cut Angles on Metal?
A1. Yes, a circular saw can be used to cut angles on metal as long as you have the appropriate blade for cutting metal. It’s important to make sure that the blade is suitable for the type of metal you are cutting.
Q2. Is It Necessary to Wear Safety Gear When Cutting Angles With a Circular Saw?
A2. Yes, it is highly recommended to wear safety gear when using any power tool, including a circular saw. This includes gloves, goggles, and earplugs to protect your hands, eyes, and ears from potential hazards. It’s always better to be safe than sorry!
Q3. Can I Cut Any Angle With a Circular Saw?
A3. Yes, you can cut almost any angle with a circular saw using the bevel adjustment feature. However, some circular saws have limitations on their maximum bevel angle, so it’s important to check your saw’s manual beforehand.
Q4. Is It Necessary to Use Clamps When Cutting Angles With a Circular Saw?
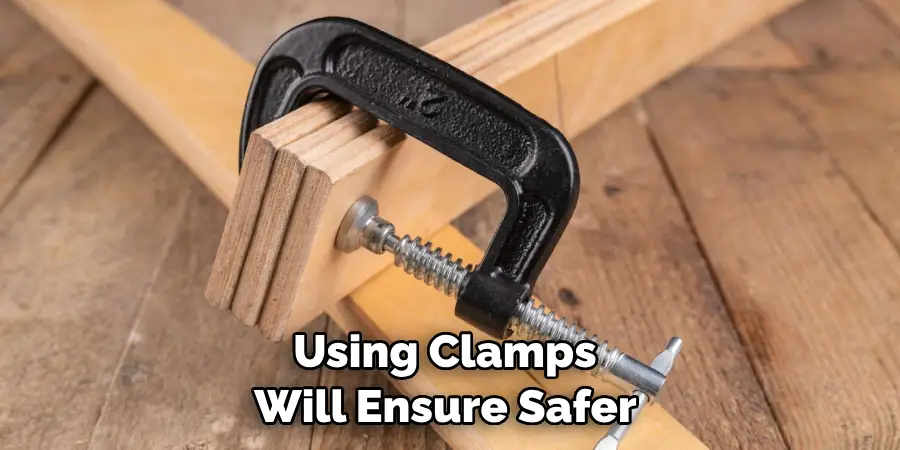
A4. While using clamps is not necessary, it’s highly recommended for better stability and accuracy. This is especially important when making bevel cuts as the angle can cause the workpiece to shift while cutting. If you don’t have clamps, make sure to secure your workpiece in another way to prevent any movement. Overall, using clamps will ensure safer and more precise cuts.
Conclusion
With a few simple steps and cautious measurements, you can master the use of a circular saw to cut angles. Utilizing a circular saw as part of your next DIY or handyperson project will take it to the next level with proper tool utilization.
Furthermore, consider always wearing appropriate protective gear while operating your circular saw, and remember to follow all instructions associated with its use. Lastly, practice makes perfect – with enough attempts even complex angled cuts become second nature when using a circular saw!
So get out there and start getting those angles just right for that upcoming project. Who knows, maybe you’ll find yourself specializing in angular designs because of this newfound skill! In the meantime, please be sure to share this article on how to cut angles with a circular saw so others can benefit from all the tips on cutting angles precisely with a circular saw!

