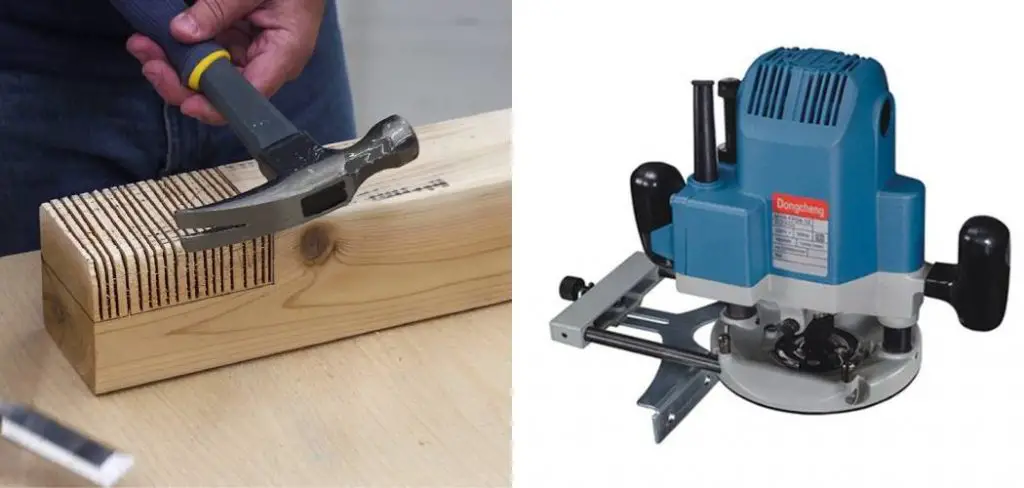
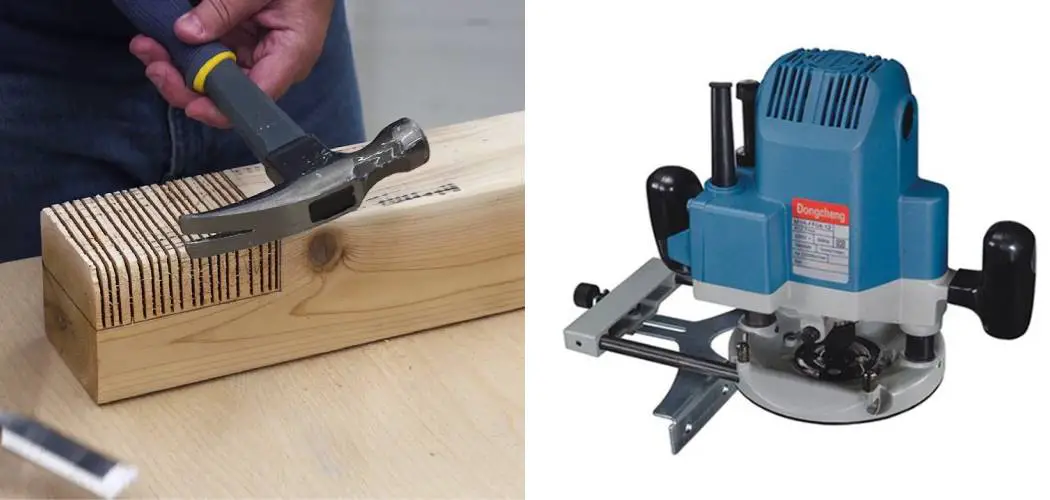
Imagine you are building a piece of furniture and need to cut a notch in the wood. You could use a hand saw, but that would take a long time. A better option is to use a router. Routers can quickly and easily cut notches in wood, making the job much easier. In this blog post, I will show you how to cut a notch in wood with a router. Keep reading for instructions.

What is a Router?
A router is a tool that is used to cut shapes into wood. Routers are handheld or table-mounted, and they have a spinning bit that does the cutting. The bit is usually made of carbide, a very hard material.
Routers are very versatile tools and can be used for various tasks such as cutting dadoes, rabbets, and other joinery. They can also be used to route out designs on the surface of the wood. However, in this blog post, we will focus specifically on how to use a router to cut a notch in wood.
It’s important to note that routers can be dangerous if not used properly. Always wear safety gear, such as eye and ear protection, when using a router. Also, make sure to read the manufacturer’s instructions before using any tool.
Why Should You Cut a Notch in Wood with A Router?
A router is one of the most versatile tools in a woodworker’s arsenal. It can be used to create smooth, clean edges on pieces of wood, but it can also be used to cut intricate patterns and shapes. One of the most common uses for a router is to cut notches in the wood.
Notches are used to create joints between pieces of wood, and they can be cut very accurately with a router. In addition, routers can cut notches in other materials, such as metal or plastic. However, before cutting a notch, it is important to understand the different types of available bits and how they can be used.
Otherwise, you could end up damaging your material or even injuring yourself. However, with the right bit and a little bit of practice, cutting notches with a router can be easy and rewarding.
Things to Consider Before Cutting a Notch:
The Type of Wood You Are Using:
Different types of wood may require different router bits and cutting techniques.
The Desired Size and Shape of the Notch:
Make sure to accurately measure and mark the area where you want to cut the notch before starting.
Safety Precautions:
Always wear protective gear, such as safety glasses and earplugs, when using a router. Also, make sure to secure the wood piece properly before cutting.
How to Cut a Notch in Wood with A Router – for Beginners
Step 1: Decide on The Size of The Notch
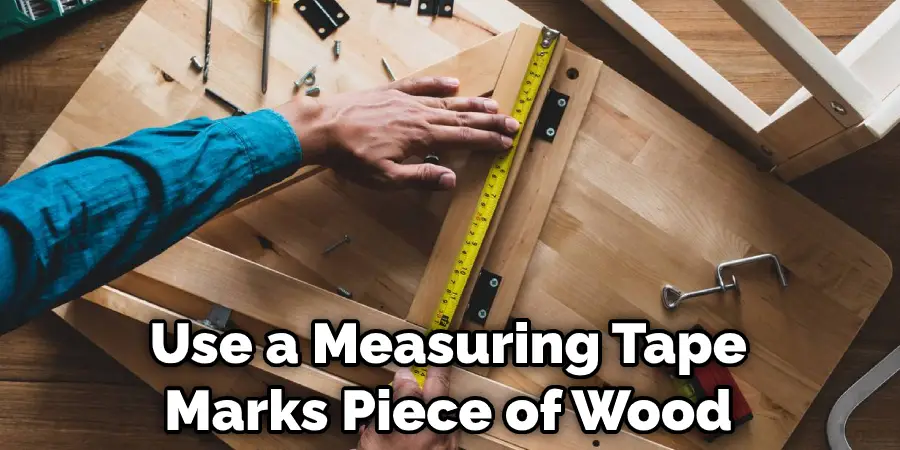
The first step is determining how big you want the notch to be. Notches can be cut for various reasons, such as fitting pipes or other objects into tight spaces or even just for decorative purposes. Once you know how big the notch needs to be, use a measuring tape to mark out the appropriate dimensions on the piece of wood. You may also want to use a pencil to mark where the edges of the notch will be for better accuracy.

Step 2: Mark Out the Notch
Once you’ve decided on the size of the notch, use a pencil or other marker to draw out the shape of the notch on the piece of wood. Again, make sure that the lines are clear and easy to see. This will serve as a guide for your router. You can also use a straight edge or square to ensure that your lines are straight and accurate. It may also be helpful to draw arrows pointing in the direction that the router bit will move. You can also use a ruler to make sure the lines are evenly spaced.
Step 3: Set Up the Router
The next step is to set up your router. You’ll need to attach a straight bit to the router and then adjust the bit’s depth so that it’s flush with the surface of the wood. Once the router is set up, position it over the notch center. Make sure to hold the router firmly with both hands. Otherwise, the router may move and ruin your notch. It’s also a good idea to practice scrap wood before moving on to your project.
Step 4: Begin Cutting
Now, it’s time to start cutting. Slowly guide the router along the lines you’ve drawn, being careful not to go too fast or too slow. The router may chatter and produce an uneven cut if you go too fast. On the other hand, the router may overheat if you go too slow. Also, make sure to keep the router bit moving in a clockwise direction for the best results. Repeat this step until you’ve cut all the way through the wood. It’s also a good idea to have a vacuum nearby to clean up any sawdust that may accumulate. The vacuum will also make it easier to see your cutting progress.
Step 5: Finish Up
Once you’ve cut along all lines, remove the router and check the notch. If it’s too big, you can use a chisel to remove excess wood. You can use a file or sander to enlarge the notch if it’s too small. Once you’re happy with the size of the notch, you’re finished! You can now use it for its intended purpose. It’s also a good idea to sand down any rough edges for a smoother finish. You can also apply a coat of wood sealer or paint to protect the notch and give it a more polished look.

Step 6: Test the Fit
Before using your newly cut notch for any project, make sure to test the fit with the object it is meant to hold. If necessary, adjust the size of the notch until it fits perfectly. You can also use a router to make adjustments, if needed. It’s always better to double check before using the notch in a project, as it can save you time and effort in the long run.
That’s all there is to it! Now you know how to cut a notch in wood using a router. Just remember to take your time and use caution, and you’ll be able to produce clean, precise cuts.
How To Use a Router Table
A router table would be a handy woodworking tool that allows you to route (or cut) pieces of wood with greater accuracy and precision than you could if you were using a handheld router. Router tables come in various sizes and styles, so it’s important to choose one that will best suit your needs.
In addition, there are a few things to keep in mind when using a router table, such as how to set up the workpiece properly and how to select the right bit for the job. By following these tips, you’ll be able to get the most out of your router table and create beautiful, professional-looking pieces of woodwork.
How To Rout a Rabbet Joint
A rabbet joint is one of the most versatile joints in woodworking. It’s strong, easy to make, and can be used in a variety of different ways. This article will show you how to rout a rabbet joint. First, you’ll need to decide on the size of the rabbet. The depth of the rabbet will determine the strength of the joint, so it’s important to get this right.

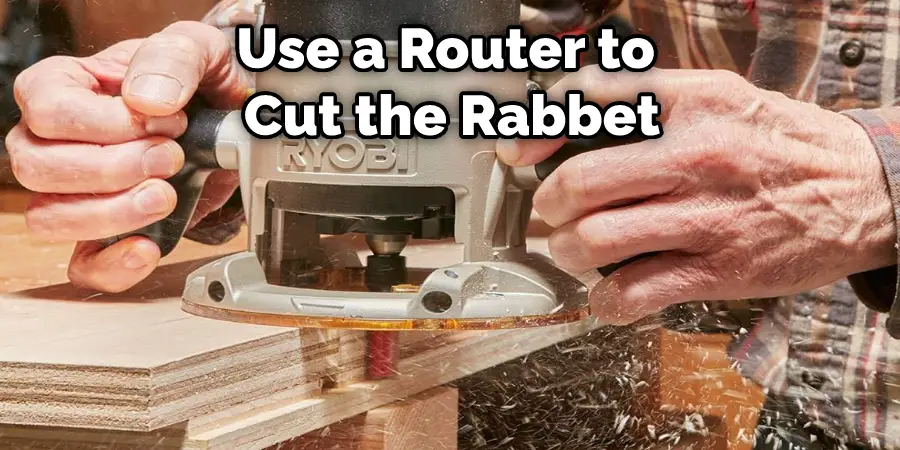
Once you’ve decided on the size, use a router to cut the rabbet. Start with a small diameter bit and work your way up to a larger bit. Make sure to keep the router level and use slow, controlled movements. When you’re finished, you’ll have a perfect rabbet joint ready to be used in your next woodworking project.
Tips and Tricks for Routing Wood
Routing wood can be a tricky business. If you’re not careful, you can easily end up with an unsightly mess. Here are a few tips and tricks to help you get the best results:
- Use a sharp bit. A dull bit will cause hours of frustration and produce less-than-ideal results.
- Take your time. Rushing the job will only result in mistakes.
- Use a guide. A guide helps to ensure that your cuts are straight and even.
- Use clamps. Clamps help keep the workpiece steady, making it easier to produce clean, precise cuts.
- Practice on scrap wood first. If you’re new to routing, it’s always a good idea to practice scrap wood before attempting to cut into your project piece. This will help you get a feel for the router’s movements and prepare you for any unforeseen challenges.
- Wear safety gear. Routers can produce a lot of dust and wood chips, so make sure to wear protective eyewear and a mask to avoid any potential injuries.
By following these simple tips, you’ll be on your way to routing like a pro! Keep reading for more information about how to cut a notch in wood with a router.
Common Problems with Routing and How to Solve Them
Wood routing is a popular woodworking technique, but it’s not without its challenges. One of the most common problems is to tear out, which occurs when the router bits exit the wood at an angle, leaving a ragged edge. This can be avoided by using a fence or guide to keep the router bit level with the surface of the wood.
Another common issue is burning, which happens when the router bits overheat and leave dark marks on the wood. Again, this can be prevented by using sharp bits and keeping them properly lubricated. Finally, kickback can be a serious hazard when routing. This occurs when the router bit catches the wood and is violently hurled back toward the user.
To avoid this, always use a push stick and keep your hands well away from the spinning router bit. With these tips in mind, you can safely enjoy all that wood routing offers.
What Type of Wood Can Be Attached to a Router?
There are many types of wood that can be notched with a router. The most common type of wood is softwood, such as cedar, fir, and pine. These woods are relatively easy to work with and produce clean, precise cuts. Hardwoods, such as oak and maple, are more difficult to work with but can also be routed.

The main difference between these two types of wood is the hardness of the wood. Softer woods are easier to cut but produce rougher edges, while harder woods are more difficult to cut but produce cleaner, smoother edges. Any wood can be notched with a router; however, some types are more difficult to work with than others.
Maintenance and Care for Your Router
Like any tool, it’s important to properly maintain and care for your router to ensure its longevity and optimal performance. Here are a few tips to keep in mind:
Clean the Router After Each Use
This will prevent any buildup of sawdust or debris that could affect the router’s performance. Simply use a soft brush or compressed air to remove any residue from the router and its components.
Check the Router Bit Regularly
Make sure to inspect the router bit before each use. Look for any signs of wear or damage and replace if necessary.
Lubricate Moving Parts
Keeping the moving parts of your router well-lubricated will help prevent friction and ensure smooth movements. Use a dry lubricant, such as silicone spray, to avoid attracting sawdust.
Store Your Router Properly
When not in use, store your router in a dry, protected area to avoid any potential damage. Make sure to unplug it and remove the bit before storing it.
By following these maintenance tips, you can prolong the life of your router and continue creating beautiful woodwork for years to come. Now that you know all about routing wood, it’s time to put your knowledge into practice and start creating your own pieces! Remember to always prioritize safety and take your time for the best results. Happy routing!
You Can Check It Out to Build Saddle Stand
Frequently Asked Questions:
How Deep Should the Notch Be?
The notch depth is important; if it is too deep, and the piece may not be flush with the work surface when cut. On the other hand, if the piece is too shallow, it may not grip the workpiece securely. As a general rule of thumb, the depth of the notch should be one-third the thickness of the wood. So, if you’re working with a 3/4-inch thick piece of wood, the depth of the notch should be 1/4 inch.
Is It Better to Make a Template for The Notch?
Template or no template, that is the question. Some woodworkers prefer to use a template to ensure accuracy, while others find it easy to freehand the notch. If you are new to routing, I recommend using a template until you get it. You can create a template using scrap wood or purchase a pre-made one from your local woodworking store.
How Do You Keep the Router from Slipping When Cutting the Notch?
To keep the router from slipping when cutting the notch, you can use a straight edge. Then, clamp the straight edge to the wood to touch the edge of the wood you want to cut. This will help keep the router in place while you are cutting. Additionally, you can also use a non-slip mat or grip tape under the router to prevent it from moving. Make sure to always use caution and keep a firm grip on the router when cutting the notch.
Can You Use A Dremel Tool to Cut a Notch?
Yes, you can use a Dremel tool to cut a notch in wood. However, it may not be suitable for larger or deeper notches as Dremel tools are generally smaller and less powerful than routers. They also have a limited range of bit options compared to routers. If you only need to make small notches or have no other tool available, a Dremel can be used, but it may take longer and require more precision. Overall, using a router is recommended for cutting notches as it is specifically designed for this purpose and offers more control and versatility.
You Can Check It Out to Cut Wood without A Workbench
Conclusion
Router notches are a great way to add an extra bit of flair or function to your woodworking projects. You can quickly and easily make notches in any wood with a router with the right technique.
By following these simple steps, you can create custom notches that perfectly fit your needs. So give it a try and see how easy adding this handy skill to your repertoire is! Thanks for reading our post about how to cut a notch in wood with a router.
You Can Check It Out to Fix Uneven Wood Joints

