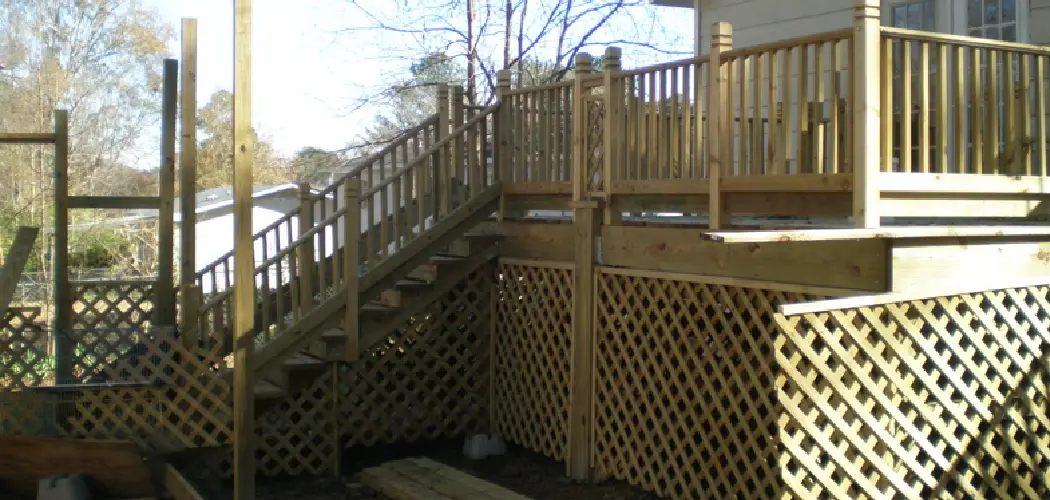
Are you looking for a way to cover under the deck? This can be a great way to add extra living space and better use your space. Here are some tips on how to do it effectively.
Under decks can transform an outdoor space like no other architectural element. Not only do they provide functional extra living or storage areas, but under decks also offer a wonderful decorative opportunity to add color and texture to your backyard. Whether you’re looking for a way to completely enclose the area beneath your deck or simply aiming to dress it up with creative accents, understanding how to cover under deck with materials is essential in achieving the look of your dreams.
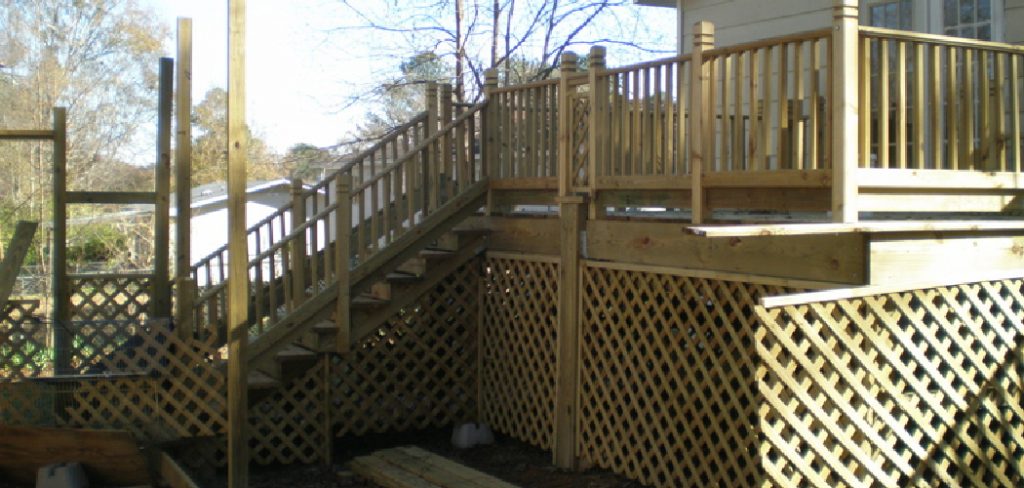
In this blog post, we’ll explore some unique and attractive ways that you can easily use fabric, wood boards, nails, and screws, along with other design elements, to bring personality into any outdoor space!
What Will You Need?
When it comes to coverage under the deck, you’ll need some basic materials. These will include:
- Wood boards or plywood for the framework of your project
- Nails and screws
- Fabric or other decorative elements, such as lattice or tiles
You may also need tools such as a drill, saw, and measuring tape to complete your project. Once you have the materials ready and know the cover under the deck, you are ready to start. It is important to check how much weight the deck can support, as most decks are not designed to hold heavy things.
10 Easy Steps on How to Cover Under Deck
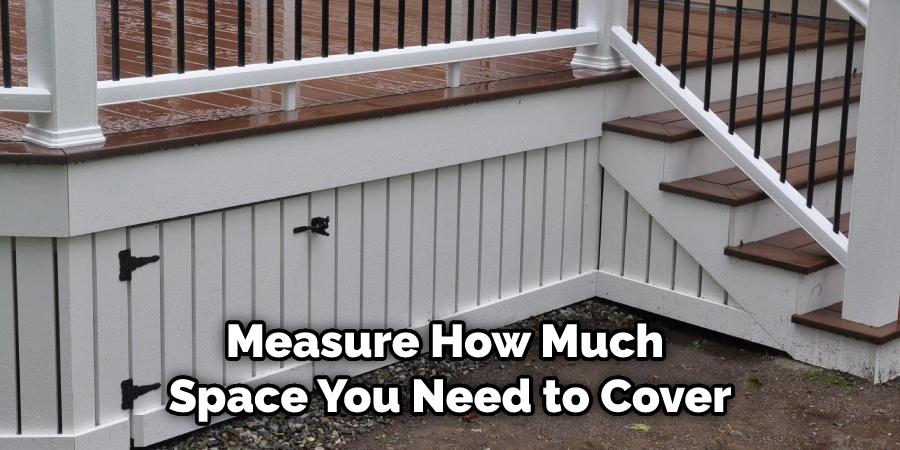
Step 1. Carefully Measure the Area:
Measure how much space you need to cover, and ensure that what you buy will fit. You can use a measuring tape for accuracy. It will also help you figure out how much material you will need.
Step 2. Choose the Material:
Choose the material that is best suited for how to cover the area under your deck. You can opt for fabric or a variety of other materials such as lattice, wood boards, tiles, and more. If using fabric, make sure that it is waterproof and UV-resistant.
Step 3. Cut the Material:
Once you have chosen your material, use a saw or scissors to cut it into pieces that fit the space beneath your deck. Make sure all pieces are about the same size and shape for an even finish. Don’t forget to take into account how much material you will need to cover the entire space.
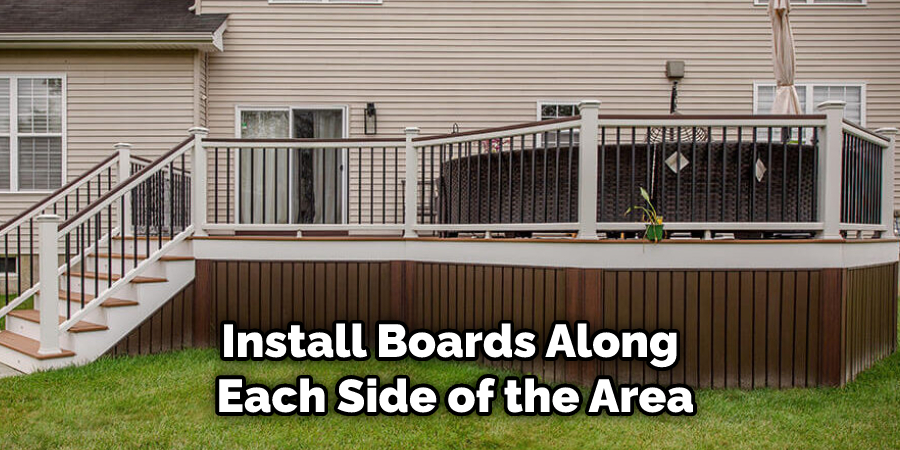
Step 4. Install Framework:
Install boards along each side of the area that you will be covering up with nails or screws. Start from one corner and work your way around until everything is in place. Otherwise, you may have to start over. Be careful not to over-tighten the screws, as this can damage the material.
Step 5. Attach Fabric:
Attach the fabric to the frame with nails or screws. Make sure that the fabric is tight and secure so it does not come loose over time. It is also important to make sure that there are no gaps in the fabric, as these can let water and other elements into the space beneath your deck.
Step 6. Attach Decorative Elements:
Add elements to add character and personality to your deck cover-up. These could be anything from lattice or tiles to paint or other decorative accents. Make sure that you have taken into account how much weight the frame can support before adding heavier items such as stones or tiles.
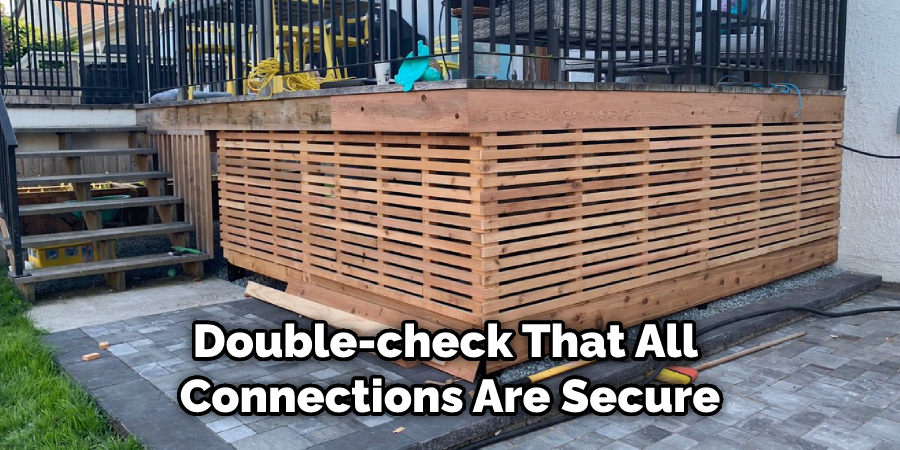
Step 7. Check Connections:
Once all of the materials are in place, double-check that all connections are secure and tight. This will ensure a long-lasting deck cover-up solution that won’t come apart over time from weathering or heavy use. If any connections are not secure, you can re-tighten them or use more nails or screws.
Step 8. Add Protection:
If you’re looking for an extra layer of protection, consider adding a waterproof barrier over the fabric. This can help to keep water and other elements out of the space beneath your deck and make cleaning off any dirt or debris easier in the future. Additionally, using a waterproof sealant on the wood frame can help to protect it from weathering and damage.
Step 9. Secure Edges:
Secure any loose edges on the fabric with duct tape or velcro strips to make sure that everything stays in place even during harsher weather conditions. Make sure not to skimp on how secure you make these connections, as this could be what saves your under-deck cover from coming undone during storms or high winds! As an extra measure, you can also add anchor points around the edge of your frame to further secure the fabric.
Step 10. Enjoy!:
Once all steps have been completed, sit back and enjoy your new under-deck cover. This is an easy way to transform the look of your deck and gives you a place to relax in the shade or entertain guests on hot summer days. Plus, it can also help protect your home from the elements by keeping rain, snow, and debris out!
By following these ten steps on the cover under the deck, you can easily create a stylish space beneath your deck that will last for years. Anyone can complete this project quickly and efficiently with just a few materials and some elbow grease. So get started today and start enjoying your newly covered space!
5 Additional Tips and Tricks
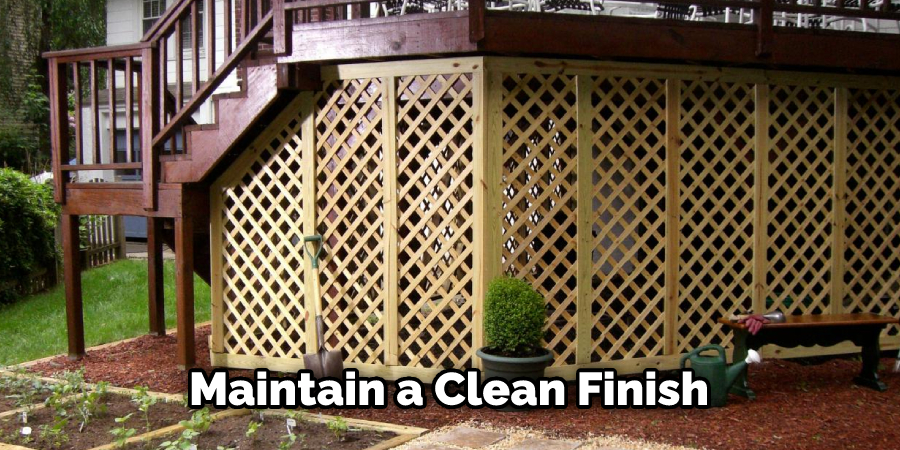
- If you’re looking to protect your deck from the elements and maintain a clean finish, installing roofing felt or rubberized membrane under the surface of the deck is highly recommended.
- A DIY approach can work wonders if you’re looking for an effective way to waterproof your under-deck area. Consider installing a vinyl or PVC membrane in the space below the deck to protect it from moisture and debris.
- To ensure adequate drainage, consider constructing an arching platform that will allow water to flow uninterrupted beneath the surface of your deck. This will also help reduce mold growth, keeping your under-deck space dry and free from damaging elements.
- Adding a lattice or other screening material around your under-deck area can provide additional protection against pests, insects, and debris while still allowing air circulation within the tight spaces of your under-deck environment.
- It’s also important to remember to check your under-deck area for any signs of damage or deterioration at least once a year and take appropriate measures as necessary. This can help you maintain the structural integrity of your deck and help ensure it lasts for many years to come.
By taking these steps, you can easily cover under the deck effectively and enjoy the beauty of the space below your deck!
5 Things You Should Avoid
1. Overlooking How Much Sunlight and Rain Your Underdeck Will Receive: Sunlight and rain can both be damaging to some materials, so it’s important to consider how much of each your underdeck will get before deciding how to cover it.
2. Not Considering How You Want the Space to Look in the End: Do you want a completely enclosed area, or do you just need something that provides basic protection from the elements? This can help inform what type of material is best for your project.
3. Ignoring Any Existing Structure on the Underside of Your Deck: If posts or beams are in place, ensure they won’t interfere with how you plan to cover your deck.
4. Failing to Account for How Much Weight the Cover Will Add to Your Deck: Depending on how you cover it, the extra weight may require some additional reinforcement.
5. Not Thoroughly Researching What Material Will Work Best for Your Project: Different materials have different benefits and drawbacks, so ensure you get all the information before deciding.
Follow these tips to ensure that your underdeck is properly covered and protected! With the right preparation and approach, you can create a safe and beautiful space in no time.
What is the Best Under Deck Materials?
1. Treated Wood: This is a great option for creating a durable, weather-resistant under-deck cover that still looks nice and adds value to your home.
2. Vinyl or Pvc Membrane: For areas with a lot of moisture, these materials are perfect for waterproofing an under-deck area while also providing some additional protection from the elements.
3. Aluminum Flashing: This can be easily installed in tight spaces and effectively keeps water out of your covered space.
4. Roofing Felt or Rubberized Membrane: These materials are ideal for protecting against sun damage as well as helping keep out pests and debris.
5. Lattice or Other Screening Material: Installing lattice around the perimeter of your under deck can help to keep out pests while still allowing air circulation.
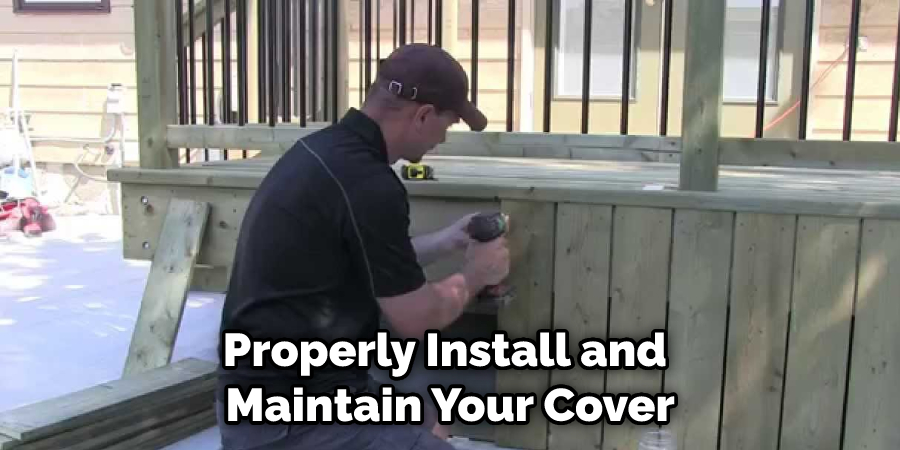
No matter what material you choose, make sure you take the time to properly install and maintain your cover in order to get the best performance and protection for your space. With the right approach, you can create a safe and beautiful area beneath your deck that will last for years to come!
Conclusion
To conclude, covering an under deck is possible and can be done with several options. Those looking to cover up an unsightly under-deck view should consider personal preference and budget when selecting a material to use. PVC vinyl, aluminum, and corrugated plastic are all popular materials used that provide various levels of insulation, warranty protection, cost, and visual appeal to the area.
No matter what option you choose, you’re taking the steps necessary to make your outdoor space beautiful and functional by implementing some form of a cover – either using an existing structure such as lattice or a custom cover. Take the time to research all available options in your area and compare them to the criteria most important for your needs.
Hopefully, the article on how to cover under deck has been helpful. With this information in hand, you’ll be sure to find the perfect solution for covering your under-deck space. Thank you for reading!
You Can Check It Out to Clean Redwood Deck

