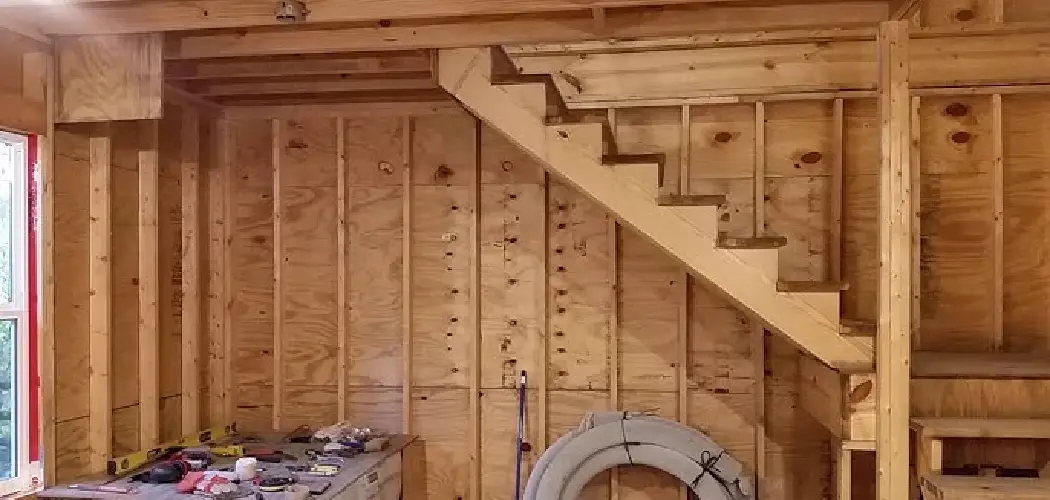
Constructing walls for a shed is a fundamental step in building a functional and durable outdoor structure. Whether you’re a seasoned DIY enthusiast or a beginner looking to enhance your carpentry skills, knowing how to build walls for a shed is essential. In this article, we will provide you with a comprehensive guide on the process of building sturdy and reliable shed walls.
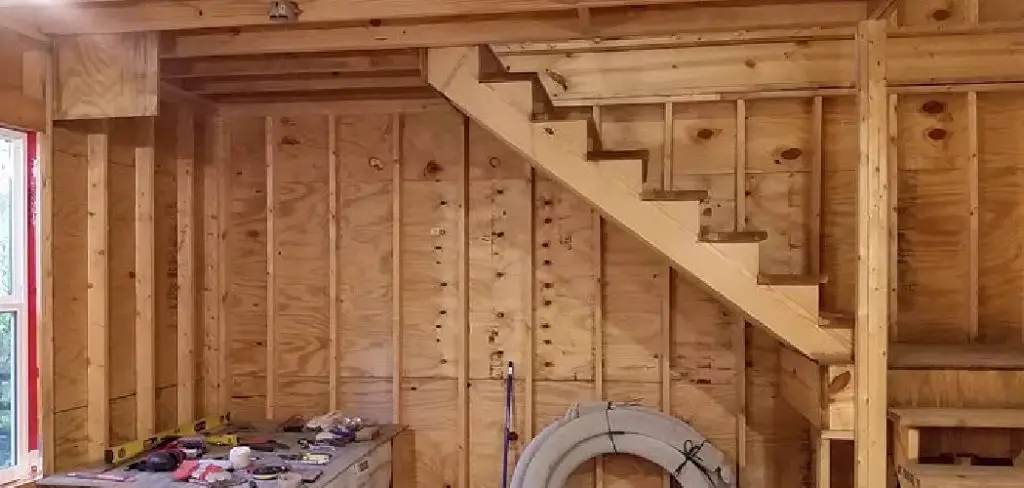
From selecting the right materials and tools to framing, sheathing, and insulating your shed walls, we’ll cover each step in detail. Additionally, we’ll discuss the importance of proper measurements and techniques to ensure your shed’s walls are plumb, level, and able to withstand the elements. Whether your shed is intended for storage, a workshop, or any other purpose, mastering the art of wall construction will set the foundation for a successful and functional shed project.
The Importance of Walls in Shed Construction
When building a shed, the walls are an essential component that should not be underestimated. They provide stability, protection, and insulation to the structure. Without proper walls, a shed may not be able to withstand external forces such as wind and rain, making it vulnerable to damage and deterioration.
Walls serve as a supportive framework for the roof, which is another crucial element of a shed. They also act as a barrier, keeping unwanted pests and animals out while providing security for the items stored inside the shed.
In terms of insulation, walls play a vital role in regulating the temperature inside the shed. Insulated walls can help keep the interior warm during colder months and cool during hotter months. This allows for better storage conditions, especially for sensitive items such as tools, equipment, and plants.
Moreover, walls contribute significantly to the overall appearance of the shed. They can be designed and customized to match the aesthetic of the surrounding area or complement the style of the main house. This not only adds value to the shed but also enhances its functionality by making it a visually appealing space.
When it comes to building walls for a shed, there are a few factors to consider. These include the materials, size, and design of the walls. Depending on the purpose of the shed and personal preferences, different types of materials can be used for the walls such as wood, metal, or vinyl.
The size of the shed also plays a crucial role in determining wall construction. A larger shed may require thicker and stronger walls, while a smaller shed can have thinner walls. It is essential to follow local building codes and regulations when determining the size and type of walls for your shed.
10 Methods How to Build Walls for a Shed
1. Selecting the Right Materials
When building your shed walls, it is important to select the right materials for the job. The most common materials used for shed walls are wood, metal, and vinyl siding. Each material has its own advantages and disadvantages, so it is important to consider your needs before making a decision.
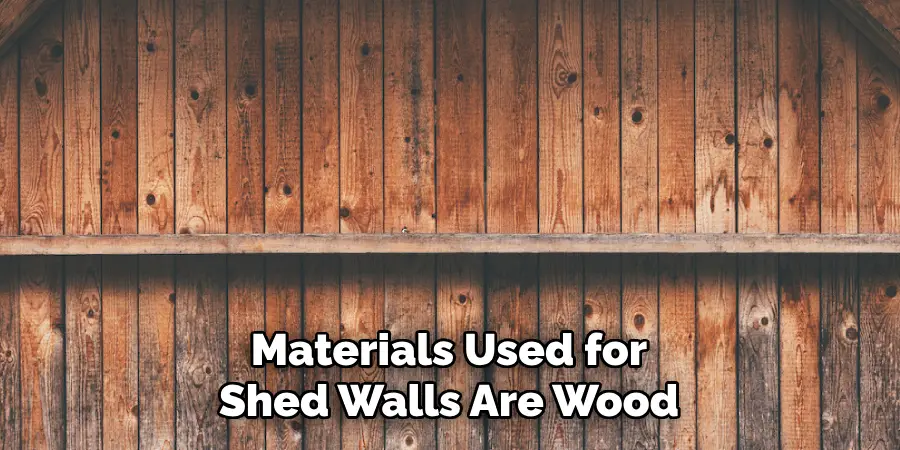
Wood is the most traditional material used for shed walls and can be easily customized to fit any design. Metal is more durable than wood but may require more maintenance over time. Vinyl siding is an affordable option that requires minimal maintenance but may not be as durable as other materials.
2. Framing Your Walls
Once you have selected your materials, it’s time to begin framing your walls. When framing your walls, make sure that all of your measurements are accurate and that each wall frame is level with the next. You will also need to attach studs or joists between each wall frame in order to provide additional support for the structure of your shed.
3. Installing Sheathing
The next step in building a shed wall is installing sheathing on the outside of the wall frames. Sheathing provides an extra layer of protection against moisture and helps keep the structure of your shed intact over time. Plywood or OSB board are both popular choices for sheathing material and should be applied using nails or screws, depending on what type of material you choose to use.
4. Adding Insulation
Adding insulation to your shed walls can help keep them warm in cold temperatures and cool in hot temperatures by trapping air inside the walls of your shed, which acts as a natural insulator against temperature fluctuations outside of your shed walls.
There are several types of insulation available such as fiberglass batts, foam boards, or spray foam insulation which can all be installed within wall cavities or between studs depending on what type you choose to use.
5. Installing Siding
Once you have framed and insulated your walls, it’s time to install siding on them in order to give them a finished look while also providing additional protection from weather elements such as rain and snow.
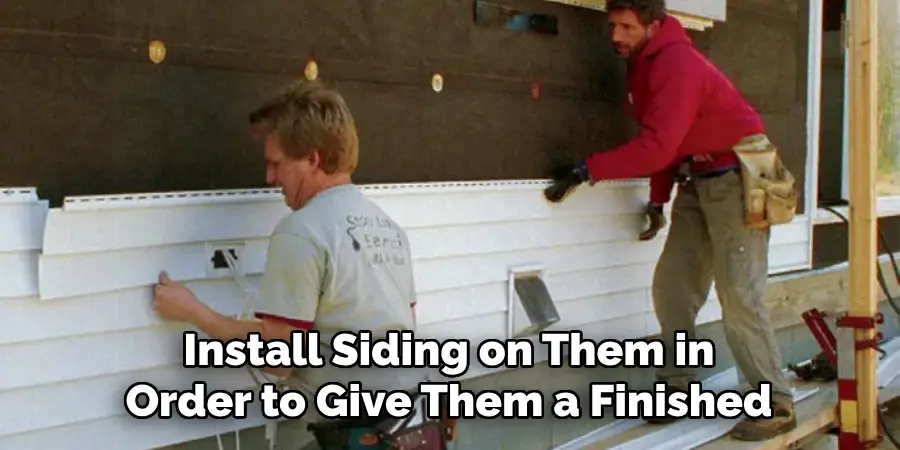
Vinyl siding is a popular choice for sheds due to its affordability and durability, while metal siding may require more maintenance over time but can provide superior protection from weather elements due to its strength and rigidity when compared with other types of siding material, such as wood or vinyl siding options available today
6. Attaching Trim Pieces
Once you have installed siding on your shed walls, it’s time to finish off their appearance by attaching trim pieces around windows, doors, corners, etc. Trim pieces come in many different shapes, sizes and colors, allowing you to customize their appearance however you like while also helping protect against water damage around these areas by creating a seal between them and the rest of the structure, preventing moisture from seeping into them over time
7. Sealing Gaps & Cracks
After attaching trim pieces around windows, doors, etc. It’s important to seal any gaps or cracks that may exist between them with caulk or expanding foam sealant in order to prevent water from entering through these areas and causing potential damage down the line
8. Installing Windows & Doors
Installing windows & doors into our shed walls will allow us natural light into our space while also providing ventilation if needed Depending on our needs, we may opt for single-hung windows sliding glass doors, French doors, etc. Allowing us to customize our space however we choose
9. Applying Paint Or Stain To Shed Walls
The last step when building our shed walls would be applying either paint or stain, depending on what type of finish we desire Paint will help protect our exterior surfaces from UV rays, rain, snow etc. Stain will help enhance any natural beauty found within wood grain patterns, adding warmth & character
10. Adding Finishing Touches To Shed Walls
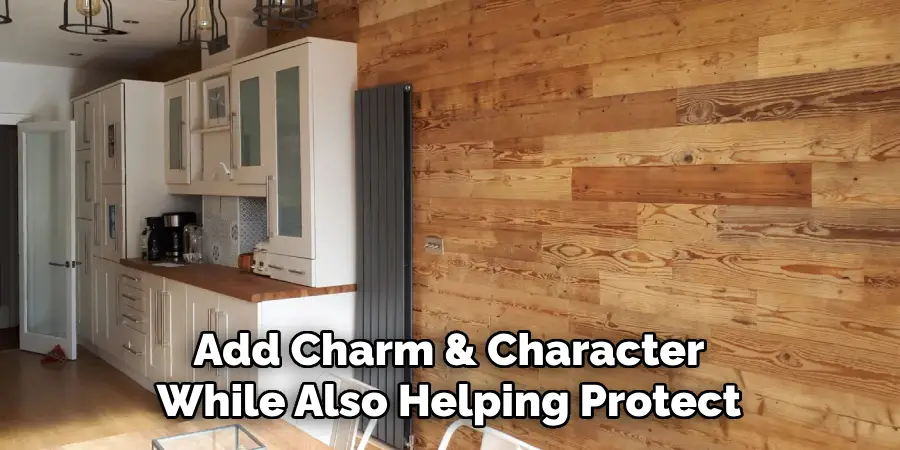
The final step when building our shed walls would be adding any finishing touches we desire, such as shutters, window boxes, flower boxes, trellises etc. These items can add charm & character while also helping protect against potential damage caused by weather elements throughout year. Additionally, they can add practical functionality by providing additional storage or workspace for gardening tools and equipment.
Things to Consider When Building Walls for a Shed
Building walls for a shed may seem like a simple task, but there are several things you should consider before getting started. From choosing the right materials to planning for weather conditions, here are some important factors to keep in mind when building walls for your shed.
1. Choose the Right Materials
Choosing the right materials is crucial when building walls for your shed. The most common materials used for shed walls are wood, metal, and vinyl siding. Each material has its own set of pros and cons, so it’s important to choose the one that best fits your needs.
Wood is a popular choice because it is affordable, easy to work with, and can be customized in various ways. However, it requires regular maintenance and may not be as durable as metal or vinyl.
2. Plan for Weather Conditions
When building walls for your shed, it’s important to consider the weather conditions in your area. If you live in an area with heavy snow or strong winds, you may want to consider using stronger and more durable materials for your shed walls.
You should also plan for proper insulation in your shed walls to protect the contents inside from extreme temperatures. This will not only keep your belongings safe but also make your shed more comfortable to use year-round.
3. Ensure Proper Foundation and Framing
Before building any walls for your shed, it’s important to ensure that the foundation and framing are strong and stable. This will provide a solid base for your walls and prevent any future structural issues.
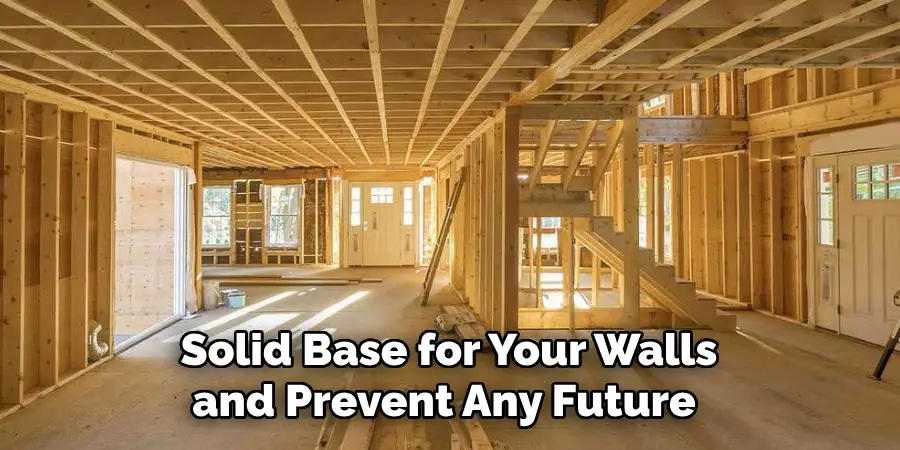
Make sure to use pressure-treated wood for the bottom plates of your shed walls to protect against moisture damage. Additionally, properly spacing and securing wall studs is crucial for the stability of your shed walls.
4. Consider the Purpose of Your Shed
When building walls for a shed, it’s important to consider its purpose. If you plan on using your shed for storage or as a workshop, you may want to include windows for natural light and proper ventilation.
However, if your shed is primarily used for storing tools and equipment, you may want to consider leaving one wall without windows for added security.
5. Follow Safety Precautions
Last but not least, always prioritize safety when building walls for your shed. Make sure to wear appropriate protective gear such as gloves and goggles, and use caution when handling power tools.
If you’re unsure about any steps in the building process, consult with a professional or refer to instructional guides to ensure your safety and the structural integrity of your shed.
Conclusion
It’s no surprise that learning how to build walls for a shed can be a daunting task. With the right mindset and preparation, though, you can take on this project and bring your dream outdoor storage space to life. With the right tools and materials, as well as an understanding of the step-by-step process, you will be well on your way to becoming an expert wall builder.
Just imagine what your property will look like once you are finished with your work! Don’t hesitate any longer—take the first step in constructing walls for your shed today and get ready to reap the infinite benefits of having an incredible outdoor workspace!

