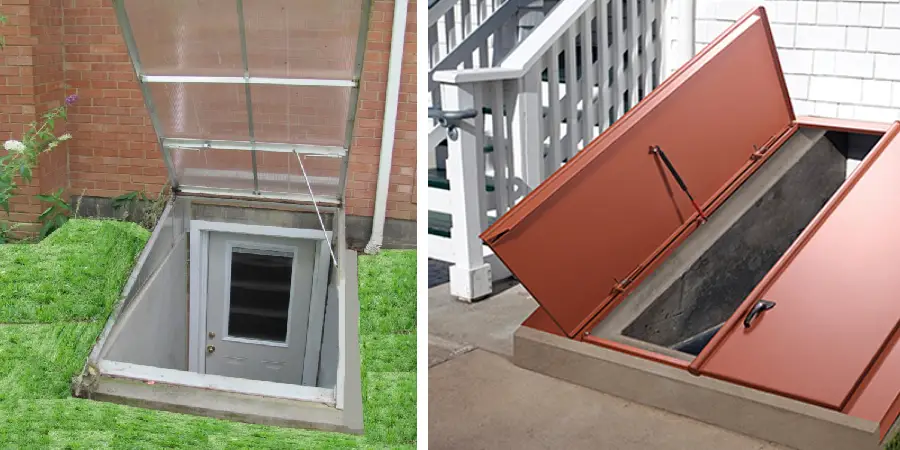
Are you looking for a great DIY project that will beautify your home and add some extra security? Building cellar doors could be the perfect solution! With just a few tools and materials, you can create cellar doors that are both stylish and tough enough to keep unwanted visitors from gaining access to what’s beneath. In this comprehensive blog post, we’ll take a look at how to build cellar doors – from planning out designs to fitting them into existing frames. So let’s get started!

What Kind of Wood Should I Use for a Cellar Door?
When building a cellar door, it’s important to choose the right kind of wood. For maximum protection from weather and pests, the best choice is pressure-treated pine or cedar. Pressure-treated lumber has been chemically treated to resist rot and insects. Cedar naturally resists decay and can last for decades if well-maintained. Both materials are also relatively lightweight, making them easy to install.
If you’re looking for a more budget-friendly option, construction-grade lumber like fir or Douglas fir can also be used. Just keep in mind that these woods are more susceptible to rot and insect damage. They’ll also require more maintenance over time to keep them looking their best.
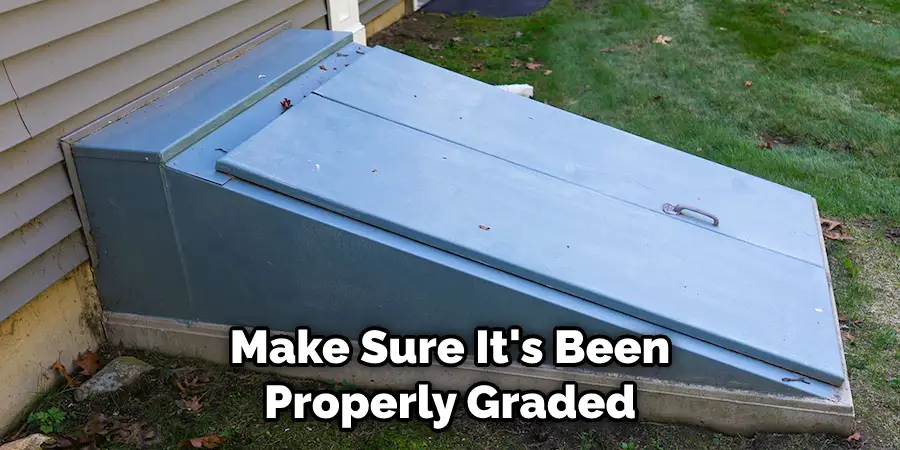
Whatever wood you choose for your cellar door, make sure it’s been properly graded and kiln-dried to prevent warping. And always use galvanized or stainless steel hardware to avoid rusting. With a little care and attention, your cellar door will provide years of trouble-free service.

10 Methods How to Build Cellar Doors
1. Planning
The first step to building cellar doors is to plan the project. This includes deciding on the size, style, and materials for the doors. It is also important to determine where the doors will be located and how they will be installed. After the planning stage is complete, it is time to move on to the next step. Although the planning stage may seem tedious, it is important to ensure that the project goes smoothly and safely.
2. Preparing the Site
Once the planning is complete, the next step is to prepare the site where the doors will be installed. This may involve clearing away debris, leveling the ground, and creating a foundation for the doors. The floor should be one that is waterproof and smooth, such as concrete. If the area is not level, use a shovel or a rake to even it out.
The foundation should be made of cement or brick, and the dimensions should match the size of the cellar doors. However, the foundation can be larger than the doors as long as it is level with the ground.
3. Cutting the lumber
The next step is to cut the lumber for the frame of the doors. This includes cutting boards for the top, bottom, and sides of the frame as well as crosspieces that will reinforce the frame. Measure the opening for the doors, subtract a quarter inch from each of the dimensions, and cut the boards to size. Be sure that all cuts are straight and accurate.

Try to keep the boards as straight and square as possible, as this will make assembly easier. However, if the boards aren’t perfectly straight, don’t worry too much—many of the irregularities can be shimmed out during installation.
4. Assembling the Frame
After all of the lumber has been cut, it is time to assemble the frame of the doors. This is typically done by nailing or screwing the boards together. Once the frame is assembled, it should be checked for squareness and levelness. Then, the exterior trim boards are added. This will provide a finished look to the cellar doors and also help protect them from the elements.
Finally, all of the fasteners should be checked for tightness. However, it is important to keep in mind that the frame should not be overly tight, as this can cause warping and other issues. Once everything is secure, the cellar doors can be hung.
5. Installing the Hardware
The next step is to install any hardware that will be used on the doors. This includes hinges, handles, locks, and latches. It is important to make sure that all of the hardware is properly installed and aligned before moving on to the next step. Once the hardware is in place, it should be tested to make sure it works properly.
If any of the hardware needs to be adjusted or replaced, it should be done at this time. Although it may be tempting to skip this step, it is important to make sure the hardware is properly installed in order for the doors to work properly.
6. Hanging the Doors
Once all of the hardware has been installed, it is time to hang the doors. This can be done by attaching hinges to the frame and then hanging the doors from those hinges. It is important to make sure that the doors are properly aligned and level before moving on to the next step. Once the doors are in place, they should be securely fastened with screws and/or nails.
This will help ensure that the cellar doors open and close smoothly. Lastly, the seal around the edges of the door should be thoroughly checked for any gaps or cracks that might let in cold air.
7. Finishing touches
The final step is to add any finishing touches that are desired. This may include painting or staining the doors, adding weatherstripping, or installing a threshold at the bottom of the doorframe. If any decorative elements are wanted, such as wrought iron handles or hinges, they should be installed at this time. Once everything is in place, the cellar doors are ready to be used.
It can take time and effort to build cellar doors, but the results can be very satisfactory if the proper steps are taken. Following the instructions provided here can ensure that the finished product is sturdy, secure, and aesthetically pleasing. With patience and skill, anyone can build an attractive and functional door for their cellar or storage space.
8. Securing the Doors
Once all of the finishing touches have been added, it is time to secure the doors. This can be done by installing a strike plate on the frame and deadbolts or other locking mechanisms on the doors. It is important to ensure that the locks are properly installed and functioning correctly. Once the doors have been secured, your cellar doors will be ready for use. Enjoy the added security and peace of mind that the cellar doors provide.
9. Weatherproofing
To ensure that your cellar door will last for many years, it is important to weatherproof it. This can be done by applying a sealant to any exposed wood surfaces, installing flashing around the doorframe, and adding weatherstripping along the edges of the door.
If you live in an area with severe weather conditions, you may also want to consider adding a storm door to your cellar door. This will provide an extra layer of protection against wind and rain. Additionally, you should use caulk to seal any gaps around the door trim and frame to prevent drafts and water from entering your cellar.

10. Installing Trimwork
The final step in building cellar doors is to install trim work around the outside of them. This includes baseboards, window casings, and door casings. Make sure to measure the area around the frame and trim pieces so that they fit properly. Use a nail gun to attach the trim pieces to the frame. After this is complete, you can then paint the doors and frames to match your home’s interior design. Finally, your cellar doors are ready to be used and enjoyed.
Things to Consider When Building Cellar Door
1. Size and Accessibility
Consider the size of the cellar doors you plan to build. Make sure the door is large enough for you to be able to easily access the area underneath. Also, keep in mind that you will need enough room for storage and other equipment.
2. Materials
When building cellar doors, you need to select the appropriate material for your project. Generally, wooden doors are most commonly used, but metal may be more suitable in some cases. The material you use should also be able to withstand moisture and temperature changes.
3. Security
Security is an essential factor to consider when building cellar doors. If you plan on storing valuable items, make sure the door has good locking mechanisms and high-quality locks. Additionally, consider installing motion sensors or other advanced security devices for further protection of your belongings.

4. Insulation
Insulating the area beneath the cellar doors can help to maintain a consistent temperature and lower your heating or cooling costs. Consider using foam insulation or other materials to reduce the amount of energy needed to keep the area comfortable.
Conclusion
If you want to build a cellar door that will stand the test of time, follow these steps on how to build cellar doors. In terms of materials, make sure to use sturdy lumber such as oak or cedar. For the door itself, important considerations include insulation and weather-stripping. By taking these factors into account, you can be confident that your cellar door will provide years of reliable service.
You Can Check It Out To Protect Front Door From Sun
