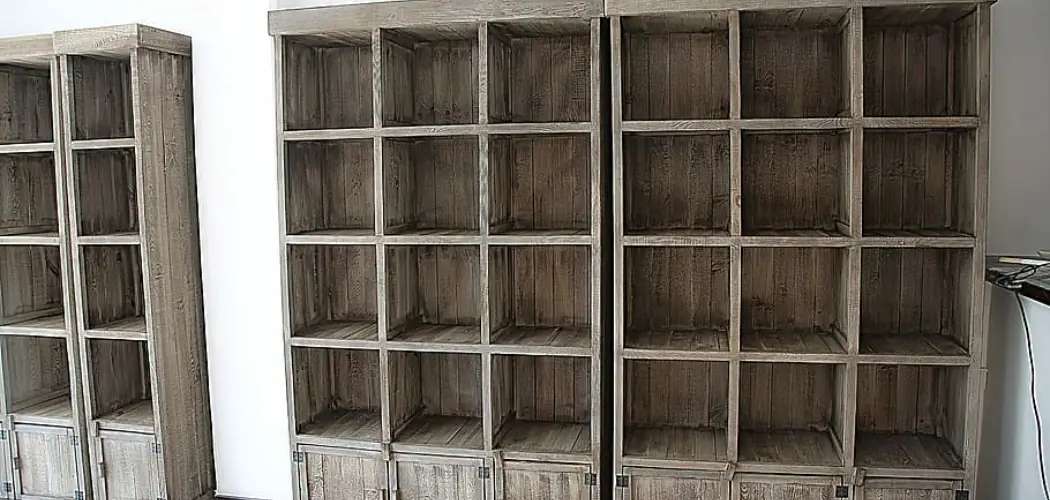
Do you need extra storage space but need more room for a large armoire or bookshelf? A wooden storage shelf is ideal for fitting into any corner of your home.
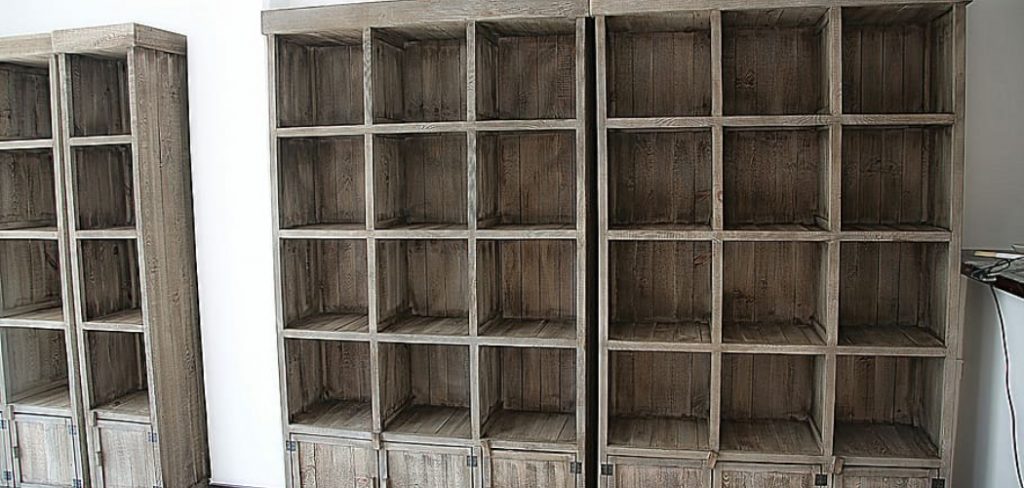
Building a wooden storage shelf can be the project for you if you’re looking to get creative and make the most out of your space. Not only will this allow you to have more practical storage without taking up any additional floor space, but it can also bring an element of craftsmanship and style to your home.
Building a freestanding or wall-mounted storage shelf is easy with these step-by-step instructions. Even if you’re new to carpentry, don’t worry – as long as you follow these instructions on how to build a wooden storage shelf, anyone can create their own stylish yet sturdy wooden shelving unit in no time at all!
What Will You Need?
- Wood: You will need wood to create the shelves and frame of your shelf. For strength, select a hardwood such as oak or mahogany. The amount you’ll need depends on the shelf size you plan to make.
- Hammer: A hammer is essential for any carpentry project and attaches the pieces firmly.
- Nails: You will need nails to attach the wood pieces. Select a nail size that is large enough so that it doesn’t break through the wood but small enough so that it won’t split the wood.
- Drill: A drill is necessary for making pilot holes in the wood before you insert any screws or nails. This will help ensure that everything is securely fastened together.
- Screws: You may use screws instead of nails, depending on the type of wood and the weight it needs to support.
- Wood Glue: If you’re using screws, you’ll need wood glue for extra strength and durability.
- Sandpaper: Sandpaper can smooth out any rough edges on the wood before you stain or paint it.
- Wood Stain/Paint: If desired, you can finish off your shelf by applying a coat of wood stain or paint for a more aesthetic look.
Once you have all your materials, it’s time to start building your shelf!
10 Easy Steps on How to Build a Wooden Storage Shelf
Step 1: Measure and Cut the Wood
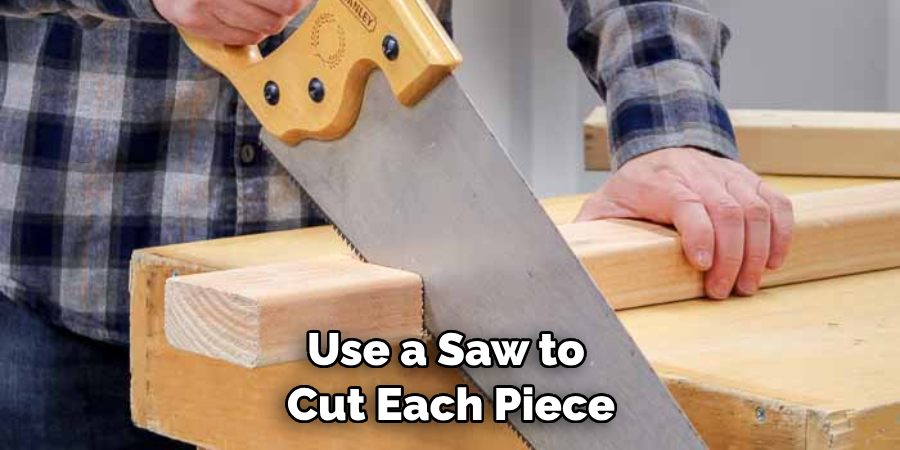
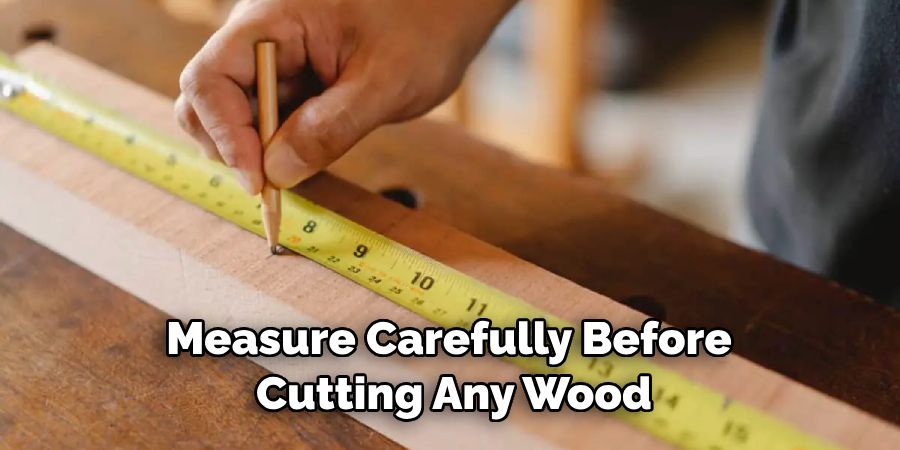
Start by measuring out the size of your shelf. You’ll need two pieces for the shelves (the width will depend on how wide you’d like it) and four pieces for the frame (these should be slightly longer than the width of the shelves). Then, use a saw to cut each piece to size.
Step 2: Assemble the Frame
Use your hammer, nails, or screws to attach the four pieces of wood to form a frame. Make sure all corners are square and sturdy enough for your shelf before moving on. As an extra precaution, adding some wood glue between each joint is also a good idea.
Step 3: Attach the Shelf Pieces
Place the two shelf pieces into the frame and use your hammer and nails or screws to attach them securely. Try to make sure that all corners are lined up properly before fastening. If you’re using screws, apply wood glue beforehand for extra strength.
Step 4: Secure with Wood Glue (if Using Screws)
If you’re using screws, then now is the time to add some wood glue for extra strength. Apply a thin layer of glue to each joint and use a cloth to spread it evenly. Don’t worry if the glue is slightly visible; the stain or paint will cover this up.
Step 5: Fill in Any Holes
Use a filler or putty to fill in any holes left behind by the nails or screws. Let this dry before sanding down the wood. Remember that the filler needs to match the color of your shelf, otherwise, it will show through after you apply a coat of paint or stain. You may also want to fill in any knots or cracks in the wood.
Step 6: Sand for Smoothness
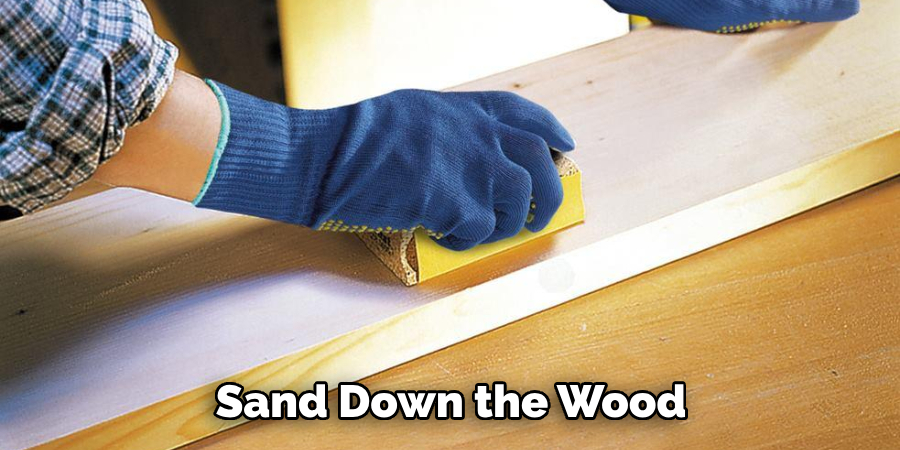
Once the filler has had time to dry, you can sand down the wood. This will help remove any rough or jagged edges and create a smooth finish. Use fine-grit sandpaper and go over each piece of wood several times until it is completely smooth.
Step 7: Finish with Stain/Paint
If desired, you can apply a coat of wood stain or paint for aesthetic purposes. This will give your shelf a more finished look. Be careful to select a stain or paint suitable for the type of wood you use.
Step 8: Secure the Shelf
Now it’s time to secure your shelf. If you’re building a freestanding shelf, then attach L-brackets to the frame and screw them into place on the wall. This will provide extra stability and ensure that the shelf won’t tip over. If you’re building a wall-mounted shelf, use toggle bolts for extra strength.
Step 9: Test for Stability
Place your shelf where you want it and test that it is stable and secure before putting any items on it. Check the brackets (or toggle bolts) to make sure that they are firmly in place and won’t come loose. It is important to ensure your shelf is safe and secure before storing anything on it.
Step 10: Fill in Items
Congratulations! You have now successfully built your wooden storage shelf. Now you can begin filling it with items and making the most of that extra storage space!
5 Additional Tips for Building a Wooden Storage Shelf:
- Make sure to measure carefully before cutting any wood – if anything is off by even a little bit, it could cause problems later.
- Ensure all joints are secure and tight before moving on to the next step.
- If you’re using a drill, make sure to use the proper size of bit for creating pilot holes.
- Always wear safety glasses and work gloves when doing any carpentry work.
- Sand down each piece of wood before staining or painting it – this will help ensure that the finish looks even and professional.
Building a wooden storage shelf is an easy project that anyone can do – as long as you follow the steps and use the proper tools, you’ll be sure to end up with a sturdy and stylish shelf that will make the most of your space! Now get out there and start building!
5 Things You Should Avoid
- Don’t use nails or screws that are too short or too long – they won’t provide enough holding power and could cause the shelf to become unstable.
- Avoid using inferior wood prone to cracking or splintering – this will drastically reduce the shelf’s lifespan.
- Be sure to complete all steps in the construction process – this could lead to an uneven or poorly-made shelf.
- Remember to wear safety equipment – staying safe is better than regret it later!
- Put only a little weight on the shelf – check the manufacturer’s instructions for maximum load capacity before filling it up with items.
Following these simple guidelines and steps when building your wooden storage shelf will help you create a sturdy and stylish shelf that you can be proud of! So get out there and start building – it’ll be worth it in the end! Enjoy!
How Can You Customize Your Shelf?
Once you have completed your shelf, remember to customize it according to your unique tastes. This could include painting or staining it in a unique color, adding decorative trim or hardware for an extra touch of style, or even creating your designs by carving into the wood. Have fun with it, and make it as personal as you’d like!
No matter what type of shelf you decide to build, adding your personal touches will make it truly unique and ensure that you have a one-of-a-kind piece that you can enjoy for years to come.
Storage Solutions for Small Spaces
If you’re working with a small space, there are still plenty of ways to make the most out of it and maximize your storage options. For instance, wall shelves are a great way to store items off the ground while still making them easily accessible. Additionally, vertical storage like tall shelves or cabinets can help you maximize your floor space and make it easier to keep things organized.
If you’re feeling creative, several DIY projects can help you use your limited space more efficiently. Floating shelves are an easy way to optimize the wall space in a room without taking up too much of it, and you can use baskets or other containers underneath to store items out of sight. Other creative solutions include under-bed storage bins, door organizers, and even hanging planters for small plants.

With some creativity and handy DIY projects, it’s possible to make the most out of your small space and find storage solutions that work for you.
Conclusion
Although how to build a wooden storage shelf may seem like a daunting feat to tackle for the weekend warrior, its affordability and function make it an excellent choice for improving storage space in any home. After completing the project, you’ll have beautiful shelves that can store just about anything, from books to toys.
With the right materials and know-how, there’s no limit to how complex and intricate your shelf design can be. It is fitting that when DIYers finish building their storage shelf, they feel immense pride in their accomplishment and have found a way to get used out of scrap wood they may already have had lying around.
Crafting furniture allows us to think critically and flex our creative muscles as we work on making something useful from scratch. So next time you want more storage space in your house: why not build yourself one?

