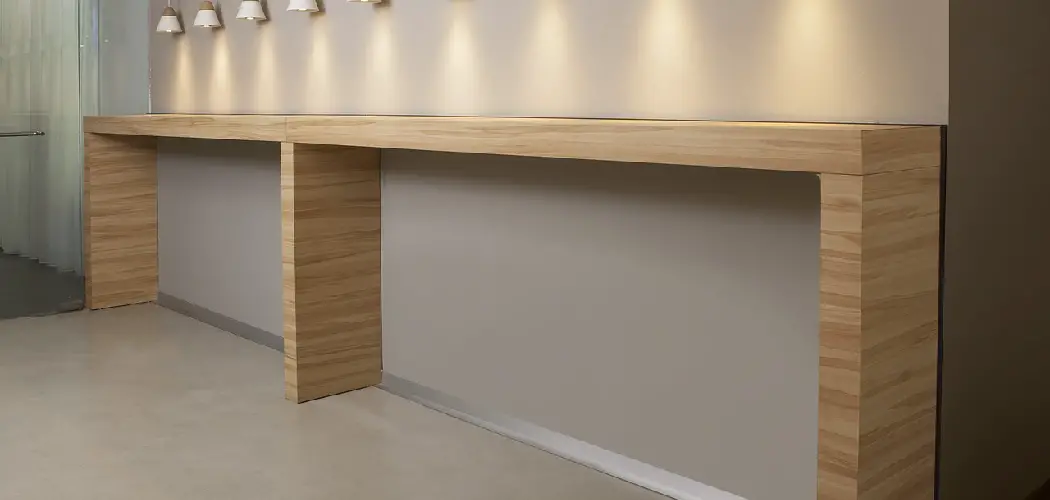
Do you have an old typewriter, aquarium or plant that needs a place to call home? Then why not give it a sturdy perch with a wood stand made by your own hands? Crafting your own piece of furniture is highly rewarding and doesn’t need to be difficult. All you need are the right tools for the job and some patience. This blog post will serve as your guide on how to build a wood stand!
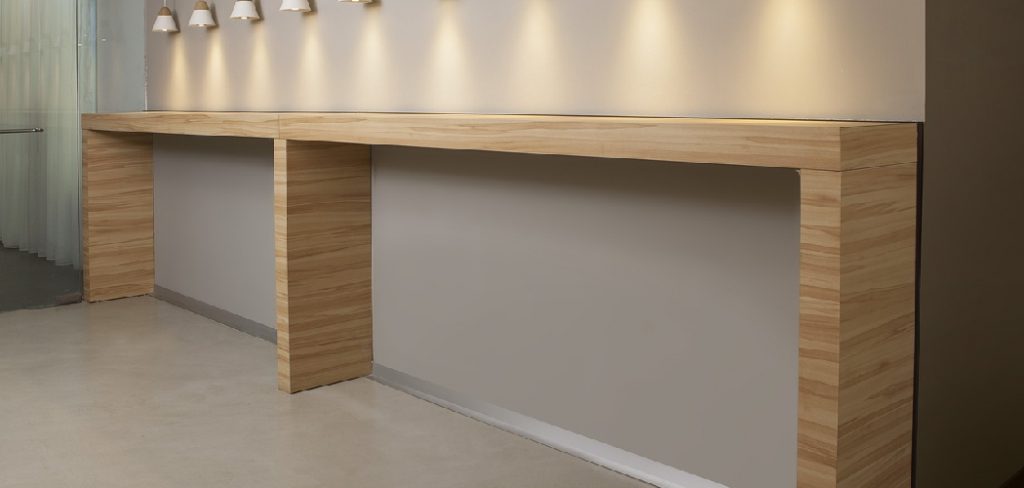
Building a wood stand on your own is both an enjoyable and rewarding experience. With the right tools, instructions, and technique you can construct a durable and attractive piece of furniture for any room in your home or office.
Whether you plan to use your new wooden stand as a nightstand, end table, plant positioning pedestal, or even decorating area centerpiece, by following this article’s step-by-step approach to building your very own customized wood stand you are sure to make something that stands out from the crowd while increasing value within your home space.
Why May You Want to Build a Wood Stand?
1. To Add Extra Storage Space for Books
One of the most popular reasons you may want to build a wood stand is for additional storage space. If you have a lot of books and limited shelf space, a wood stand is ideal for organizing your collection. You can easily stack books on the shelves, leaving room in the center for decorative items or other objects.
2. To Elevate Your TV
Another purpose for building a wood stand is to raise your TV off of the ground. This not only adds a decorative touch to your living room but also makes it easier to view from different angles. Simply build the stand to the right height and your entertainment area will instantly look more organized and stylish.
3. To Create an Accent Piece in Your Home
Finally, building a wood stand can make a unique statement in your home. You can choose to paint or stain the wood in various colors and designs, which will add character to any room. Whether you opt for a sleek modern look or something more traditional, your stand will be sure to turn heads.

Building a wood stand is not as difficult as it may seem and with the right tools and materials, you can create a piece of furniture that will look great in any room. With some basic woodworking skills and the right plan, you’ll have your own custom-made stand in no time!
How to Build a Wood Stand in 5 Easy Steps
Step 1: Gather All The Tools
The very first step is to gather all the tools and materials you’ll need for the project. This includes saws, drills, screws, nails, clamps, glue, wood boards or panels of your desired size, and other necessary accessories like sandpaper or finish products.
Step 2: Cut the Wood to Size
Once you have all the tools and supplies ready, measure and cut the wood boards or panels to the desired size. Make sure you cut them accurately as this will be the basis of your stand’s stability and strength.
Step 3: Assemble the Pieces
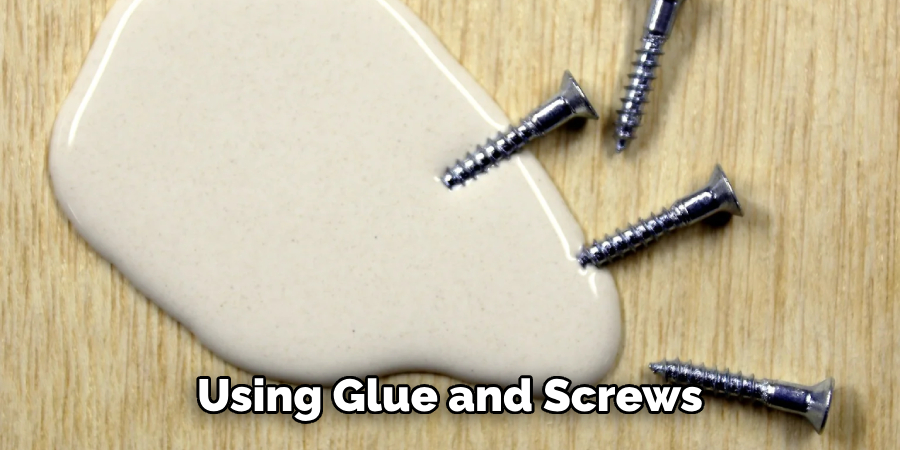
Now you need to put all the pieces together. Start by attaching two sides of the frame with glue and screws, and then add the back panel that will make up the stand’s base. Secure the pieces with additional screws and nails.
Step 4: Add Additional Support
Add support in the form of corner braces to ensure that your wood stand is stable and secure. Make sure you attach them properly using glue and screws so that they don’t come loose. Also make sure that the screws you are using are suitable for the type of wood you’re using.
Step 5: Sand and Finish
Once all the pieces have been assembled, sand down any rough edges or surfaces and finish with a clear coat of lacquer or paint. This will help protect your wooden stand from wear and tear, as well as give it a nice polished look.
Some Additional Tips to Build a Wood Stand
1. Do Not Rush
It’s important to take your time when building a wood stand. Rushing can lead to mistakes and an overall lower-quality product. Also, you have to make sure that all the measurements are precise and accurate.
2. Gather All Materials Before Starting
Gathering all of the necessary materials before you start building can save time and effort when it comes to construction. You should also make sure that the wood you are using is free of any defects.
3. Use Quality Tools and Fasteners
Using quality tools, such as saws, drills, and sanders, can make the construction process much smoother. Additionally, using good quality fasteners like nails and screws will ensure that your stand is secure and stable.
4. Finishing the Stand
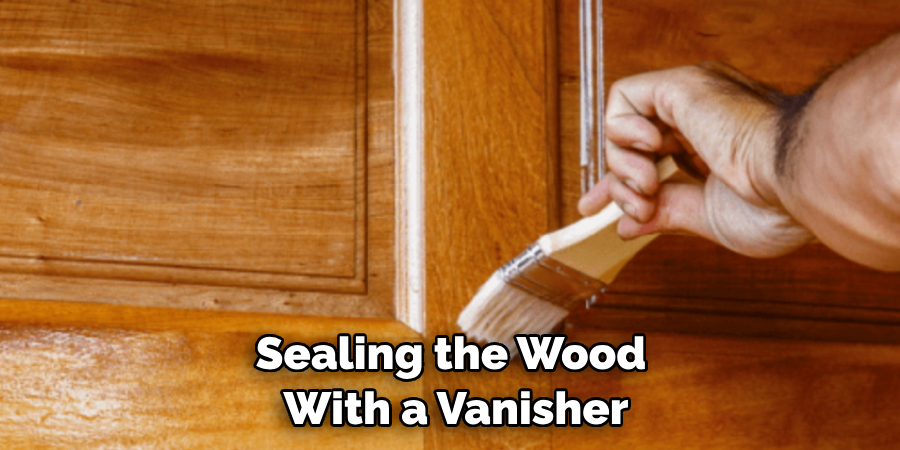
Once you have built your stand, it’s important to finish it off properly. Sanding and sealing the wood with a vanisher or stain will help protect it from moisture and keep it looking good for years to come.
Follow these tips, and you’ll be able to build a wooden stand that you can enjoy for years! With the right materials and tools, you can create a durable and attractive stand that can last through any season. Good luck!
Frequently Asked Questions
What Precautions Should Be Taken When Building a Wood Stand?
Building a wood stand can be a dangerous task, especially if you are not familiar with the tools and techniques involved. It is important to take proper safety precautions such as wearing protective eyewear, gloves, and clothing while working on the project.
Always make sure that your power tools are in good working condition before starting any work. Additionally, it is important to read through the directions carefully before beginning work and never force any of the pieces together. Finally, make sure that all nails and screws are secure before moving on to the next step.
What Type of Wood Should Be Used for a Wood Stand?
When choosing wood for your stand project, it is important to select a material that is suitable for the project. For example, you may want to use hardwood such as oak or maple if your stand is going to be placed in a high-traffic area. Softwoods such as pine are also popular choices but should only be used for lighter-duty projects. Additionally, make sure that the wood is dry and free of any damage before starting work on your stand.
What Are the Tools Needed for Building a Wood Stand?
Building a wood stand requires a few basic tools, such as a saw, drill, and hammer. Depending on the project you may also need additional tools like chisels or clamps. It is always important to make sure that you have all of the necessary tools before beginning work in order to complete the project safely and accurately.
Additionally, you may also need to purchase some extra supplies such as nails or screws in order to complete your stand.
What Is the Best Way to Finish a Wood Stand?
The best way to finish a wood stand depends on the type of wood that is used and its intended purpose. If the stand is going to be placed outdoors then you may want to use a weather-resistant finish like polyurethane or varnish. For indoor stands, an oil-based wood stain can be used to give the stand a glossy look. Additionally, it is important to sand and clean the wood before applying any type of finish in order to achieve optimal results.
What Are Some Tips for Making a Wood Stand?
When building a wood stand, it is important to take accurate measurements and make sure all of the pieces fit together properly before securing them with nails or screws. Additionally, it can be helpful to draw out a simple blueprint of your project beforehand in order to help you visualize the steps involved. Finally, always make sure that you read through the directions carefully before beginning work in order to ensure that the project turns out as planned.
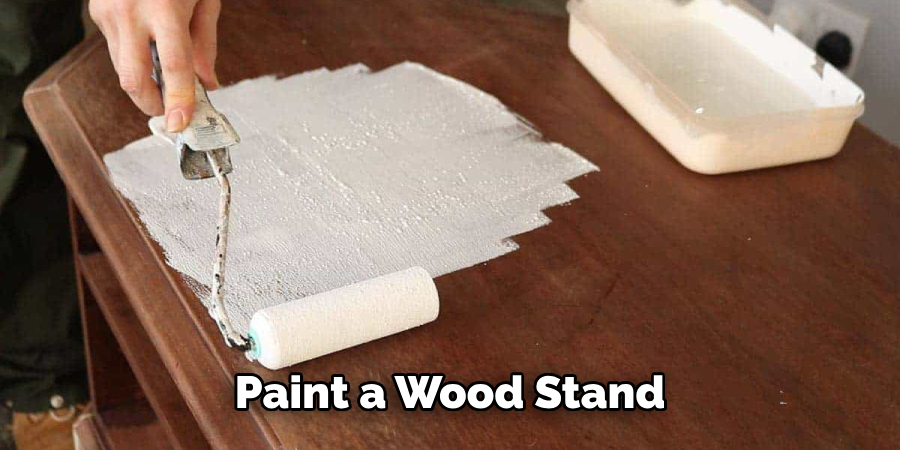
Can I Paint a Wood Stand?
Yes, you can paint a wood stand if desired. However, it is important to make sure that the surface of the wood is clean and smooth before applying any type of paint or finish. Additionally, you may want to use a primer in order to ensure that the paint adheres properly and lasts for an extended period of time.
Conclusion
Building a wood stand is an immensely rewarding experience. From the satisfaction of hammering the last nail to admire the view of your final work, you will enjoy every step of the process. Although this project may appear daunting at first, it certainly doesn’t have to be with the right know-how and determination.
Now you know how to build a wood stand! In conclusion, small projects such as building a wood stand are ideal for DIYers who are looking for short-term projects that require minimal resources or time investment and still offer satisfying outcomes. With patience and practice anyone can develop new skills in carpentry and make something truly special out of that old bit of wood gathering dust in your workshop.

