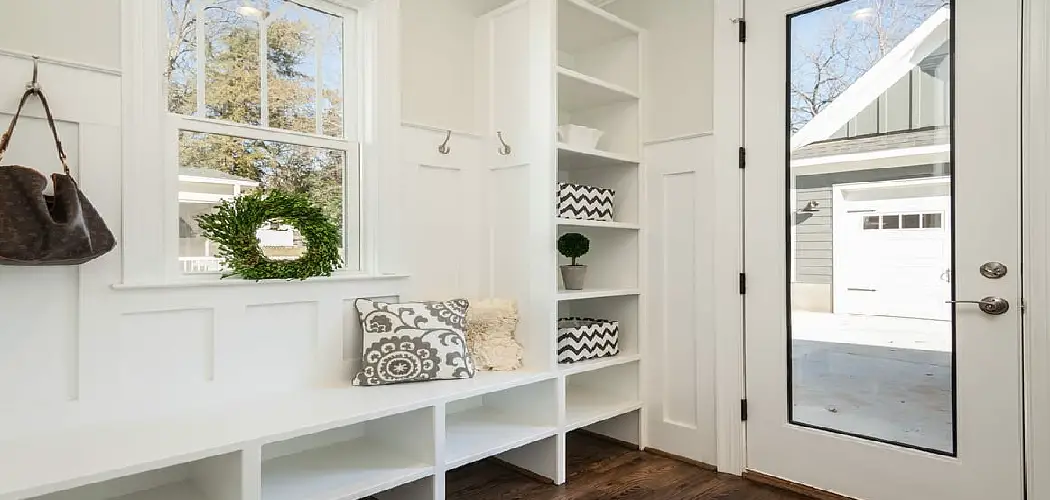
Are you tired of muddy shoes and jackets cluttering your home? Is having an organized entryway something you’ve dreamed about but haven’t had time to achieve? Organizing a mudroom is the perfect way to bring order and storage solutions into your space – so don’t wait any longer!
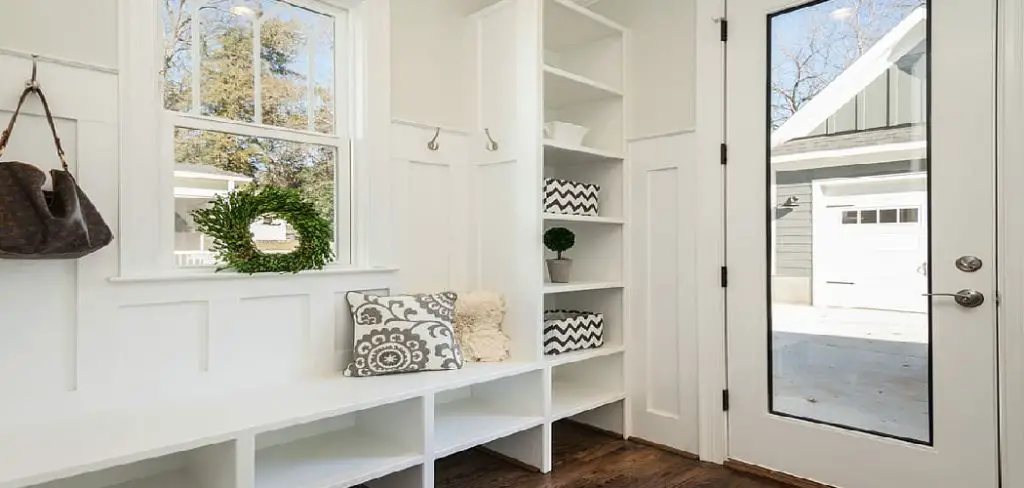
In this blog post, we’ll provide tips for designing and building a functional mudroom in your home. You’ll learn important aspects such as layout considerations, helpful storage items, DIY construction techniques and more – all of which will help create an orderly entryway that works best for you.
So whether you’re looking to spruce up an existing room or build one from scratch, these steps on how to build a mudroom and insider tricks are invaluable resources on this exciting design journey. Let’s get started!
What is a Mudroom?
A mudroom is a transitional space located near the entrance of your home that helps keep the rest of your house clean and organized. It serves as an entryway to store items such as coats, hats, shoes, umbrellas, and other items you don’t want to take further into the home. The purpose of having a mudroom is to keep the dirt and mess of everyday life contained in one area.
Layout Considerations
When planning your mudroom design, it’s important to consider the layout of the room. Think about where you want different items stored and how much space you need for each item. If you have multiple people entering the mudroom, it’s best to have a designated area for each person. This can help keep items organized and easy to find.
Required Items
Before you start building your mudroom, you’ll need to make sure that it’s stocked with the necessary items. Consider having storage solutions such as:
- Shelves
- Hooks
- Benches or chairs
- Doormats to
- Cubbies or baskets
10 Steps on How to Build a Mudroom
Step 1: Measurement
Before you start building, take a few measurements of your mudroom to determine how much space you have to work with and what type of materials or items you can fit. The space should be big enough to store all of the necessary items and still have room for people to move around.

Step 2: Create a Plan
Once you’ve taken measurements, it’s time to create a plan or design for your mudroom. This should include details such as what type of storage solutions you want, where they will go, and how you plan to organize items.
Step 3: Purchase Materials
Once you have the measurements and a plan in place, it’s time to purchase all of your materials. You’ll need lumber for framing walls, storage solutions such as shelves or cubbies, hooks for hanging items, doormats for wiping feet, and paint or stain to finish the room.
Step 4: Frame Walls
Now that you have all of your materials, it’s time to start building! Begin by framing the walls with lumber. Make sure each wall is level and plumb before continuing on to the next step.
Step 5: Install Shelving and Hooks
Once the walls are framed, install your shelves and hooks. Make sure to follow your plan and place everything in the right spot so it can be easily accessed. The hooks should be placed at an easy-to-reach height for everyone.
Step 6: Add Finishes
Once the shelves and hooks are in place, it’s time to add the finishing touches. Paint or stain the walls and floors to match your desired look. You can also add doormats and rugs for a cozier feel. The rugs should be weather-resistant and easy to clean.
Step 7: Install Cubbies
Cubbies are a great way to add extra storage for shoes or other items. They come in various sizes and can be easily installed on the walls or floor. Make sure you get ones that fit the size of your mudroom.
Step 8: Add Seating
If you have room, add a bench or chair to make it easier to put on and take off shoes. This will help keep your mudroom organized and tidy. The seating should be durable and easy to move. It will also come in handy for visitors or on days when you need to take a break.
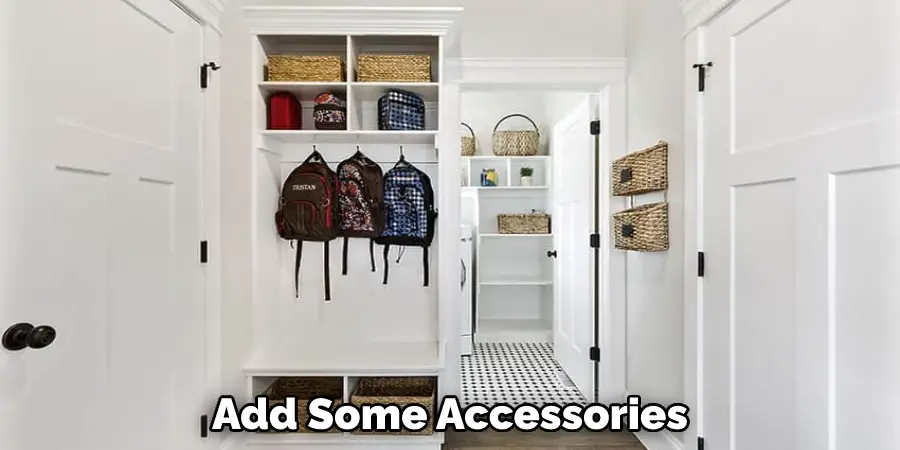
Step 9: Add Accessories
Once your mudroom is complete, add some accessories to make it more inviting. A few decorative pillows, a throw blanket, and a coat rack are all great ways to spruce up the space. If you add a mirror, you can also use it to check your hair and makeup.
Step 10: Organize
The last step is to organize your mudroom. This includes making sure the shelves and hooks are labeled correctly, that all items have their own place, and that everything is easy to find. Once you’re done organizing, your mudroom will be ready to use.
Now that you know how to build a mudroom, it’s time to get started! With the right materials and a bit of planning, you can create a functional and stylish space that everyone in your family can enjoy.
6 Safety Measures to Follow
1. Wear safety glasses while operating power tools. Be careful to avoid eye injury when using saws, drills, and other power tools for your mudroom project. The project requires you to make precise cuts and holes, so it is important to take safety measures.
2. Wear gloves to protect your hands from sharp edges or splinters. The material used for the mudroom build should have smooth edges, but it’s still wise to wear gloves as a precautionary measure.
3. Use a ladder to reach higher spots. If you need to work on anything that is above your head, make sure to use a stable and sturdy ladder. The ladder should be tall enough so that you don’t have to reach or stand in an unsafe spot.
4. Clear the area around the workspace of any flammable materials or liquids. Make sure there is nothing close by that could become a hazard in case of sparks when using power tools. The liquids can also damage the material used for the mudroom project.
5. Wear a dust mask to prevent inhaling particles from the materials being cut or drilled. It is possible to create dust when drilling holes in wood and other materials, so it’s best to be prepared by wearing a mask.
6. Have another person nearby to help with the project. This could be someone to hold something in place while you cut it, or just an extra set of eyes to make sure everything is done properly. Working on a DIY project like this can be dangerous, so it’s always best to have another person nearby.

By following these safety measures, your mudroom project can be completed safely and efficiently. With these tips in mind, you’ll be able to build the mudroom of your dreams!
5 Maintenance Tips
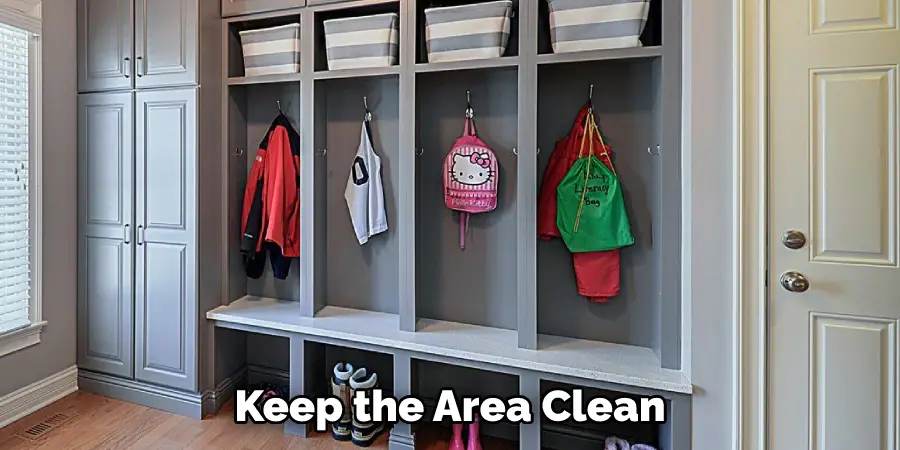
1. Keep the area clean and clutter-free. This will help reduce the amount of dirt and mud that accumulates in your Mudroom. Consider adding some storage units for shoes, hats, gloves, umbrellas, and other items. Also, regularly inspect the area for any water or debris that may have accumulated.
2. Clean up spills and messes as soon as they occur. Mudrooms are designed to be hard-wearing, but they can still become damaged if dirt and mud aren’t wiped away quickly. Make sure you use a wet cloth to remove all traces of dirt from the Mudroom floor.
3. Check for any wear and tear on a regular basis. Look for signs of rot, mold, or dampness in the Mudroom’s walls, floors, or furnishings. If you do spot anything, make sure to address it quickly before it becomes an issue.
4. Weatherproof your Mudroom to protect it from the elements. Consider applying a water-resistant sealant to all exposed surfaces and make sure there are no gaps or cracks where rainwater can get in.
5. Keep a dehumidifier in your Mudroom. This will help keep the area dry, reducing the likelihood of mold build-up and protecting your furniture from damage. Make sure to change out the dehumidifier’s filter regularly too.
Following these tips will help keep your Mudroom looking great, ensuring it lasts for many years to come. With a little bit of effort, you can keep your Mudroom in top condition!
Frequently Asked Questions
How Long Will It Take to Finish the Project?
The amount of time it takes to build a mudroom depends largely on the size and complexity of the space. A small, simple project could be completed in a few hours, while larger projects may take multiple days or longer. In order to get an accurate estimate of how long your particular project will take, you should consult with an experienced contractor or home improvement specialist.
What Type of Flooring is Best for Mudrooms?
The type of flooring you choose depends on your budget and the desired look. Vinyl tile is often used in mudrooms because it is relatively inexpensive and can be easily cleaned. If you have a larger budget, hardwood or ceramic tile are also popular choices for mudroom flooring. The mudrooms should also have some type of mat or rug to help trap dirt and water.
Conclusion
Building a mudroom doesn’t have to be complicated. Whether you choose to DIY or enlist the help of a professional, arm yourself with the necessary knowledge, and you can’t go wrong! Dedicate some thought to planning the size and location of your mudroom before purchasing supplies; consider functionality over style or personal preference. On that note, feel free to choose whatever colors, finishes, and accessories you associate with tranquilizing comfort.
Remember, this is about creating a clean transition space for your household, so don’t forget to include seating, ample hooks or baskets for storage, and durable flooring. Lastly, let your mudroom reflect the unique characteristics of your family and make it easily accessible from the main entryway. With these tips on how to build a mudroom in mind, you should have no difficulty creating an organized and aesthetically pleasant mudroom in no time at all!
You Can Also Check It Out to Spray Paint Trim and Doors

