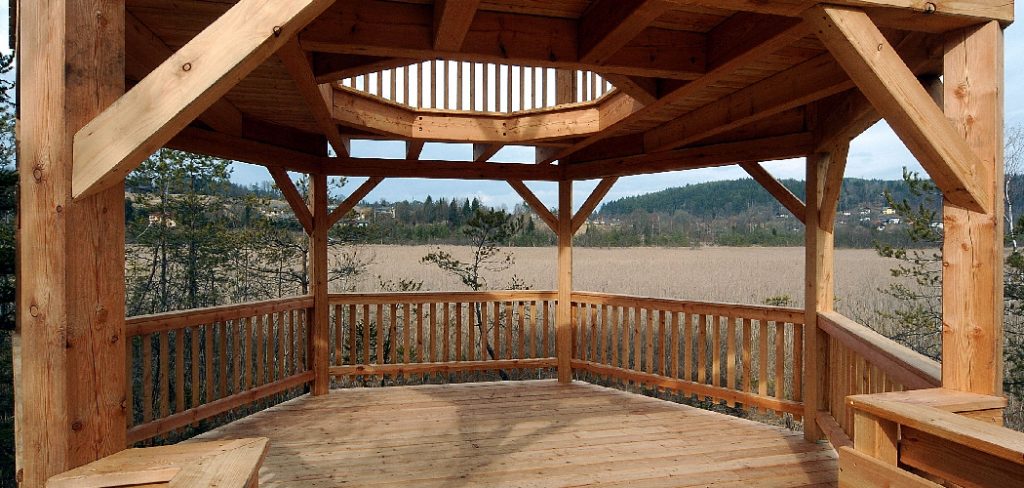
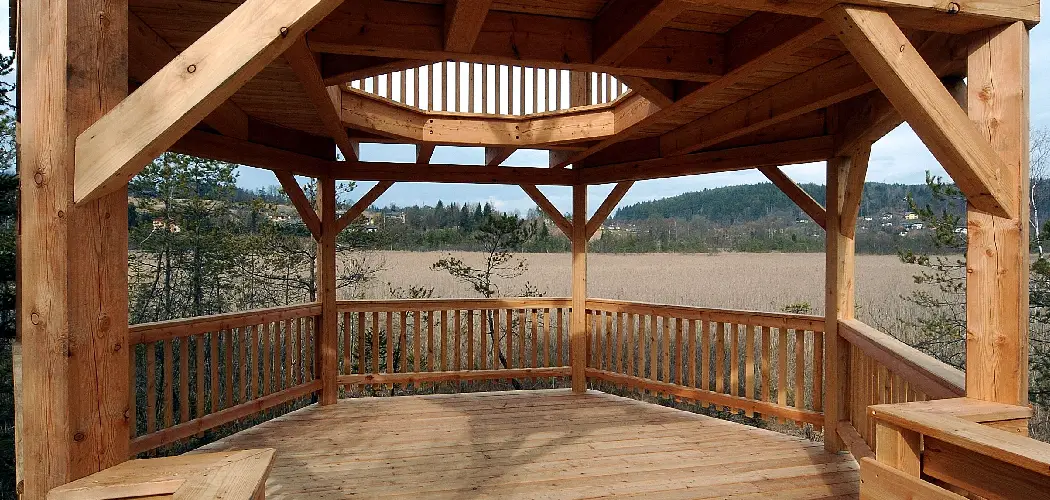
Building a deck for a gazebo is an exciting and rewarding project that can enhance the beauty and functionality of your outdoor space. A deck provides a solid foundation for your gazebo, creating a stable and comfortable area for relaxation and entertainment.

Whether you envision a cozy retreat or a spacious gathering spot, constructing a deck for your gazebo requires careful planning and execution. In this article, we will explore the essential steps and considerations discussing how to build a deck for a gazebo.
From determining the ideal location and size to selecting materials, preparing the site, and constructing the deck, we will guide you through the process, offering valuable insights and practical tips. With the right tools, materials, and guidance, you can create a stunning and durable deck that perfectly complements your gazebo and transforms your outdoor living space.
Importance of a Sturdy and Well-Designed Deck for Your Gazebo
A sturdy and well-designed deck is an important part of any gazebo. A deck can provide added stability for the structure, allowing you to use it in windy or wet conditions. Furthermore, a deck gives your gazebo a finished look that ties it into the surrounding landscape. It can also expand your usable space outside by creating a comfortable outdoor seating area for family and friends.
When building a deck to support a gazebo, there are several key points to keep in mind. Firstly, it is crucial to ensure the foundation of the deck is firmly secured into the ground. Properly constructed footings will help prevent movement of the deck during rainstorms or strong winds.
Secondly, all framing lumber should be treated or naturally rot-resistant, to ensure the deck will remain durable over time. Lastly, adequate drainage must be incorporated into the design of the deck. This is important in order to prevent moisture buildup and keep your gazebo safe from potential water damage.
Your gazebo won’t reach its full potential without a well-constructed deck beneath it. Taking the time to plan out and build a stable foundation for your gazebo can help you maximize its use and enjoy many years of outdoor living. With careful planning and attention to detail, you can create an attractive and functional unit that will bring tremendous pleasure for years to come!
Benefits of Having a Dedicated Space for Relaxation and Outdoor Activities
Creating a deck with a gazebo is an excellent way to enjoy the outdoors while still having the comfort and shelter of your own home. Having a dedicated outdoor space can provide numerous benefits for you and your family.
A deck with a gazebo provides you with a tranquil spot for relaxation, whether it’s to read a book or just take in some fresh air. The additional space also gives you and your family more room for activities such as barbecues, birthday parties, or even movie nights on the deck!
Furthermore, it provides an ideal area to entertain guests during summer days and nights. As well as being aesthetically pleasing, you may find that increasing the livable areas in your home will increase its value.
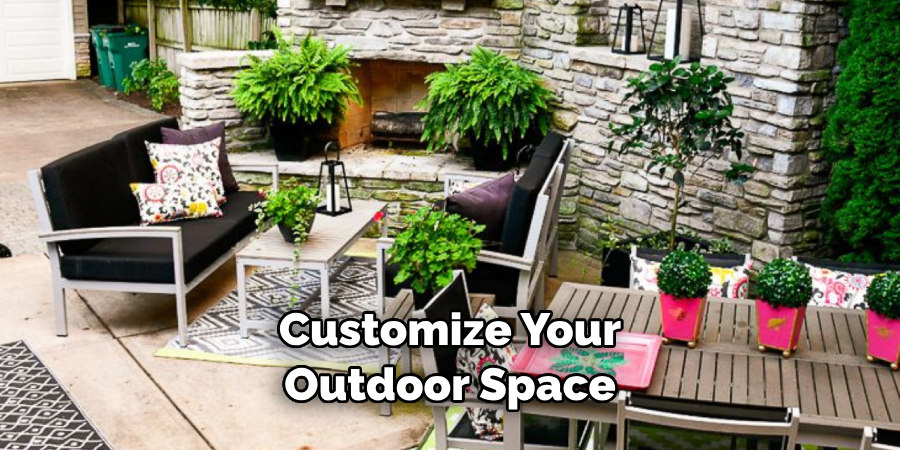
Building a deck with a gazebo is an excellent way to customize your outdoor space, allowing you to create the perfect area for entertaining and relaxation. With careful planning and sound construction techniques, you can easily transform your backyard into a tranquil retreat.

Determining the Location and Size of the Deck
Once you have chosen the gazebo design you would like to incorporate into your outdoor space, it is time to start thinking about where and how big you want your deck to be. It is important to consider both the size of your yard, as well as the size of the gazebo itself when deciding on a location for your deck. Additionally, make sure that your deck will be within range of available power sources such as an electrical outlet, if needed.
When it comes to determining the size of your deck, this should correlate with the size of the gazebo itself. The general rule is that the deck should be at least one foot wider and longer than each side of your gazebo. This will ensure that the deck is not smaller than the gazebo, and will give you enough room to move around comfortably when enjoying your gazebo.
Once you have determined the size and location of your deck, you can begin to plan out the design. This includes deciding which materials to use for your deck, such as pressure-treated lumber or composite materials.
Additionally, consider adding features like benches and railings to enhance its look. Lastly, it is important to make sure that all safety guidelines are met when designing and constructing your deck so that it can last for years to come. With these tips in mind, building a beautiful deck for a gazebo should be relatively simple!
10 Steps How to Build a Deck for a Gazebo
Step 1: Design and Planning
Start by designing your deck and determining its size, shape, and layout. Consider factors such as the gazebo’s dimensions, your desired seating or entertainment areas, and any existing structures or landscape features. Create a detailed plan, including measurements, materials, and necessary permits, and consult local building codes and regulations.
Step 2: Choose the Location
Select a suitable location for your deck that complements the gazebo’s position and takes advantage of the surrounding views and natural features. Ensure the ground is level, stable, and properly drained. Consider factors such as sun exposure, privacy, and accessibility from the house. If you’re installing a deck that is raised, measure the elevation carefully to make sure it will not be too high.
Step 3: Gather Materials and Tools
Collect all the necessary materials and tools for the deck construction, including lumber, screws, joist hangers, post anchors, concrete, and protective gear. Choose high-quality materials that are appropriate for outdoor use and can withstand the elements. Make sure to have a tape measure, saws, drills, and other tools handy. To avoid any potential accidents, use the appropriate safety equipment such as gloves or goggles.

Step 4: Prepare the Site
Clear the site of any vegetation, debris, or obstacles. Mark the deck’s perimeter using stakes and string lines. Excavate the area to create a level surface, removing any rocks, roots, or uneven soil. Install landscape fabric to prevent weed growth.
While not necessary, you may also install a plastic edging along the perimeter of the deck to hold back soil and vegetation. However, be sure that the edging is level as well.
Step 5: Install Footings
Dig post holes at the corners and along the deck’s perimeter. The depth and diameter of the holes will depend on local building codes and the deck’s height. Place post anchors in the holes and pour concrete to secure them. Allow the concrete to cure according to the manufacturer’s instructions.
Step 6: Construct the Frame
Build the frame of the deck using pressure-treated lumber. Install ledger boards against the house, attach beams to the ledger, and add joists perpendicular to the beams. Use joist hangers and galvanized nails or screws to secure the connections. Ensure the frame is square and level. If any part of the frame is not level, use a shim to make it so.

Step 7: Install Decking Boards
Attach decking boards to the joists using screws or hidden fasteners. Space the boards evenly and allow for proper drainage between them. Cut boards to fit around any obstacles, such as posts or trees.
Consider using composite decking for low maintenance and enhanced durability. Pre-drill boards to avoid splitting them with the screws. Secure each board as you go and use a level to ensure all boards are even. Once the decking boards have been installed, you can finish off the edges with fascia or skirting.
Step 8: Add Railing and Stairs
Install railing posts and attach balusters or spindles to create a safety barrier around the deck. Add a handrail for support and aesthetic appeal. Construct stairs if needed, ensuring they meet local building codes and have a comfortable rise and run. If the stairs are too steep, add a handrail for safety. For added protection, apply a non-slip finish to the stairs and deck surface.
Step 9: Finish the Deck
Apply a protective finish to the deck, such as stain or sealant, to enhance its appearance and safeguard against weathering. Follow the manufacturer’s instructions for application and maintenance. Consider adding accessories like lighting, seating, or planters to enhance the deck’s functionality and ambiance.
Step 10: Perform Final Inspections and Maintenance
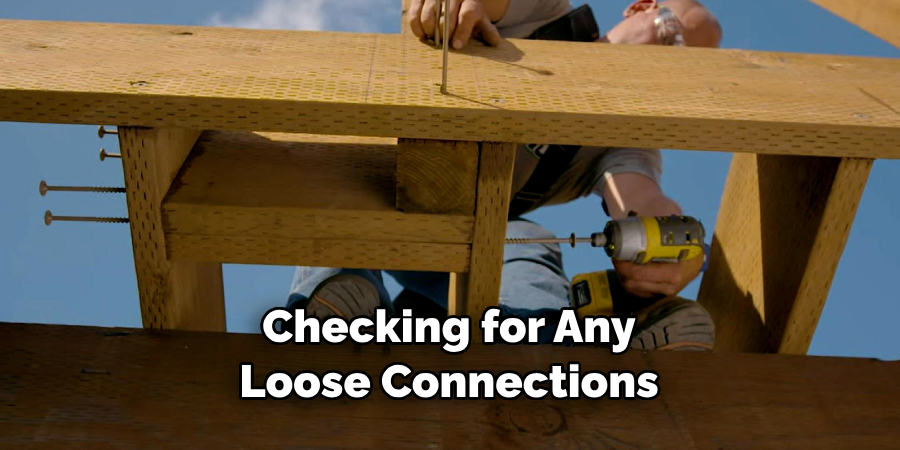
Conduct a thorough inspection of the completed deck, checking for any loose connections, protruding nails, or structural issues. Make necessary adjustments and repairs. Regularly maintain the deck by cleaning it, inspecting for wear and tear, and performing any necessary maintenance tasks to ensure its longevity and safety.

Conclusion
With the proper tools and materials, building a deck for a gazebo can be an exciting process that will provide you with years of enjoyment. Taking the time to plan out the deck before beginning to build will not only save you time but will also help you create quality and lasting results. By following these steps, your finished deck can meet all your expectations as an outdoor oasis.
To learn more about how to build a deck for a gazebo, check out our other resources which include additional instructions, tips, and tricks! Ultimately, should you choose to take on this task yourself or enlist the help of professionals, we hope that you take full advantage of the unique opportunity to create this backyard escape – now get out there and get started! Good luck!

