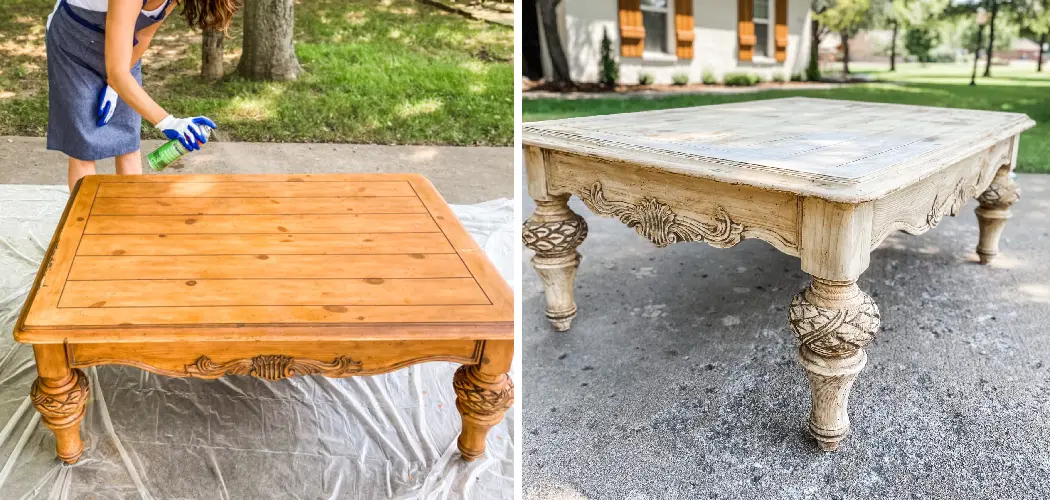
Are you looking to bleach a wooden table? Bleaching can be used in woodworking to lighten the natural color of the wood or remove various types of stains. It is important to use caution when bleaching, as improper use can damage the wood and cause discoloration. This guide will explain how to bleach wood table.
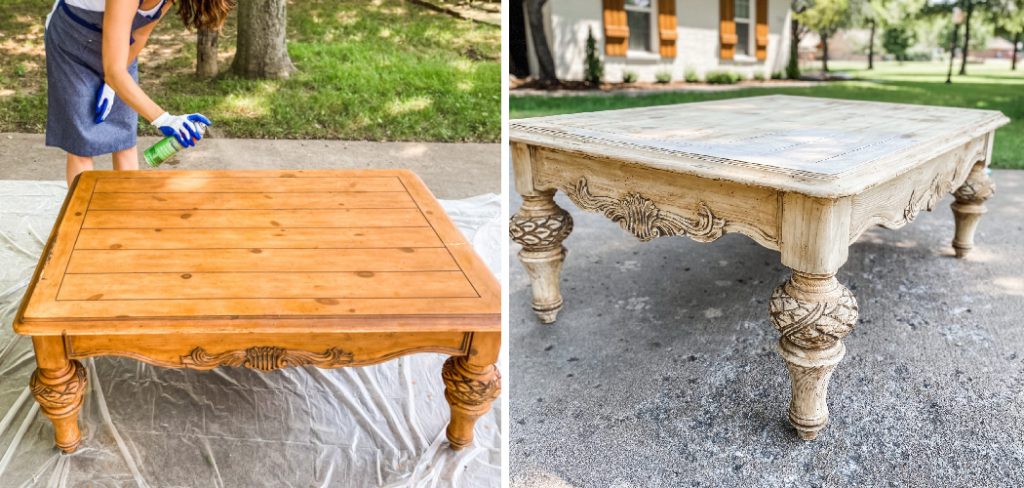
Many people don’t realize that wood tables can be lightened in color with bleach. Bleaching is relatively easy, requiring the right supplies and care, or you could damage your furniture. If you’re looking to update an old wooden table without painting it, bleaching might be the perfect solution for creating a look of newness.
This blog post will guide you through how to choose the type of bleach to use on your wood table and explain exactly what steps you need to take to achieve a lighter hue safely.
What is the Importance of Bleaching Wood?
Before attempting to bleach your wooden table, it’s important to understand why you want to do so. The main purpose for bleaching is quite simple — to lighten up the natural color of the wood. This can be done to update the furniture or make a stained surface look new again.
Additionally, bleaching can be used to remove certain types of stains from wood. This could include hard water spots, ink stains, or other types of discoloration that are difficult to remove with just soap and water.
Overall, bleaching is a great way to give your wood furniture a facelift without having to go through the hassle of sanding and staining.
What Will You Need?
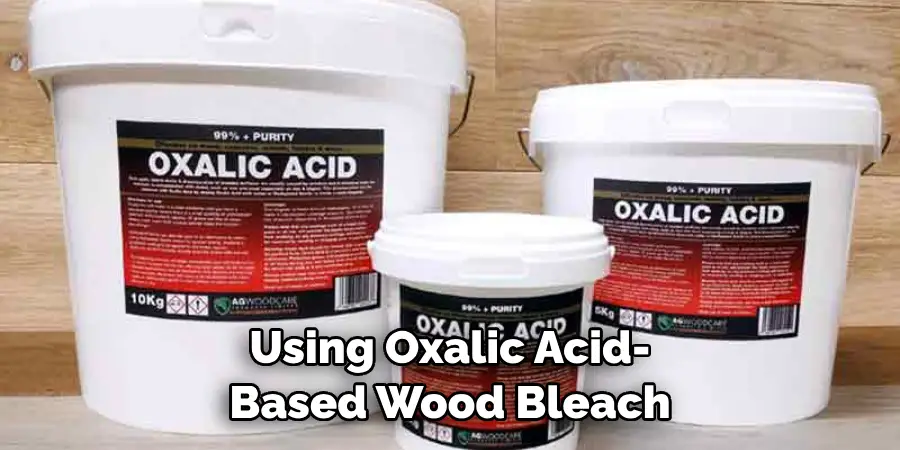
Before you begin the bleaching process, gathering the necessary supplies for the job is important. The supplies needed will depend on which type of bleach you choose to use. For this guide, we suggest using oxalic acid-based wood bleach. This type of bleach is specifically designed for wood and is less damaging than other forms of household bleach.
You will need the following supplies:
- Oxalic acid-based wood bleach
- Paintbrush or sponge for application
- Protective gloves and eyewear
- Lint-free cloths or rags to wipe off the excess bleach solution
Once you have all of your supplies, the next step is to prepare the wood table for bleaching.
10 Easy Steps on How to Bleach Wood Table
Step 1. Clean Dirt or Debris:
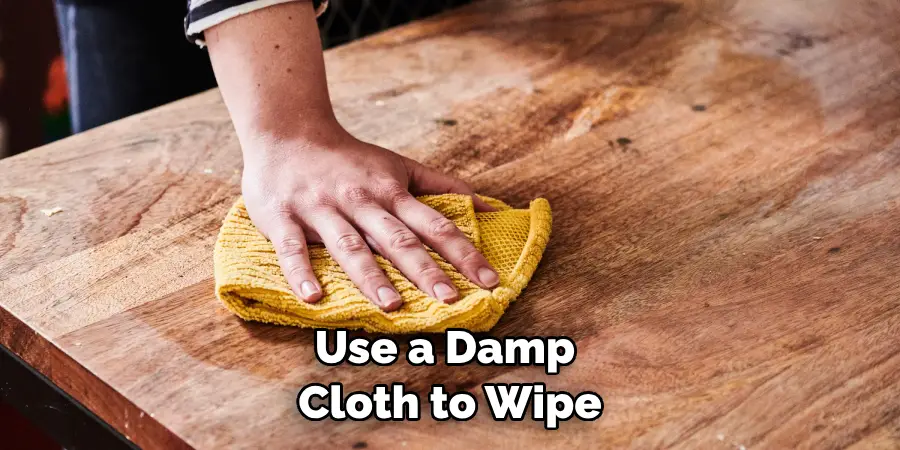
The first step when bleaching a wood table is to remove any dirt, dust, or debris from the surface. This will allow the bleach solution to penetrate into the wood more easily and provide better results. Use a damp cloth to wipe away any residue on the table.
Step 2. Sand Rough Areas:
If there are any rough or splintered areas on the surface of the wood table, these should be sanded smooth before moving forward. This will help ensure the bleach solution has an even effect across the table’s surface. Additionally, lightly sanding the entire table can help to remove any existing stain or sealant.
Step 3. Put on Protective Gear:
Oxalic acid-based wood bleaches are strong chemicals that should be handled with caution. Before applying the solution, wear protective gloves and eyewear to protect yourself from potential irritation. If you have long hair, it is also recommended to tie it back. Because you will be dealing with a bleach solution, working in a well-ventilated area is also important.
Step 4. Test Bleach:
Before applying the bleach solution to the entire wood table, it’s a good idea to test out a small patch in an inconspicuous area first. This will allow you to gauge how effective the bleach is and how much of it you will need for the entire table. If the test patch isn’t lightning up to your desired shade, you may need to increase the concentration of the bleach solution.
Step 5. Apply Bleach:
Once you are satisfied with the test patch, it is time to apply the bleach solution to the entire wood table. Using a paintbrush or sponge, you should apply the solution to the table in an even layer. Ensure you are careful not to let any solution drip onto your clothing, hands, or eyes.
Step 6. Let Bleach Sit:
After applying the bleach solution, it’s important to let it sit on the wood for 10 to 15 minutes to penetrate it effectively. Try not to let the solution dry out, as this will make it less effective. You may need to add more bleach solution periodically during this time.
Step 7. Wipe Off Excess Bleach:
When the 10-15 minutes have elapsed, use a lint-free cloth or rag to wipe away any excess bleach solution from the surface of the wood table. Make sure to use a gentle motion to ensure you don’t remove any bleached areas from the table. Be careful not to let the cloth or rag come into contact with any of your skin.
Step 8. Rinse and Dry:
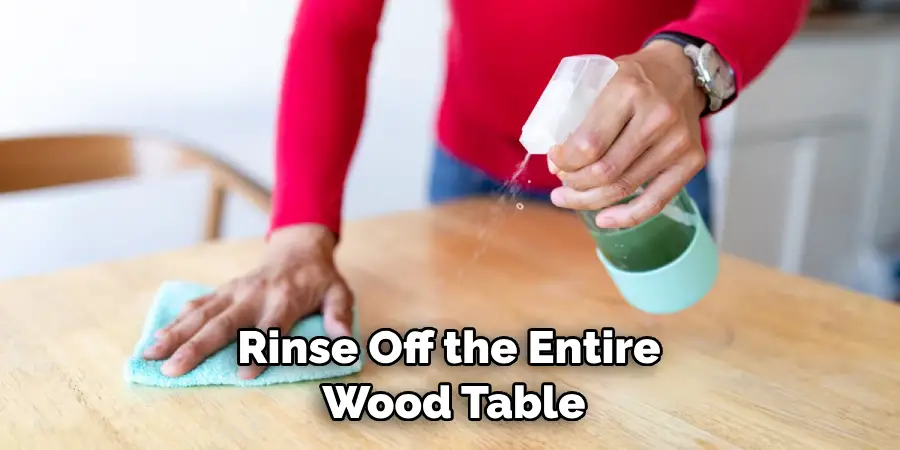
Once all excess bleach solution has been wiped away, it’s time to rinse off the entire wood table and then dry it completely with a lint-free cloth. Make sure that you use clean water for rinsing. Otherwise, you could end up with unwanted streaks or discoloration.
Step 9. Evaluate Results:
At this point, you should be able to evaluate the results of your bleaching efforts. If the table is not lightened up to your desired shade, you may need to apply additional coats of bleach solution and repeat steps 5-9 until it reaches the desired result. Remember that the final shade of your wood table will be affected by how long you let the bleach sit.
Step 10. Seal and Protect:
The last step is to seal and protect your newly bleached wood table. This will help keep it looking newer for longer. You can use polyurethane or other protective sealant and regular dusting and cleaning to keep the table looking its best.
By following these easy steps, you should have no problem bleaching your wood table and giving it an updated look. Keep in mind that this process can be time-consuming, so patience is key when it comes to achieving the desired results.
Additionally, be sure to wear protective gear and work in a well-ventilated area when dealing with bleach solutions. With the right supplies, you can easily transform your wood table to look new again.
5 Additional Tips and Tricks
- Before bleaching your wood table, it is important to sand the surface of the wood to ensure that the bleach can penetrate the wood. This will help to avoid any unevenness in the bleached result.
- It is not advisable to use a strong concentration of bleach on your wood table as this could cause discoloration or damage to the surface of the wood. Start with a weaker concentration and then work to a stronger one if desired.
- When applying the bleach solution, it is important to use even strokes to ensure that the color of your wood table is bleached evenly.
- After you have finished bleaching your wood table, you should rinse it with clean water and then let it dry naturally to prevent any further discoloring of the wood.
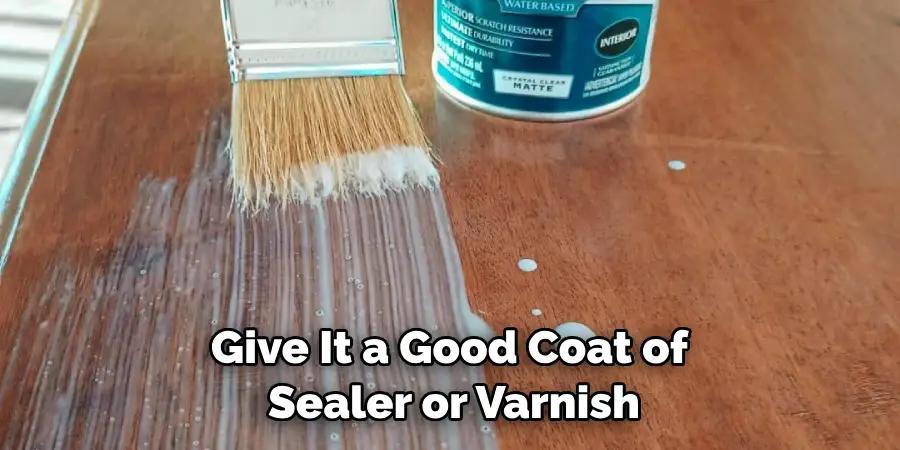
- Once your wood table has been bleached and dried, it is important to give it a good coat of sealer or varnish to protect it from future staining and fading. This will also help ensure that your wood table retains its new color for as long as possible.
It is also important to remember that bleach can be an effective cleaning agent for removing dirt and grime from your wood table. Still, it should be used sparingly as overuse could cause serious damage to the surface of the wood. Following these tips, you can successfully bleach your wood table without any issues.
5 Things You Should Avoid
- Do not use abrasive cleaners or scrubbing pads when cleaning your wood table, as this could damage the surface of the wood.
- Avoid using a strong bleach concentration on your wood table, which could cause permanent discoloration and staining.
- Never apply the bleach solution to the wood with excessive force, as this could lead to uneven bleaching.
- Do not allow your wood table to come into contact with any harsh chemicals or solvents, as this could cause damage to the surface of the wood.
- Never use bleach on any other type of furniture such as leather or vinyl, as this could cause irreversible damage and discoloring.
By following these tips and avoiding the mistakes above, you can successfully bleach your wood table without any issues and achieve beautiful results.
What Kind of Bleach to Use on Furniture?
When it comes to bleaching your wood furniture, using the right type of bleach is important. Chlorine bleach is generally considered the best option for wood bleaching as it is highly effective and causes minimal damage. However, you should avoid using high-strength chlorine bleach solutions on your wood table, which could cause serious discoloration or staining.
Instead, opt for a weaker solution or a bleaching wood stain to ensure your wood table retains its original beauty and color. Additionally, you should always read the manufacturer’s instructions before using any bleach on your furniture, as this will help you ensure that you are using the right type and amount of bleach.
Finally, it is important to remember that bleaching your wood table is a process that takes time and may take several applications of the bleach solution before you can achieve the desired results. Patience and careful application will be key if you want to bleach your furniture without any issues successfully.
By following these tips, you can effectively bleach your wood table and restore its beauty for years to come.
Can Bleach Turn Wood Black?
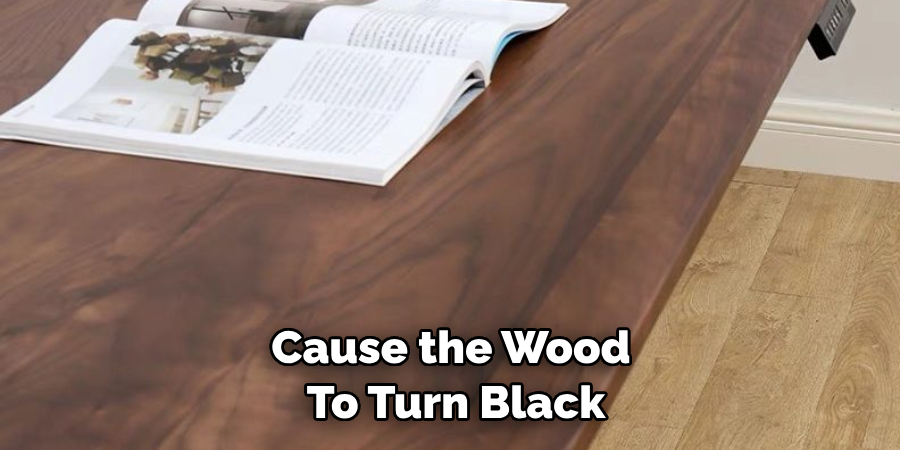
In some cases, when bleach is used on wood, it can cause the wood to turn black or become stained in color. This mainly depends on the type of wood you are bleaching and the concentration of bleach.
It is important to use a weaker bleach concentration and always follow the manufacturer’s instructions when using any cleaning product on your furniture. It is also important to sand the wood before applying the bleach, as this will help the bleach penetrate the wood more effectively and reduce the risk of discoloration.
Following these tips, you can successfully bleach your wood furniture without damage or discoloration. However, if your furniture has already been stained somehow, restoring it to its original color may not be possible. In such cases, it is recommended that you consult a professional to determine the best course of action for your furniture.
Can You Bleach Wood With Hydrogen Peroxide?
Hydrogen peroxide is a strong oxidizer and can be used to bleach wood, however, it should only be used in low concentrations as higher concentrations could cause discoloration or damage the surface of the wood. Hydrogen peroxide is also known to fade more quickly than traditional bleaches, so its effects may only last for a while.
As with chlorine bleach, it is important to read the manufacturer’s instructions before using hydrogen peroxide on your wood table, as this will help you ensure you are using the right type and amount of cleaner. Additionally, sanding the wood before applying the bleach can help reduce discoloration or staining.

By following these tips and avoiding mistakes, you can successfully bleach your wood table with hydrogen peroxide without any issues. Doing so will help restore the original beauty and color of your wood furniture, allowing it to last for years.
Conclusion
How to bleach wood table is an easy process that can provide dramatic results in a relatively short period. After you’ve sanded the wood table, applied your chosen bleach, and wiped down any excess, you will have successfully removed surface level stains from your wooden table, allowing it to look cleaner and brighter than before. You can further enhance its restored beauty by re-staining or refinishing the surface.
If you take safety precautions like using gloves to avoid contact with the strong bleach solution, work in a well-ventilated area, and coat the entire wood table evenly with bleach, you’ll have breath-taking results in no time.
Along with taking all necessary steps to renew your wooden table’s shine properly, take pride in knowing that taking on this project was faster and much easier than purchasing a new piece of furniture!

