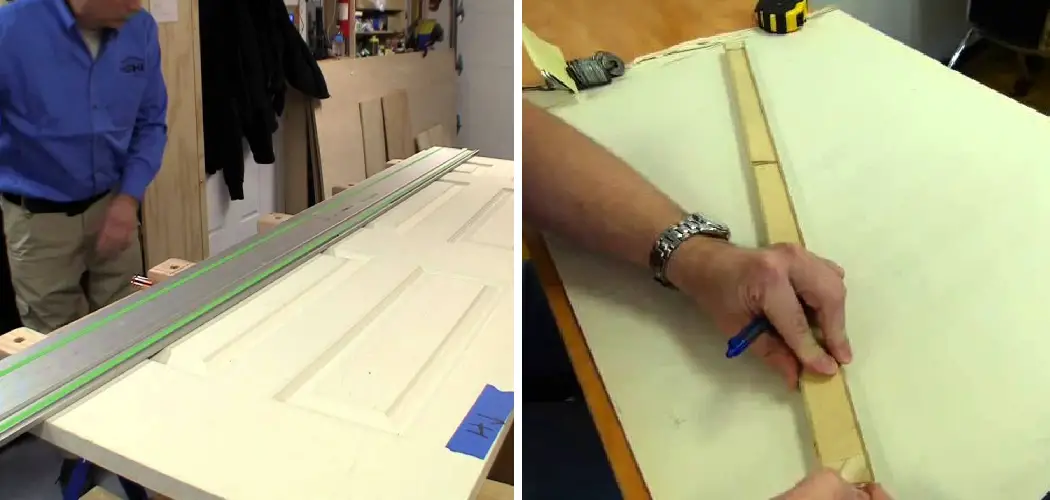
Are you looking to make a change to the aesthetics of your doors but want an easy and simple process that won’t break your budget? If so, beveling the edges of your doors is perfect because it’s simple to do and provides a great finish. This blog post will provide step-by-step instructions on how to bevel a door edge, as well as tips and tricks for achieving the best results.
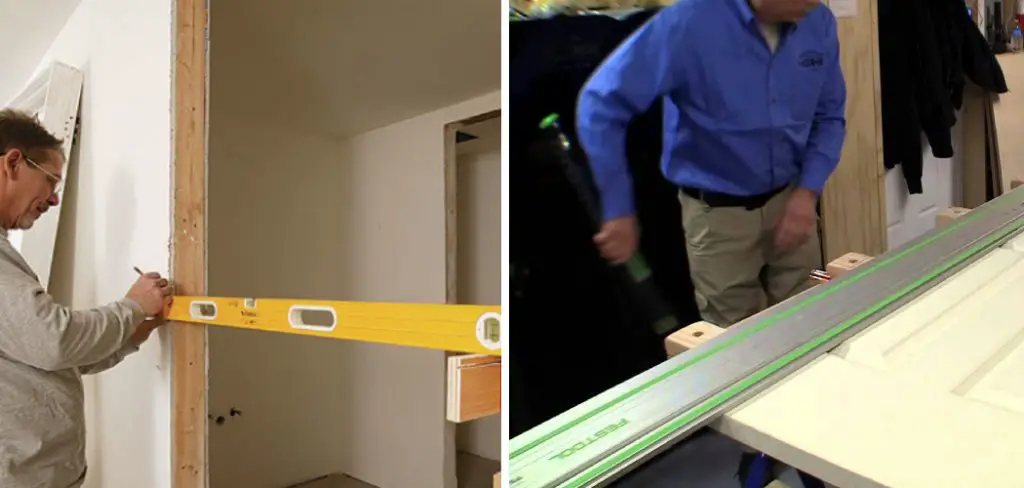
Whether you’re a beginner or an experienced woodworker, this guide will show you how to bevel a door edge the right way. We’ll cover important topics like selecting the best tools for the job, preparing the wood and ensuring a perfect finish. With just a few simple steps, you can bring life and personality into any space by creating beautiful doors with eye-catching designs. Let’s get started!
Why May You Want to Bevel a Door Edge?
1. To Add a Decorative Touch
One of the most common reasons for beveling a door edge is to create a decorative touch. Beveling the edges of a door can be done in many different ways, from a light chamfer to an elaborate design. This can add interest and style to a plain doorway and make it more visually appealing.
2. For Improved Safety
Beveling the edges of a door can help to reduce the chance of injury from sharp corners. With beveled edges, people are less likely to cut themselves on sharp edges if they come into contact with them. This is particularly important for homes that have children and elderly people who may accidentally catch their skin or clothing on a sharp corner.
3. To Make Doors Fit Better
Beveling a door edge can also help to ensure that the door fits better into its frame. This is because beveled edges provide a slightly sloping surface that allows the door to fit against the frame without gaps or misalignments. This makes it easier for people to open and close the door, as well as making it more secure.
Overall, beveling a door edge can provide a number of important benefits that can improve the look and safety of your home. It is an easy task to do, but should still be done carefully to ensure the best possible results. With the right tools and techniques, you can easily create attractive beveled edges on your doors that will last for years to come.
How to Bevel a Door Edge in 5 Easy Steps
Step 1: Gather All The Materials
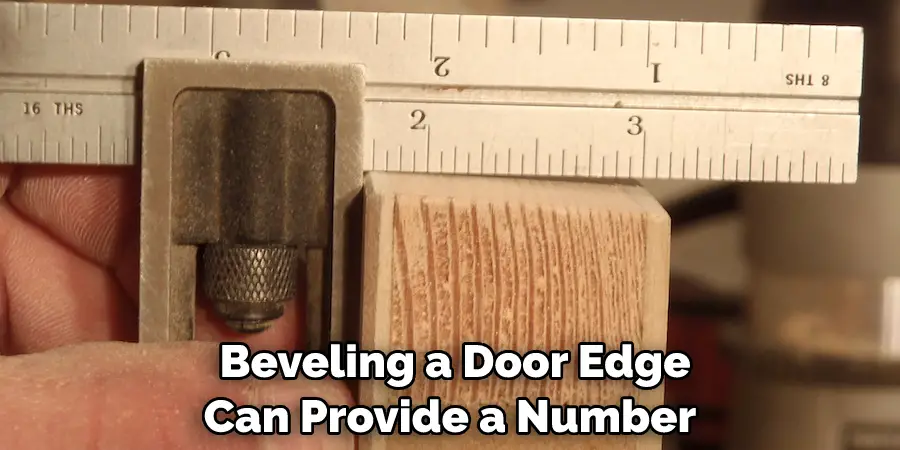
The very first step is to gather all the tools and materials that you’ll need for this project. You will need a plane, a chisel, a bevel gauge, sandpaper, and a jigsaw. Also make sure to have safety glasses and gloves handy.
Step 2: Prepare The Door Edge
Using the plane, chisel, and bevel gauge, prepare the edge of the door by cutting it at an angle between 45° to 90°. Make sure that you’re working with a straightedge and level surface before you begin.
Step 3: Make The Beveled Edge
Once the door edge is prepared, you can begin cutting the bevel. Use a jigsaw and make sure to follow the angle line of the previous cut. This will ensure that the angle remains even throughout.
Step 4: Sand The Beveled Edge
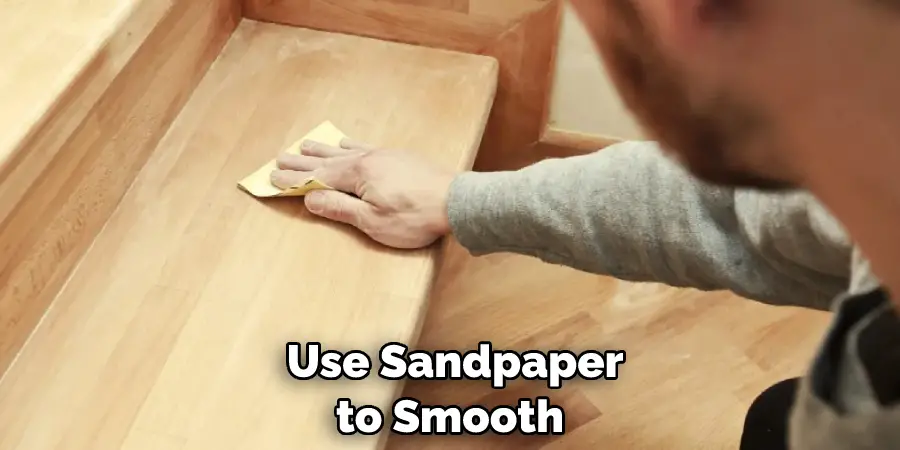
After completing the cuts, use a sandpaper to smooth out the beveled edge. Make sure to use an even, circular motion when sanding and focus on the areas where there might be roughness or sharp edges.
Step 5: Finish The Job
Once you’ve sanded the door edge and are satisfied with how it looks, you can apply a sealant or finish product to protect the wood and give it a nice look. Your door is now beveled and ready for use!
These are the basic steps for how to bevel a door edge. With patience, practice, and proper materials, you’ll be able to achieve a beautiful finish on your door. Good luck!
10 Tips to Bevel a Door Edge
1. Use a Sharp Chisel
One of the most important tools when beveling a door edge is a sharp chisel. Make sure the chisel is well-maintained and regularly honed to ensure it remains sharp so you can attain an even cut in the wood.
2. Mark out the Bevel
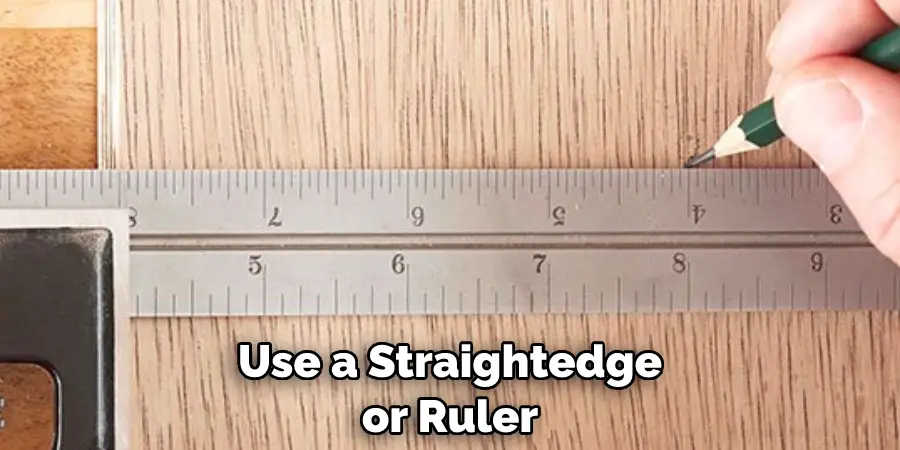
Before beginning, use a straightedge or ruler to mark out where the bevel should go. Measure carefully to make sure it is even, then draw a line through the center of the bevel with a pencil or other marking tool.
3. Start at the Edge
Begin your cut at the top edge of the door and work your way down to ensure you get an even cut. This helps avoid any gaps that might form at the edge of the bevel.
4. Make Shallow Cuts
The more shallow your chisel cuts are, the easier it will be to make a smooth and even cut in the wood. As you work, check the depth of each cut with a ruler or straightedge to ensure they’re not too deep.
5. Use a Mallet
If you’re having trouble getting the chisel to cut through the wood, use a mallet instead. This will help drive the chisel deeper into the wood and make it easier to get an even cut.
6. Take Your Time
Beveling a door edge can take some time so be sure to take your time and work slowly. This will help you achieve the best results and avoid any mistakes that may occur from rushing.
7. Sand Smooth
Once the bevel is cut, use a sandpaper block to smooth out any rough edges or uneven cuts. Start with a coarse grit paper and progress to finer grits until you get a smooth finish on the bevel.
8. Apply a Sealant
Once you’re satisfied with the bevel, apply a sealant or varnish to help protect it from moisture and wear. This will also give it a glossy finish that can last for years to come.
9. Clean Up
Clean up any sawdust or debris created during the beveling process. This will help keep your workspace tidy and reduce any risk of injury while working on future projects.
10. Enjoy Your Handiwork
Stand back and admire your work once you’ve finished beveling your door edge. You should now have a beautiful and even cut that will look great when painted or stained. Enjoy your accomplishment!
Remember to take extra care when beveling a door edge as any mistakes can be difficult to correct. With these tips, you should have no trouble achieving the perfect result. Good luck and happy beveling!
Frequently Asked Questions
What Precautions Should I Take When Beveling a Door Edge?
When beveling a door edge, it’s important to wear safety goggles and gloves. You should also work in a well-ventilated area since the process produces dust. Additionally, make sure you have the right tools for the job; quality router bits and sharp chisels will make the job easier and produce better results. Lastly, make sure you measure and mark your workpiece correctly before beginning to ensure that the bevel is cut at precisely the right angle.
What Materials Are Required for Beveling a Door Edge?
You’ll need a router, quality router bits, chisels, clamps, sandpaper, and a measuring tape. You’ll also need to make sure you have the right kind of wood for your door edge; softwoods such as pine and fir are best for beveling.
What Is the Process of Beveling a Door Edge?
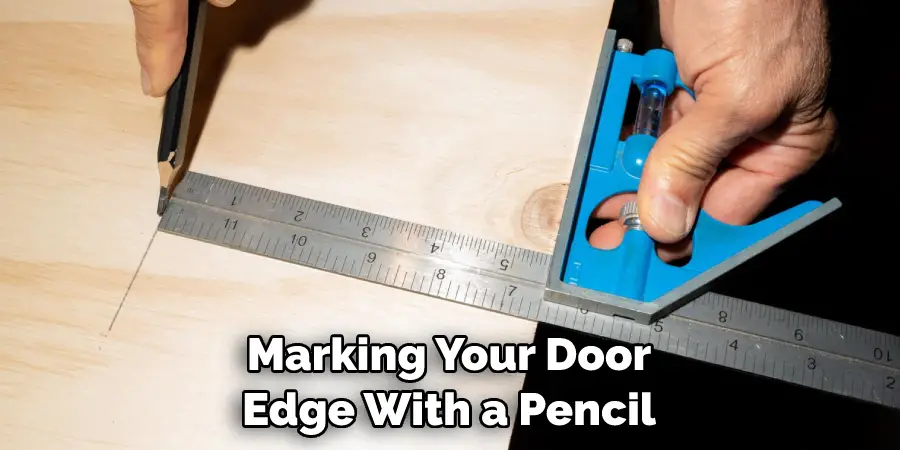
The process begins by measuring and marking your door edge with a pencil. Then, use clamps to secure the door edge in place so that it doesn’t move while you are working. Next, use a router with a quality bit to cut the bevel at exactly the right angle.
After that, use a chisel to fine-tune and clean up the edges of the bevel. Finally, sand down any rough spots and clean up the work area.With these steps, you can easily bevel your own door edge and add a unique finishing touch to any room!
Conclusion
Beveling a door edge is a great way to add a unique style to your home or workplace. It requires some skill and patience, but the end result is worth it! With proper planning, the right tools and knowledge, beveling a door edge is straightforward and gratifying. Remember, before you begin any project, make sure you have taken necessary safety precautions and always use the right tool for the job.
Following these steps on how to bevel a door edge will ensure that your new door bevel looks amazing and lasts for years to come. Keep practicing until you get the hang of it – you never know who might appreciate your newfound skill!

