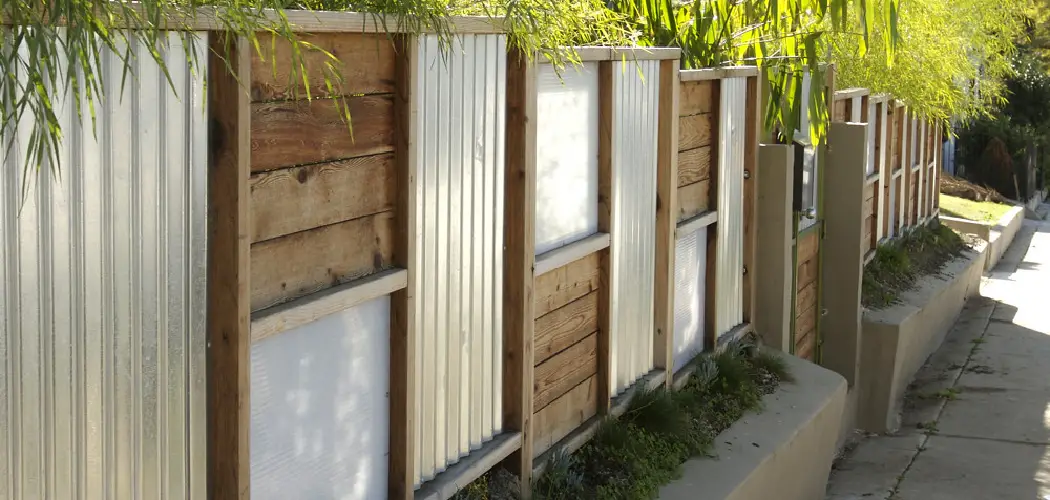
Have you ever wanted to install some polycarbonate panels on your property but didn’t know how to do it?
Polycarbonate panel is an excellent material for various applications, including storm shutters, garage doors, and even greenhouses. In order to attach it to wood, you’ll need to use specialized hardware.
Polycarbonate panels are a great way to add some extra protection to your property. They can be attached to wood in a number of ways, but the most common is using screws or bolts.
Attaching polycarbonate panels to wood can be a great solution if you’re looking for an inexpensive way to make your own greenhouse. It’s essential to use the right tools and materials so that the panels stay in place and don’t damage the wood. This article will show you how to attach polycarbonate panels to wood. Let’s get started!
Summary: A quick and easy way to attach polycarbonate panels to wood is to use a polycarbonate adhesive. This adhesive will adhere polycarbonate to wood without any damage or residue.
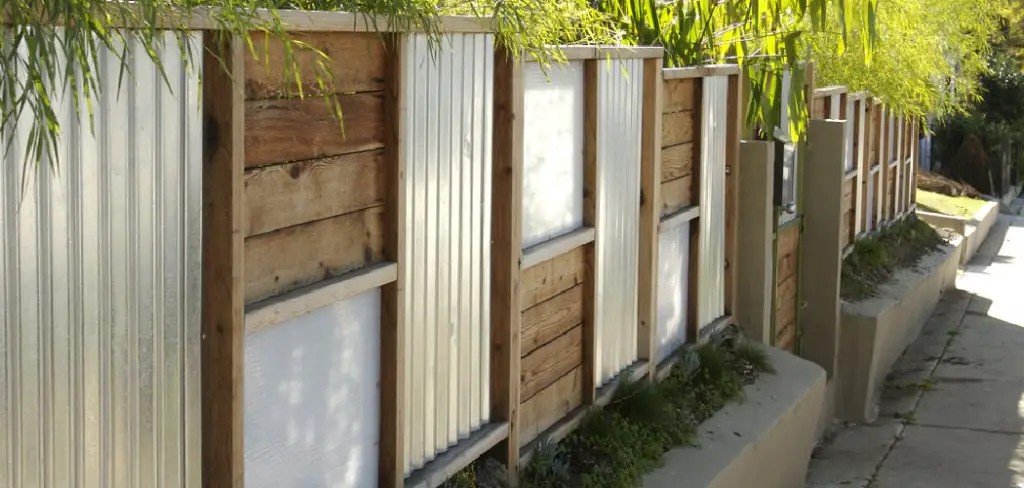
Is It Possible to Attach Polycarbonate Panels to Wood?
It is possible to attach polycarbonate panels to wood. The most common way to do this is by using screws and washers. You will need to pre-drill the holes for the screws and then attach the washers to the screws before screwing them into the wood.
This will ensure that the polycarbonate panels are securely attached to the wood. Another way to attach polycarbonate panels to wood is by using glue or adhesive tape. However, this method is not as secure as the screw and washer method, and it is not recommended for attaching large or heavy panels.
Necessary Tools and Materials You Need to Attach Polycarbonate Panels to Wood
- Tape measure
- marker
- drill
- Wood screws
- Drill bits
- Circular saw
- Jigsaw (optional)
- Safety glasses
- Polycarbonate panels
With these tools, you should be able to attach your polycarbonate panels to wood easily.
10 Effective Steps on How to Attach Polycarbonate Panels to Wood
1. Determine the Location
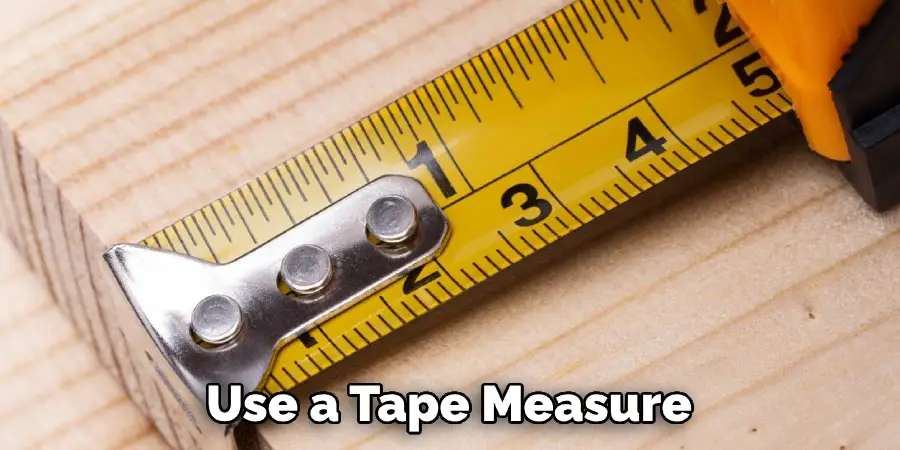
You have to determine first where you will be attaching the panels. You must measure the area accurately. You can use a tape measure for this task. Once you have determined the location, mark it with a marker. The best place to attach the panels would be on a flat surface.
2. Cut the Wood
After determining and marking the location, the next step is to cut the wood. You can use a circular saw or jigsaw for this task. If you use a circular saw, make sure you set the blade to the correct depth. The depth should be the same as the thickness of the polycarbonate panels. Be careful when cutting the wood, and always wear safety glasses.
3. Drill Holes
The next step is to drill holes in the wood. This is where you will be attaching the screws. Make sure that the holes are slightly smaller than the screws. This will ensure that the screws will fit snugly into the holes. Be careful while drilling the holes, and make sure that the drill bit does not slip. After drilling the holes, countersink them slightly. This will ensure that the heads of the screws are flush with the surface of the wood.
4. Attach the Panels
Now it’s time to attach the polycarbonate panels to the wood. Start by attaching one corner of the panel to the wood. Then, work your way around until the entire panel is attached. Use screws and washers to secure the panels in place. Repeat steps 2-4 until all of the polycarbonate panels are attached to the wood.
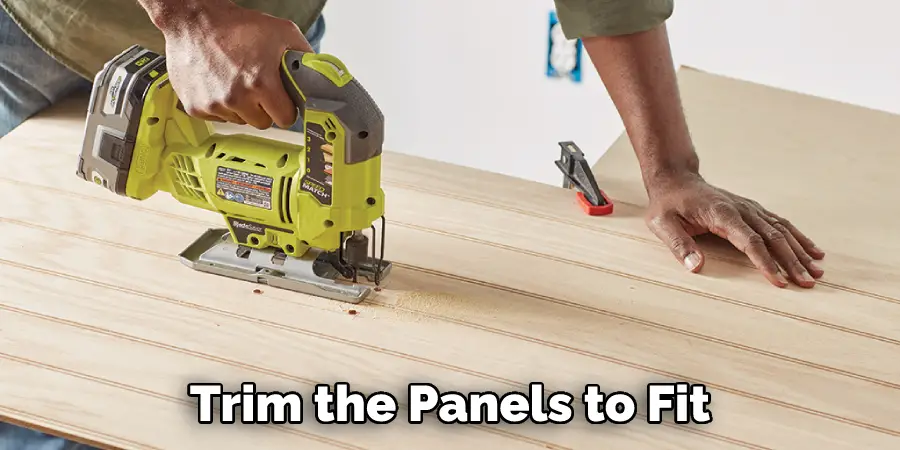
5. Trim the Panels
If necessary, you can trim the panels to fit. Use a circular saw or jigsaw to do this. Be sure to set the blade to the correct depth, so you don’t damage the panels. You can also use a router to create a clean edge on the boards. This is important because it will create a better seal when you attach the panels to the wood.
6. Apply Glue or Adhesive Tape
If you want, you can apply glue or adhesive tape to the seams where the panels meet. This will help to create a waterproof seal. You can also use caulk to fill in gaps between the panels and the wood. Make sure that the caulk is compatible with the material of the panels. If the chalk is not compatible, it can cause the panels to warp.
7. Install Grommets and Insert Screws
Grommets are small metal rings that are used to create holes in the fabric. They can be found at most hardware stores. You will need to install grommets along the edges of the panels where they will be attached to the wood. The grommets will create small holes allowing the screws to be inserted. Once the grommets have been installed, you can insert the screws into the holes. Make sure that the screws are long enough to go through the thickness of the panels and into the wood. Be careful not to overtighten the screws, as this can cause the panels to warp.
8. Install the Gaskets
If your polycarbonate panels come with gaskets, install them now. This will help to create a watertight seal between the panels and the wood. Be sure to follow the manufacturer’s instructions when installing the gaskets.
9. Attach the End Caps and Install the Panel
If your polycarbonate panels have end caps, attach them now. This will give the edges of the panels a finished look. Make sure the end caps are adequately sealed to prevent moisture from getting in and damaging the panels. Now you’re ready to install the panels. Start at one end of the structure and work your way around, attaching each panel to the frame with screws or bolts. Make sure the panels are correctly sealed to prevent moisture from getting in and damaging them.
10. Clean Up
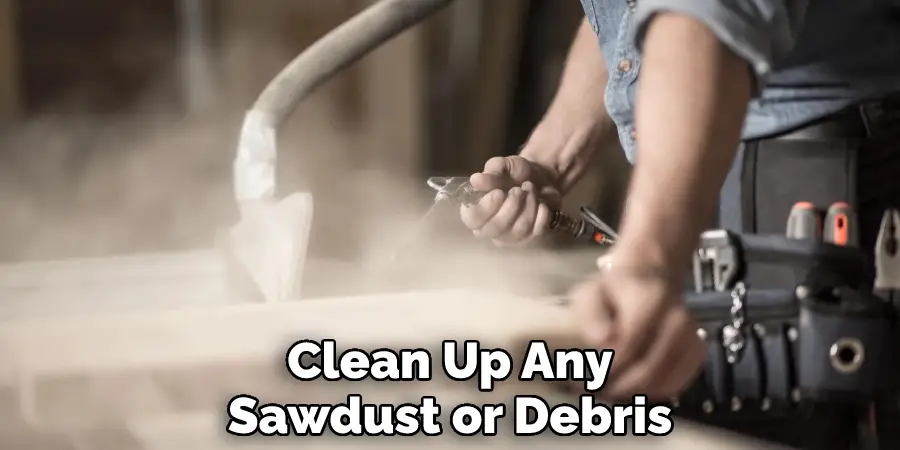
Once you have finished attaching the polycarbonate panels, clean up any sawdust or debris. You can use a vacuum cleaner or brush to do this. This step is important because it will help to prevent the panels from warping.
That’s it! You’ve now successfully attached polycarbonate panels to wood. These panels are a great way to add an extra layer of protection to your home or office. They’re also easy to install and maintain.
You Can Check It Out To Use a Country Comfort Wood Stove
Additional Tips and Tricks
If you’re looking for a way to attach your polycarbonate panels to wood, there are a few things you’ll need to keep in mind.
1. It’s essential to use the correct type of screws. You’ll want to use screws that are specifically designed for attaching polycarbonate panels to wood.
2. Make sure you pre-drill holes for the screws. This will help to prevent the polycarbonate from cracking.
3. Be sure to use washers with screws. This will help to distribute the load more evenly and prevent the screws from coming loose over time.
4. Use a sealant around the edges of the panels to help prevent leaks.
5. If you’re attaching the panels to a roof, make sure you slope the panels so that water can run off quickly.
6. Finally, don’t forget to clean the polycarbonate panels regularly. This will help to keep them looking their best and prevent the build-up of dirt and grime.
Following these tips, you can successfully attach your polycarbonate panels to wood, ensuring a long-lasting and durable connection.
You Can Check It Out to Attach a Pergola to A Deck
Some Precautions You Need to Be Taken While Attaching Polycarbonate Panels to Wood
1. If you’re attaching the panels to wood treated with chemicals like pesticides, herbicides or other harsh chemicals, it’s essential to take care when handling the wood. Make sure to wear gloves and a dust mask to avoid contaminating any harmful chemicals.
2. It’s also important to avoid touching the paneling with bare hands, as the chemicals in your skin can react with the polycarbonate and cause it to degrade.
3. When attaching the panels to wood, use screws or nails made of stainless steel or another type of non-corroding metal. This will help prevent the panels from being damaged by corrosion over time.
4. If you’re attaching the panels to wood that’s been painted or stained, be sure to use a sealant or primer on the wood first. This will help protect the finish of the wood and prevent the polycarbonate from reacting with it.
5. Finally, be sure to clean the panels regularly with a soft cloth and mild soap to keep them looking their best.
Which Adhesive is Best for Polycarbonate Panels?
A few different adhesives can be used to attach polycarbonate panels to wood. The best glue to use will depend on the specific application.
For most applications, a simple construction adhesive like Liquid Nails or Gorilla Glue will work well. If you’re attaching the panels to a roof, you may want to use a stronger adhesive like EPDM adhesive or butyl tape.
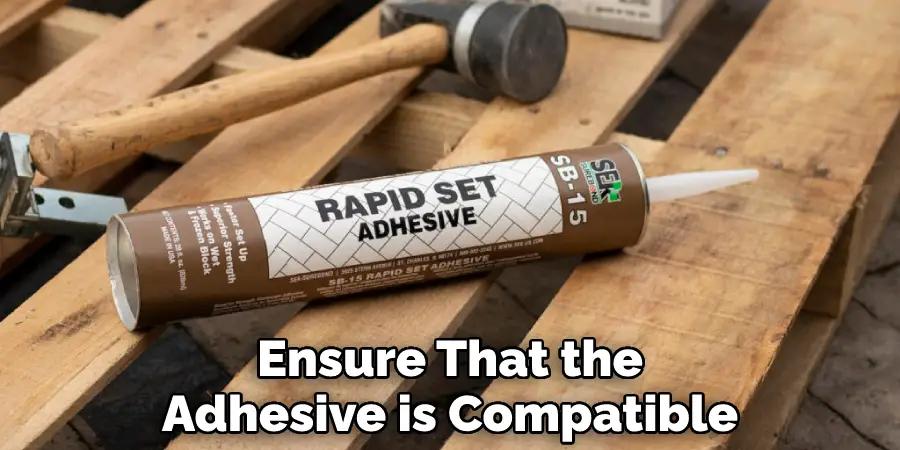
It’s always a good idea to test the adhesive on a small area before applying it to the entire surface. This will help you ensure that the adhesive is compatible with the polycarbonate and that it will hold up over time.
Conclusion
Now that you know how to attach polycarbonate panels to wood, you can begin your next project quickly and confidently. With the right tools and materials, this process is straightforward.
Be sure to take your time in order to achieve optimal results. Then, with a little patience and attention to detail, you will be able to achieve a professional-looking finish that you can be proud of.
With these tips in mind, you should have all the information you need to get started attaching polycarbonate panels to wood. The job may seem daunting at first, but with a little bit of patience and attention to detail, you’ll be an expert in no time. Thanks for reading!
You Can Check It Out To Seal Ipe Wood

