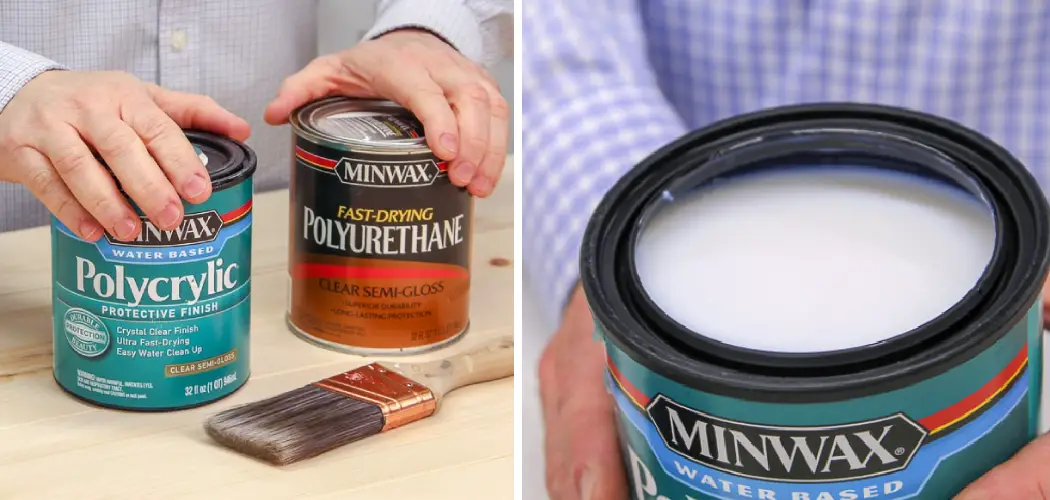
Are you looking for a way to protect your wood surface without obscuring the natural beauty of the stain? Polycrylic can be a great choice. It is a water-based protective coating that is easy to apply and can help strengthen your wood surface.
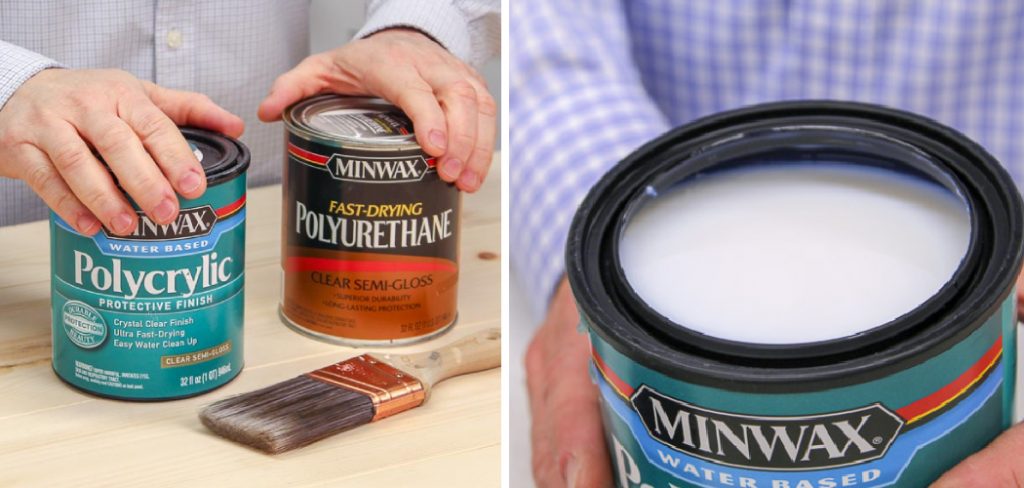
Applying a polyacrylic finish over a stained project is simple but takes skill and patience. When done right, it brings out the naturally beautiful color of your creation. Just remember to work in small batches, apply generously with a foam brush, and leave ample time for the final coat to dry properly before handling it.
In this blog post, we’ll go over the steps on how to apply polycrylic over stain so you can get professional results every time!
What are the Benefits of Applying Polycrylic Over Stain?
Polycrylic is an easy and reliable way to protect a wood surface. It is highly durable, resistant to scratches and stains, and can help extend the life of your project. Applying it over the stain also allows you to preserve the natural beauty of your wood without using multiple layers or additional sealants.
By doing this, polycrylic will also protect any intricate details, such as grooves or carvings, that may have been made in the wood before staining. This way, all the work you put into ensuring each part of your project is precise will last for years!
What Will You Need?
When applying polycrylic over the stain, you will need a few materials to finish the job correctly. First and foremost, you’ll need a can of water-based polycrylic finish in the sheen you choose. You should also have a foam brush for evenly spreading the sealant and a soft cloth for wiping away any excess product. Additionally, you’ll want to ensure you have gloves to protect your hands while handling the wet coating.
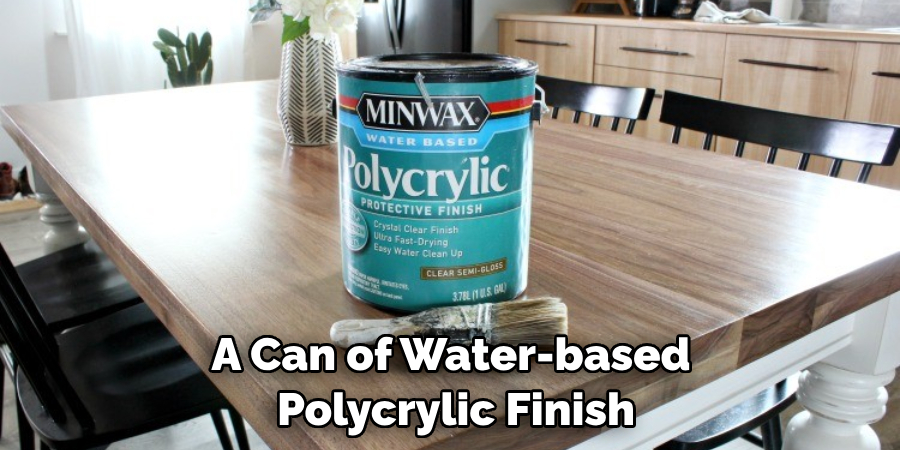
Aside from these tools and materials, ensuring your workspace is clean and free from dust or other debris is important. This will help ensure that the finish of your project turns out as seamless as possible. Finally, before beginning, double-check that the stain has been given ample time to dry – ideally 24 hours – before putting on any protective coating.
10 Easy Steps on How to Apply Polycrylic Over Stain
Step 1. Carefully Read the Instructions:
Before you start your project, make sure to read the instructions on the can of polycrylic as it may contain important information about how to apply the product correctly. It is important to follow these instructions closely to ensure a successful outcome. As always, ensure you work in a well-ventilated area and wear protective gloves.
Step 2. Prepare Your Work Surface:
Be sure to clean off any dust or debris from your workspace before beginning. This will prevent dirt and dust from ending up in your finish. Additionally, ensure that the stain on your project is completely dry before applying any protective coating.
Step 3. Start With a Thin Coat:
Using a foam brush, start with a thin coat of polycrylic across the entire surface of your project. Be sure to keep an even pressure when applying – this will help ensure the coating is even and uniform. If you apply too much, it can cause the finish to become cloudy.

Step 4. Wait for It To Dry Completely
With these steps on applying polycrylic over the stain, you’ll surely give any project that perfect glossy shine. Be proud of your achievement – Not every day you take on a staining and finishing job like this! With the proper tools and materials, applying polycrylic over stain is an easy task that can help protect your wood surface while enhancing its natural beauty.
Once the first coat of polycrylic is applied, wait for it to dry completely before moving on to the next step. This will ensure the finish properly sets into the wood and does not become compromised due to residual moisture.
Step 5. Apply a Second Coat:
Using a clean foam brush, apply at least one more coat of polycrylic, following the same steps as before. This will help strengthen the protective coating on your project and ensure that it lasts for years. As with the first layer, let this second layer sit and dry completely before continuing with any additional coats. Ensure you leave ample time for each coat to cure so the finish is not compromised.
Step 6. Apply a Third Coat (Optional):
If you’d like an extra layer of protection, apply one more coat of polycrylic to your project. This will add depth to your protective coating and ensure it stands up to wear and tear over time. Just be sure to let each layer dry completely before continuing with the next step.
Step 7. Check for Any Imperfections:
Once all coats are applied, look at your work surface and check for any air bubbles or imperfections in the finish. If you spot any, you can use a foam brush to go over these areas again – just make sure all previous layers have completely dried first!
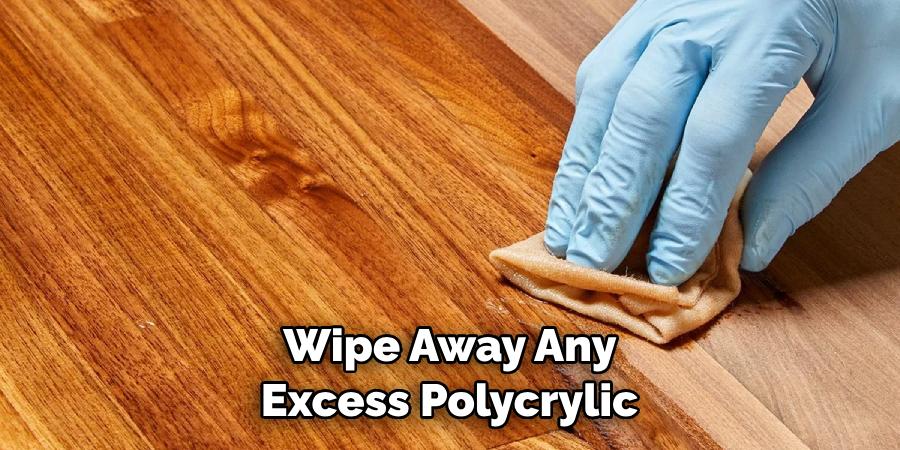
Step 8. Wipe Away Any Excess:
Using a soft cloth, gently wipe away any excess polycrylic that may have been applied to the surface of your project. This will help prevent the finish from being uneven and give it an extra glossy shine.
Step 9. Let the Finish Cure Completely:
Now it’s time to let the finish cure completely before handling it or adding any hardware or decorations. Depending on the humidity and temperature in your workspace, this could take up to 24 hours – so be sure to plan accordingly!
Step 10. Enjoy Your Finished Project:
Congrats! You did it! Now all you have to do is sit back and admire your hard work. With these steps on applying polycrylic over the stain, you can be sure that your project will look professionally made and will last for years!
By following these steps on applying polycrylic over the stain, you’ll surely get professional results every time. The protective coating will help preserve your wood surface’s natural beauty while protecting against scratches and stains.
5 Additional Tips and Tricks
- For best results, apply a thin layer of Polycrylic and allow it to dry before applying a second coat.
- If you’re using a brush, make sure to use an angled brush to ensure better coverage.
- When applying the product, avoid over-brushing as it can leave streaks in the finish.
- Be sure to sand between coats for a smoother finish before adding Polycrylic.
- After you’ve applied your final coat of Polycrylic, allow it to dry and cure for up to 72 hours before using or moving the item being stained and sealed with Polycrylic.

Following these tips will help you create a beautiful stain and seal that is long lasting and durable!
5 Things You Should Avoid
- Do not apply Polycrylic in a damp or humid environment.
- Avoid applying the product too thickly, as it can cause bubbling and crackling when drying.
- Do not allow any dust to settle on the surface while staining and sealing with Polycrylic as this will create an uneven finish.
- Do not use steel wool or harsh abrasives when sanding between coats of Polycrylic, as this could scratch the surface and impact the final result.
- Avoid using a heat gun to dry Polycrylic faster; allow it to dry naturally for best results.
By following these tips and tricks and avoiding these common mistakes, you’ll be able to achieve a beautiful, professional-looking finish with Polycrylic that will last for years.
Some Frequently Asked Questions
1. Can You Mix Wood Stain With Polycrylic?
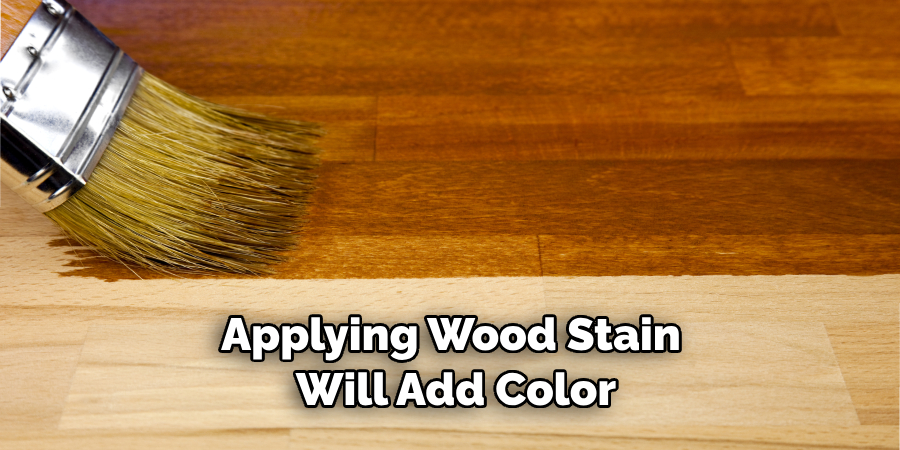
No, mixing wood stain with Polycrylic is not recommended. Wood stain and Polycrylic are two different products that serve different purposes. Applying wood stain will add color to your project, while applying Polycrylic will give it a glossy finish and protect the surface from damage.
It’s best to apply the wood stain first, then allow it time to dry completely before applying a coat of Polycrylic for added protection. Be sure to read the manufacturer’s instructions for both products carefully before combining them.
With these steps, apply polycrylic over the stain. You now have the know-how needed to complete your project like a pro! Be bold and creative – if you want to add extra flair or even more layers of protection, consider adding a clear coat layer on top of the Polycrylic for an added glossy sheen. No matter what you decide to do, remember that taking the time to do it right will ensure a beautiful and lasting result.
2. Does Polycrylic Make Wood Shiny?
Yes, Polycrylic can make wood shiny. Applying a coat of Polycrylic will give the wood a glossy finish that helps protect it from wear and tear while also providing an aesthetically pleasing sheen. Polycrylic is a water-based finish that dries quickly and is easy to apply.
To achieve an even shine, be sure to use light, even strokes when applying the product with a foam brush or roller. Allow ample time for each coat to dry before adding additional layers. Don’t forget—it’s always better to apply thin coats and let them dry completely rather than rushing through the process!
For extra durability and protection, consider adding multiple layers of Polycrylic once the initial coat has been applied. By following these steps on applying Polycrylic over the stain, you’ll surely achieve a beautiful and lasting finish lasting for years.
3. Does Polycrylic Darken Wood?
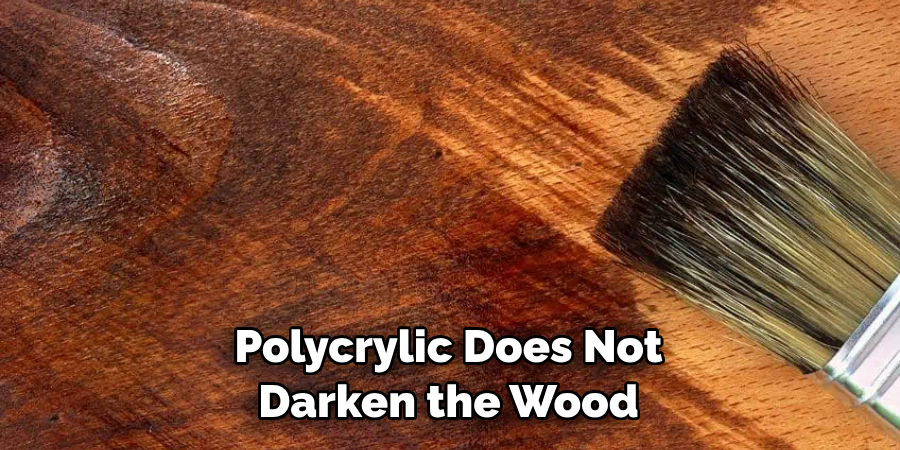
No, Polycrylic does not darken the wood. In fact, it is often used to enhance the natural color of the wood and protect it from damage. Polycrylic is a clear, water-based finish that will add a layer of protection against wear and tear while providing an additional glossy sheen.
The shine depends on how thick you apply the product and how many layers are added. Apply in thin coats using light, even strokes with a foam brush or roller for best results. If desired, allow ample time for each coat to dry before adding additional layers.
By following these steps on applying polycrylic over the stain, you’ll surely achieve a beautiful result that will last for years. With the proper tools and materials, applying Polycrylic over stain is an easy task that can help protect your wood surface while enhancing its natural beauty. Have fun, and enjoy your hard work!
4. What Are the Disadvantages of Polycrylic?
Polycrylic is a great product for protecting wood surfaces, but it has some potential disadvantages. One of the main issues with Polycrylic is that it can turn yellow over time when exposed to sunlight or other sources of UV rays and heat. Additionally, the finish may become cloudy or hazy if not applied properly.
Applying multiple coats can also be tricky as it requires careful timing between each layer—if you apply too soon or wait too long between coats, you could have an uneven result. Finally, the finish isn’t very resistant to water and other liquids, which could lead to staining or discoloration over time.
With these potential drawbacks in mind, it’s best to know what you are getting into before applying Polycrylic over the stain. Be sure to read the manufacturer’s instructions carefully and take your time when applying the product for a beautifully finished piece that will last for years.
Conclusion
Now that you’ve learned how to apply Polycrylic over stain, you can confidently tackle your next project easily. The application process was easy to follow, and you should now understand this technique better. With the right materials and steps in mind, you can make sure your staining job has a smooth and even finish.
Don’t forget that several thin coats are preferable to one heavy coat in polycrylic for best results, even if it takes more time. The main point is to take your time and work carefully.
Think of your project as art! When it dries, you should be amazed by the transformation that occurred as the stain color enveloped the surface! As always, safety comes first. Before starting your project, consult product labels for precautionary measures regarding skin contact, ventilation requirements, and other safety information.
The article on applying polycrylic over stain was informative and useful. Good luck with your painting project! We hope you create an amazing masterpiece!
You Can Check It Out Fix a Sticky Deck After Staining

