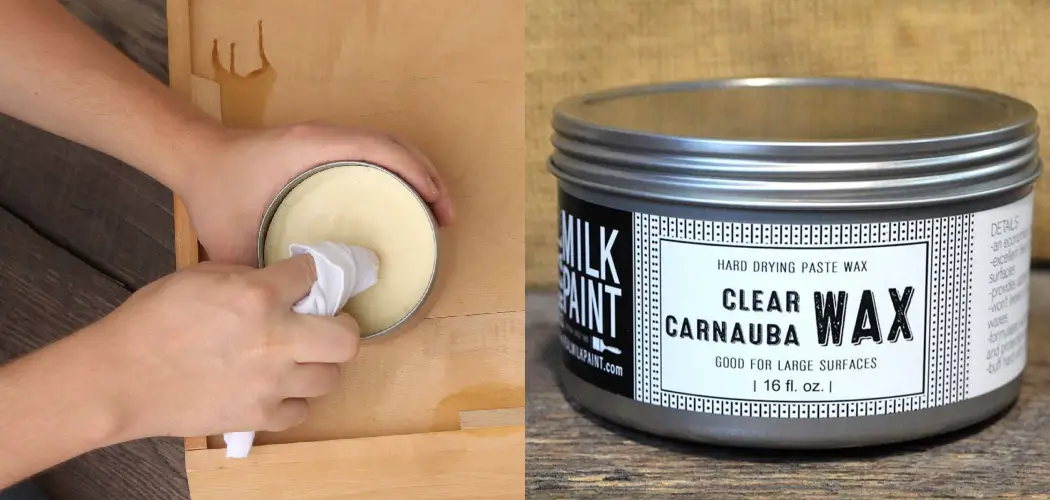
Beeswax is a natural material that has been used to protect the wood for centuries. It is easy to apply and provides a durable, water-resistant finish. In this blog post, we will show you how to apply beeswax to wood using a few simple steps.
Summary: Beeswax is a great way to protect wood from moisture and weather damage. Apply a thin layer of beeswax to the wood, let it dry, and then paint or seal the wax with a finish of your choice.
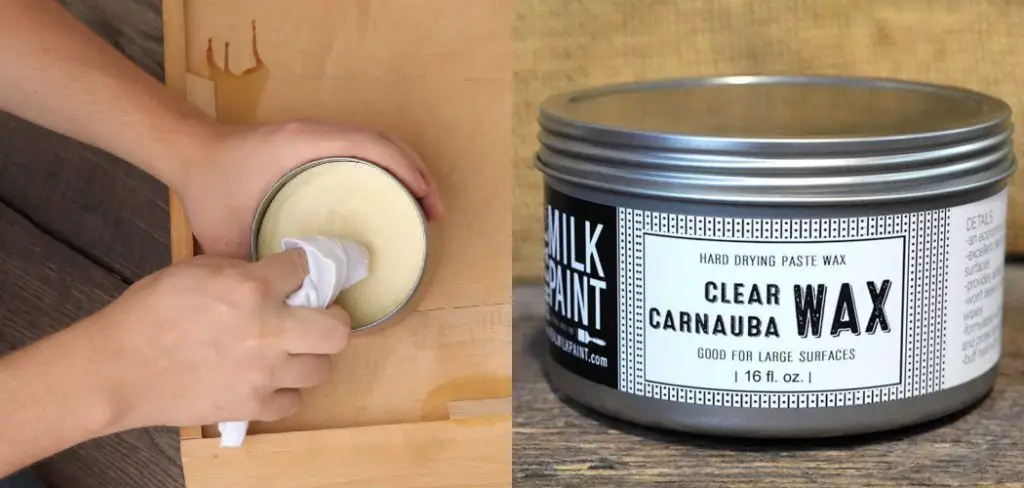
What Is Beeswax?
Beeswax is a natural substance secreted by bees that are used to build their honeycomb. The main component of beeswax is a substance called cera, which gives the wax its characteristic hardness and glossy finish. Beeswax also contains other ingredients such as pollen, nectar, and beeswax scales. In addition to being an excellent building material for bees, beeswax has several other uses.
It is used in cosmetics and skincare products as a thickening agent and emollient. It is also used in the production of paper and candles. Beeswax is even used as a food additive in some products such as chewing gum and candy. As you can see, beeswax is a versatile substance with various uses.
Why Should You Apply Beeswax to Wood?
Beeswax is a natural wax produced by bees. It is used to make various products, such as candles and cosmetics. However, beeswax can also protect the wood from moisture, scratches, and dirt. When applied to wood, beeswax creates a barrier that prevents water and other materials from damaging the surface of the wood.
In addition, beeswax can help to bring out the natural beauty of the wood grain and give the furniture a polished look. As a result, beeswax is an excellent way to protect and improve the appearance of wood furniture.
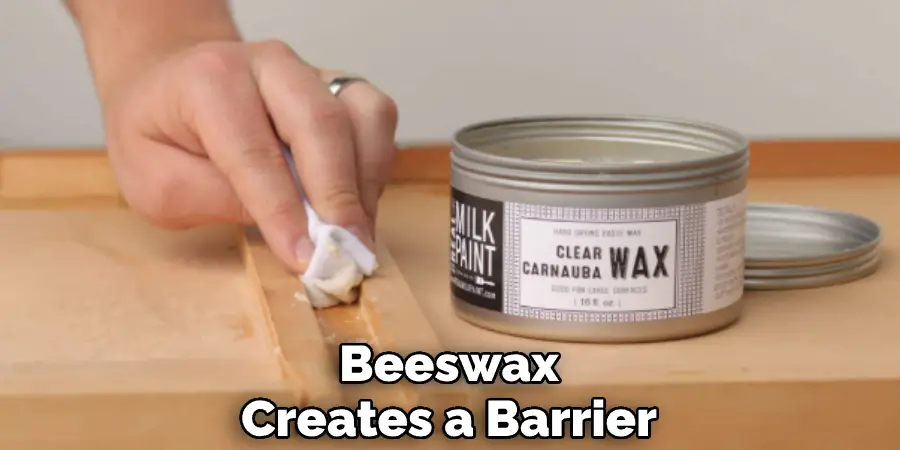
How to Apply Beeswax to Wood: A Step-by-Step Guide
Applying beeswax to wood is not complicated. In fact, it is quite simple and only requires a few supplies. Here are the steps you need to follow:
Step 1: Start with A Clean Surface
The first step is always the same when applying any wax or polish to wood – you need to start with a clean surface. Any dirt, grease, or grime will create a barrier between the beeswax and the wood, preventing it from being able to penetrate and do its job properly.
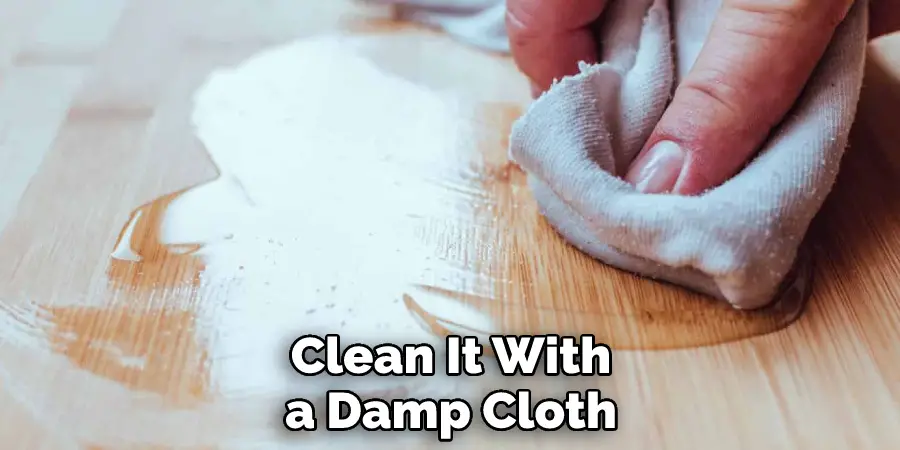
So take a few minutes to clean the area with a damp cloth. Once it’s dry, you’re ready to move on to the next step.
Step 2: Apply the Beeswax
Now it’s time to apply the beeswax. Again, you can do this with either a cloth or a brush, but if you’re using a cloth, make sure it’s a lint-free one, as little pieces of fluff can get stuck in the wax and become difficult to remove later.
Dip your chosen applicator into the beeswax and then start to apply it to the wood in a thin, even layer. Work in small sections so that the wax doesn’t have a chance to dry before you’ve had a chance to spread it evenly.
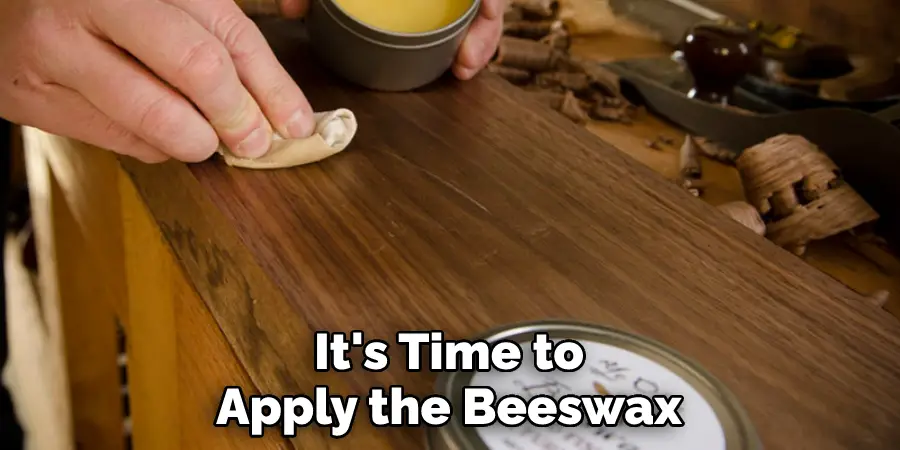
Step 3: Buff It In
Once you’ve applied the beeswax, it’s time to buff it in. This helps to work the wax into the wood grain and ensure that it’s evenly distributed. You can use a cloth or brush for this step – just make sure that whatever you choose is lint-free. Work in small circles until you can see that the beeswax has been completely buffed in.
Step 4: Wipe Away Any Excess
You don’t want there to be any excess beeswax left on the surface of the wood, as this can attract dust and dirt and make the finish look uneven. So once you’ve finished buffing, take a clean, dry cloth and wipe away any excess wax. You might need to do this a couple of times to ensure that all of the excesses have been removed.
Step 5: Allow It to Dry
Once you’ve buffed in the beeswax and wiped away any excess, it’s time to allow it to dry. This usually takes around 30 minutes, but it’s best to leave it a little longer if possible.
Step 6: Polish It Up
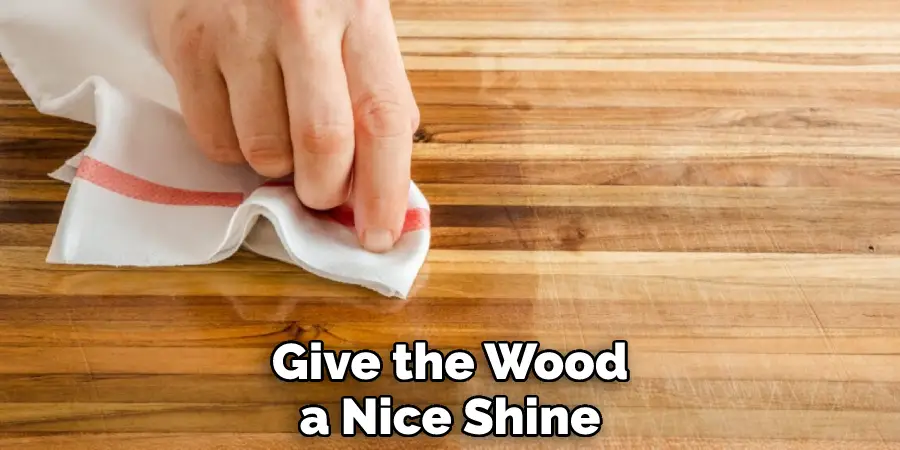
Once the beeswax has had a chance to dry, it’s time to polish it up and give the wood a nice shine. You can do this with a clean cloth or brush – just make sure that whatever you choose is lint-free. Buff in small circles until you’re happy with the finish. If you want a really high shine, you can go over it a second time.
Step 7: Enjoy Your Beautiful Wood Surface!
And that’s it! You’ve now learned how to apply beeswax to wood, and you can enjoy the beautiful, natural finish it gives. Remember to reapply every few months to keep the wood looking its best.
You Can Check It Out to Apply Felt to Wood
The Benefits of Applying Beeswax to Wood
Applying beeswax to wood is a centuries-old practice that offers several benefits. Beeswax is a natural waterproofing agent that can help to protect the wood from damage caused by water and moisture. In addition, it can also help to preserve the wood by creating a barrier against dirt, dust, and other contaminants. Beeswax can also be used to give wood a natural shine and luster.
When applied properly, beeswax can help bring out the wood grain’s beauty and add depth and richness to the color. As a result, beeswax is an ideal choice for anyone looking to protect and enhance the appearance of their wood furniture.
What Types of Wood Can Benefit from Beeswax?
Beeswax is a natural product with a variety of uses. In the past, it was commonly used for making candles and polishing. Today, it’s equally popular as a wood finish. When applied to wood, beeswax creates a protective barrier that helps to repel water and dirt. At the same time, it allows the wood to breathe, preventing cracking and premature aging.
As a result, beeswax is an ideal finish for many types of wood, including oak, cherry, and maple. In addition to its protective properties, beeswax also enhances the beauty of the wood grain, giving furniture and floors a warm, natural glow. For these reasons, beeswax is an increasingly popular choice for wood finishing.
How Much Beeswax Should You Use for Your Project?
The amount of beeswax you’ll need for your project depends on several factors, including the size and type of project. For example, a small batch of lotion will require less beeswax than a large batch of candles. Generally, a good rule of thumb is to use 1 ounce of beeswax for every 2 ounces of oil.
This ratio will produce a nice, thick consistency that is ideal for most projects. If you find that your mixture is too thin, you can add more beeswax. Conversely, if it is too thick, you can add more oil. With a little experimentation, you’ll be able to find the perfect ratio for your particular project. Keep reading for more information about how to apply beeswax to wood.
How to Prepare Wood for Beeswax Treatment
Before applying beeswax to wood, you need to prepare the surface. If the wood is unfinished, start by sanding it with fine-grit sandpaper to create a smooth surface. If the wood is already finished, sand it with medium-grit sandpaper to rough up the surface and help the beeswax adhere. Once the wood is sanded, clean it with a damp cloth to remove any dust.
Then, apply a thin layer of beeswax with a lint-free cloth, working in small sections until the entire surface is covered. Finally, buff the wax with a clean cloth to create a shiny finish. With this simple process, you can protect your wood furniture from moisture and everyday wear and tear.
How to Apply Beeswax to a Wooden Cutting Board
If you want to protect your wooden cutting board and keep it looking like new, beeswax is a great option. Beeswax creates a barrier that helps to prevent the wood from drying out and cracking. It also helps to repel water and stains. To apply beeswax, start by rubbing a small amount of wax onto the board’s surface with a clean, dry cloth. Then, use a hair dryer to heat the wax, which will help it to penetrate the wood more effectively.
Next, buff the wax into the wood using a second clean cloth. Finally, let the wax dry for at least an hour before using the cutting board again. With proper care, your beeswax-treated cutting board will last for years to come.
How Often Should You Apply Beeswax to Wood?
Wood is a beautiful, natural material that adds warmth and character to any home. However, it is also susceptible to water, sunlight, and heat damage. To help protect wood surfaces, many people choose to apply beeswax. Beeswax is a natural substance that forms a protective barrier against the elements. It is also non-toxic and safe for use around children and pets. When applied properly, beeswax can help to prolong the life of wood furniture and flooring.
But how often should you apply it? The answer depends on the type of wood and the amount of exposure to sunlight and moisture. For example, hardwoods regularly exposed to sunlight may need to be treated more frequently than those kept in a shady spot. In general, however, beeswax should be applied yearly to maintain its protective properties.
Conclusion
Applying beeswax to wood is a simple way to protect and enhance the natural beauty of your wooden furniture. Thanks for reading our post about how to apply beeswax to wood. By following these simple steps, you can enjoy your furniture for years to come. Have you tried this method yourself? What tips would you add?

