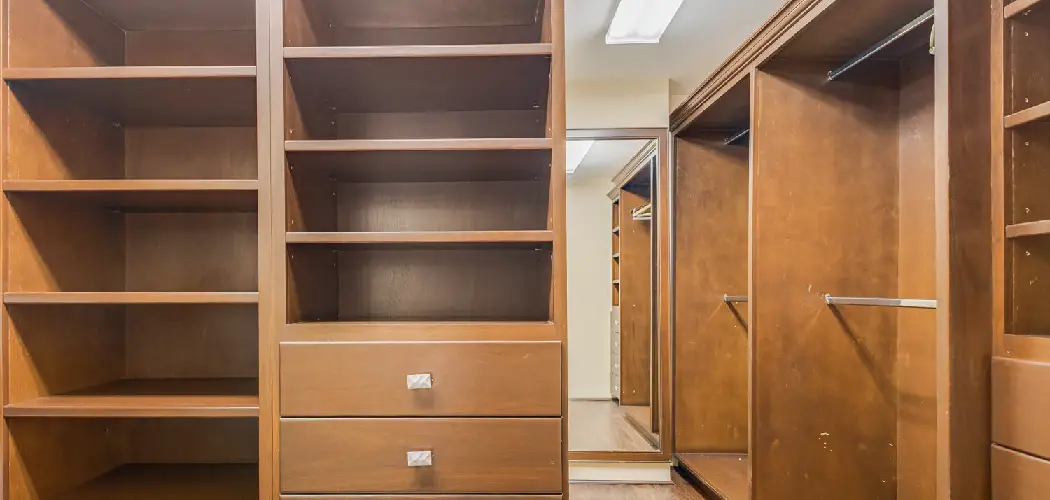
Do you need more storage in your closet? Are you trying to make the most of a limited space? Are you looking for an easy way to maximize your closet’s storage potential? If you need a little more space to organize clothes, shoes, and other accessories, adding shelves can be the perfect solution. Adding shelves can do wonders for any closet, making it easier to organize and maximize the storage potential.
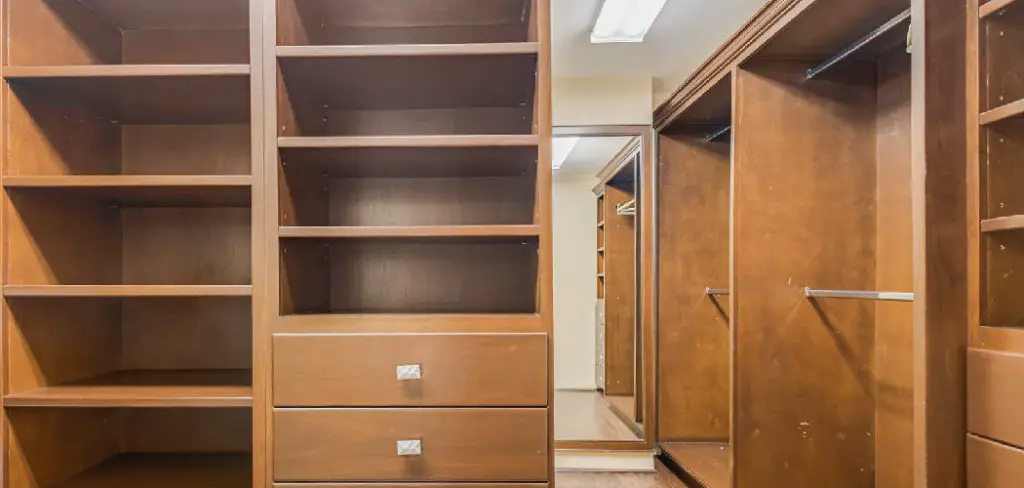
With just a few materials and some elbow grease, you can easily add wooden or wire shelves to any closet – no matter what size it is! In this blog post, we’ll walk through all of the steps on how to add shelves to a closet necessary for upgrading your closet with added shelving. From counting up studs to picking out an appropriate mounting system, find everything you need here. Let’s get started!
The Benefits of Adding Shelves to a Closet
1. Increase Storage Potential
Adding shelves to your closet can dramatically increase the amount of storage space you have. By taking advantage of vertical space, you can easily store more clothes, accessories, and shoes in the same area that you’re already using.
2. Make Closets More Organized
When you add shelves to your closet, you can easily categorize and organize items in the space. This can make it easier to find what you’re looking for when you open your closet door. The organized closet will also make it easier to keep the space neat and tidy.
3. Improve Aesthetics
Installing shelves can give your closet a polished, customized look that you may not have been able to achieve without them. Adding shelving gives you the opportunity to get creative and personalize your closet with colors, materials, and configurations that speak to your unique style.
Now that you know the benefits of adding shelves to a closet, let’s look at how to get started.
Things to Consider Before Adding Shelves to a Closet
Before you start the project, there are some important things to consider.
- First of all, it’s essential that you measure your closet and determine how much space is available for shelving. This will help ensure that the shelves you choose fit properly in the space.
- Next, figure out what kind of shelves you want to install. Wood shelves can be sturdier than wire, but they may require more work and cost more money.
- Once you’ve decided on the type of shelving you want, it’s time to determine how you will mount them. You’ll need to figure out if there are studs available in the wall to mount your shelves. If there are no studs, you can use anchors or other mounting systems that don’t require them.
- Finally, do some research on the different materials and styles available so that you can pick out shelving that fits with your overall aesthetic. Also, think about how much weight you want the shelves to be able to hold. These are all important considerations before beginning any shelving project.

Now that you’ve thought through these things, it’s time to move on to the installation process.
Required Materials and Tools
To begin, you’ll need the following materials and tools to add shelves:
- Wooden or wire shelves in the desired size
- Mounting brackets of appropriate size for shelving material
- Stud finder
- Drill
- Screws suitable for mounting bracket
8 Instructions on How to Add Shelves to a Closet
1. Measurement
Start by measuring the length, depth, and height of your closet. This will help you determine how much shelving you need to buy, as well as the size of mounting brackets that you’ll need. The right bracket size and a number of screws will depend on the weight capacity of your shelving material.
2. Find Studs
Using a stud finder, locate the studs in the walls of your closet. Make sure to mark these spots with a pencil or marker so you can easily identify them when it’s time to install the shelves. The studs will provide the necessary support for your shelves.
3. Gather Materials
Gather all of the materials you’ll need for the installation, including shelving, mounting brackets, screws, and a drill. Make sure that you purchase the appropriate size bracket and a number of screws to match your shelving material and its weight capacity.
4. Pre-Drill Holes
Now it’s time to pre-drill holes in the mounting brackets. Use a drill bit that is slightly smaller than the screws you purchased to ensure a snug fit and secure hold. The holes should be drilled right in the center of each bracket.

5. Mount Brackets
Position the mounting brackets on the wall and secure them into place using your screws. Make sure to drive the screws into the studs that you found with your stud finder, as this will provide extra stability for your shelves.
6. Place Shelves on Brackets
Once the mounting brackets are securely in place, you can now slide the shelves onto them. Make sure that the shelves fit snugly into the brackets and that nothing is loose or wobbly. It will add extra stability if you secure the shelves with screws.
7. Level Shelves
To ensure that your shelves are perfectly level, use a carpenter’s level to check them. Adjust the brackets as needed until they are at the correct angle. The shelves should be able to hold a heavy load without tipping.
8. Add Accessories
You can customize your shelves even further by adding accessories such as shelf liners and dividers. This will make it easier to store and organize smaller items in the space, such as socks or underwear.
You’re now ready to start storing your belongings in the newly installed shelves! Follow these simple steps, and you’ll have a closet with plenty of storage space.
8 Safety Measures to Take
1. Wear protective gear such as gloves, goggles, and a dust mask when working with power tools. The protective wear will help to keep you safe from dust, debris, and splinters that may be created when cutting the shelves.
2. Measure twice and cut once. This is an important rule for any project where you’re dealing with raw materials such as wood or plastic for your shelf components. Take extra care to make sure your measurements are accurate so that you don’t end up with shelves that don’t fit in the closet.

3. Make sure you have all of the necessary tools before getting started. This includes a measuring tape, saw (preferably an electric saw to make cutting easier), drill and screws, screwdriver, level, and your chosen shelf material.
4. Don’t forget to measure the closet before beginning your project. This will help you figure out how many shelves and what size pieces of material you’ll need for the project.
5. Cut your shelf components as needed, making sure that all pieces are exactly the same length and width so that they fit together correctly. Cutting raw materials with a power saw can be dangerous, so use extra caution when working.
6. Make sure to secure the shelf components in place with a drill and screws or nails as needed. This helps ensure that the shelves will remain secure and won’t move or shift around while you’re using them.
7. Use a level to make sure that your shelves are even and properly aligned before you put items on them. If you don’t, it could result in items falling off the shelves. Remember to check for levelness every few months to ensure continued stability.
8. Once your shelves are securely in place, make sure to give them a good cleaning and dusting before putting any items on them. This will help keep your closet tidy and free of dirt and dust buildup over time.
By taking these safety measures, you can ensure that your shelves will be properly installed and remain secure for years to come.
Frequently Asked Questions
How Long Will It Take to Finish the Project?
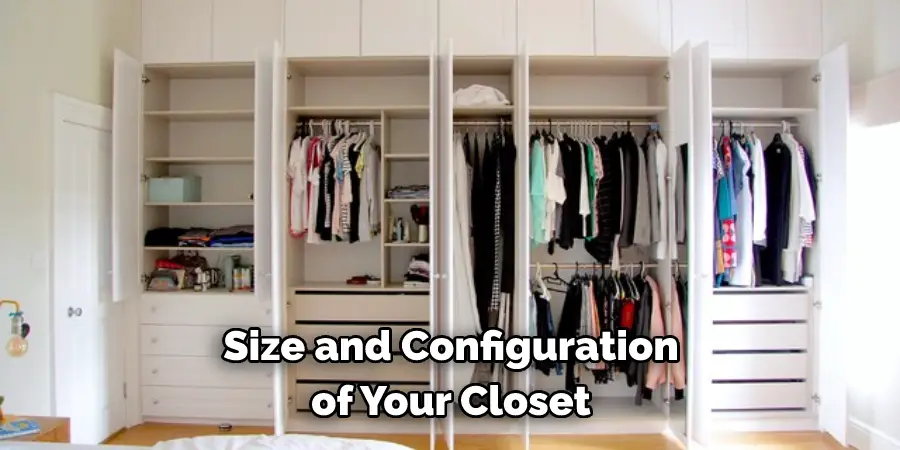
The amount of time it will take to complete the project depends on a variety of factors, such as the size and configuration of your closet, the type of shelves you are installing, the materials used (wooden shelving or pre-manufactured), etc. Generally speaking, though, adding shelves to a closet typically takes between 3-4 hours to complete.
Are There Any Special Considerations?
Depending on the size and configuration of your closet, you may need to consider additional elements such as supports or anchors. You should also ensure that the shelves are secured properly in order to avoid them becoming loose over time. Additionally, it’s important to take into account any weight restrictions to ensure your shelves can hold what they’re intended for.
Can I Install the Shelves Myself?
Yes, you can install shelves in your closet yourself with the right tools and knowledge. However, if you feel uncomfortable doing it on your own or are unsure about how to properly secure the shelves in place, then it may be best to hire a professional handyman or contractor. This will ensure the job is done correctly and safely.
Conclusion
Adding shelves to your closet is a great way to maximize the space in your closet and declutter your home. Whether you’re looking for a complete overhaul or just want to add a few extra shelves, it’s relatively simple and budget-friendly to complete the project. Organizing storage can be an overwhelming task, but take it one step at a time, and you’ll have it completed in no time!
After all, there’s nothing like putting on an outfit that was once cluttered in a mess and seeing it now neatly organized on shelves in your upgraded closet! If you commit even just a couple of hours per week, tackling the toughest tasks first, you may find that it’s not as difficult as you thought.
With good planning comes rewarding results – adding shelves to your closet is one measure that can help bring calmness and structure back into your life. Follow these tips on how to add shelves to a closet for better understanding.
You Can Check It Out to Stain Wood Shelves.

