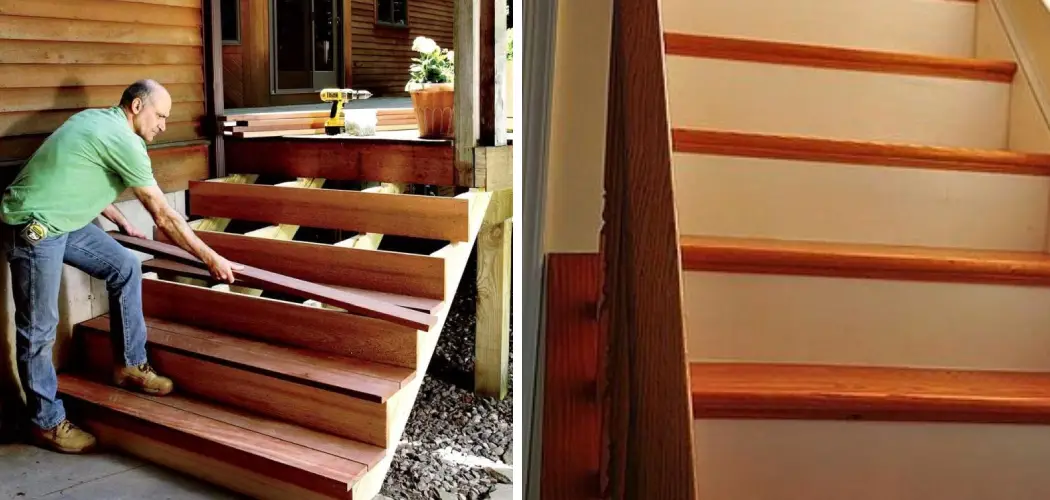
Have you ever wanted to add a landing to existing stairs, but weren’t sure how? Maybe you’ve heard it’s complicated, time-consuming, and expensive. But the truth is that if you have basic carpentry skills and the right tools for the job, it can be a relatively straightforward process.
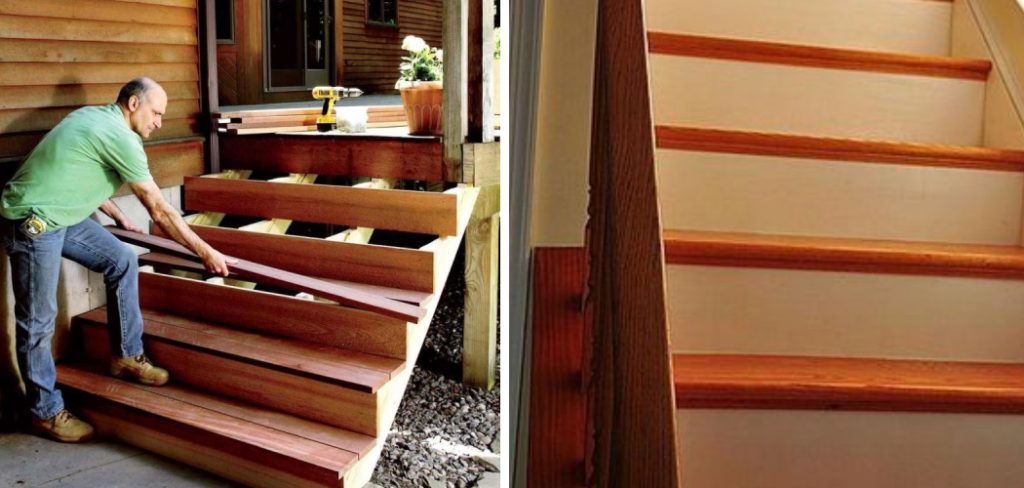
It is important to know how to add a landing to existing stairs. With this guide, we’ll cover everything from planning your project through to completion; showing you what materials are needed, how to design your layout, and constructing the landing itself. So let’s get started!
Tools You Will Need
- Tape measure
- Level
- Stud finder
- Circular saw
- Hammer drill and masonry bits
- Carpenter’s square
- Chalk line or pencil for marking out the area you’re working with.
8 Steps Guide on How to Add a Landing to Existing Stairs
1. Measure the Area
Before you start working on adding a landing to your home, you need to make sure that there’s enough room for it. So grab a measuring tape and find out the area of your desired spot.
This way you’ll be able to gauge how many supplies you need for the project and ensure that they will fit in the space without any issues. It can save you a great deal of hassle in the long run if the size gets too small.
It might not be able to house all the necessary components or fit into your decorating scheme. Make sure to measure twice so that you can plan accordingly and get great results.
2. Design Your Layout
Designing a layout for a set of stairs is an important task. Each component will need to be taken into account and the measurements need to be precise. Risers are the vertical parts of the stairs, treads are the horizontal parts and stringers are vertical supports located under each step.
Depending on the stair design, calculations may vary for these three components, however typical rise heights should never exceed 7 inches, and tread depth should stay between 10 to 11 inches for safety concerns. Additionally, when calculating stringer lengths remember to allow for added support around corners or turns to ensure stability in your finished product.
With each component carefully measured, owners can have peace of mind knowing their layout is designed with accurate measurements that meet industry standards and keep everyone safe while enjoying their staircase!
3. Adequate Support Structure
Securing a strong foundation for your staircase landing is essential for ensuring the safety of those who use it. To guarantee this, consider adding thick lumber reinforcements beneath the landing, so no matter the weight or how many times people utilize the stairs, your structure will remain robust.
Even if you feel confident in your support implementation, it is wise to enlist a professional to inspect the work and make sure everything is done correctly. That way, if anything needs to be tweaked or amended, they will spot it and make sure you’re on track with achieving a safe and stable landing.
4. Cut Your Framing Lumber
When it comes to framing a landing, it’s important to be thorough in your planning and preparation. Before beginning the project, make sure to have your lumber cut to size and install the necessary support pieces so that the platform structure can adequately hold its weight and that of any occupants.
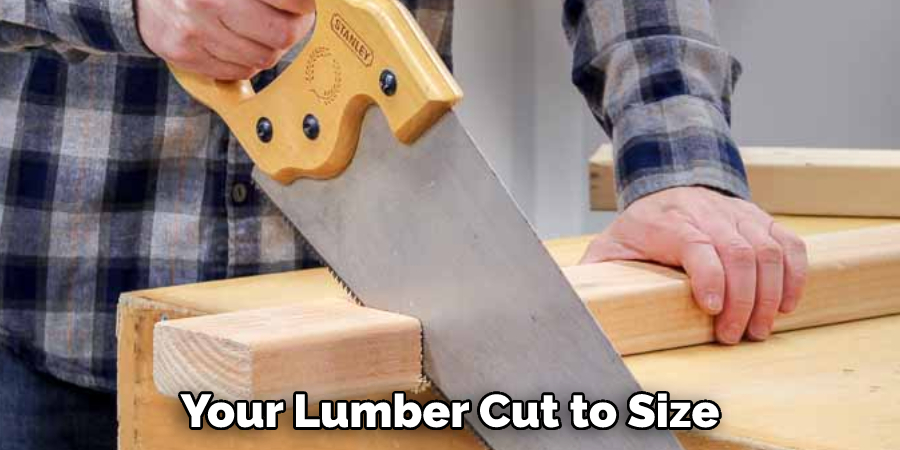
It’s also important to double-check measurements before screwing your lumber into place – if you rush into the process without proper planning, you risk having an uneven or weakened foundation. By ensuring that your lumber is cut properly and installed correctly from the start, you can avoid any unwanted problems down the line.
5. Install Metal Brackets
Installing metal brackets between the stair stringers is often a necessary step when strengthening and stabilizing stairs, especially if they need to be designed to support a heavy load. The metal brackets provide additional support by creating an extra point of connection between the two stringers.
They reduce stress points on the stairs and make them less susceptible to damage or sagging. They also add a layer of safety; having more interconnected parts reinforces the integrity of the whole structure.
It discourages some of the more common causes of instability. Furthermore, installing these brackets yourself is relatively simple and will help ensure your stairs remain in a safe condition for years to come.
6. Cut Out the Space
Installing a new landing can be an easy and cost-effective way to update the look of any home. Cut out the space for the landing, taking care to measure accurately and double-check your work before proceeding. Once done, you can fix the landing into place by either nailing or screwing it into position.
Make sure to use the materials specified by the manufacturer for optimal installation and get professional help if you’re unsure about anything! With that in step finished, you are well on your way to having your new landing installed in no time.
7. Install a Railing
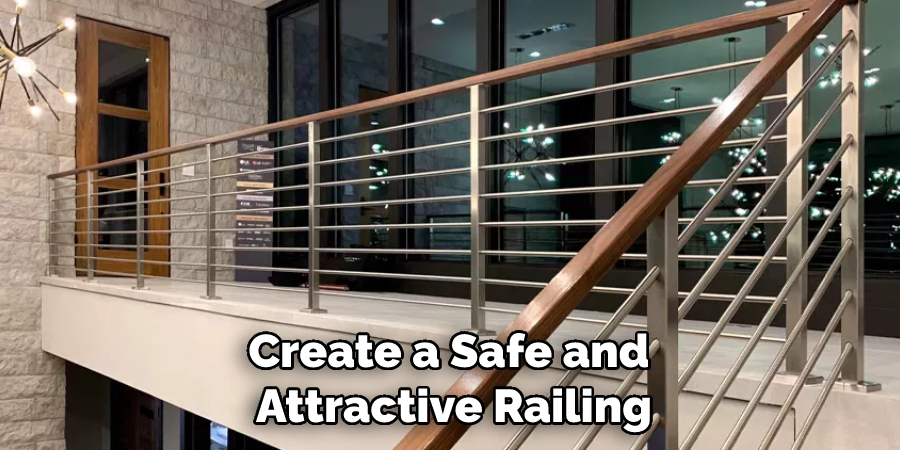
Installing railings on either side of the landing will add to the safety, security, and aesthetic value of your home. When done right and according to building code standards, a railing can be an important decorative feature as well as a practical security measure.
Follow any design specifications you have in mind, then check the local building codes for any specifics about spacing, height, and materials that need to be taken into account. Working with all the details will help you create a safe and attractive railing for your landing.
8. Apply a Durable Sealant
Applying a durable sealant over a finished product is the perfect way to preserve its appearance and ensure long-term protection against moisture damage. Not only does sealing protect the underlying material from the effects of moisture and extreme temperatures.
But it also helps to keep a polished finish on surfaces like wood, metal, and stone – meaning that your final product will look as good as new for many years to come.
With so many different types of sealants available, you can easily find one that’s suitable for whatever project you’ve undertaken. It may just be the most important piece in preserving your work!
Following these 8 steps should help you add a landing to existing stairs without too much difficulty. However, it’s important to check with your local building codes before starting any project, as regulations can vary from place to place. Good luck!
10 Tips for Adding a Landing to Existing Stairs
- Decide on the location of the landing.
- Measure the rise and run of the existing stairs.
- Calculate the number of steps needed for the landing.
- Cut 2x4s to size for the stringers.
- Attach the stringers to the existing stairs.
- Cut 2x6s to size for the treads and risers.
- Attach the treads and risers to the stringers.
- Install a handrail, if desired.
- Paint or stain the landing and stairs.
- Add any finishing touches, such as trim or skirting
Frequently Asked Questions
How to Add Landing to Existing Stairs Without Breaking the Bank?
Adding a landing to existing stairs can be an excellent way to improve the visual appeal, safety, and functionality of your current staircase setup. Doing so does not have to break the bank when you consider simple and low-cost options like adding a single step between two flights of stairs.
You can also make inexpensive adjustments such as installing wood tiles on the vertical section of stair risers, which will provide increased traction for the feet and improve the aesthetic appeal of the stairs.
For more complex renovations that involve dismantling the existing stairway, you can use salvaged materials for the construction of new steps or purchase affordable pre-made kits designed specifically for stair landings. Each of these solutions can help you create an attractive and safe staircase without breaking your budget.
How Can I Make My Stairs More Safe and Functional?
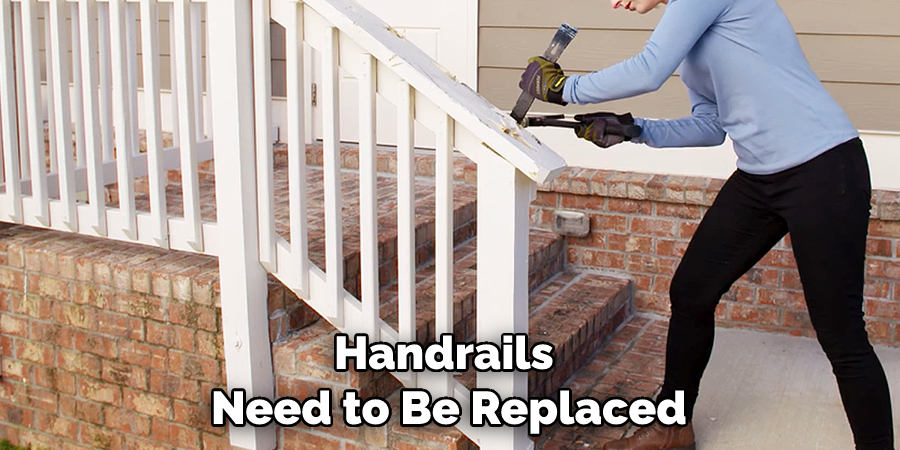
Making your stairs safe and more functional doesn’t have to be a daunting task. Start by evaluating the condition of your stairs. Are the treads durable and free of cracks? Do any handrails need to be replaced or upgraded? If so, it’s important to make these repairs as soon as possible.
After that, there are many creative ways to make your stairs more efficient. Consider installing a landing mid-way up with a seating area for you to take in the view from above or adding some nonslip tape or rugs on each step to prevent slips and falls.
Other simple enhancements can also spruce up the look of your stairs such as adding unique architectural features like trim, painting them in colors that reflect your personality or even enlisting a professional stair builder who can create an entirely new staircase based on your specifications.
With these tips and tricks, you’ll be able to make your stairs totally safe and highly functional in no time!
Conclusion
A landing at the bottom of your stairs can not only give your home a luxurious look but can also make life much easier and safer for you and your family. You should carefully determine how to add a landing to existing stairs.
If you are thinking about adding a landing to your staircase, be sure to follow the tips laid out in this article to ensure that the process goes smoothly. With a little bit of planning and elbow grease, you’ll have a beautiful and functional landing in no time!
You Can Check It Out to Build a Wooden Ramp Over Steps

