

Painting a dye table can completely transform a tired, worn-out piece into a stunning focal point for any room. If your table has seen better days—or you simply want to refresh its look—a fresh coat of paint is one of the most cost-effective ways to breathe new life into old furniture. With the right preparation, tools, and technique, even a beginner can achieve professional-looking results.
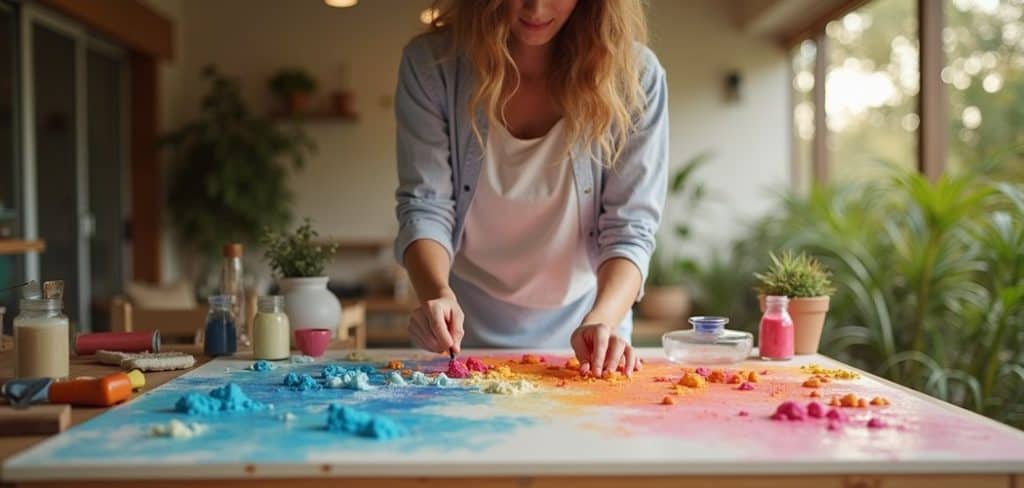
This guide on how to paint a dye table walks you through everything you need to know, from gathering your materials to applying the final coat. Follow these eight simple steps, and you’ll have a beautifully painted dye table that looks like it came straight from a showroom.
Understanding What a Dye Table Is
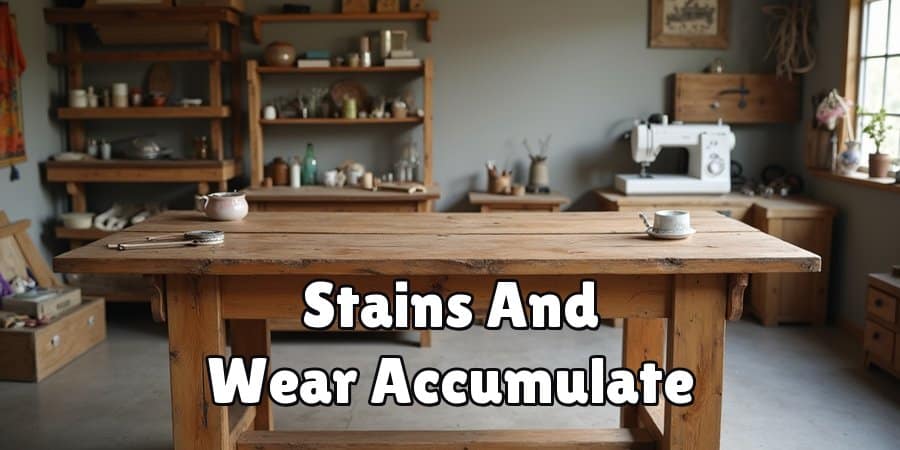
A dye table is a specialized piece of furniture traditionally used in crafting, sewing rooms, and workshops for fabric dyeing and other creative projects. Over time, these tables accumulate stains, discoloration, and general wear that make them look far less appealing than they once did. Painting a dye table not only restores its appearance—but it also adds a protective layer that makes it more resistant to future spills and stains.
Understanding the surface you’re working with matters before you begin. Dye tables are often made from wood, MDF, or laminate, and each material requires a slightly different preparation approach. Knowing your table’s material helps you choose the right primer and paint, ensuring the finished result is durable and long-lasting.
Tools and Materials You’ll Need
Before diving into the painting process, gather everything you need. Having all your tools and materials on hand prevents interruptions and ensures a smoother workflow. Here’s what you’ll need:
Sandpaper (120-Grit and 220-Grit)
Sandpaper is essential for roughing up the surface and removing any existing finish. Use 120-grit sandpaper for the initial sanding and 220-grit for a finer, smoother finish before applying paint.
Wood Primer
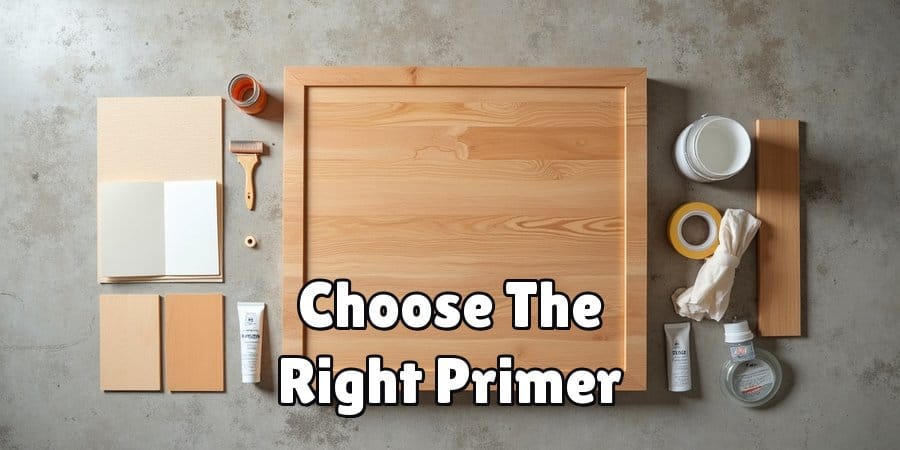
A high-quality wood primer creates a strong base for your paint to adhere to. It also seals the surface, prevents stains from bleeding through, and reduces the number of paint coats needed.
Interior or Multi-Surface Paint
Choose a paint that suits your desired finish—matte, satin, or semi-gloss. Semi-gloss is particularly popular for tables because it’s easy to clean and holds up well under daily use.
Paintbrushes and Foam Rollers
A combination of paintbrushes and foam rollers gives you the best of both worlds. Use brushes for corners and detailed areas, and rollers for large, flat surfaces to achieve a smooth, even finish.
Drop Cloth or Newspaper
Protect your workspace and surrounding surfaces from paint drips and spills using a drop cloth or old newspaper spread across the floor.
Painter’s Tape
Painter’s tape helps you mask off any areas you don’t want painted, such as hardware, edges, or decorative accents.
Clean Cloths and Mild Detergent
These are used during the cleaning and preparation phase to remove grease, dust, and grime from the table’s surface.
Clear Topcoat or Sealant
A clear topcoat protects your finished paint job from scratches, moisture, and stains, extending the life of your work significantly.
8 Simple Steps on How to Paint a Dye Table
Step 1: Clear and Clean the Table
Start by removing everything from the table and giving it a thorough clean. Mix a small amount of mild detergent with warm water and wipe down the entire surface using a clean cloth. Pay close attention to greasy areas or spots with heavy staining. Allow the table to dry completely before moving on—any residual moisture can prevent the paint from adhering properly.
Step 2: Sand the Surface
Once the table is clean and dry, sand the entire surface using 120-grit sandpaper. Sand in the direction of the wood grain to avoid scratching the surface unevenly. The goal here is to remove the existing finish and create a rough texture that the primer can grip. After sanding, wipe away all dust with a damp cloth and let the surface dry again.
Step 3: Apply Painter’s Tape
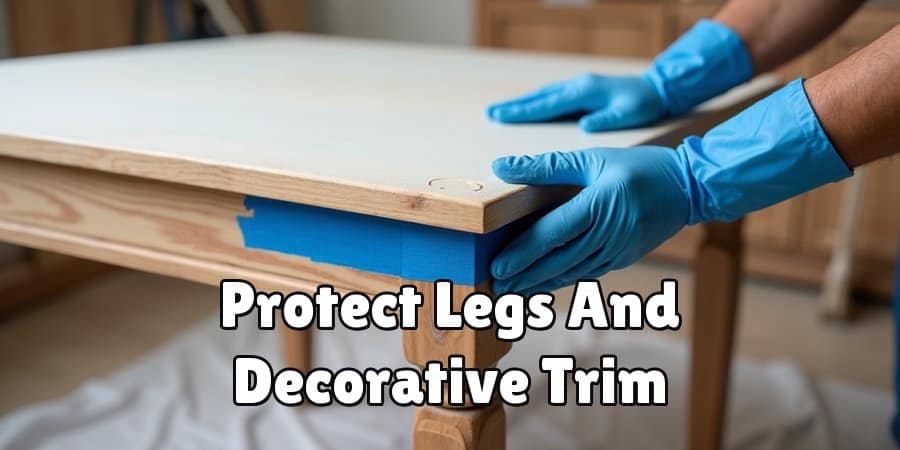
Use painter’s tape to mask off any areas you want to protect, such as table legs (if you’re only painting the top), hardware, or decorative trim. Press the tape down firmly along the edges to prevent paint from seeping underneath. This step takes just a few minutes but makes a noticeable difference in the cleanliness of your final result.
Step 4: Apply the Primer
Apply a thin, even coat of wood primer across the entire surface using a paintbrush or foam roller. Work in smooth, consistent strokes and avoid overloading your brush, which can lead to drips. Allow the primer to dry according to the manufacturer’s instructions—usually one to two hours. Once dry, lightly sand the surface with 220-grit sandpaper to smooth any raised grain, then wipe away the dust.
Step 5: Apply the First Coat of Paint
Now comes the exciting part. Using a foam roller for flat areas and a brush for edges and corners, apply your first coat of paint in thin, even strokes. Resist the temptation to apply a thick coat—thinner layers dry faster, adhere better, and result in a smoother finish. Allow the first coat to dry fully before assessing whether a second coat is needed.
Step 6: Sand Lightly Between Coats
Once the first coat is fully dry, lightly sand the surface again with 220-grit sandpaper. This step removes any imperfections, brush marks, or bubbles that may have appeared during drying. It also helps the second coat adhere more smoothly. Wipe away any dust before proceeding.
Step 7: Apply the Second Coat of Paint
Apply a second coat of paint using the same technique as the first. This coat should give you full, even coverage and a rich, consistent color. If you notice any thin spots or uneven areas after the second coat dries, a third coat may be necessary—but for most projects, two coats are sufficient.
Step 8: Apply the Clear Topcoat
Once your final coat of paint has dried completely—typically 24 hours—apply a clear topcoat or sealant to protect the surface. Use a clean brush or foam roller to apply the sealant in smooth, even strokes. Allow it to cure fully before placing any items back on the table. This final step is what gives your painted dye table its durability and long-lasting finish.
Following these steps on how to paint a dye table will ensure a beautiful and unique piece of furniture in your home.
Avoid Common Mistakes
Even with the best intentions, a few common mistakes can undermine an otherwise great paint job. Skipping the sanding and priming steps is the most frequent error beginners make—without proper preparation, paint is far more likely to peel, chip, or bubble over time. Rushing between coats is another pitfall. Patience matters here, and allowing each layer to dry fully makes all the difference.
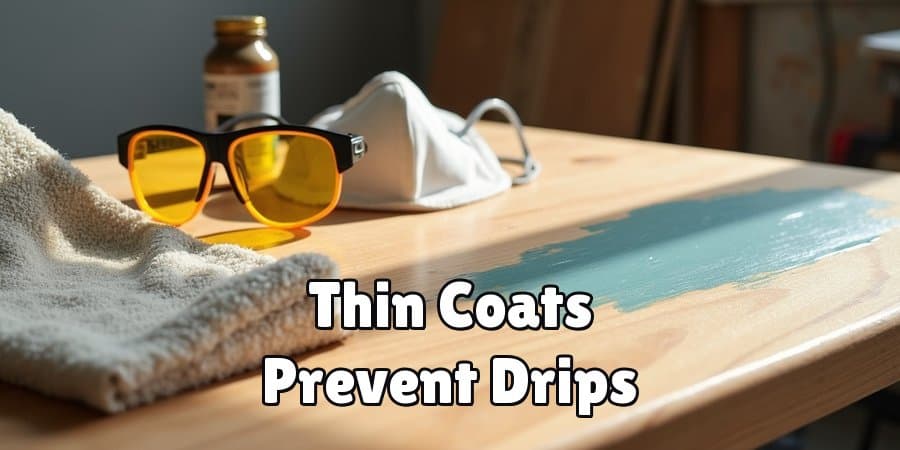
Applying paint too thickly in a single coat often leads to drips and an uneven surface, which is harder to fix after the fact. Stick to thin, deliberate layers and build up coverage gradually. With a little care and attention throughout the process, you’ll avoid these common missteps and end up with a result you’re genuinely proud of.
Frequently Asked Questions
Q1: What Type of Paint Is Best for a Dye Table?
Semi-gloss or satin interior paint works best for dye tables. These finishes are durable, easy to clean, and resist moisture—making them ideal for a surface that may encounter spills or regular use. Chalk paint is also a popular option if you prefer a matte, vintage-style finish.
Q2: How Long Does It Take to Paint a Dye Table From Start to Finish?
The total time depends on drying periods between coats, but most projects take between one and three days to complete properly. Rushing the drying process is one of the most common mistakes, so plan for at least 24 hours of curing time after the final topcoat before using the table.
Q3: Do I Need to Sand the Table if It Has Never Been Painted Before?
Yes—sanding is still recommended even for unpainted surfaces. Sanding removes any rough patches, factory finishes, or oils on the wood that could prevent paint and primer from adhering properly. A light sand with 120-grit sandpaper is usually sufficient for a new or unfinished surface.
Q4: What if I Want to Change the Color of My Already Painted Table?
If you want to change the color of a previously painted table, it is important to properly prepare the surface before applying a new coat of paint. This includes thoroughly cleaning the surface, sanding any rough patches or imperfections, and using a primer to ensure proper adhesion of the new paint color. It is also recommended to use multiple thin coats of paint rather than one thick coat for better coverage and durability.
Conclusion
Painting a dye table is a straightforward and rewarding DIY project that delivers dramatic results without a huge investment of time or money. By following these eight steps on how to paint a dye table carefully—from cleaning and sanding to priming, painting, and sealing—you’ll create a finish that’s both beautiful and built to last.
The key to success lies in preparation and patience. Take your time with each stage, don’t skip the primer, and allow every coat to dry thoroughly before moving on. With the right approach, your refreshed dye table will be a piece you’re proud to display and use for years to come.
