

Mastering how to cut wood at an angle is one of the most valuable skills in woodworking. Whether you’re constructing furniture, framing walls, or creating decorative trim, angled cuts are often necessary to achieve tight joints and precise finishes. But for beginners, cutting wood at an angle might seem challenging without the right tools and guidance.
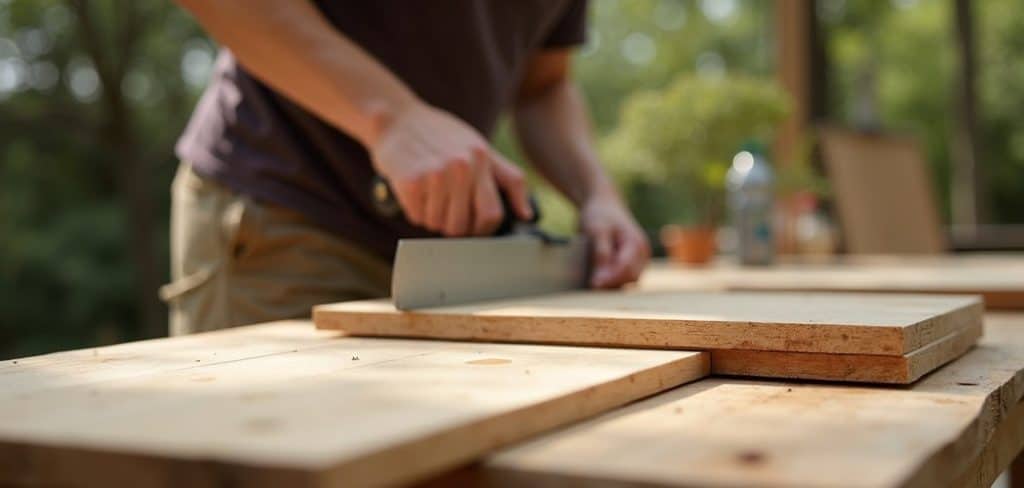
This process becomes straightforward when you break it down into clear steps and learn to leverage basic tools like a miter saw or hand saw. With some practice, you’ll be able to achieve clean, accurate angle cuts that enhance the quality of your projects. This detailed guide will walk you through each step, ensuring that you cut wood at any angle with confidence and accuracy, no matter your experience level.
Why Cutting Wood at Angles is Important
Cutting wood at angles plays a critical role in woodworking and construction. Angled cuts are essential for forming joints that fit together seamlessly, such as in mitered corners or beveled edges. These precise cuts are frequently used in assembling frames, trim work, stairs, and more, creating both functional strength and an appealing finish.
For example, picture a doorframe or crown molding where clean angled cuts result in professional-looking joints. Without accurate angle cuts, gaps and irregularities can mar the final appearance and compromise the stability of a structure.
Angle cutting also allows for greater design flexibility. Projects like furniture building or intricate wall paneling often require angled wood to achieve dynamic geometric patterns or custom fits. By understanding how to cut wood at an angle, you significantly expand the range and quality of projects you can accomplish, all while boosting key technical skills.

Step-by-Step Guide: How to Cut Wood at an Angle
Step 1: Select the Proper Tools
The first step in how to cut wood at an angle is choosing the tools best suited for your project. A miter saw is ideal when precision and speed are required, particularly for repetitive angle cuts. For smaller or simpler projects, a handsaw with a miter box might suffice. Regardless of the tool, ensure it is sharp and in good working condition to achieve clean cuts.
Depending on the angle and material of your wood, you may also need a protractor, a speed square, or an angle gauge to measure the exact angles. Consider your tool preferences based on the complexity of the cut and the level of detail required. Selecting the right tool paves the way for accuracy and efficiency from the start.
Step 2: Measure and Mark the Angle
Begin by measuring the exact angle you need to cut. Use an angle gauge or protractor for precise measurements. Make sure your markings correspond to the desired angle before transferring them to your wood. Employ a pencil to draw a clear, visible guideline across the surface of the board.
For straight cuts, align the guide across the full width, while angled cuts might require only partial coverage, depending on your plan. Precision during this step determines the quality of the final cut, so double-check your marking to confirm accuracy.
Clear and accurate measuring ensures that each piece of wood aligns perfectly within the larger assembled project, minimizing unnecessary adjustments or errors later.
Step 3: Secure the Wood Properly
Securing the wood is a vital part of how to cut wood at an angle. Use clamps or a vise to hold the wood firmly in place to prevent unintended movement. Whether you’re working with a miter saw, table saw, or hand saw, stability ensures safety while enhancing cutting precision.
When using a miter saw, position the wood against the fence for additional support. Adjust the placement so the marked guide aligns perfectly with the blade’s angle. A steady and secure setup creates the foundation for a smooth, error-free cutting experience.

Step 4: Adjust the Saw Angle
For this step, adjust your saw blade to match the measured angle. On a miter saw, this involves rotating the base or bevel adjustment to the specified degree. Ensure the angle setting locks into place before beginning.
Verify the blade’s alignment by holding it up to your pencil guideline on the wood. It’s important to allow for the blade’s width, ensuring the cut will land precisely where you intend. Proper adjustments eliminate errors during cutting and simplify assembly later.
Step 5: Make the Initial Cut
Now that all measurements and adjustments are complete, it’s time to make your first cut. Start the saw and allow it to reach full speed. Then, slowly guide the blade through the wood, following your pencil guide. Maintain steady pressure without forcing the saw to ensure safety and accuracy.
Use consistent, even motions while monitoring the blade’s interaction with the wood. The key to a clean cut lies in letting the tool do the work rather than applying excessive force. Paying attention to precision during this initial cut sets the framework for a polished final result.
Step 6: Evaluate the Cut’s Accuracy
After completing your first angle cut, inspect the cut edge to ensure it matches your intended measurement. Check for a clean, smooth finish without splintering or roughness. Use a square or protractor to verify the angle is exact.
If adjustments are needed, fine-tune your saw settings or realign your guideline. Additionally, consider sanding the cut surface to enhance smoothness before proceeding. Ensuring each cut meets your standards guarantees seamless assembly and a professional-quality project.
Step 7: Repeat for Multiple Pieces
For projects requiring multiple pieces of wood cut at identical angles, use your first cut as a guide. Duplicate it by aligning subsequent planks with the original along your tool’s cutting platform. To avoid minor inconsistencies, use clamps to maintain alignment during repetitive cuts.
Repeat this process carefully for each piece, maintaining consistency in measurements and saw angle throughout. Planning for repetitive cuts ensures precision during more complex projects such as trim installation or custom furniture.

Step 8: Handle Odd Angles
Sometimes, you may need to cut non-standard or compound angles. For these scenarios, measure and calculate the angle accurately using a digital angle gauge or a speed square. Adjust your saw’s miter and bevel settings accordingly to achieve the desired compound cut.
Double-check the blade alignment along both axes before initiating the cut to minimize risks of error. Cutting odd angles may require added patience and expertise, but the results elevate the complexity and appearance of custom projects.
Step 9: Sand and Finish the Wood
Once all angle cuts are complete, finish the wood by sanding the edges to remove splinters or sharp corners. This step provides a smooth and flawless surface for any additional treatments such as staining, painting, or joining.
Whether working on furniture or wall moldings, sanding ensures a polished aesthetic and safe handling. Completing this final touch demonstrates attention to detail and rounds off the angle-cutting process effectively.
Essential Tools for Cutting
To achieve precise and efficient cuts, the following tools are essential for any project involving wood or other materials:
Miter Saw – Ideal for making accurate angle and bevel cuts with ease.
Circular Saw – A versatile tool suitable for straight and rough cuts on a variety of materials.
Hand Saw – Perfect for detail-oriented work or cutting in tight spaces.
Table Saw – Excellent for creating consistent straight cuts, especially on larger pieces of wood.
Jigsaw – Useful for intricate cuts or curved shapes.
Clamps – Ensure the material stays secure while cutting for increased safety and precision.
Measuring Tape and Square – Crucial for marking lines and ensuring angles are accurate before cutting.
Safety Gear – Items like goggles, gloves, and ear protection are essential for safe operation during cutting tasks.
Having these tools on hand ensures readiness for a wide variety of cutting needs, promoting efficiency and professional results in your projects.

FAQ
What is the best tool for cutting wood at an angle?
A miter saw is the most efficient tool for precision angle cuts, especially for repetitive tasks. For smaller projects or one-off cuts, a handsaw with a miter box works well.
How do I know which angle to measure?
Use a protractor or angle gauge to determine the exact degree needed. These tools ensure that your cut aligns perfectly with the intended project design.
Can I cut angles with a circular saw?
Yes, a circular saw fitted with an adjustable base can cut angles. Secure the wood properly and use a guide to maintain straight cuts for better accuracy.
How can I avoid splintering during angled cuts?
To prevent splintering, use a sharp saw blade designed for clean finishes. Additionally, cutting slowly and evenly minimizes fraying along the edges of the wood.
When should I sand the wood after cutting?
Sanding should be done immediately after cutting to smooth the edges and prepare the surface for jointing or finishing treatments like paint or stain.
Conclusion
Learning how to cut wood at an angle is a versatile skill that opens up limitless possibilities in woodworking and construction projects. By following these steps and taking time to measure, secure, and cut carefully, you can achieve professional-looking results with ease.
With the right tools and practice, you’ll soon find angled cuts to be a manageable task, even for complex designs. Try it today, and watch your woodworking capabilities reach new heights!
