

Adding custom exterior wood trim to your home dramatically enhances curb appeal while protecting vulnerable areas from weather damage. Learning how to build exterior wood trim empowers you to create professional-looking accents around windows, doors, and architectural features without the expense of hiring contractors. This rewarding DIY project combines basic carpentry skills with creative design possibilities that can transform your home’s appearance.

Whether you’re replacing deteriorated trim or adding decorative elements to a plain facade, building your own exterior wood trim offers complete control over style, materials, and finish quality. The process requires attention to detail and proper technique, but it’s entirely achievable for motivated homeowners with basic tool skills. Success depends on careful planning, precise measurements, and understanding how weather-resistant materials and proper installation techniques ensure lasting results.
Why Building Exterior Wood Trim Matters
Exterior wood trim serves both aesthetic and functional purposes that make it an essential component of quality home construction and maintenance. From a protective standpoint, properly installed trim creates weatherproof seals around openings while directing water away from vulnerable joints and connections. This moisture management prevents rot, mold, and structural damage that can result from water infiltration.
Architecturally, trim work defines and emphasizes your home’s design character while adding visual interest to otherwise plain surfaces. Well-crafted trim can make modest homes appear more expensive and sophisticated, while poorly executed or missing trim makes even quality construction look unfinished. The proportions, profiles, and details you choose significantly impact your home’s overall aesthetic appeal.
Step-by-Step Guide: How to Build Exterior Wood Trim
Step 1: Measure and Plan the Trim Layout
Accurate measurements form the foundation of successful exterior trim installation, so invest adequate time in this crucial first step. Use a quality tape measure to record the exact dimensions of all windows, doors, or architectural features requiring trim work. Document both the rough opening sizes and any existing trim that needs replacement or modification.
Create detailed sketches showing trim placement, noting how pieces will intersect and overlap at corners and joints. Consider the trim profile and width in relation to your home’s architectural style, ensuring proportions complement rather than overwhelm existing features. Factor in reveal measurements that determine how much of the window or door frame remains visible behind the trim. This planning phase prevents costly material waste and ensures professional-looking results that enhance your home’s character.
Step 2: Select Weather-Resistant Materials
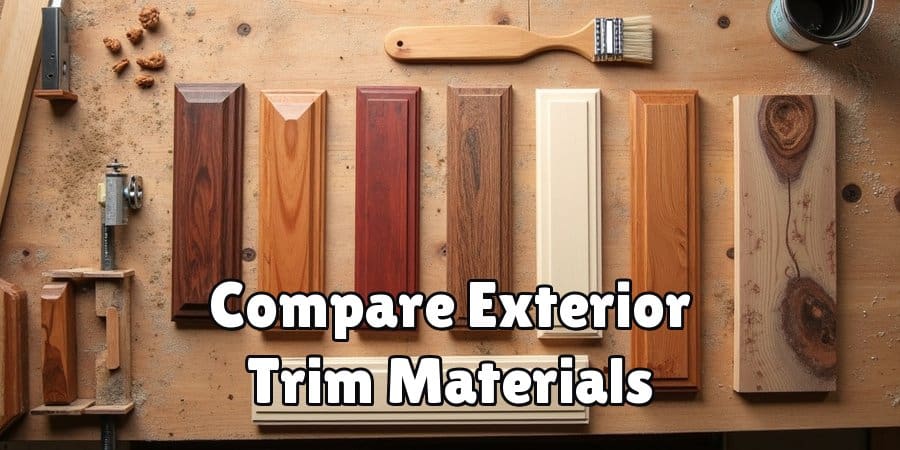
Choose exterior-grade lumber specifically designed to withstand moisture, temperature fluctuations, and UV exposure common in outdoor applications. Cedar, redwood, and pressure-treated pine offer excellent durability, while engineered trim products like PVC or composite materials provide even greater longevity with minimal maintenance requirements.
Consider your local climate conditions when selecting materials, as different regions present varying challenges from humidity, freezing temperatures, or intense sun exposure. Premium materials cost more initially but often provide better long-term value through reduced maintenance and replacement needs. Purchase 10-15% extra material beyond your calculated requirements to account for cutting waste and potential mistakes during installation. Quality materials combined with proper installation techniques ensure your exterior wood trim investment provides decades of reliable performance.
Step 3: Prepare Tools and Create a Safe Workspace
Assemble all necessary tools before beginning construction to maintain project momentum and ensure safety throughout the installation process. Essential tools include a miter saw for precise angle cuts, circular saw for rough cutting, drill with various bits, level, measuring tools, and safety equipment including eye protection and hearing guards.
Set up your workspace in a location that provides adequate lighting, power access, and protection from weather conditions that could affect material stability or your personal safety. Organize materials and tools systematically to minimize time spent searching for items during installation. Check that all cutting tools have sharp blades, as dull tools increase effort requirements while producing inferior results that compromise the finished appearance. Proper workspace preparation contributes significantly to both safety and project success.

Step 4: Make Precise Miter Cuts for Professional Joints
Mastering accurate miter cuts separates amateur work from professional-quality installations, making this skill essential for successful exterior trim projects. Set your miter saw to exactly 45 degrees, verifying accuracy with a reliable square before cutting any finished materials. Practice cuts on scrap pieces help you understand how your specific saw performs and identify any adjustments needed for perfect joints.
Mark cut lines clearly on each piece, allowing for the kerf width of your saw blade to ensure finished pieces match your measurements exactly. Cut slowly and steadily, supporting both sides of the cut to prevent binding or tear-out that damages the wood surface. Test-fit each joint before final installation, making minor adjustments as needed to achieve tight, gap-free connections. Quality miter joints contribute significantly to the professional appearance that distinguishes expert craftsmanship from typical DIY attempts.
Step 5: Install Trim Using Proper Fastening Techniques
Secure exterior trim with appropriate fasteners that resist corrosion while providing adequate holding power for outdoor conditions. Stainless steel or galvanized finish nails prevent rust stains that mar paint finishes over time. Pre-drill nail holes in hardwoods to prevent splitting, especially near board ends where wood fibers are most vulnerable to cracking.
Position each trim piece carefully, checking for level and proper alignment before driving fasteners completely home. Use a nail set to countersink nail heads slightly below the surface, creating small depressions that accept wood filler for invisible repairs. Maintain consistent reveal measurements around openings to ensure uniform appearance that reflects careful attention to detail. Proper fastening techniques ensure trim remains securely attached despite seasonal wood movement and weather exposure that challenge exterior installations.
Step 6: Apply Wood Filler and Prepare Surfaces for Finishing
Address all nail holes, gaps, and imperfections with high-quality exterior wood filler designed to withstand weather exposure without cracking or pulling away from surrounding wood. Apply filler slightly proud of the surface, allowing for shrinkage as the product cures completely according to manufacturer specifications.
Sand filled areas smooth once cured, blending repairs seamlessly into surrounding wood surfaces. Use progressively finer sandpaper grits to achieve smooth finishes that won’t show through paint or stain applications. Clean all surfaces thoroughly with a tack cloth to remove sanding dust that could interfere with finish adhesion. This preparation phase determines the quality of your final appearance, making careful attention to detail essential for professional results that reflect your craftsmanship skills.

Step 7: Seal Joints with Appropriate Caulking
Apply high-quality exterior caulk to all joints between trim pieces and adjacent surfaces, creating weatherproof seals that prevent moisture infiltration while accommodating seasonal wood movement. Choose paintable acrylic or polyurethane caulks designed for exterior use, avoiding products that remain permanently flexible and collect dirt over time.
Cut caulk tube nozzles to create appropriately sized beads for each joint size, maintaining consistent appearance throughout the installation. Smooth caulk lines with a damp finger or specialized tool, removing excess material before it skins over. Work efficiently during caulking applications, as most products develop surface films quickly that prevent proper tooling for smooth, professional appearances. Quality caulking work contributes significantly to both weather protection and visual appeal of finished trim installations.
Step 8: Apply Primer and Paint for Long-Term Protection
Prime all exposed wood surfaces with high-quality exterior primer designed for your chosen topcoat system, ensuring complete coverage that seals wood fibers and provides optimal paint adhesion. Use a brush for detail work around joints and complex profiles, following up with a roller on larger flat surfaces for efficient coverage and smooth finishes.
Apply paint in thin, even coats rather than attempting to achieve full coverage in single applications that may result in drips, sags, or brush marks that detract from the finished appearance. Allow adequate drying time between coats as specified by paint manufacturers, resisting the temptation to rush this crucial phase that determines long-term durability. Quality paint systems protect your investment while providing the attractive finish that showcases your exterior wood trim craftsmanship for years to come.
Step 9: Perform Final Inspection and Touch-Up Work
Conduct a thorough inspection of your completed exterior wood trim installation, examining joints, paint coverage, and overall appearance under various lighting conditions that reveal potential imperfections requiring attention. Look for missed nail holes, incomplete caulk lines, or areas where paint coverage appears thin or uneven.
Address any discovered issues promptly while materials and tools remain accessible, ensuring your finished project meets the high standards you established at the beginning. Document your work with photographs that record successful techniques and installation details for future reference on similar projects. Take pride in your accomplishment, knowing that quality exterior wood trim enhances your home’s value while demonstrating your developing carpentry skills to family and neighbors who appreciate fine craftsmanship.

Frequently Asked Questions
What Type Of Wood Works Best For Exterior Trim Applications?
Cedar and redwood offer natural weather resistance but cost significantly more than pressure-treated pine, which provides excellent durability at lower cost. Engineered products like PVC or composite materials require minimal maintenance but lack the natural beauty of real wood. Consider your budget, maintenance preferences, and aesthetic goals when selecting materials. For painted applications, pressure-treated lumber often provides the best value proposition.
How Do I Prevent Wood Trim From Warping Or Splitting?
Proper installation techniques prevent most warping and splitting issues. Pre-drill nail holes near board ends, allow adequate spacing for seasonal expansion, and use appropriate fasteners for your wood species. Store materials properly before installation, keeping them dry and well-supported. Choose stable, kiln-dried lumber when possible, and avoid installing trim during extreme weather conditions that stress materials during the curing process.
Should I Use Screws Or Nails For Exterior Trim Installation?
Finish nails work well for most exterior trim applications when properly countersunk and filled. Screws provide superior holding power for larger trim pieces or challenging installations but require more effort to conceal properly. Choose corrosion-resistant fasteners regardless of type, and consider the trim profile when deciding between nails and screws. Pre-drilling prevents splitting with either fastener type in hardwood applications.
How Often Does Exterior Wood Trim Need Maintenance?
Well-installed exterior trim typically needs repainting every 5-7 years, depending on climate conditions and paint quality. Inspect caulk lines annually, recaulking as needed to maintain weather seals. Check for loose fasteners, minor damage, or areas where paint has failed, addressing issues promptly to prevent more extensive problems. Regular maintenance extends trim life significantly while preserving your home’s appearance and protection.
Can I Install Exterior Trim Over Existing Siding?
Yes, but ensure adequate backing support for secure attachment. Installing trim over vinyl or metal siding may require additional blocking or longer fasteners to reach structural framing members. Consider the visual proportions carefully, as trim thickness combined with siding depth may create awkward reveals or shadow lines. Remove existing trim cleanly before installing new pieces for the most professional appearance and proper weather sealing.
Conclusion
Successfully mastering how to build exterior wood trim transforms both your home’s appearance and your confidence in tackling advanced carpentry projects. The techniques you’ve learned apply to countless other home improvement opportunities, from interior trim work to more complex architectural features that require precision cutting and installation skills.
Take pride in your accomplishment and consider this project a stepping stone toward more ambitious carpentry endeavors. The precision, patience, and attention to detail you’ve developed will serve you well in countless future home improvement projects that enhance both comfort and value.
