

Building a chop saw table takes a weekend, basic woodworking skills, and $100–$200 in materials. This guide covers the tools you’ll need, seven step-by-step instructions, common mistakes, cost estimates, and whether you actually need professional help.
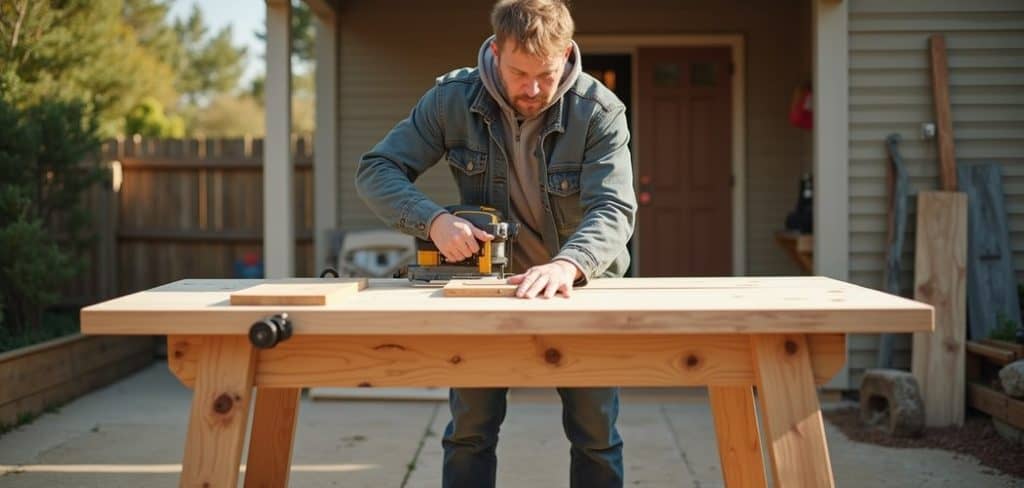
If you’ve ever tried to make a precise crosscut while balancing a long board on a wobbly workbench, you already know why a dedicated chop saw table matters. It’s not just about convenience—accuracy suffers without a stable, properly sized surface, and so does safety.
Building your own table rather than buying a pre-made workbench has a real upside: the result fits your space, your saw, and the way you actually work. A store-bought bench rarely does all three. This guide on how to build a chop saw table walks through every stage of the build—tools, materials, the seven steps themselves, what tends to go wrong, and a realistic sense of what it’ll cost.
Tools and Materials Needed
Before cutting a single board, get everything organized. Running out to the hardware store mid-build is the kind of interruption that throws off measurements and kills momentum.
Tools
- Chop Saw (Miter Saw) — You’ll use it to build the table, then mount it on top afterward.
- Drill and Drill Bits — For driving screws and making pilot holes before assembly.
- Tape Measure — Accurate measurements are everything in woodworking.
- Square — To confirm cuts and joints are properly aligned at each stage.
- Clamps — Hold pieces steady while glue sets or screws go in.
- Sandpaper (80 and 120 Grit) — Rough passes first, finer finish second.
- Safety Glasses and Ear Protection — Non-negotiable when working with power tools.
Materials
- Plywood Sheets (3/4-inch Thick) — For the tabletop and lower shelf.
- Dimensional Lumber (2x4s) — Legs, side rails, and cross supports.
- Wood Screws (2.5-inch and 1.5-inch) — Different lengths for different joints.
- Wood Glue — Adds strength where screws alone may not be enough.
- Lag Bolts — To anchor the saw securely to the tabletop.
- Sandpaper and Wood Finish — Surface prep and moisture protection.
- Leveling Feet or Casters — Optional, but worth considering if your floor is uneven or you need to move the table.
7 Simple Steps on How to Build a Chop Saw Table
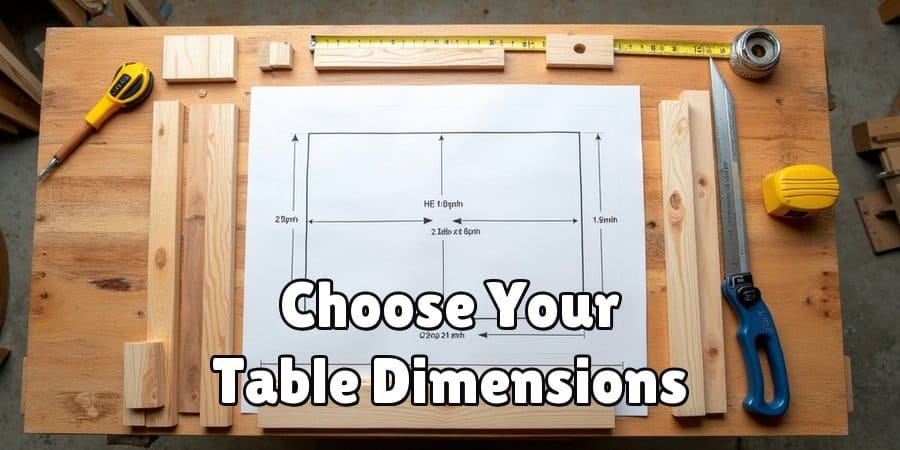
Step 1: Plan Your Table Dimensions
Start with a sketch—even a rough one on paper. A standard chop saw table runs around 8 feet wide, 24 inches deep, and 34–36 inches tall, which puts the surface at roughly counter height. That said, these are starting points, not rules. The materials you cut most often, the size of your shop, and your own height should all factor into your final dimensions.
Planning upfront tends to pay off in ways that are hard to predict mid-build. Wasted lumber, mismatched pieces, and frustrating rework are far more common when builders skip this stage than when they spend 20 minutes with a pencil and a notepad first.
Step 2: Cut the Lumber for the Frame
With your measurements in hand, use your miter saw to cut the 2x4s for the legs, side rails, and cross supports. A typical table calls for four legs, two long side rails running the full width, and several shorter cross supports spaced evenly to keep the frame from flexing under load.
Cut all pieces before assembly starts. This lets you check every measurement while the parts are still flat and manageable. Labeling each piece with masking tape sounds like overkill until you’re staring at a pile of lumber that all looks the same. The old woodworking advice about measuring twice still holds.
Step 3: Assemble the Base Frame
Lay everything out on a flat surface before driving a single screw. Apply wood glue at each joint, clamp the pieces together, then fasten with 2.5-inch screws. After every corner, check with your square. A frame that’s even slightly out of true at this stage will cause problems later—joints that don’t close properly, a tabletop that sits at a subtle angle, saw cuts that drift in ways that are difficult to diagnose.
Let the glue dry fully before moving on. An hour of patience here may save a full afternoon of troubleshooting.
Step 4: Add the Lower Shelf
Technically optional. In practice, most woodworkers who skip the lower shelf wish they hadn’t. Beyond the added storage, it stiffens the base considerably—particularly useful if the table will be moved, loaded with heavy materials, or used in a high-traffic shop.
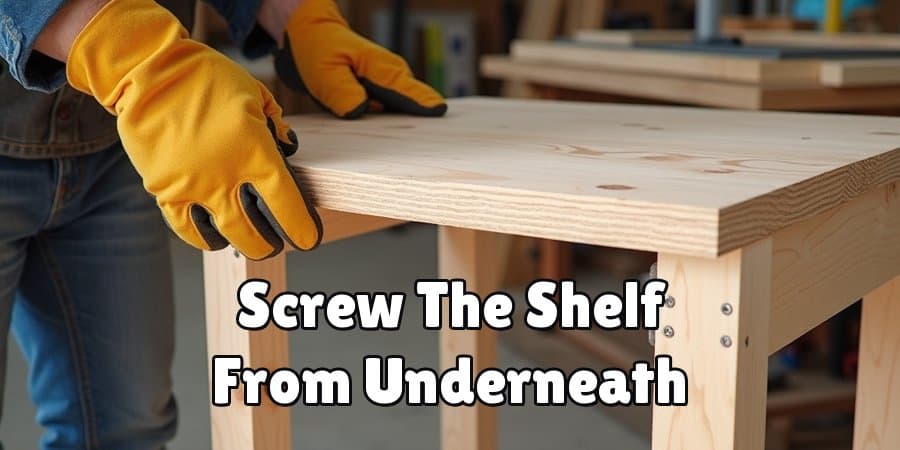
Cut a piece of 3/4-inch plywood to fit the interior of the base frame and screw it into place from underneath. Sand the edges once it’s secured. If you expect to store heavy equipment on the shelf, an extra cross support beneath it is worth the additional effort.
Step 5: Install the Tabletop
Cut the plywood to the full width and depth of the frame. For a more durable surface, glue and screw two 3/4-inch sheets together, which brings the total thickness to 1.5 inches—significantly stiffer and better suited to heavy use. Once attached, sand the entire top with 80-grit paper, then finish with 120-grit. Pay close attention to the edges and any high spots. A straightedge dragged across the surface will reveal unevenness that’s easy to miss visually.
Flatness matters more than it might seem. Even a small ridge or dip can throw off how long workpieces sit against the table, which affects cut accuracy.
Step 6: Mount the Chop Saw
Place the saw roughly in the center of the tabletop and trace around its base. The goal is to create a shallow recess—cut with a router or carefully chiseled out by hand—so the saw’s base plate sits flush with the surrounding table surface. This flush-mount setup is what separates a functional chop saw table from a workbench with a saw sitting on top of it. When the saw is recessed correctly, long boards rest flat on both sides of the blade. Without it, they tend to tip slightly, which compounds into inaccuracy over the length of the cut.
Once the recess is shaped, drill pilot holes through the base plate locations and secure the saw with lag bolts. Check that the bolts are snug before the first cut.
Step 7: Add Finishing Touches
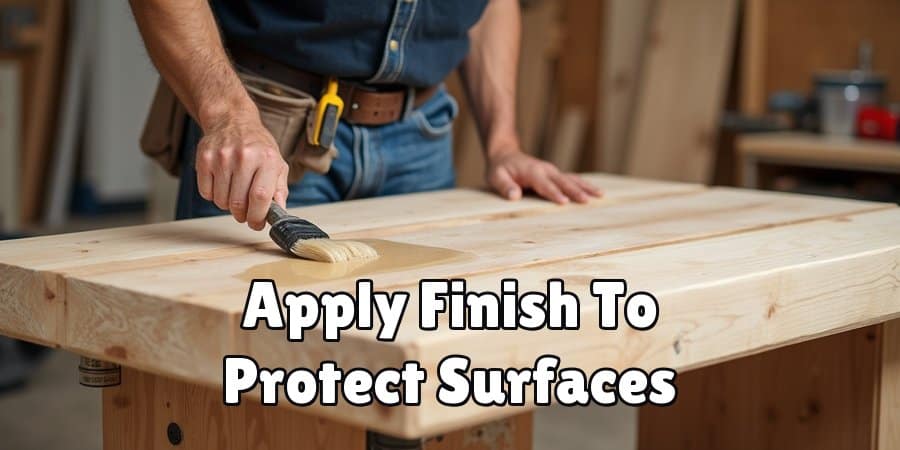
Sand any remaining rough areas, then apply a coat of polyurethane or wood finish to protect the surface from moisture, sawdust buildup, and general wear. If the floor in your shop isn’t perfectly level, adjustable leveling feet on each leg will solve the problem cleanly. Casters are a useful alternative if the table needs to move around.
One small addition worth considering: a power strip mounted to the side of the table. It keeps cords organized and puts an outlet within reach without running an extension cable across the floor.
Following these steps on how to build a chop saw table, you’ll have a sturdy and functional addition to your workshop.
Common Mistakes to Avoid
Most errors on a first chop saw table build appear at predictable points.
Skipping the planning stage is the most common. Building without a clear material list and a set of confirmed dimensions almost always means wasted lumber and at least one unplanned hardware store trip. The second-most-common mistake is failing to check for square consistently during frame assembly—a problem that compounds with each subsequent step rather than resolving itself.
The flush-mount recess is where many builders cut corners, often because it’s the most technically demanding part of the build. Without it, long workpieces will sit unevenly against the saw, and cut quality will reflect that.
Do You Need to Hire a Professional to Build a Chop Saw Table?
For most people with basic woodworking experience, this is a reasonable weekend project. No specialized training is required, and the techniques involved—frame assembly, plywood work, basic joinery—appear on any introductory woodworking list.
The situation changes if you’ve never used a miter saw before or have limited experience with lumber framing. In that case, working alongside someone more experienced for the first build may be worth considering—not because the project is dangerous with proper precautions, but because hands-on guidance tends to be faster and more effective than working from a guide alone.
Professional help could also make sense for more complex builds: integrated dust collection systems, heavy-duty drawer banks, or custom dimensions that require structural calculations. For a straightforward shop table, though, the DIY route appears to be well within reach for most home woodworkers.
How Much Will It Cost to Build a Chop Saw Table?
Materials for a standard build—2×4 framing lumber and 3/4-inch plywood—typically run between $100 and $200. If you need to purchase tools like a drill, clamps, or a square, budget an additional $50–$150 depending on what you already own.
Premium finishes, casters, or specialty hardware will push costs upward, but even a well-equipped build usually comes in well under the $300–$600 range that pre-built workbenches tend to occupy. The savings are real. So is the advantage of ending up with a table sized and configured for your actual workspace rather than a generic one.
Frequently Asked Questions
What Is the Best Height for a Chop Saw Table?
Most chop saw tables are built between 34 and 36 inches tall, which corresponds to standard counter height. This range works well for most users and allows long workpieces to rest comfortably on both sides of the blade. Taller or shorter builders should adjust leg length before cutting to avoid awkward working posture over extended sessions.
Can I Build a Chop Saw Table Without a Router?
Yes. A router produces a cleaner flush-mount recess more quickly, but a sharp chisel and careful work will achieve a comparable result. If neither is available, the table can still be built without a recess—shims placed on either side of the saw can level shorter workpieces, though the setup is less seamless.
How Do I Secure the Chop Saw So It Doesn’t Move During Use?
Lag bolts through pre-drilled holes in the saw’s base plate are the standard method. Most miter saws have dedicated mounting holes built into the base for this purpose. Check that the bolts are firmly tightened before use and inspect them periodically—vibration during cutting can cause gradual loosening over time.
How Long Does It Take to Build a Chop Saw Table?
For someone with basic woodworking experience and all materials prepared in advance, the build typically takes one to two days. First-time builders should expect the process to take longer, particularly during frame assembly and the flush-mount recess stage.
What Type of Plywood Works Best for the Tabletop?
Standard 3/4-inch birch plywood is a practical choice—it’s flat, widely available, and holds screws well. For a more durable surface, two layers glued together create a 1.5-inch top that resists deflection under heavy workpieces. MDF is sometimes used but tends to swell with moisture and may not hold up as well in a working shop environment.
Conclusion
A chop saw table built to the right dimensions, with a properly recessed saw mount and a flat, finished top, will improve cut accuracy and make the shop more functional in ways that are immediately noticeable. It’s one of those projects where the result pays dividends on nearly every build that follows.
Follow the seven steps on how to build a chop saw table here, keep a square nearby throughout assembly, and don’t skip the flush-mount recess. The table that comes out of a careful first build is likely to last for years—and once it’s in place, it’s hard to imagine working without it.
