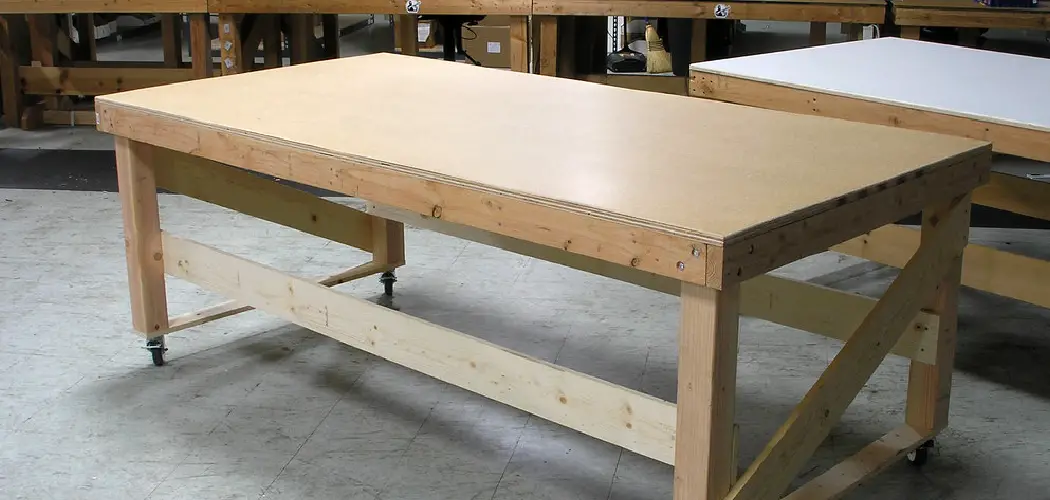
Plywood is a versatile material that can be used for a variety of home improvement projects. A plywood workbench top is a great way to add storage and workspace to your garage or workshop.
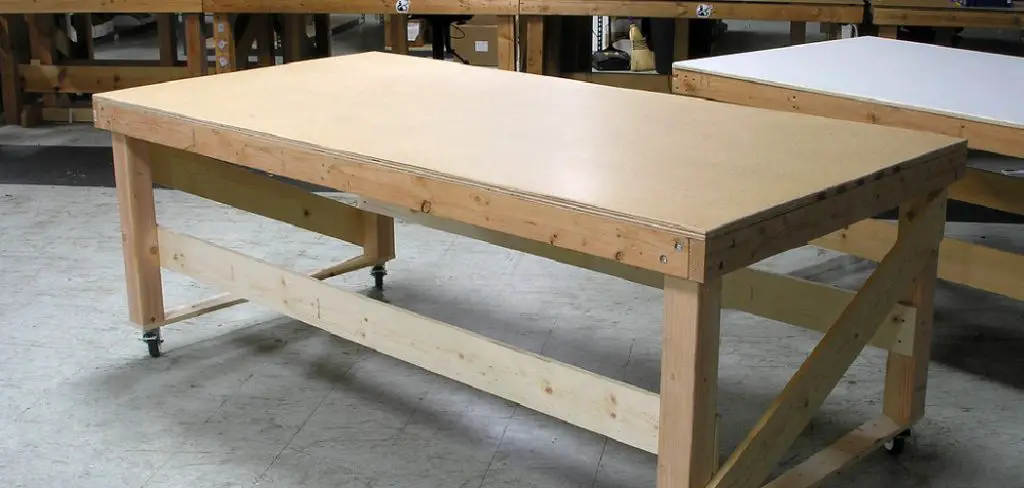
In this tutorial, you will learn how to finish a plywood workbench top with ease. You will need some basic tools and supplies, including wood glue, clamps, wood screws, sandpaper, and a finish of your choice. Follow these simple steps to create a durable and attractive workbench top for your home workshop.
Should I Seal My Workbench Top?
It is important to seal plywood before you begin the finishing process. Sealants add an extra layer of protection against moisture, stains, and damage from everyday wear and tear. Apply a thin coat of wood sealer onto your workbench top with a paintbrush or roller. Allow it to dry completely before moving on to the next step.
Once the sealer is dry, you can begin sanding the surface. Use an orbital sander with medium-grit sandpaper to smooth out any imperfections. When finished, wipe away any dust using a damp cloth. You may then apply a coat of your chosen finish.
10 Methods on How to Finish a Plywood Workbench Top
1. Choose the Right Plywood
When choosing plywood for your workbench top, it is important to select a sheet that is of high quality. This will ensure that your workbench is durable and will last for many years. You should also choose a sheet that is thick enough to provide a sturdy surface for your projects. If you are unable to find quality plywood at your local hardware store, you can purchase it online. Try to avoid using particle board or MDF, as these materials cannot hold up to the same level of wear and tear.

2. Cut the Plywood to Size
Once you have selected the right plywood, you will need to cut it to size. It is important to measure twice and cut once in order to avoid any mistakes. You can use a saw or a router to cut the plywood to the desired size. While cutting, make sure that your measurements are as accurate as possible. Make sure you take into account any overhangs or other adjustments you may need to make for your workbench top.
3. Sand the Surface
After cutting the plywood to size, you will need to sand the surface in order to create a smooth finish. You can use a hand sander or an electric sander for this task. Be sure to sand with the grain in order to avoid damaging the wood. While you are sanding, make sure to wipe away any excess dust or debris that accumulates.
4. Apply Primer
Once the surface of the plywood has been sanded, you will need to apply the primer in order to create a smooth surface for painting or staining. Be sure to use a primer that is designed for use on wood surfaces. Keep in mind that primer can take several hours to dry, so be sure to plan accordingly when completing this step. However, once the primer has dried, you can move on to the next step.
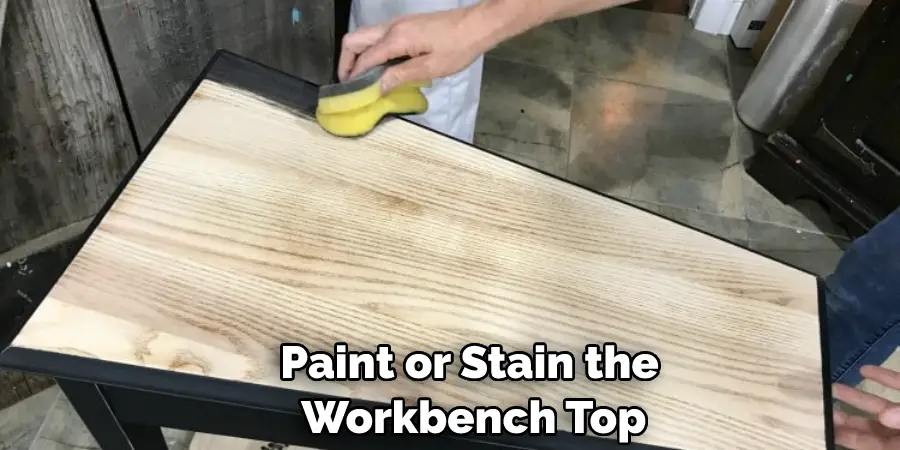
5. Paint or Stain the Workbench Top
After applying primer, you can now paint or stain your workbench top. If you plan to use your workbench outdoors, it is important to choose a paint or stain designed for outdoor use. Try to select a color that will match the rest of your workshop. You can also use decorative stencils or decals to add some pizzazz to your workbench.
6. Apply Sealer
Once you have painted or stained your workbench top, you will need to apply a sealer in order to protect it from damage. There are many different types of sealers available, so be sure to choose one that is right for your project. Keep in mind that sealers will take several hours to dry, so be sure to plan accordingly when completing this step.
7. Attach Your Workbench Top
After your workbench top has been sealed, you can now attach it to your workbench base using screws or nails. Be sure to predrill holes for the screws in order to avoid splitting the wood. If you are using nails, be sure to hammer them in securely. Although this may seem like a tedious task, it will ensure that the workbench top is firmly attached to the base.
8. Add Trim Pieces
If desired, you can add trim pieces around the edge of your workbench top in order to give it a finished look. You can purchase trim pieces at most home improvement stores or online retailers. Additionally, you can use a router to create your own custom trim pieces. Be sure to attach the trim pieces securely in order to avoid them becoming loose over time.
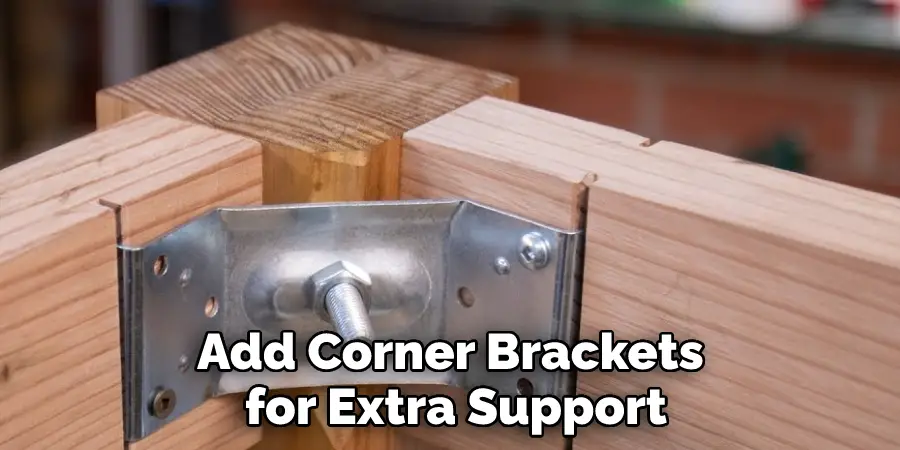
9. Screw on Corner Brackets
Once the trim pieces have been attached, you can add corner brackets for extra support. Be sure to use screws that are designed for outdoor use to ensure that your workbench top is secure. You can also add corner brackets to the underside of your workbench for additional support. Although this step is not necessary, it can help maximize the durability of your workbench.
10. Finish with Polyurethane
Once all of the above steps are complete, you will need to finish your workbench top with a coat of polyurethane. This will protect the wood from damage and give it a glossy shine. Be sure to only apply one or two coats for best results. However, keep in mind that polyurethane can take several hours to dry, so be sure to plan accordingly.
Things to Consider When Finishing a Plywood Workbench Top
- When choosing a finish for your plywood workbench top, consider the type of wood you are using and how it will react with different finishes. Some woods require oil or wax to protect them, while others may not need any protection at all.
- Paints, varnishes, and sealants offer excellent protection but should be used according to manufacturer instructions in order to ensure that the best results are achieved.
- When applying finish to your workbench top, always use even strokes and allow sufficient drying time between coats. This helps prevent bubbles from forming in the finish as well as ensuring a more even coverage over the surface of your workbench top.
- If you plan on painting your workbench top, use light-colored paint to avoid darkening the wood. Darker colors of paint will show more scratches and general wear over time.
- Sanding between coats of finish or paint can help create a smoother surface on your workbench top. Always sand with the grain of the wood to prevent unsightly marks and uneven surfaces.
- When you’re finished, inspect your workbench top for any imperfections that need to be corrected. This could include dried brush strokes, smudges from fingerprints, or other blemishes. Fixing these issues now will ensure that you enjoy your beautiful new plywood workbench top for years to come.
When Can a Plywood Be Harmful?
Plywood can be harmful if it is not properly treated and maintained. Plywood is susceptible to water damage, warping, cracking, mold growth, and other forms of deterioration. To prevent this from occurring on your workbench top, it is important to use a finish that is appropriate for the type of wood you are using. Additionally, plywood should always be stored in a dry location away from direct sunlight or extreme temperatures.
Properly sealed plywood should also be kept away from sources of moisture, such as basements and bathrooms. Regular cleaning with soft cloths and mild soap can help keep your plywood workbench top looking great for years to come.

If you have any questions about how best to care for your workbench top, it is always best to consult with a professional or manufacturer. They can help provide the most accurate information regarding maintenance and care for your specific plywood workbench top.
Conclusion
A plywood workbench top provides a great foundation for any project but requires proper treatment and maintenance in order to remain in good condition over time. Consider the type of wood that you are using and make sure to use an appropriate finish to protect it from water damage, warping, cracking mold growth, and other forms of deterioration. Sanding between coats of finish or paint can help achieve a smooth surface on your workbench top.
Lastly, a regular cleaning with soft cloths and mild soap can help prevent dirt build-up and keep your workbench top looking great for years to come. With proper care and maintenance, your plywood workbench top should last you a lifetime!
I hope this information has been helpful in understanding how to finish a plywood workbench top. Best of luck with your project! Thank you for reading.
You Can Check It Out to Keep Plywood Doors From Warping

