

Attaching table legs successfully comes down to three things—choosing the right attachment method for your table’s weight and use, drilling accurate pilot holes, and checking for level before you call it done. This guide covers every step, from marking leg positions to tightening final hardware, so your table stands firm from day one.
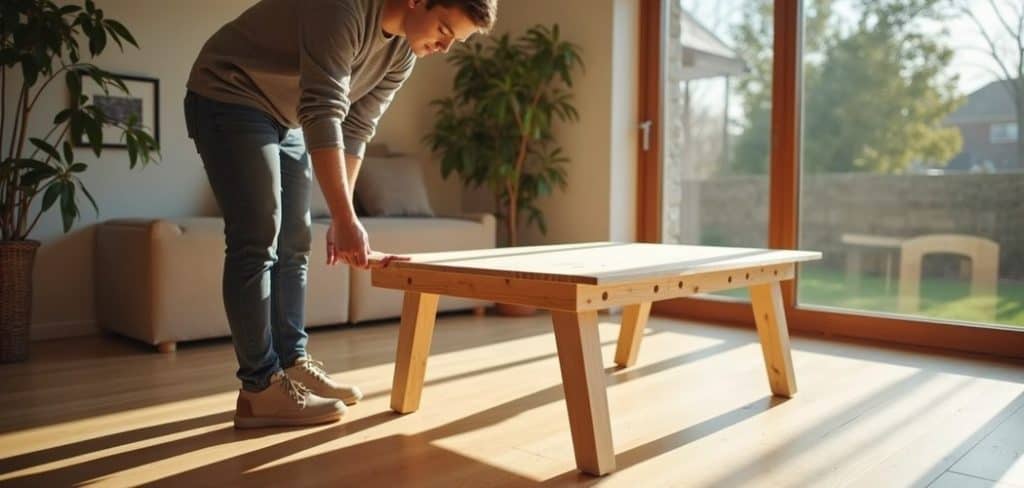
A wobbly table is one of those small, persistent annoyances that somehow manages to ruin every meal. You set your coffee down, and it tilts. You lean forward and everything shifts. More often than not, the culprit isn’t cheap materials or bad luck—it’s a rushed attachment job.
Attaching table legs isn’t complicated. But it does require a bit of thought upfront. Get the method wrong, skip the pilot holes, or eyeball your measurements instead of actually measuring, and you’ll spend more time fixing the table than you did building it. This guide on how to attach table legs is designed to help you avoid exactly that.
What follows is a straightforward walkthrough covering everything from picking the right hardware to doing a final stability check. No woodworking experience required—just the right tools, a flat surface to work on, and the willingness to slow down and do each step properly.
How to Choose the Right Leg-Attachment Method?
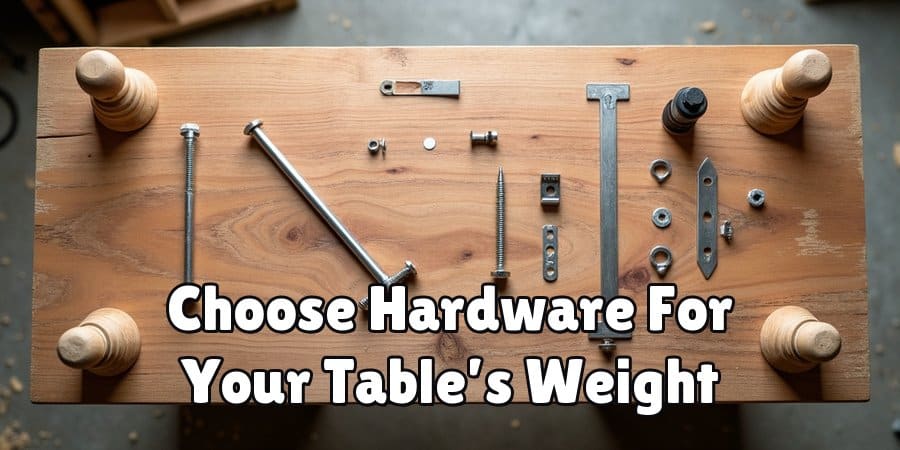
Before anything else, you need to settle on how the legs will actually connect to the tabletop. The three most common methods are hanger bolts, corner brackets, and leg mounting plates—and they’re not interchangeable.
Hanger bolts work well for solid wood tables. One threaded end bites into the leg; the machine-screw end passes through the tabletop and locks down with a washer and nut. The connection is firm, and the legs can be removed if needed—useful if you ever need to move or store the piece.
Mounting plates and corner brackets tend to suit lighter builds and flat-pack furniture. They’re faster to install and require less precision, but they may not hold up as well under sustained weight or heavy daily use.
Your table’s intended purpose should drive this decision. A dining table that seats six people and holds a full spread of food demands a different approach than a narrow console table holding a plant. Think about the weight the surface will bear, the wood type you’re working with, and whether removable legs matter to you. Getting this right at the start is far easier than undoing it later.
What Tools and Materials Do You Need to Attach Table Legs?
Having everything within reach before you start makes the whole process faster and less frustrating. Here’s what you’ll need:
Tools
- Power Drill – For driving screws and boring pilot holes cleanly into the wood
- Drill Bits – Sized to match your screws and hanger bolts to prevent splitting
- Screwdriver – A flathead and Phillips head for tightening hardware by hand
- Measuring Tape – To ensure accurate, symmetrical leg placement
- Carpenter’s Square – For checking that legs sit perpendicular to the tabletop
- Wrench or Pliers – To tighten hanger bolts and nuts properly
- Pencil or Marker – To mark drill points on the underside of the tabletop
- Clamps – To hold pieces steady while you work
- Level – To confirm the table sits flat once assembled
Materials
- Table Legs – Wood, metal, or hairpin style, depending on your design
- Leg Mounting Plates or Brackets – If you’re not using hanger bolts
- Hanger Bolts – For a direct, wood-to-wood connection
- Wood Screws – Appropriately sized for your tabletop thickness
- Washers and Nuts – For securing hanger bolts
- Wood Glue – Optional, but useful for added reinforcement on fixed legs
- Sandpaper – To smooth rough edges around drill holes
7 Simple Steps on How to Attach Table Legs
Step 1: Gather Your Tools and Materials
Lay everything out before you begin. Confirm the legs are the right height and style for the build. Double-check that your screws, bolts, and brackets match the attachment method you’ve chosen. It sounds obvious, but stopping mid-project to hunt for a missing washer breaks your focus and slows everything down.
Step 2: Mark the Leg Positions on the Tabletop
Flip the tabletop upside down and rest it on a flat, padded surface—something that won’t scratch the finish. Use a measuring tape and pencil to mark where each leg will sit. On a standard rectangular table, legs are typically placed 2 to 4 inches in from each corner. That small inset matters; legs positioned right at the edge are far more vulnerable to impact and stress.
Measure all four corners carefully. Even a quarter-inch discrepancy between two marks can translate into a visible lean once the table is upright. Use a carpenter’s square to confirm each mark sits at a true right angle to the edge.
Step 3: Drill Pilot Holes
Pilot holes do one specific job: they let the fastener drive in cleanly without forcing the wood fibers apart. Skip this step near the edges or end grain, and splitting is almost guaranteed.
Choose a drill bit slightly narrower than your screw or bolt. Drill straight—a crooked pilot hole throws off the leg angle, sometimes subtly enough that you won’t notice until the table is fully assembled. If you’re using mounting plates, position each plate over its mark and drill directly through the plate’s holes into the tabletop.

Step 4: Attach the Mounting Hardware
Install the hardware before the legs go on. For hanger bolts, thread the wood end into the top of each leg first, then place a nut on the machine-screw end. For mounting plates or corner brackets, fasten them to the tabletop with wood screws, pressing each one flush against the surface as you drive it in.
Once everything is in place, give each piece of hardware a firm tug. If anything shifts or pulls loose, address it now—it’ll be harder to fix once the legs are attached and the table is upright.
Step 5: Attach the Legs to the Tabletop
Here’s where the project starts to look like a table. For hanger bolts, insert the machine-screw end through the tabletop and tighten with a washer and nut. For mounting plates, thread the leg directly into the insert.
Apply firm, even pressure as you tighten. Overtightening can crack the wood around the hole, particularly on thinner tabletops. Undertightening—the more common mistake—leaves you with a joint that appears solid but starts wobbling within weeks. Work diagonally: front-left, then back-right, then front-right, then back-left. This distributes tension evenly across all four connection points rather than stressing one side first.
Step 6: Check for Level and Stability
Set the table upright and place a level on the tabletop. Check from two or three different angles—edge to edge, corner to corner. A table that looks flat from one direction can still have a slight tilt you’ll only catch by moving the level around.
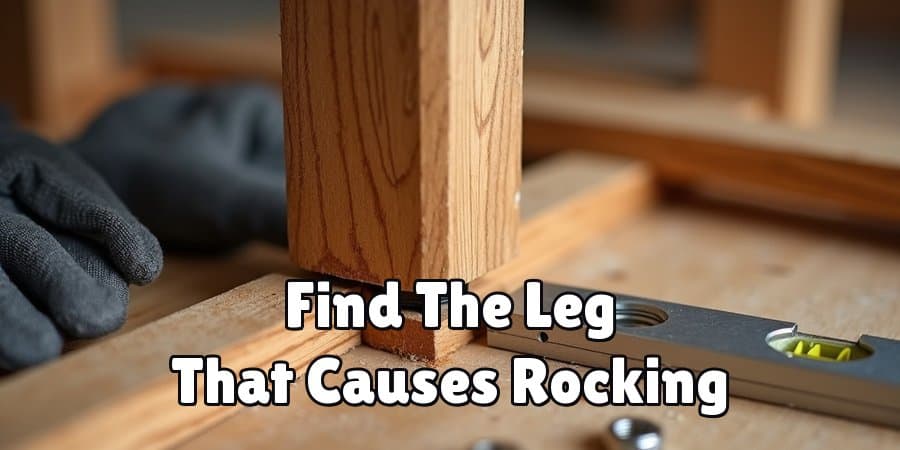
If the table rocks, identify which leg is causing the problem. Most mounting plates allow for minor adjustments. With hanger bolt setups, check whether all four nuts are tightened to the same tension—small differences can be enough to throw off the level. Don’t accept “close enough” at this stage. Under real conditions, a barely-noticeable lean tends to become very noticeable.
Step 7: Secure and Finish
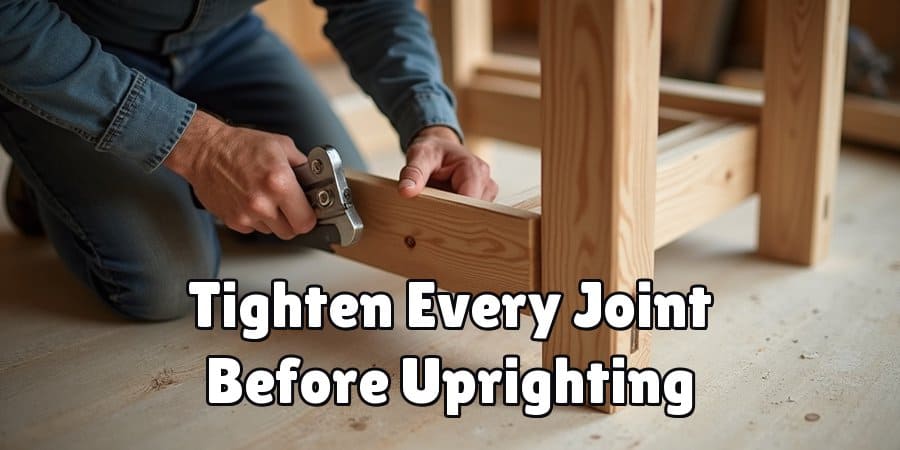
Do a final pass over every connection point. Tighten anything that feels even slightly loose. For fixed-leg builds where you don’t need to disassemble, a small amount of wood glue applied around the base of each leg—where it contacts the tabletop—can add meaningful long-term stability. Let it cure fully before putting any weight on the table.
Sand any rough edges around the drill holes, wipe away any pencil marks, and the table is ready to use. Following these steps on how to attach table legs properly will ensure a sturdy and durable table that can withstand regular use.
What Are the Most Common Mistakes When Attaching Table Legs?
Skipping pilot holes tops the list. Driving screws directly into wood—especially near edges—almost always causes splitting. The wood might hold initially, but the internal stress it creates tends to show up as cracks a few months down the line.
The second most common error is imprecise measurement. A quarter-inch off on one leg placement might not look significant on the underside of the tabletop, but it translates directly into a table that rocks. Measure twice; drill once. That advice holds up.
A few other patterns worth avoiding:
- Tightening hardware by hand and assuming it’s snug enough (it rarely is)
- Only checking level at the end, rather than during assembly when adjustments are easier
- Rushing steps because the project seems simple—it is simple, but only if you don’t cut corners
How to Maintain Your Table Legs Over Time?
Wood expands and contracts as humidity and temperature shift. That’s just the nature of the material. What it means practically is that fasteners that felt tight in summer may have loosened slightly by winter. A quick check every few months—flipping the table and running through all the screws and bolts with a wrench—can catch these small shifts before they become structural problems.
For tables that see heavy daily use, consider applying a furniture wax or protective coating around the leg joints once a year. If a leg starts to wobble, deal with it immediately. A loose leg doesn’t just affect itself—it redistributes stress to the other three attachment points, accelerating wear across the whole piece.
Frequently Asked Questions
What Is the Best Way to Attach Legs to a Tabletop Without Screws?
The most reliable screw-free method combines hanger bolts with threaded inserts. The insert is pressed into the tabletop; the bolt threads into it and creates a firm, removable connection. Heavy-duty adhesive corner brackets can work for lighter builds, though they tend to offer less holding strength than mechanical fasteners and may not perform well under sustained weight.
How Do I Stop My Table Legs From Wobbling After Attachment?
Wobbling typically points to one of three causes: uneven leg lengths, inaccurate placement, or loose hardware. Start by placing the table on a known-flat surface and using a level to identify which leg is the problem. Adjustable leg levelers can compensate for minor length differences. If hardware is the issue, tighten all bolts and screws evenly, working in a diagonal pattern so tension stays consistent across all four legs.
Can I Attach Metal Legs to a Wood Tabletop?
Yes—and it’s straightforward. Metal legs, including hairpin and industrial pipe styles, typically come with pre-drilled mounting plates. Position each plate on the underside of the tabletop, mark the screw holes, drill pilot holes, and fasten with appropriate wood screws. One thing to verify before drilling: that your screws are short enough not to break through the top surface of the tabletop.
How Far In From the Corner Should Table Legs Be Positioned?
The standard range is 2 to 4 inches in from each corner. Closer to the edge tends to reduce stability and makes the legs more susceptible to accidental impacts. Farther in can look visually awkward and may reduce structural support depending on the tabletop’s thickness and material. For most builds, 2.5 to 3 inches strikes a reliable balance.
Does the Type of Wood Affect Which Attachment Method I Should Use?
It can. Hardwoods like oak and maple hold screws and hanger bolts well and can handle more aggressive tightening without splitting. Softer woods—pine, for instance—are more prone to stripping and cracking, which makes pilot holes especially important and suggests slightly more care when tightening hardware. Engineered woods like MDF or plywood may not grip threaded fasteners as reliably, making mounting plates a better option in those cases.
Conclusion
A table built with care—right method, right tools, careful measurements—tends to stay solid for years without much intervention. The steps outlined here aren’t complicated, but each one builds on the last. Skip one, and the ones that follow are working against a flawed foundation.
If something doesn’t come out right the first time, that’s not unusual. Check your measurements, revisit the hardware tension, and make small adjustments. The process of troubleshooting a wobbly leg teaches you more about joinery than any guide on how to attach table legs can. With a solid approach and a bit of patience, the result is something worth sitting around.
