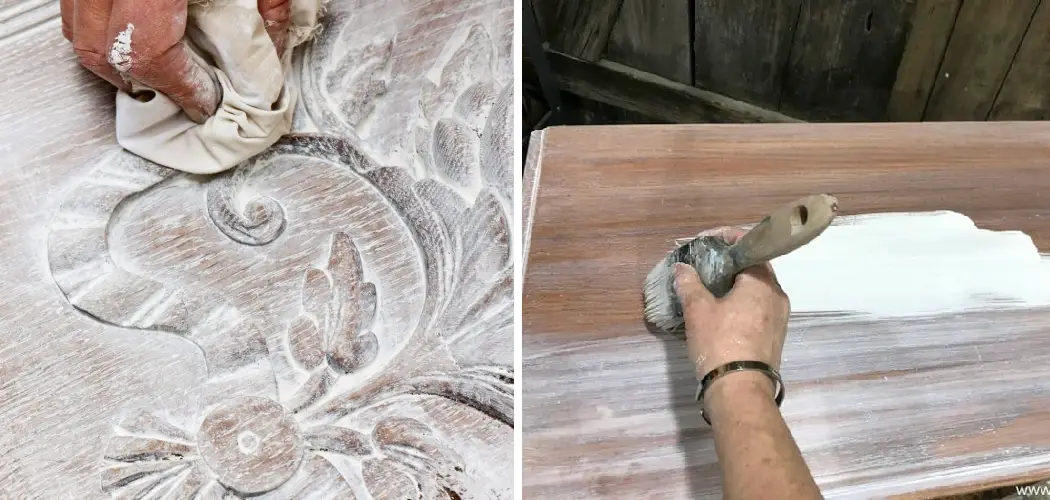
Do you want to give your tired-looking wood furniture a brand-new makeover? Chalk paint can be a great solution for achieving that goal. Not only is chalk paint relatively affordable, but it also allows you to get creative with the result. Whether looking for a distressed look or something more polished and modern, whitewashing wood with chalk paint is an easy way to add color and texture to any interior design project.
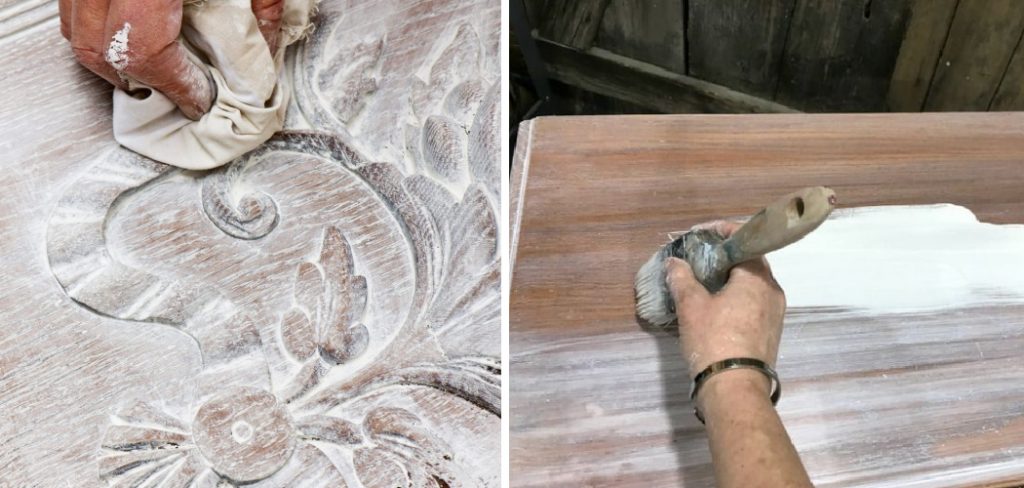
To get perfectly even coverage and create a unique look for your project, using chalk paint is one option you may want to consider.
In this blog post on how to whitewash wood with chalk paint, we’ll explore the various steps involved in whitewashing wood with chalk paint so that you can confidently transform old furniture into new art pieces!
Why Whitewash Instead of Paint?
Whitewashing wood with chalk paint offers several advantages over traditional painting techniques. For one, it’s much easier to apply than typical paints. Plus, it provides a rustic and aged look you can’t get with other types of paint. Chalk paint is also more forgiving when it comes to mistakes because you can easily wipe away any inconsistencies or flaws without starting over again.
Additionally, chalk paint leaves a matte finish that helps to bring out the texture and beauty of the wood. This makes it perfect for achieving distressed or shabby-chic looks – ideal if you’re aiming for an eclectic vibe in your home.
Overall, whitewashing wood with chalk paint is a great way to give any piece of furniture an updated, stylish look.
What Will You Need?
To whitewash wood with chalk paint, you will need a few supplies. The key items are listed below:
- Chalk Paint: You can buy this in various colors and finishes at your local home improvement store or online.
- A Rag (Clean): This is used for applying the paint and wiping it off afterward.
- Sandpaper (and a Sanding Block): This is used for smoothing out the surface of the wood before painting.
- Clear Sealant: This protects the paint and ensures it lasts longer.
- Paintbrush: This is used to apply the paint evenly.
Once you have your supplies together, it’s time to get started.
10 Easy Steps on How to Whitewash Wood With Chalk Paint
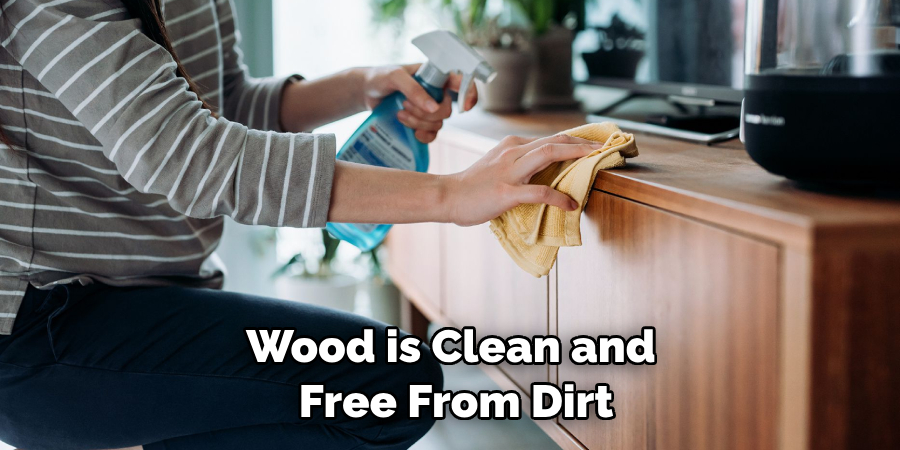
Step 1. Prepping Your Wood:
It’s important to ensure the wood is clean and free from dirt, debris, or oils before beginning. Use a mild detergent and sandpaper to ensure the surface is smooth. As this step is quite important for achieving an even finish, it’s best to take your time and ensure the wood is properly prepped.
Step 2. Applying Chalk Paint:
Once the wood is dry, you can start applying your chalk paint. Use a brush to spread the paint on the surface evenly. You can apply multiple coats for an opaque finish or one coat for a more distressed look.
Step 3. Wipe off Excess Paint:
Once you’re done applying the paint, take a clean rag and gently wipe off any excess paint. This will help to create a more even finish while also adding depth to your whitewashed look. You can also use a damp cloth to remove any remaining paint if necessary.
Step 4. Let Dry:
Let the paint dry completely before moving on to the next step. It’s best to give it at least 24 hours of drying time before proceeding. Use a fan or open window to help the drying process.
Step 5. Sand Wood:
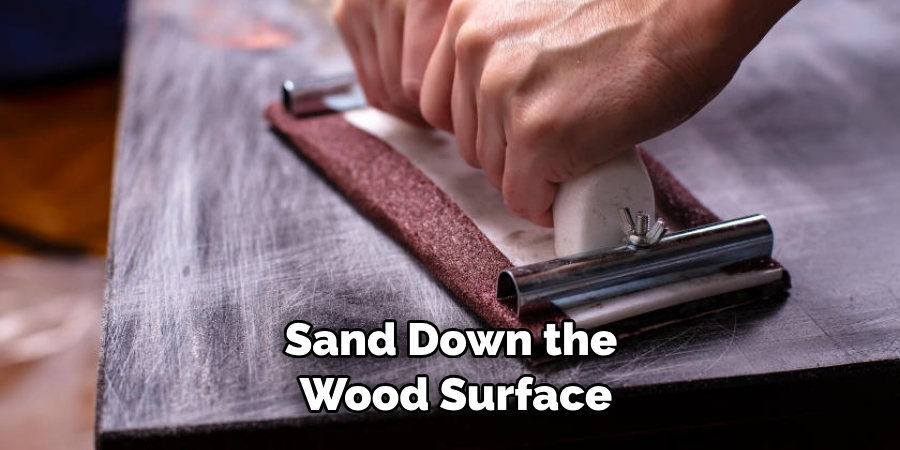
Take some sandpaper and lightly sand down the wood surface. This helps to smooth out any uneven edges or bumps from the painted wood surface, giving your project a more professional finish. Additionally, it also helps to give the wood a whitewashed look.
Step 6. Wipe down Again:
Once the sanding is done, take a clean cloth and wipe away any dust or debris that may have been created. This will help to ensure a smoother finish once the clear sealant is applied. Remember to vacuum afterward.
Step 7. Apply Clear Sealant:
Apply a thin layer of clear sealant to the wood surface to protect the paint and give it a long-lasting finish. Use a brush for even coverage, and let it dry completely before moving on to the next step. Try to avoid any areas that have been sanded, as this can lead to uneven coverage.
Step 8. Sand Again:
Once the sealant is dry, use sandpaper to sand down any uneven areas lightly or bumps on the wood surface again. This helps create an even, polished look perfect for your whitewashed project. Check your work as you go along to ensure everything looks as it should.
Step 9. Wipe Down One Last Time:
Wipe away any remaining dust or debris created during the sanding process. This will help to ensure a smooth and even finish when you apply the new topcoat of paint. Remember that you may need to do this step multiple times until you are satisfied with the results.
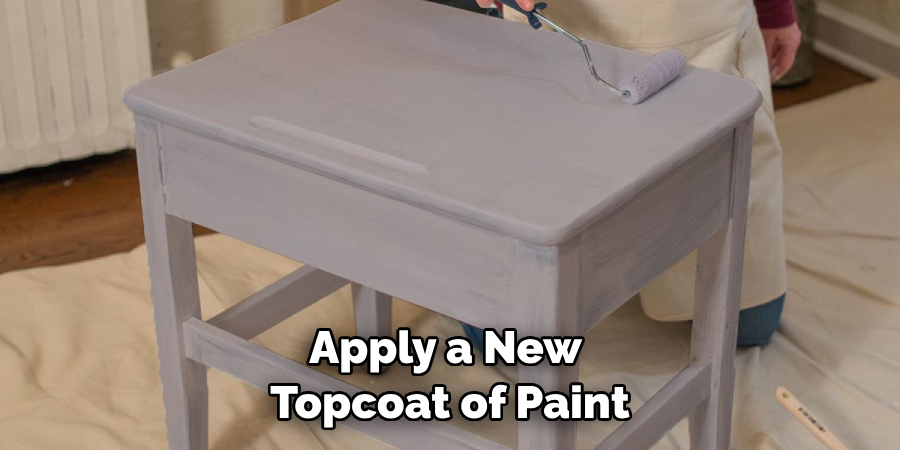
Step 10. Apply New Topcoat:
Once the surface is arid and clean, it’s time to apply a new topcoat of paint. This will help give your whitewashed project an extra layer of protection and make it look even better in the end! Use a brush for even coverage, and let it dry completely before moving on to any other steps.
And there you have it! You know how to whitewash wood with chalk paint in ten easy steps. With patience and practice, you can easily transform old furniture into eye-catching art pieces that will make any room look amazing!
5 Additional Tips and Tricks:
- Before beginning the whitewashing process, use a damp cloth to remove dirt or dust from the wood.
- Apply a coat of primer before adding the chalk paint for better coverage and adhesion.
- Use multiple thin coats of chalk paint rather than one thick coat. This will help create an even and consistent whitewash effect.
- To add depth to the finish, apply a second layer of wax after the first layer has dried completely.
- If using light-colored paints, add water to your brush before applying it to get that perfect whitewashed look! This technique, called “water washing, ” can help create a more subtle finish with less contrast between colors.
With these tips, you can create a beautiful whitewashed wood finish with chalk paint!
5 Things You Should Avoid
- Wait to apply too much pressure when brushing the paint on. This can cause the wood to become spotty and uneven.
- Avoid using a darker paint color to achieve a whitewashed look.
- Pour only a little water into your brush when using the water washing technique; this can cause the paint to run and create a messy finish.
- Avoid applying too many coats of wax, as this can lead to a buildup and an unattractive result.
- Don’t rush through any step in the whitewashing process; take your time for the best results!
By following these tips, you’ll be able to achieve a beautiful white washed wood finish with chalk paint!
What Paint to Use to Whitewash Wood?
For the best results when whitewashing wood with chalk paint, it’s important to use light-colored paint. White and off-white are both great colors for achieving a subtle effect. Pastels can also be used to create more bold and vibrant looks. Make sure to choose a paint color that will compliment the wood’s natural grain for the most beautiful result!
Additionally, it’s important to use a high-quality chalk paint that will adhere well to the surface of your wood. High-quality paints are easier to work with and create more even coverage, ensuring beautiful results!
By following these tips and choosing the right paint, you can whitewash wood with chalk paint for an attractive finish that will last for years to come. With these helpful tips in mind, you can successfully whitewash wood with chalk paint like a pro! Just remember to take your time and plan for the best results.
Why Do You Add Salt to Whitewash?
Adding salt to whitewash is a technique used to create a more weathered, rustic look. The salt acts as an abrasive and helps to break down the paint’s pigment. This results in a softer, more distressed finish with a vintage vibe. Adding salt can also help reduce unnecessary pigmentation and fading of the paint over time.
Another benefit of adding salt is that it helps to prevent the paint from drying too quickly. This can be especially helpful when working with large pieces of wood, as it allows more time for blending and even coverage.
Whitewashing wood with chalk paint can be a great way to add a unique touch to any project!
Conclusion
Whitewashing your furniture with chalk paint is a great way to add texture, depth, and personality to any room. You’ll have the added satisfaction of knowing that you created something beautiful and unique. However, don’t be afraid to experiment with other materials as well – use different types of paint or try blending two colors.
There is no single “right” way to whitewash wood; take some time to explore your options and create something you love. -With a few common supplies, knowledge of the whitewashing process, and creativity, anyone can easily decorate their furniture!
Hopefully, these tips and tricks have given you a better understanding of how to whitewash wood with chalk paint. With the right materials and techniques, you can create stunning results in your home. Best of luck!

