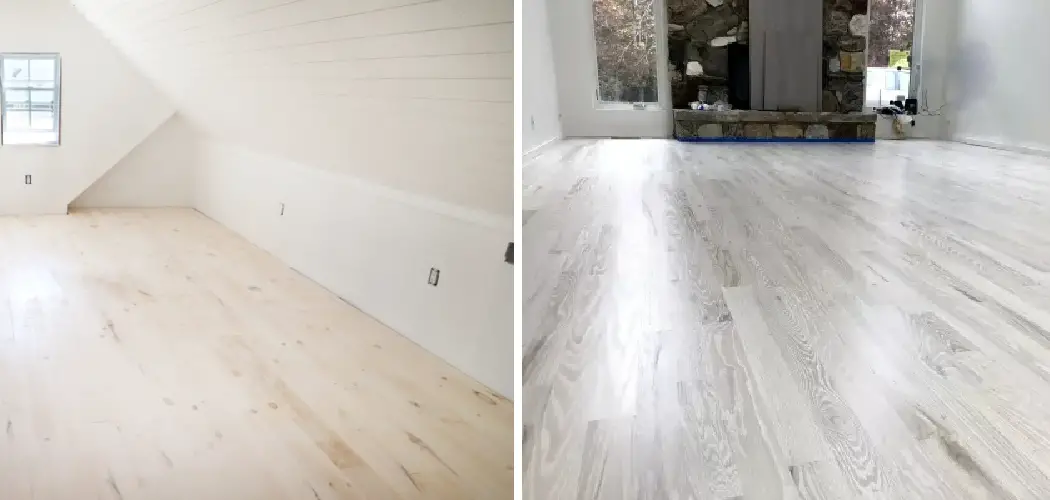
Wood floors have always been a popular choice for homeowners because of their timeless beauty, durability, and natural warmth. However, not everyone wants that dark, traditional look that many wood floors have. If you’re looking for a way to brighten up your home and give your floors a fresh, modern look, then you might want to consider whitewashing them.
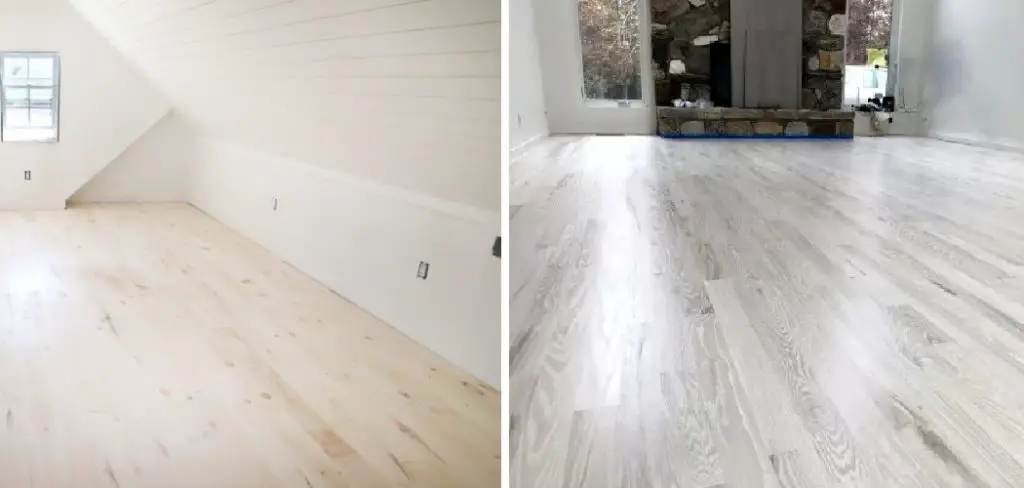
Whitewashing can be done on any type of wood floor and is a great alternative to painting your floors or sanding them down to their natural color. In this article, we’ll guide you through the steps on how to whitewash wood floors, including what supplies you’ll need and how to prepare your floors for the process.
Can You Whitewash the Wood Floors?
Wood floors add a timeless elegance and warm charm to any home. But sometimes, the color of the wood doesn’t quite match your decor. One option to consider is whitewashing your wood floors. This technique can create a beautiful, ethereal effect that enhances the natural grains and textures of the wood.
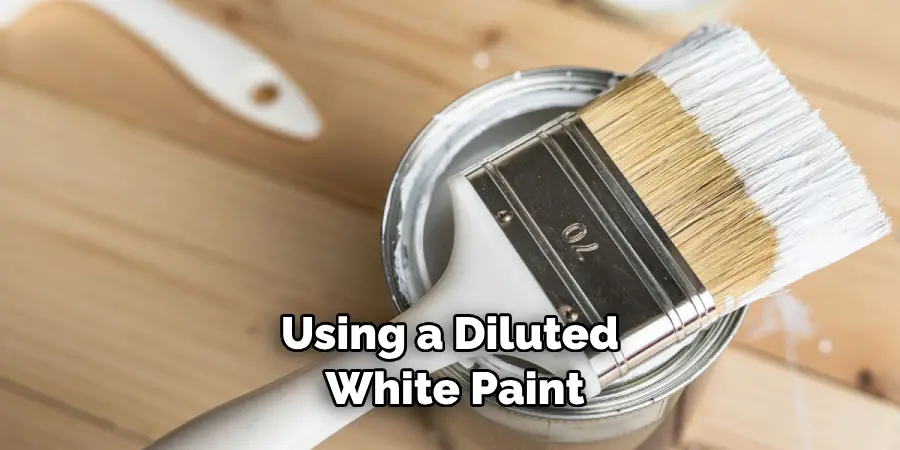
By using a diluted white paint or stain, you can achieve a light, airy finish that brightens up the room. However, remember that whitewashing is a more challenging DIY project and should only be attempted by those with experience in floor refinishing. If you’re unsure, consulting a flooring professional can help you determine if whitewashing is the right option for your wood floors.
Why Should You Whitewash Wood Floors?
Whitewashing wood floors is a popular trend in interior design that has been around for decades, and for good reason. Adding a whitewash to the surface of wooden floors can completely transform the look and feel of any room. Not only does it give a space a classy and modern feel, but it also brightens up the area, giving it a fresh and rejuvenated look.
Whitewashing also helps to enhance the natural grain and texture of the wood, giving it a beautiful and unique appearance. Whether you are looking to add some character to your living room or simply want to make your home feel brighter and more open, whitewashing your wood floors is definitely worth considering.
How to Whitewash Wood Floors: A Step-by-Step Guide
Step 1: Prep Your Floors
The first step in the process of whitewashing wood floors is to prepare the floors properly. This includes cleaning the floors thoroughly to remove any dust, dirt, or debris. Before you begin, you should also remove any carpet or other flooring materials from the floors.
Once your floors are clean, you should fill any gaps or cracks in the wood with wood filler and sand the entire floor to remove any blemishes or scratches. This will help the whitewash adhere to the wood properly and give you a smoother finish.
Step 2: Choose Your Whitewash
The next step in whitewashing your wood floors is to choose your whitewash. You can purchase ready-to-use whitewash from most hardware or home improvement stores, or you can make your own using equal parts water and white paint.
If you use a ready-to-use product, read the instructions carefully before applying it to your floors. If you’re making your whitewash, mix it thoroughly before applying it to the floor.
Step 3: Apply the Whitewash
When you’re ready to apply the whitewash, shake the bottle or stir the mixture well to ensure evenly distributed color. Begin by applying a thin coat of whitewash to the floor with a paint roller, making sure to work in small sections.
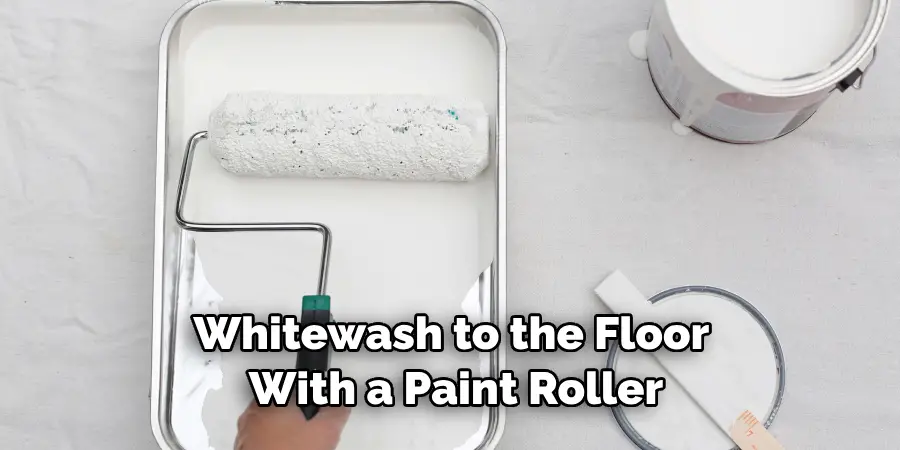
As you work, make sure to blend the edges of each section together to create a smooth, seamless finish. You can use a brush or roller to apply the whitewash, but a brush will give you more control over the application.
Step 4: Sand and Seal
Once you’ve applied the whitewash to your entire floor, let it dry completely before lightly sanding it with fine-grit sandpaper. This will help to remove any rough spots or bumps and give your floor a smooth, polished appearance.
Finally, you should seal the whitewash with a clear urethane or polyurethane finish to protect it from wear and tear. Apply at least two coats of the finish, allowing each coat to dry completely before applying the next.
Step 5: Add Decorative Accents
Once your whitewashed floors are dry and sealed, add some decorative accents to give them a custom look. Adding stencils or designs to the floor with paint is a great way to customize it. You can also use rugs or carpeting to create patterns or accents on the floor.
You can also use furniture, wall hangings, and plants to accentuate the look of your floors. Adding texture or color to the floor is a great way to break up the whitewash and create a unique aesthetic.
Step 6: Take Care Of Your Floors
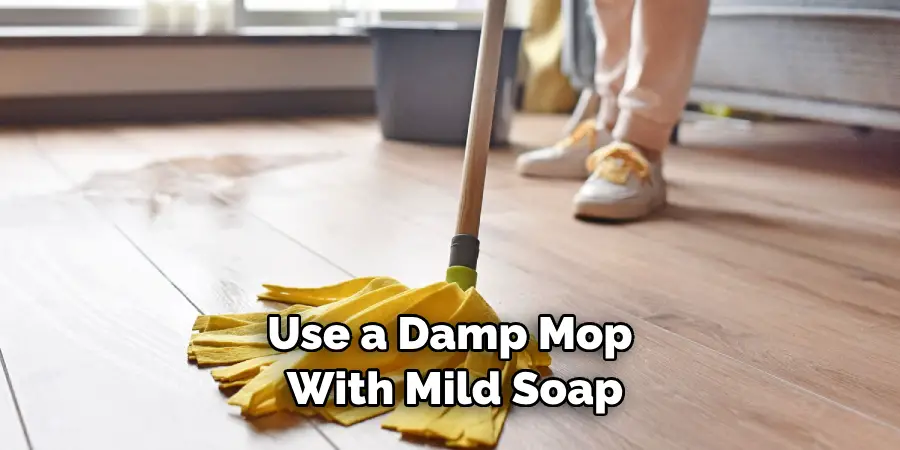
Once you’ve finished whitewashing your wood floors, it’s important to take proper care of them. Vacuum or sweep regularly to remove dirt and dust, and use a damp mop with mild soap or cleaning solution to clean the floors when needed.
Avoid harsh abrasives or cleaners on your wood floors, as they can damage the finish. Also, avoid walking on the floor with high heels or sharp objects that could scratch the surface.
Step 7: Enjoy Your Whitewashed Floors
Once your wood floors are whitewashed and sealed, you can sit back and enjoy them! By following these steps, you’ll have beautiful, eye-catching floors that will make any room feel brighter and more inviting. And remember to take care of them properly—with a little love and attention, your whitewashed wood floors will look great for years to come.
Plus, you can always change up the look of your floors in the future by simply re-whitewashing them or using a different finish altogether. This way, you’ll never get bored with your flooring and can keep it looking fresh and stylish. So don’t be afraid to try something new! Whitewashed wood floors are a timeless classic that will always look beautiful. Best of luck with your project!
5 Considerations Things When You Need to Whitewash Wood Floors
1. Preparing the Surface
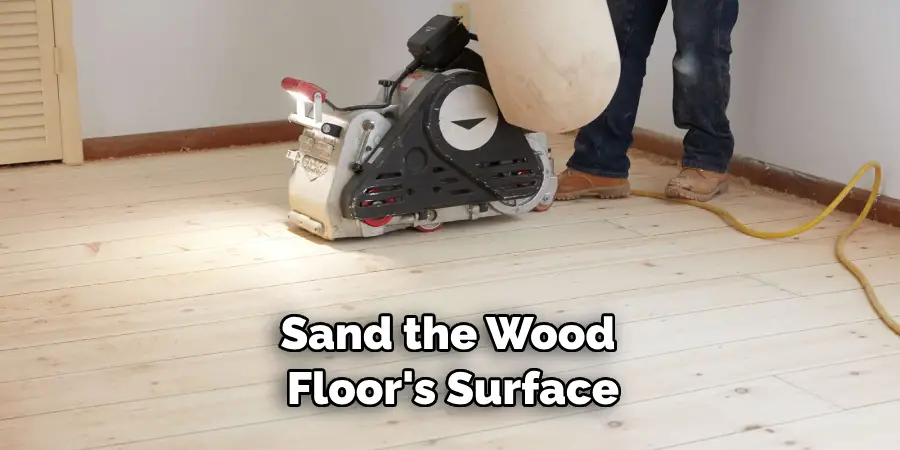
Before whitewashing a wood floor, it is important to properly prepare the surface. This includes cleaning the floor with a mild detergent and water to remove any dirt or debris that may be present. It is also important to sand the wood floor’s surface to create a smooth and even surface for the whitewash to adhere to.
2. Choosing a Whitewash Color
The next step when whitewashing wood floors is choosing a whitewash color. Several shades of white are available, ranging from bright whites to more muted tones. It is important to choose a shade that will complement the existing decor in your home and provide a subtle yet elegant look.
3. Applying the Whitewash
Once you have chosen your desired whitewash color, it is time to apply it to the wood flooring. The best way to do this is by using an applicator such as a paint roller or brush to ensure even coverage across the entire floor. Be sure to follow all instructions on the product label before applying, as some products may require multiple coats for optimal results.
4. Finishing Touches
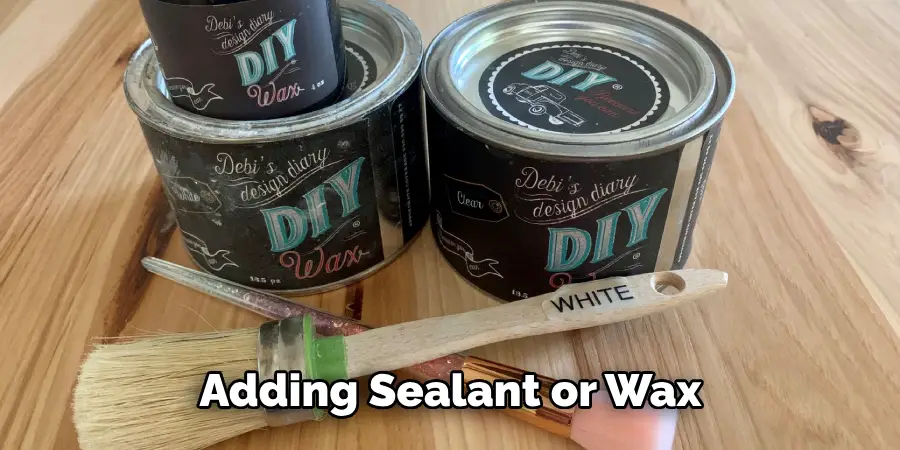
After applying the whitewash, it is important to finish with some finishing touches to ensure that your floors look their best. This can include adding sealant or wax after drying and buffing and polishing for extra shine and protection against wear and tear over time.
5. Maintenance
Finally, it is important to properly maintain your whitewashed wood floors for them to stay looking their best over time. Regular sweeping and mopping should be done on a weekly basis to keep dirt and debris from accumulating on your floors. At the same time, occasional waxing can help protect them from scratches or other damage caused by regular foot traffic or furniture movement over time.
Benefits of Whitewash Wood Floors
1. Natural Aesthetic
Whitewash wood floors have a natural, rustic aesthetic that can add a unique touch to any home. The whitewashed finish creates a subtle contrast between the light and dark tones of the wood, giving it a more organic look. Additionally, whitewashing wood floors can help to brighten up a room and make it appear larger than it is.
2. Easy to Maintain
Whitewash wood floors are also easy to maintain compared to other types of flooring, such as carpet or tile. Unlike carpets, which need to be vacuumed regularly, whitewashed wood floors only require occasional sweeping or mopping. Additionally, they do not require any special cleaning products and can be easily cleaned with just soap and water.
3. Durable
Whitewash wood floors are extremely durable and can last many years with proper care and maintenance. Since these floors are sealed with a protective finish, they can withstand everyday wear and tear without showing signs of scratches or fading. This makes them an excellent choice for high-traffic areas such as kitchens or living rooms with a lot of foot traffic.
4. Cost Effective
Whitewash wood floors are also cost-effective compared to other types of flooring, such as hardwood or laminate. Since they do not require any special installation techniques, they tend to be much less expensive than other types of flooring while still providing the same level of durability and beauty.
5. Environmentally Friendly
Finally, whitewashed wood floors are also environmentally friendly since they use fewer chemicals than other types of flooring, such as vinyl or laminate flooring. Additionally, since these floors are made from natural materials such as wood, they do not contribute to air pollution like synthetic materials do when manufactured in factories.
Whitewashing wood floors is a great way to bring a unique, rustic look to any home while being easy to maintain and cost-effective. With proper care and maintenance, these floors can last many years while still looking as good as the day they were installed.
When deciding whether or not to whitewash your wood floors, make sure to take into account all of the considerations and benefits discussed in this guide. With a little bit of effort, you can create beautiful whitewashed wood floors that will look amazing for many years to come!
Conclusion
Whitewashing your wood floors is a simple and affordable way to give your home a fresh, modern look. By following these steps, you can achieve a beautiful, bright finish that lasts for years. Remember to prepare your floors properly, choose the right whitewash, apply it in thin coats, and sand and seal your floors to protect them from damage.
Whether you’re a DIY enthusiast or a professional contractor, whitewashing your wood floors can be a fun and rewarding project that will add value and style to your home. So why not give it a try? Your floors will thank you! Thanks for reading our post about how to whitewash wood floors.

