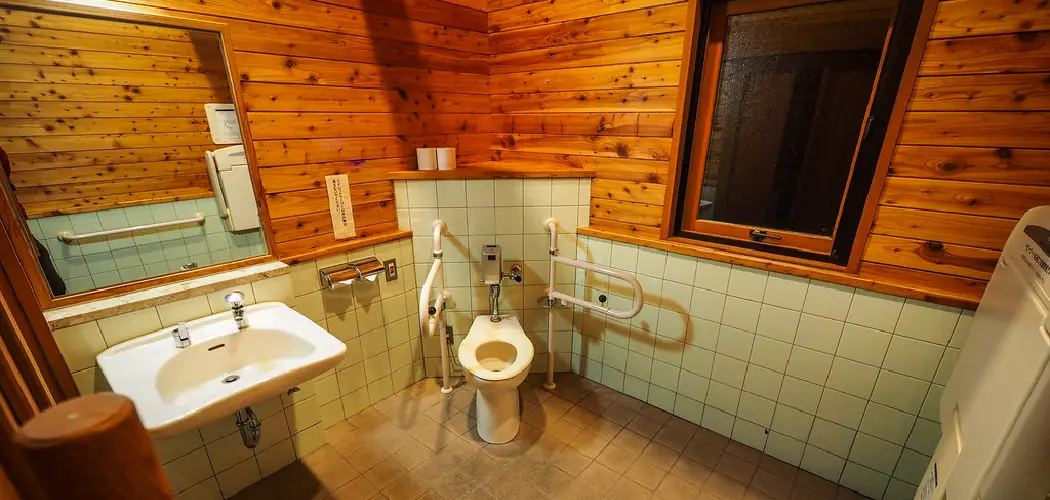
We all know that the bathroom is one of the most important rooms in a home. It needs to be functional and look great at the same time. One way to make your bathroom look great is by waterproofing your wood. This will protect it from water damage and keep it looking new for years to come.
If you are remodeling your bathroom or just want to waterproof wood in your bathroom to protect it from moisture, then you have come to the right place. In this blog post, we will share a few tips on how to waterproof wood for bathroom.
In some parts of the country, plumbing is not reliable. If you are someone who lives in an area like this, it might be a good idea to waterproof your wood before using it in your bathroom. This will help keep the moisture out and protect your investment. So read on and learn how to protect your wood from water damage!
What Are the Benefits of Waterproof Wood for Bathrooms?
There are many benefits to waterproofing your wood in the bathroom. First and foremost, it will protect the wood from water damage. This can extend the life of your wooden fixtures and keep them looking great for years to come. Some benefits are given below:
- Prolongs the lifespan of wood: Waterproofing wood in your bathroom helps extend its lifespan by protecting it from moisture damage.
- Prevents mold growth: Wood that is exposed to moisture can lead to mold growth, which can be harmful to your health. Waterproofing wood in the bathroom can prevent this from happening.
- Maintains the appearance of wood: Waterproofing wood in the bathroom helps maintain its appearance by keeping it from warping or cracking due to moisture.
- Increases property value: Waterproofing wood in your bathroom can increase the value of your property, as it shows that you have taken steps to protect and maintain the fixtures in your home.
10 Easy Steps on How to Waterproof Wood for Bathroom
Step 1: Use Clean Wood
Before you begin the waterproofing process, make sure that the wood is clean and free of any dirt or debris. This will help the waterproofing product adhere to the wood better. You can remove dust by using a vacuum or wiping it down with a damp cloth.
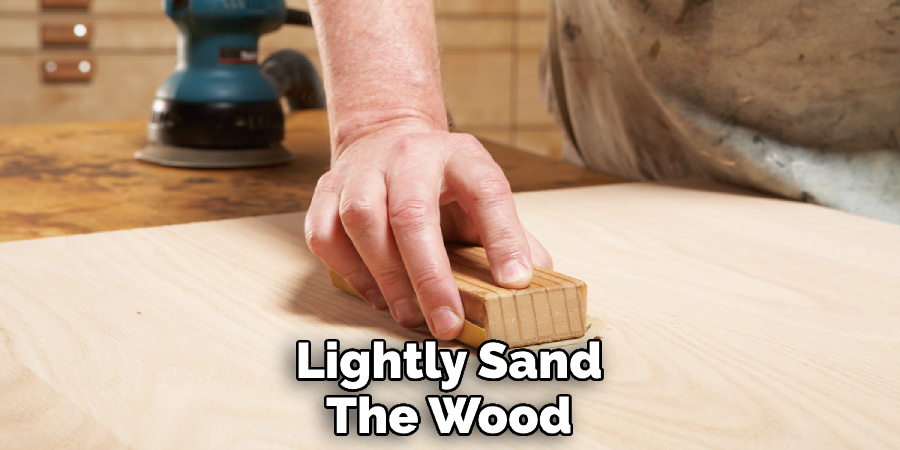
Step 2: Sand the Wood
Next, use sandpaper to sand the wood lightly. This will create a smooth surface for the waterproofing product to adhere to better. Be careful not to sand too harshly, as this can damage the wood.
Step 3: Apply a Primer
After sanding, apply a primer designed for use on wood. This will create an even base for the waterproofing product and help it adhere better. Allow the primer to dry completely before moving on to the next step.
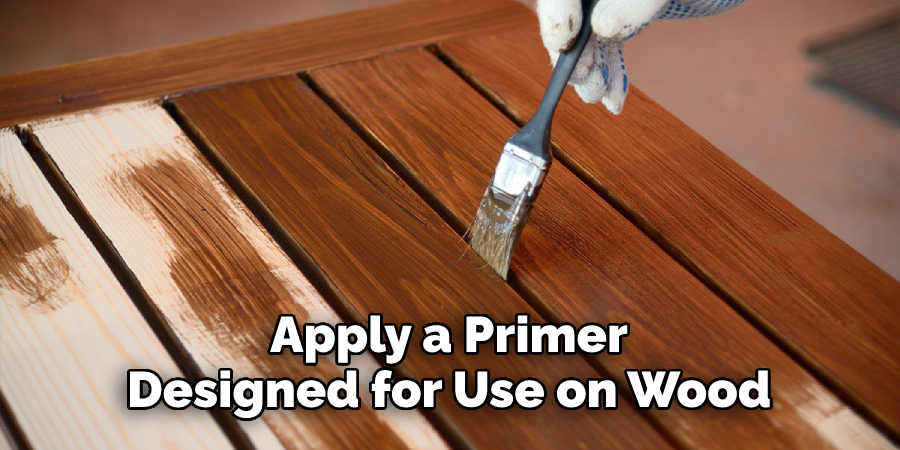
Step 4: Apply Waterproofing Product
Now it’s time to apply the waterproofing product. Use a brush or roller to evenly coat the wood with the product, making sure to cover all surfaces thoroughly. Let the product dry completely before moving on to the next step.
Step 5: Apply Additional Coats
Depending on the type of waterproofing product you are using, you may need to apply additional coats for maximum protection. Follow the manufacturer’s instructions for how many coats are necessary, and allow each coat to dry completely before applying the next one.
Step 6: Allow Product to Cure
After applying the necessary coats of waterproofing product, allow it to cure according to the manufacturer’s instructions. This can range from 24 hours to several days, so make sure to plan accordingly.
Step 7: Apply Sealant or Topcoat
Once the waterproofing product has dried, apply a sealant or topcoat as an extra layer of protection. Again, use a brush or roller to evenly coat the wood and let it dry before using the bathroom furniture or fixtures.
Step 8: Sand Between Coats (optional)
If you are applying multiple coats of waterproofing product, you may want to lightly sand the wood between each coat for a smooth finish. This step is optional but will help create a professional, polished look. Be sure to allow the waterproofing product enough time to fully dry before using the wooden surface in the bathroom.
Step 9: Test the Waterproofing
After the final coat has dried, test the waterproofing by lightly spraying the wood with water. If the water beads up and doesn’t soak into the wood, then your waterproofing process was successful. Make sure to regularly re-apply the waterproofing treatment to maintain its effectiveness. It is important to properly waterproof wood in high moisture environments like a bathroom to prevent damage and decay.
Step 10: Maintain Waterproofing
To maintain the waterproofing on your wood, try to keep it clean and free of any dirt or debris. It’s also a good idea to reapply the waterproofing product every couple of years, as needed. Enjoy your well-protected wood in the bathroom, knowing it is safe from water damage and will last for years.
Following these steps on how to waterproof wood for the bathroom will ensure that your wood fixtures and furniture stay protected and in good condition for a long time. Happy waterproofing!
5 Additional Tips and Tricks
- If using a sealant or stain, apply multiple coats for added protection.
- Consider using marine grade varnish for added waterproofing in high moisture areas like bathrooms.
- Make sure to clean and sand the wood before applying any sealant to ensure proper adhesion.
- Apply the sealant in thin, even layers and wait for each coat to dry fully before applying the next.
- Reapply sealant every year or as needed to maintain waterproofing and protect against wear and tear.
Following these tips and tricks will ensure that your wood is properly waterproofed and protected in a bathroom or other high moisture environment.

8 Precautions You Can Take While Waterproofing Wood for Bathroom
1. Begin by sanding the wood, removing imperfections, and smoothing the surface.
2. Apply a water-repellent sealer or stain specifically designed for bathrooms and high humidity environments.
3. Allow proper drying time before using the wood in the bathroom.
4. Reapply waterproof sealer as needed to maintain the protection and prolong the life of the wood.
5. Regularly clean and wipe down the wood to prevent mold or mildew buildup.
6. Consider using waterproofing products specifically made for bathrooms, such as tile or vinyl flooring, in high moisture areas like showers or bathtubs.
7. Use caution when placing any wood items near water sources, such as shelves or vanities, to minimize the risk of warping or damage.
8. Keep in mind that no matter how well you waterproof the wood, constant exposure to water can eventually cause deterioration and damage. Consider using alternative materials in areas that will have constant contact with water.
Taking precautions while waterproofing wood for the bathroom will help ensure that your wooden fixtures and furniture stay protected and in good condition for longer.
What Kind of Wood Can You Use?
Any type of wood can be waterproofed, but it is important to consider the potential for warping and damage in high moisture environments.
Some woods, such as cedar or redwood, are naturally more resistant to water damage. It is also important to consider the finish or stain of the wood – darker stains may show signs of water damage more easily than lighter stains.
Ultimately, the choice of wood should be based on personal preference and how well it will hold up in a bathroom environment.
Always check the manufacturer’s recommendations and instructions before applying any waterproofing products to wood. Some finishes or sealants may not be compatible with certain types of wood. It is also important to follow all safety precautions and use appropriate protective gear, such as gloves and a mask when applying waterproofing products.
Can You Use Different Colors or Textures?
Yes, you can use a different color or texture for waterproofing wood in the bathroom.
Many waterproofing sealers and stains come in various colors and finishes, such as satin or glossy. Choose a color and finish that complements the overall look of your bathroom.
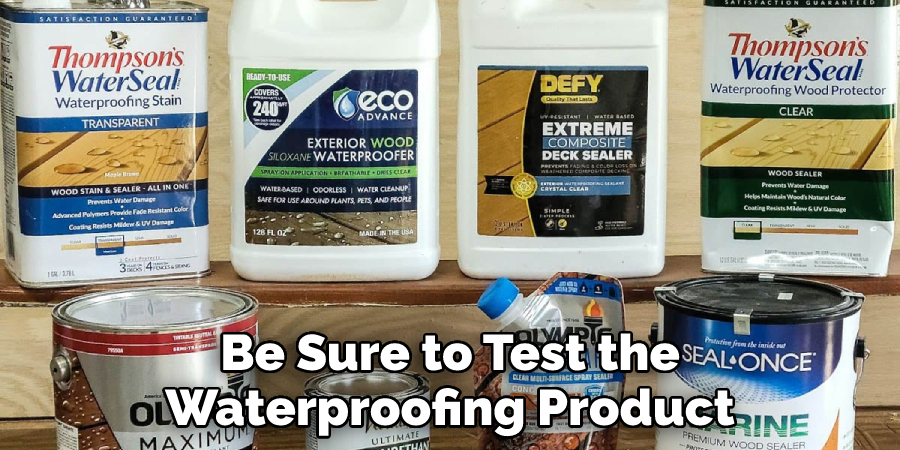
It is important to note that applying a different color or texture may change the appearance of the wood, and it may not match the existing wood in your bathroom. Be sure to test the waterproofing product on a small, inconspicuous area before applying it to the entire surface.
Conclusion
Waterproofing your woodwork is a great way to keep it looking its best and prevent water damage. There are many ways to waterproof wood, so choose the method that best suits your needs.
With these steps, your wood will be able to withstand anything your bathroom can throw at it. Just remember to check on it periodically and give it a new coat of waterproofing every few years, and it will last for as long as you need it to.
Now that you know how to waterproof wood for bathroom, it’s time to get started on your project. Thanks for reading. Happy waterproofing!

