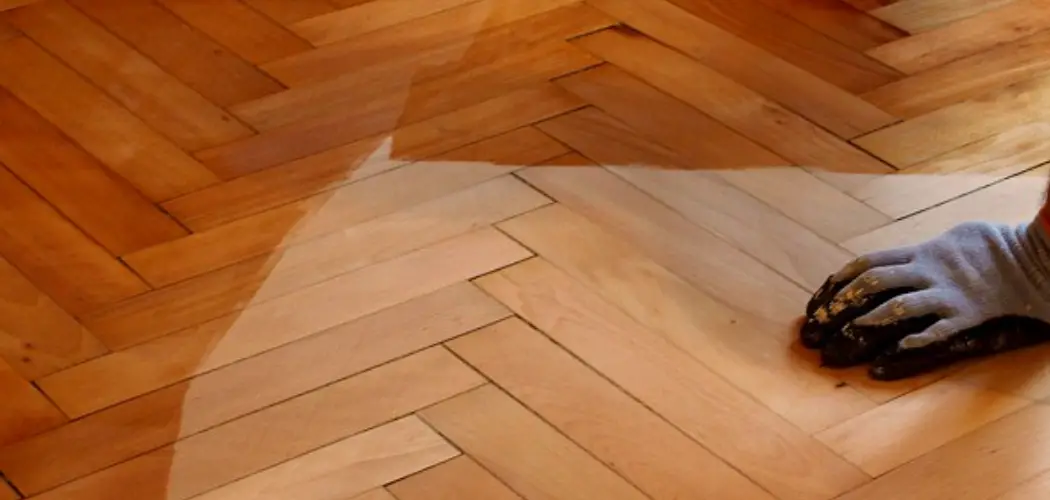
Varnishing a wood floor is a great way to protect and enhance the beauty of your hardwood floors. Varnish adds an extra layer of protection to your floor and can also help bring out the natural color in the wood grain, making it look vibrant and new. Not only does varnishing make your wood floor more beautiful, it also helps protect it from dirt, dust, and other tiny particles that can damage the wood over time.
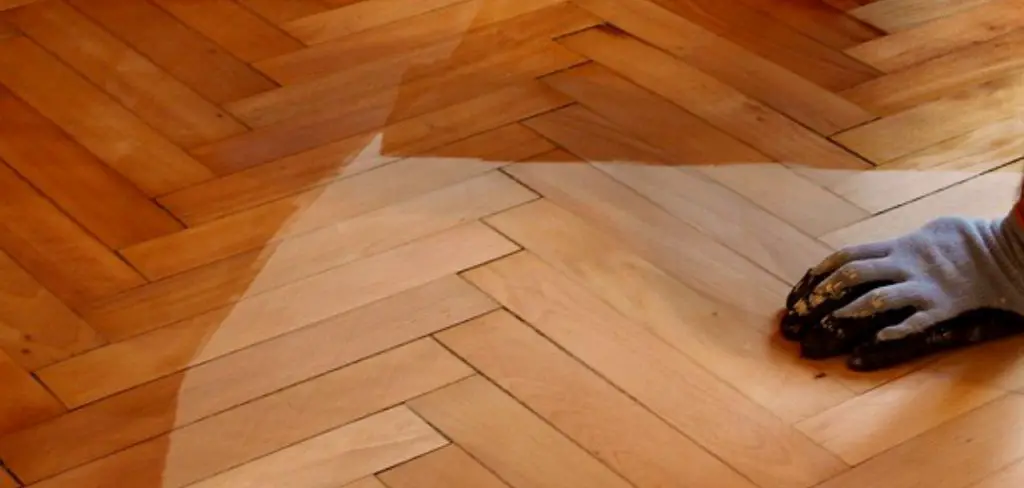
Varnishing a wood floor provides an array of advantages. It adds an aesthetic and durable finish, and the varnish protects the wood from scratches and minor spills. It also seals in any oils that were used to treat the floor, preventing them from evaporating or absorbing dirt and grime.
Varnishing your wood floor can also help regulate your room’s temperature, as it helps keep heat in and cold air out. You can find step-by-step instructions on how to varnish wood floor in this blog article.
Step-by-step Instructions for How to Varnish Wood Floor
Step 1: Inspect the Floor
Before beginning to varnish your wood floor, it is important to make sure that the floor is free of dirt, dust, and debris. If not, use a vacuum cleaner, broom, and dustpan to tidy the area.
Step 2: Sand the Floor
It’s essential that you sand down the surface of your wood floor before beginning the varnishing process. If you don’t sand, the varnish won’t stick to the surface, and it won’t last nearly as long. Use a sanding machine with 80-100 grit sandpaper, starting in the corner of the room and working your way out. Once finished, use a handheld vacuum to clean up any dust.
Step 3: Clean the Floor
Now that you’ve sanded down the wood floor’s surface, it’s important to ensure you get rid of all remaining dust and debris. Use a vacuum cleaner or broom and dustpan to do a thorough job of cleaning up the area. Before proceeding to the varnishing process, you’ll want to ensure that there are no objects in your way, such as furniture or rugs. Move them out of the room or cover them with a drop cloth for protection.

Step 4: Apply Primer
Once you’ve prepared the room, it’s time to apply a primer. Choose a water-based primer specifically designed for wood floors and paint it on with a brush or roller. Make sure to cover all of the floors with an even coat and allow it to dry completely before proceeding.
Now that the primer has dried, it’s time to sand again. Use 150-grit sandpaper to make sure that the surface is smooth and even. When finished, use a vacuum cleaner or broom and dustpan to get rid of any remaining dust.
Step 5: Apply Varnish
Next, you’ll need to apply the varnish. Choose a water-based varnish designed for wood floors and paint it with a brush or roller. Make sure to cover all of the floors with an even coat and allow it to dry completely before proceeding. Once the varnish has dried, use 220-grit sandpaper to make sure that the surface is smooth and even. When finished, use a vacuum cleaner or broom and dustpan to get rid of any remaining dust.
Step 6: Apply Additional Coats
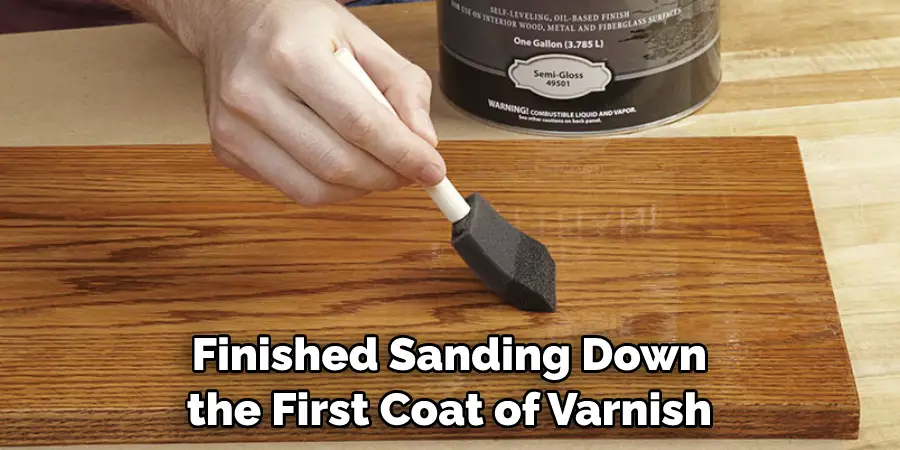
Once you’ve finished sanding down the first coat of varnish, it’s time to apply additional coats. Apply 2-3 more coats and allow each coat to dry completely before sanding down the surface with 220-grit sandpaper. Be sure to keep it clean with regular sweeping and mopping.
Tips for How to Varnish Wood Floor
- Make sure you wear protective eyewear and a dust mask to avoid inhaling particles as you prepare for varnish application.
- Thoroughly clean the floor before applying the varnish to ensure that any dirt or other debris is removed from the surface.
- When using solvents, create adequate ventilation to prevent inhalation of toxic fumes.
- Choose a quality varnish and mix it according to the manufacturer’s instructions for the best results.
- Always use brushes, rollers, and applicators that are specifically designed for varnish application.
- Test the varnish in an inconspicuous area of the floor first to check for compatibility and color retention.
- Allow ample drying time between coats to produce a strong and durable finish.
Following these tips will help you achieve a beautiful and long-lasting finish on your wood floors. With the right preparation and application techniques, varnishing your wood floor should be easy with great results.
How Long Should Each Coat of Varnish Be Allow to Dry Before Applying the Next One?
Varnishing a wood floor takes patience and care. The key to success is allowing each coat of varnish to dry completely before applying the next. Generally, it is best to wait 8–12 hours between coats.
Drying times can vary depending on the temperature and humidity in the room; shorter drying periods may be needed in warmer and more humid environments. Applying a thin, even layer of varnish with each coat is important. Too thick of a layer can cause bubbling or cracking as the varnish dries.
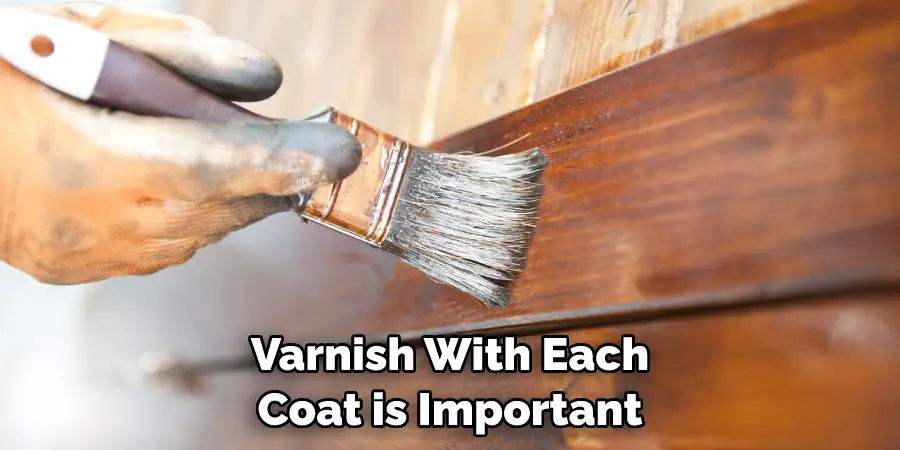
If the first coat is applied too heavily, it may take up to 24 hours for that layer to dry completely and be ready for the next one. When in doubt, it is best to wait a longer drying time.
Once all the coats of varnish have been applied, it’s important to let your wood floor cure before walking on it or placing furniture on top. The curing time can take anywhere from 24–72 hours and depends on the number of coats applied and the temperature/humidity in the home. After this time, your wood floor should be ready for use.
What Kind of Cleaning and Maintenance is Necessary After the Floor Has Been Varnished?
Once the floor has been varnished, keeping it clean and well-maintained is important to ensure it looks its best for years to come. This starts with regular sweeping or vacuuming of the surface, as this will help prevent dirt and grit from grinding into the wood’s surface over time. It is also also a good idea to avoid using abrasive cleaners and tools on the surface, as these can damage the varnish.
In addition, it’s important to use natural cleaning products rather than chemicals when caring for your varnished floor. Natural soaps like castile soap or vinegar-based solutions are mild enough to clean the wood while still protecting the varnish. Finally, periodic waxing or re-varnishing may be needed to maintain your floor’s luster and keep it looking its best. Following these simple steps will help ensure your floor remains beautiful for years.
How Long Will It Take for the Varnish to Cure Completely?
Once you have applied the varnish to your wood floor, the finish will take about 24 hours to cure completely. During this time, try not to walk on or touch the floor, as this could impact the curing process and cause imperfections in the final result.
It is also best to wait at least one day before moving furniture or area rugs back onto the floor to ensure that the varnish is fully cured and won’t be damaged by any heavy objects. After 24 hours, be sure to check the floor for any blemishes or spots that may need additional touch-ups with a clean cloth and extra varnish.
Once your wood floor has had time to cure, it will be ready for normal use. To keep your varnished wood floor looking its best, make sure you periodically clean it with the appropriate cleaning products and follow up with a protective sealer. This will help protect your beautiful new wood floor from scratches and other damage caused by day-to-day wear and tear. With proper care, your varnished wood floor can last many years.

How Many Coats of Varnish Are Typically Required for Wooden Floors?
The number of coats of varnish you need to apply to a wooden floor depends on the type and condition of the wood as well as the desired finish. Generally, two coats are applied to even out the appearance and ensure full coverage.
However, an additional coat or two may be required if you plan on using a high-gloss finish. In any case, it is best to start with two coats and then add more if necessary. It is also important to allow each coat of varnish to dry completely before applying the next one.
This can take anywhere from four hours (for water-based varnishes) up to several days for oil-based finishes. Additionally, make sure to sand the surface between coats for a smoother finish lightly. You can achieve beautiful results with your wooden floor varnish with proper preparation and application. By following these instructions, you should have no problems varnishing your wood floors. For best results, ensure that the wood is clean and properly prepared before proceeding.
Conclusion
In conclusion, varnishing a wood floor is an excellent way to protect it from wear and tear. As long as you properly prepare the surface, use quality materials, and apply the right techniques, your hardwood floors will be safe and beautiful for years to come.
Varnishing a wood floor can be time-consuming, but proper preparation and care can also be a rewarding and cost-effective way to protect and beautify your wood floors.
Experienced DIYers should have no problem varnishing their own hardwood floors, but if you’re a beginner or don’t have the time or expertise, it’s always best to hire a professional who can ensure that the job is done correctly. I hope this article has been beneficial for learning how to varnish wood floor. Make Sure the precautionary measures are followed chronologically.
You Can Check It Out Remove Dark Spots on Hardwood Floors

