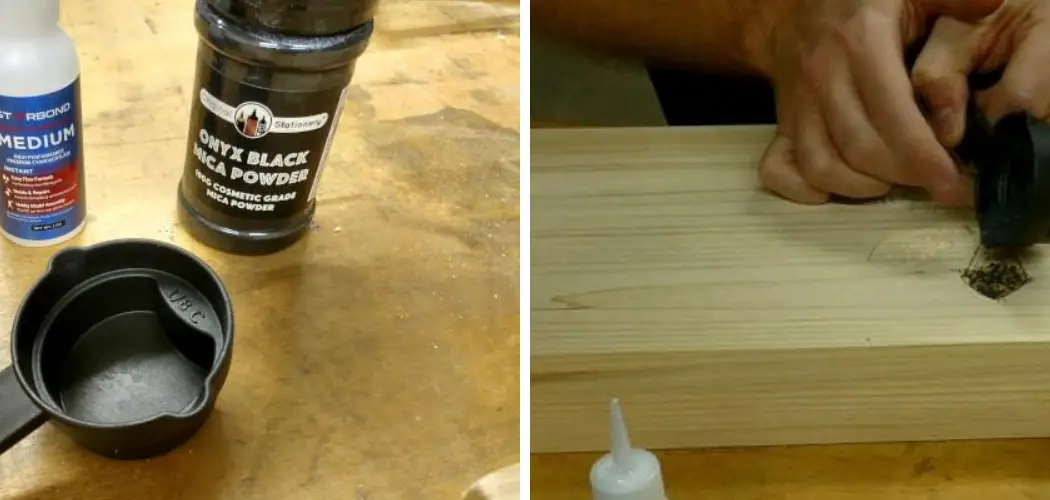
Are you looking for a unique way to add color and texture to your woodworking projects? Mica powder is an amazing material that can be used to create beautiful, shimmery finishes on wooden surfaces.
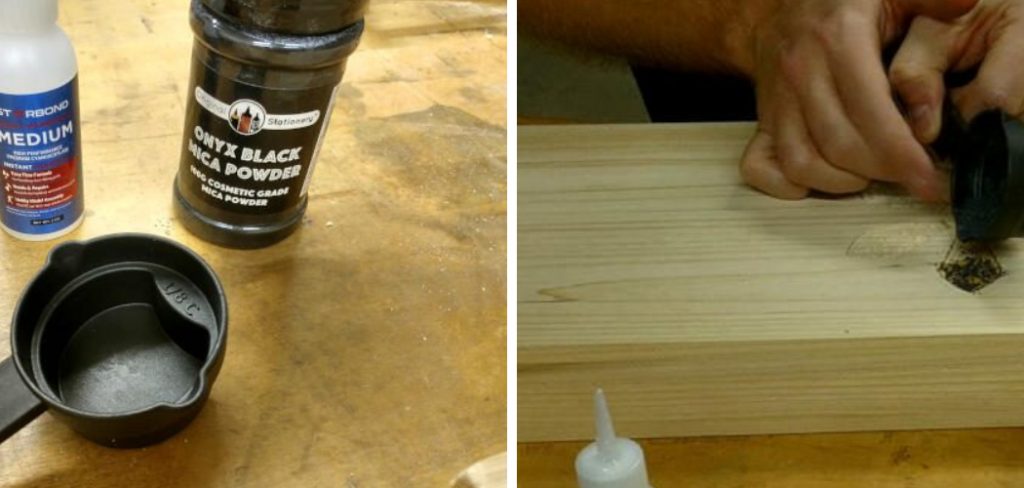
Not only does it look stunning, but applying mica powder onto wood also requires minimal effort and supplies. Here we will walk you through the basics of how to use mica powder on wood so that you can use this versatile medium in all sorts of home decoration or artistic endeavors!
Mica powder is a versatile and beautiful medium for adding dimension and texture to your crafting project. Often used on paper or fabric, mica powder can also be used to decorate wood surfaces with stunning results. Did you know that applying mica powder to unfinished or treated wooden surfaces requires only minimal effort?
This article will show you the simple steps involved in using mica powder on wood – From preparing the piece of wood to finishing the result off with a glamorous sparkle! Read on and prepare to be inspired by these gorgeous finishes created from this amazing natural product.
Why May You Want to Use Mica Powder on Wood?
1. To Look Unique
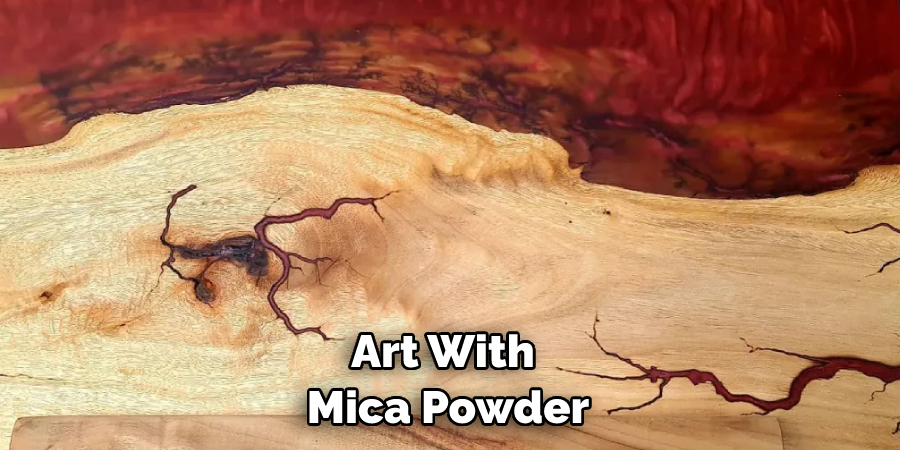
Mica powder can be used to create unique and eye-catching designs on wood pieces. The shimmery finish it produces is different from other finishes, adding an extra element of beauty to your project. So if you want to make your wood project stand out, mica powder might be a perfect choice.
2. To Achieve a Metallic Sheen
Mica powder is available in numerous metallic shades such as silver, gold, bronze, and more. Applying it on wood creates an amazing finish that has a slight metallic gleam and sheen that can add another dimension to your project.
3. To Create a More Interesting Design
Mica powder can be used to create textures, patterns, and even 3D designs on wood. It’s fairly easy to work with and provides an interesting way to add texture and design elements that you wouldn’t be able to achieve with other materials.
4. For Color Effects
With the addition of mica powder, you can achieve a range of colors, from pastel shades to brighter ones – all without needing to use any paints or dyes. This makes it a great choice for those who want to add color to their project without having to worry about extra supplies.
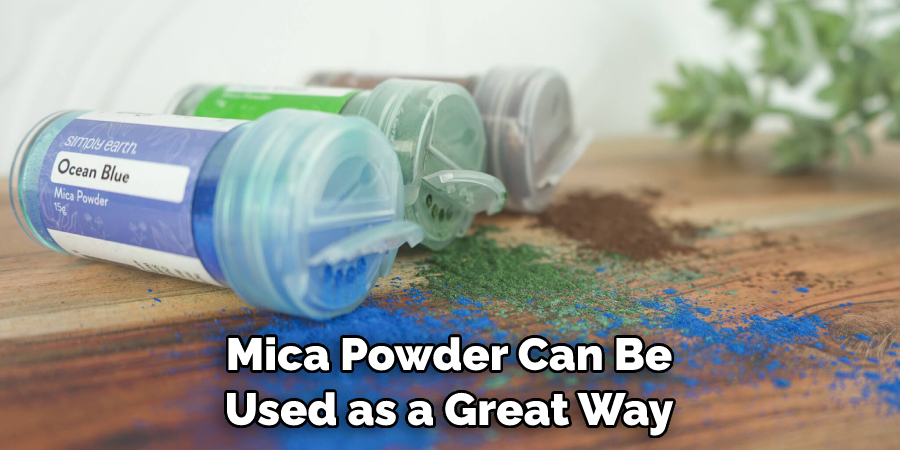
Overall, mica powder can be used as a great way to add some sparkle and shine to your woodworking projects. Whether you’re looking to create a unique design or add some color effects, mica powder can be an excellent choice. With just a bit of practice, you’ll soon be creating stunning wood pieces with beautiful mica powder finishes!
How to Use Mica Powder on Wood in 5 Easy Steps
Step 1: Prepare the Wood Surface by Sanding
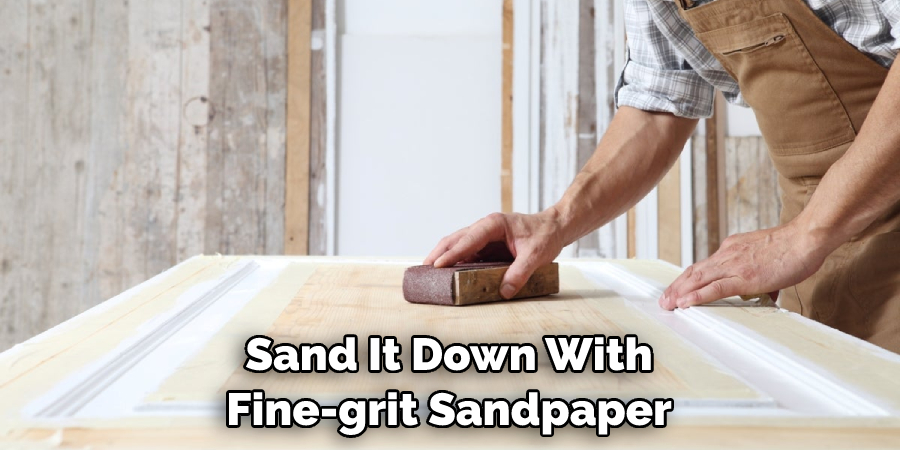
The very first step is to prepare the wood surface by sanding it. This will help the mica powder adhere better and allow you to create a smoother finish. Use a medium to fine-grit sandpaper and gently sand in one direction.
Step 2: Apply Mica Powder
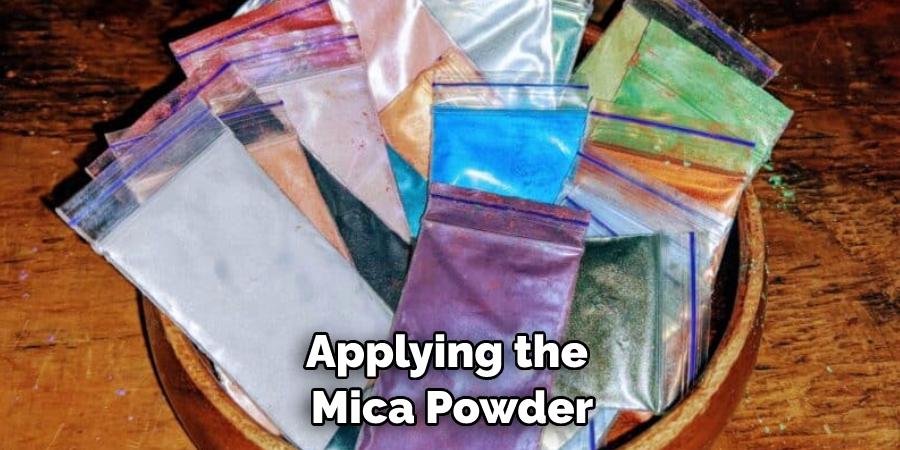
Once you have prepared the wood surface, you can begin applying the mica powder. You can use a brush or sponge to apply the powder, making sure to go in one direction to create an even finish. Also, make sure to use a generous amount of mica powder and ensure that it is spread evenly across the surface.
Step 3: Seal the Surface
Mica powder is very delicate and can be easily damaged if not properly sealed. Therefore, it is important to seal the surface with a clear coat of polyurethane or varnish. Allow the sealant to dry completely before proceeding to the next step.
Step 4: Buff the Surface
Once the surface has dried, you can begin buffing it with a soft cloth or buffer wheel. This will help bring out the mica powder’s natural beauty and create a smooth finish. Also, make sure to keep the cloth or buffer wheel clean and free of dust.
Step 5: Double-Check
Finally, before you move on to the next project, double-check the surface of the wood to make sure that there are no imperfections. If there are any flaws or irregularities in the finish, use fine-grit sandpaper and gently sand them away.
With these five easy steps, you can easily learn how to use mica powder on wood and achieve beautiful results. Whether you are creating a decorative accent piece or revamping an old furniture piece, using mica powder to enhance the look of wood is a great way to make any project stand out. With a little bit of patience and practice, you can create stunning works of art with mica powder!
Some Additional Tips to Use Mica Powder on Wood
1. Use Good Quality Mica Powder
It is important to use high-quality mica powder when using it on wood, as lesser-quality products can be weak and brittle. Therefore, take your time to find a good brand of mica powder with good reviews. Also, ensure the mica powder is specifically designed for use on wood, as some powders are meant only for painting on canvas or paper.
2. Prepare Your Work Surface
Before applying your mica powder to the wood, make sure to sand it down with fine-grit sandpaper and wipe off any dust from the surface with a damp cloth. This will ensure that the mica powder adheres properly and evenly to the surface of your wood.
3. Choose the Right Wood Type
Different types of wood require different techniques for using mica powder. For example, softer woods like pine or cedar require a different technique than harder woods like oak or mahogany. Make sure to research which types of wood work best with mica powder before beginning your project.
4. Do Not Over-apply Mica Powder
When applying mica powder to wood, less is more. Using too much mica powder can make the surface look patchy and uneven. Therefore, start by adding small amounts of mica powder to the wood before gradually adding more if necessary.
5. Seal Your Wood with a Clear Finish
After applying the mica powder to your wood surface, seal it with a clear finish such as shellac, varnish, or lacquer. This will help protect the mica powder from fading or being rubbed off over time.
By following these tips for how to use mica powder on wood, you can create beautiful and unique works of art for your home or office. Have fun experimenting with different techniques and colors, and enjoy the results of your work!
Frequently Asked Questions
What Precautions Should I Take When Working With Mica Powder?
When working with mica powder, it is important to protect yourself and those around you. Wear a face mask, safety glasses, and gloves while handling the powder. Additionally, make sure that there is proper ventilation in the area you are working in and keep your workspace clean and organized. Avoid breathing in any of the powder, and be sure to wash your hands after handling the powder.
How Do I Apply Mica Powder to Wood?
Applying mica powder to wood is relatively simple, but it is important to follow a few steps for optimal results. First, choose an area on your project piece that you want to adorn with mica powder. Be sure that the area is clean and dry before applying the powder. Next, apply a thin layer of decoupage glue to the chosen area.
Once the glue has become tacky, sprinkle on your desired amount of mica powder onto the wood surface. Gently press down on any larger particles to ensure that they adhere to the surface. Allow the mica powder and glue to dry completely before handling your project piece or applying a sealant.
What Type of Sealant Should I Use on Mica Powder?
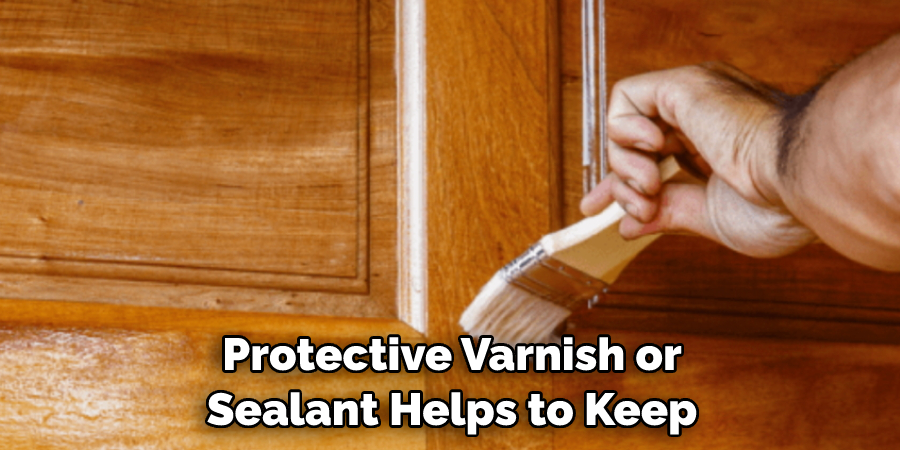
A protective varnish or sealant helps to keep the mica powder in place and preserve its vibrancy. Clear, water-based polyurethane is the recommended sealant for mica powder. Brush on a thin layer of sealant over the dried mica powder, and allow it to dry completely before handling your project piece. If desired, additional layers of sealant can be applied for added protection.
Are There Any Tips For Creating Textured Effects with Mica Powder?
Creating textured effects with mica powder can be a fun and easy way to add dimension to your projects. To create a raised texture, you can use different products such as gloss gel medium or heavy-body acrylic paint.
Apply the chosen product in the desired area, and press mica powder into the wet surface. Allow the product and mica powder to dry before adding any additional layers or sealants. For a more subtle texture, you can also use a damp sponge to press the mica powder onto your wood surface for a softer effect.
Will Mica Powder Work on Other Types of Surfaces?
Yes! Mica powders can be used on a variety of surfaces, including paper, fabric, canvas, and even skin. When using mica powder on other surfaces such as fabric or paper, make sure to use an adhesive such as Mod Podge or decoupage glue to help the powder stick.
To prevent fading or smudging when using mica powders on the skin, be sure to apply a layer of sealant or setting spray. Additionally, be sure to use cosmetic-grade mica when applying the powder on the skin. With a bit of creativity, you can create stunning works of art with mica powders!
Conclusion
Now you know how to use mica powder on wood. Crafting with mica powder on wood can open up a new box of unique possibilities. With its natural elements, it is recommended to draw the mica powder onto a wax block before brushing or mixing with lacquer. Whether stained or painted wood, this technique will unlock the artist inside you and test your creativity.
Experimenting with different varnishes, movement directions, and patterns is all part of the process of finding your personal style. And always wear protective equipment when using mica powders; working without eye protection or gloves is never advisable!
So why not give this woodworking wonder a chance and check out the possibilities mica powders can bring? An awe-inspiring piece awaits – one which you are sure to treasure for many years to come.

