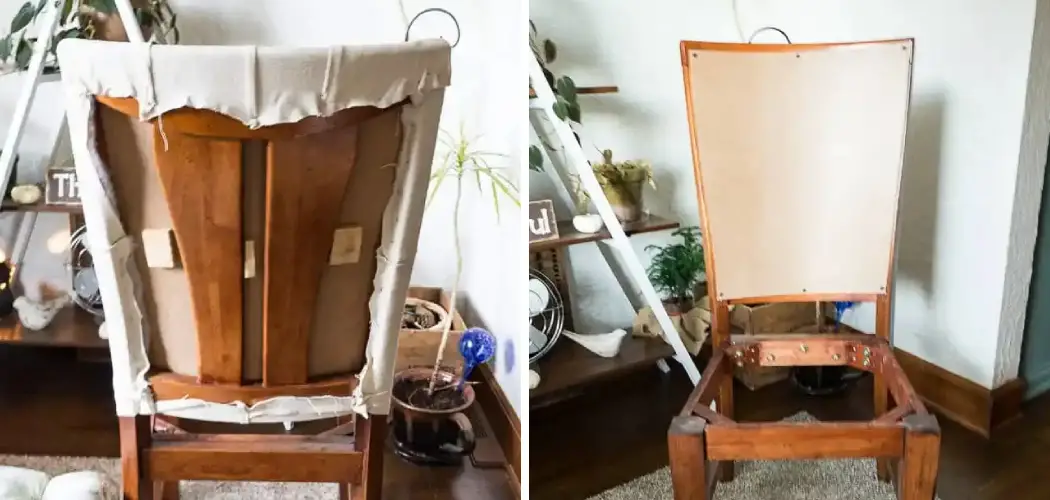
Do you want to transform your drab wooden dining chairs into something special? Upholstering the back of a wooden chair is an easy and cost-effective way to liven up any room. By simply spending the right kind of materials, tools, and time picking out a new fabric design, you can make your chairs look like they just came from an interior designer’s studio! In this blog post, we will be taking you through each step of how to upholster the back of a wooden dining chair in a creative and successful manner.
What Kind of Foam Do do You Use to Reupholster Dining Chairs?
When reupholstering the back of a wooden dining chair, it is important to use the right kind of foam. To ensure comfort and support, high-density foam with a minimum of 2.0 pounds per cubic foot is recommended for upholstered chairs. The high-density foam also provides more durability than low-density foam and will keep the shape of your chair for a longer period of time.
When selecting foam for upholstering a dining chair, it is important to be sure that the thickness of the foam is appropriate. Foam that is too thick or too thin could result in an uncomfortable seat or backrest when sitting on the chair. Generally, a thickness of two to three inches is recommended for the back of a dining chair, although this can vary depending on the height of the chair.
Another factor to consider when choosing foam for upholstering your dining chairs is its shape. Foam that has been pre-shaped – such as cut into an oval or rectangular shape – will be much easier to work with than standard foam. Pre-shaped foam will also provide a more polished and professional look when the chair is completed. If the pre-shaped foam isn’t available, consider using a jigsaw or other cutting tools to achieve the desired shape.
10 Methods How to Upholster the Back of a Wooden Dining Chair
1. Choose the Right Fabric
When selecting a fabric to upholster the back of a dining chair, it is important to choose a fabric that is durable and easy to clean. A cotton or linen blend is a good option, as these fabrics are strong and can withstand repeated washings. It is also important to select a fabric that is stain-resistant, as dining chairs are often exposed to spills and stains. Try to find a fabric that is stylish and complements the existing decor of your dining room.

2. Cut the Fabric to Size
Once you have selected the fabric you will use to upholster the back of the dining chair; it is time to cut the fabric to size. To do this, measure the height and width of the back of the chair, then add an extra inch to each measurement for seam allowances. Cut the fabric using these measurements, then set it aside. When cutting the fabric, make sure to use sharp scissors and a straight edge. Make sure you are cutting on a flat surface to ensure an even cut.
3. Prepare the Chair Back
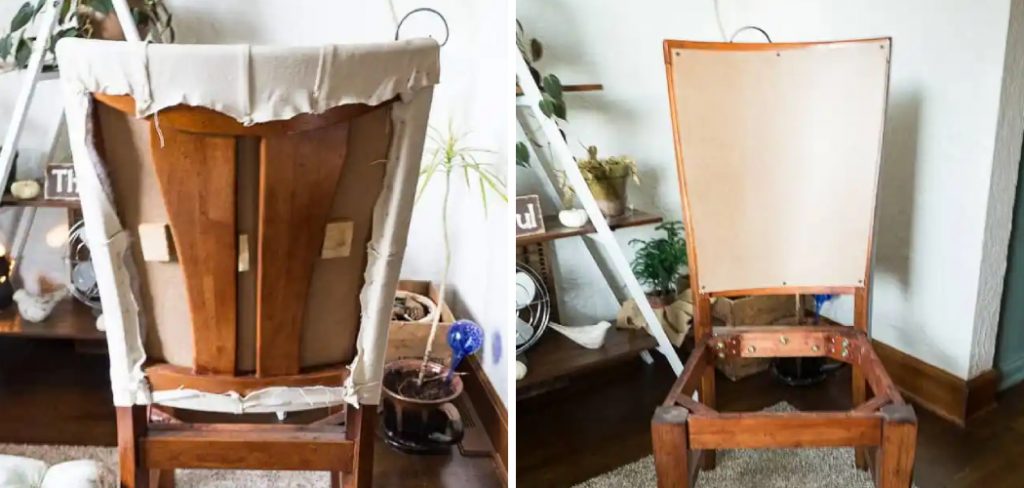
Before you begin upholstering the back of the chair, you will need to prepare the surface by removing any old upholstery and staples. Use a screwdriver or pliers to remove any staples that are holding the old fabric in place, then carefully peel away the fabric. If there is any padding on the back of the chair, you can remove this as well. Once the surface is prepped, you can begin attaching the new fabric.
Although it may seem like a daunting task, upholstering the back of a wooden chair is not difficult when you have the proper tools and techniques. With patience and a little bit of skill, you can make this project a success.
4. Attach Fabric to Chair Back
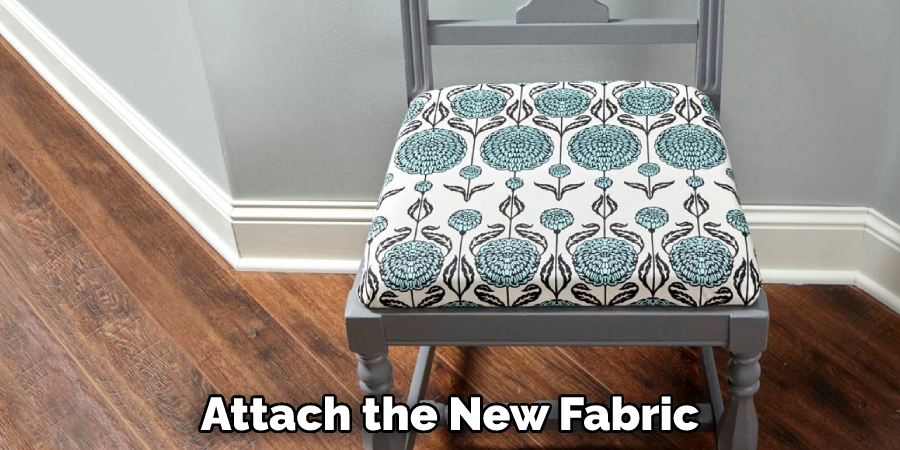
Once you have prepared the chair back, it is time to attach the new fabric. To do this, lay the fabric face down on a flat surface and place the chair back on top of it. Starting at the top of the chair back, staple the fabric in place, making sure to pull it taut as you work your way down. Continue stapling until you reach the bottom of the chair back. Once the fabric is secured, trim any excess with scissors. Although the staples will not be visible when you are finished, it is a good idea to cover them with decorative trim for a professional look.
5. Trim Excess Fabric
Once you have attached all four sides of the fabric to the chair back, trim away any excess material using scissors. Be sure not to cut too close to the staples, as this could cause them to come loose. After trimming, reach around the back of the chair and pull the fabric gently to make sure all of the staples are properly secured. If any of them feel loose, use a staple gun to reinforce them. If you stapled the fabric too close together in some areas, add additional staples in the holes between them to ensure a snug fit.
6. Add Upholstery Nails (Optional)
For a more finished look, you can add upholstery nails around the edge of the newly upholstered chair back. Upholstery nails are small metal pins that can be found at most hardware stores; they come in a variety of colors and finishes, so you can choose ones that match your décor. To add upholstery nails, simply hammer them into place around the edge of the chair back, spacing them evenly apart.
Be sure to hammer them in securely so that they don’t come loose over time. Once in place, the upholstery nails will help give the chair back a polished, professional look.
7. Add Foam and Batting
Now that you have attached the fabric to the chair back, it’s time to add foam and batting. Start by cutting a piece of high-density foam to fit the shape of the chair back. Place this on top of the fabric, then cover it with a thin layer of batting. This will provide cushioning and support when someone is sitting on the chair. If you don’t use batting, the foam may start to break down over time.
However, you don’t need too much padding, so keep that in mind. Once the foam and batting are in place, use upholstery staples to secure them both to the frame. Make sure that you are pushing all of the fabric, foam, and batting into the corners so that it is even and smooth. Finally, use a staple gun to secure the fabric in place around the edges of the chair back.
8. Staple Fabric to Foam
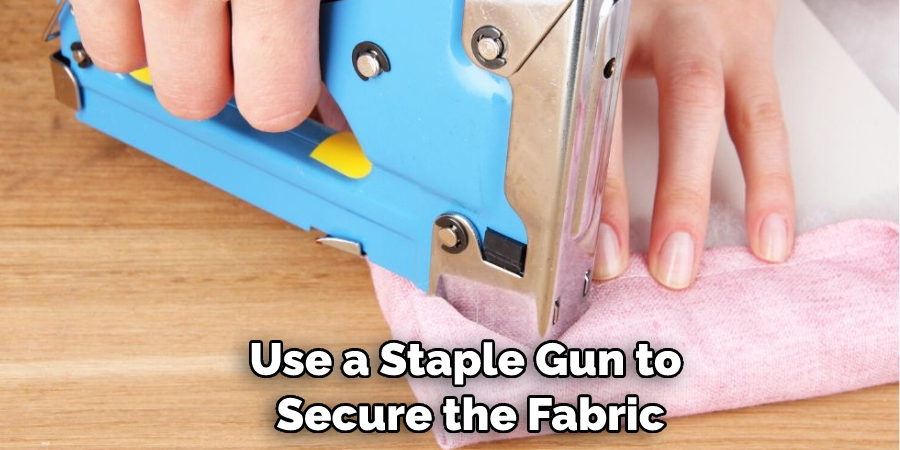
Once you have added the foam and batting, pull the fabric tight and staple it to the foam. Be sure not to pull too tightly, as this could cause wrinkles or puckers in the fabric. Work your way around the entire chair back, making sure to pull the fabric taut as you go. Be sure to staple the fabric into all corners and crevices of the chair back. When you are finished, trim any excess fabric with scissors. Make sure that the fabric is securely stapled to the foam.
9. Cover Staples with Trim (Optional)
For a more polished look, consider covering any exposed staples with trim. This can be done by simply wrapping the trim around the edge of the chair back and stapling it in place. You can choose a trim that matches the fabric or one that contrasts for a more dramatic effect. Although this step is optional, it will add a professional-looking finish to your project. If you choose to do this, coordinate the trim with the fabric you’ve used so that it complements the entire design.
10. Add Finishing Touches
The final step in upholstering the back of a wooden dining chair is to add any finishing touches you wish, such as tassels, trims, and other decorations. This is an optional step, but it can add a touch of elegance to your chair. Once you have added any desired elements, your newly upholstered chair is ready for use. If you followed these steps carefully, you should have now successfully upholstered the back of your wooden dining chair. Congratulations on a job well done! Now, go enjoy your newly created seating. You can be proud of the work you have done!
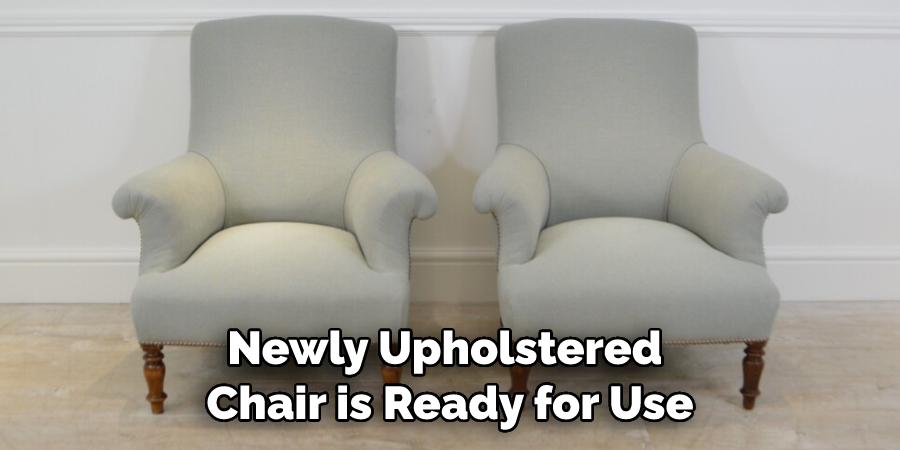
By following these steps, you can easily upholster the back of a wooden dining chair in no time. Upholstering is a great way to give an old chair a new look, and it is also a great way to learn a new skill.
Conclusion
So there you have it, a step-by-step guide on how to upholster the back of a wooden dining chair. This project is easy to do and only requires a few supplies that are easily accessible. With this new skill, you can now update any old chairs you have lying around your house into modern pieces that will impress your guests. Give it a try, and let us know how it goes!
You Can Check It Out to Protect Wood Furniture in Storage

